Timbertech Cedar Maintenance

5 Signs Your Cedar Needs Attention

5 Signs Your Cedar Needs Attention

11 Sep 2025
Signs your cedar needs attention

Cedar needs to be recoated every 2-3 summers to protect the timber from New Zealand’s harsh UV rays.

By applying an oil or a stain, the boards are protected by a coating that takes the brunt of the UV rays, but over time, it will break down and needs to be reapplied.

Knowing what signs to look for will help you stay on top of maintenance before small issues turn into larger, more expensive problems.
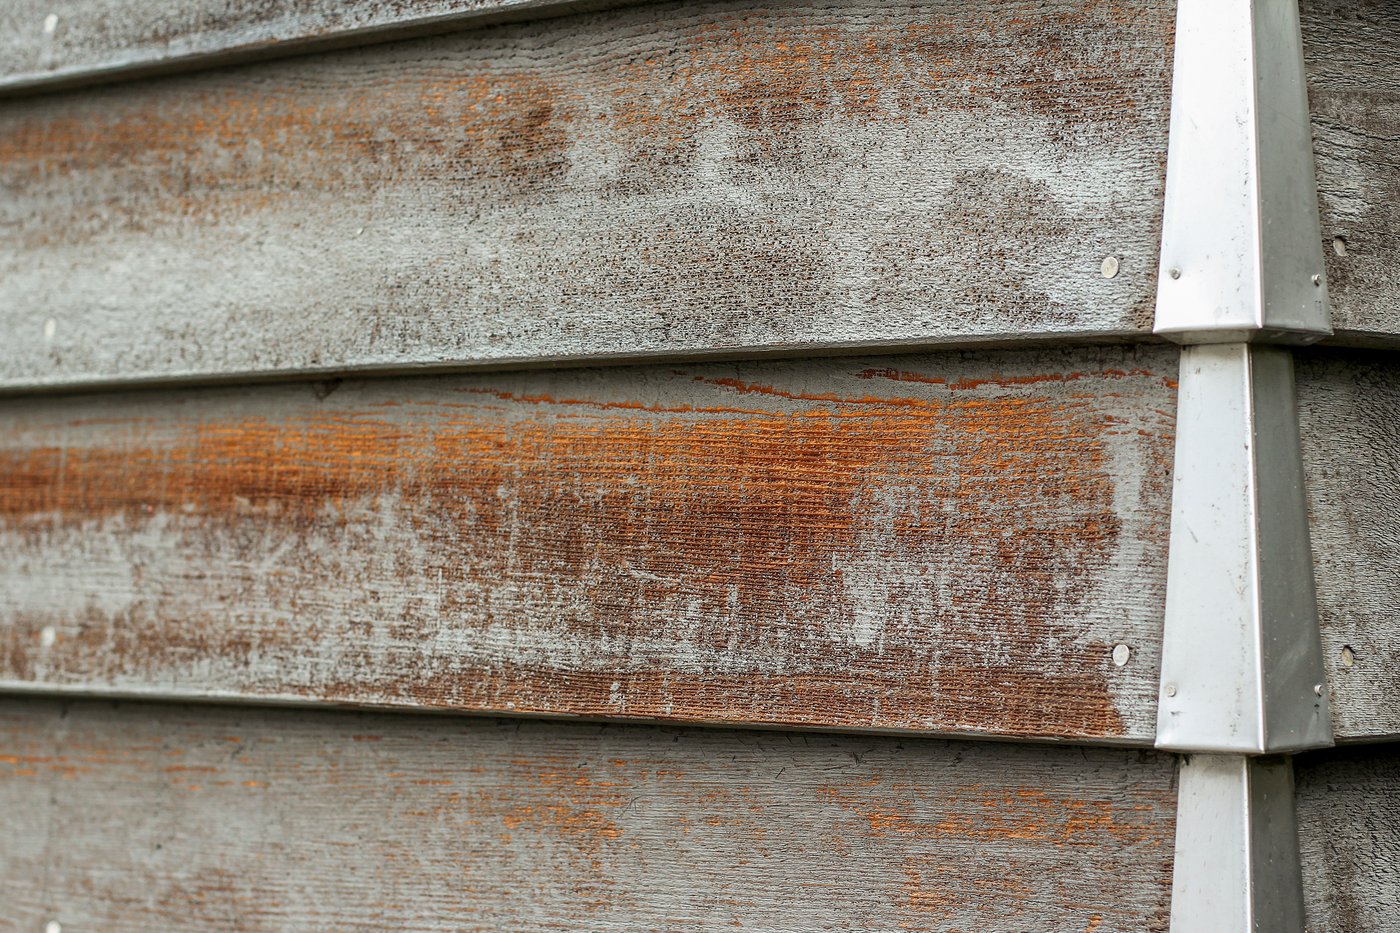
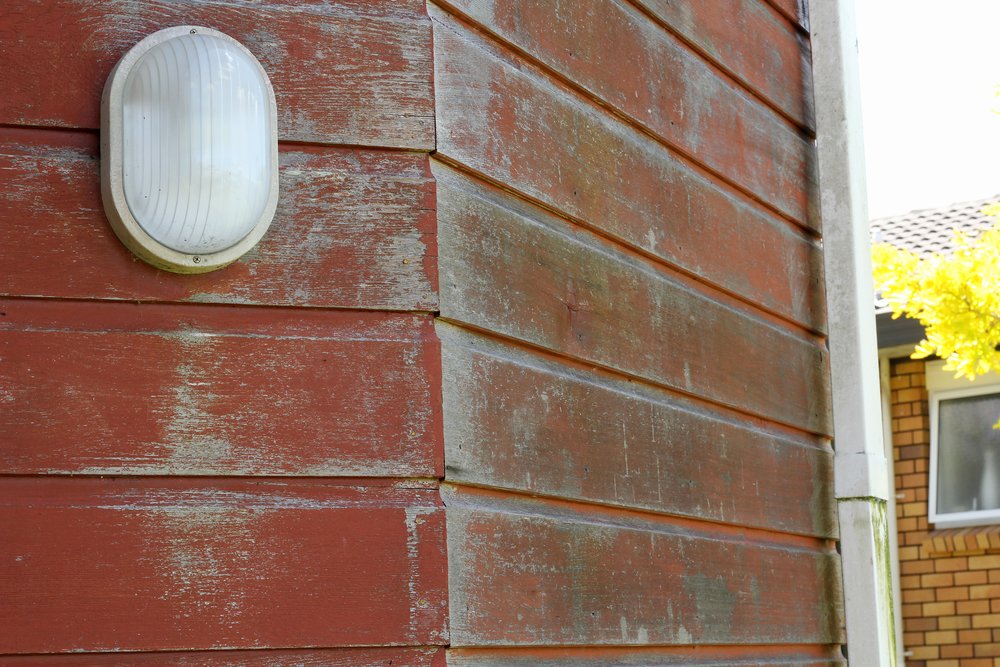
1. Discolouration

Discoloration is often the first sign that your cedar needs attention. It happens when the UV rays begin to break down the existing coating, allowing the natural colour of the timber to come through.

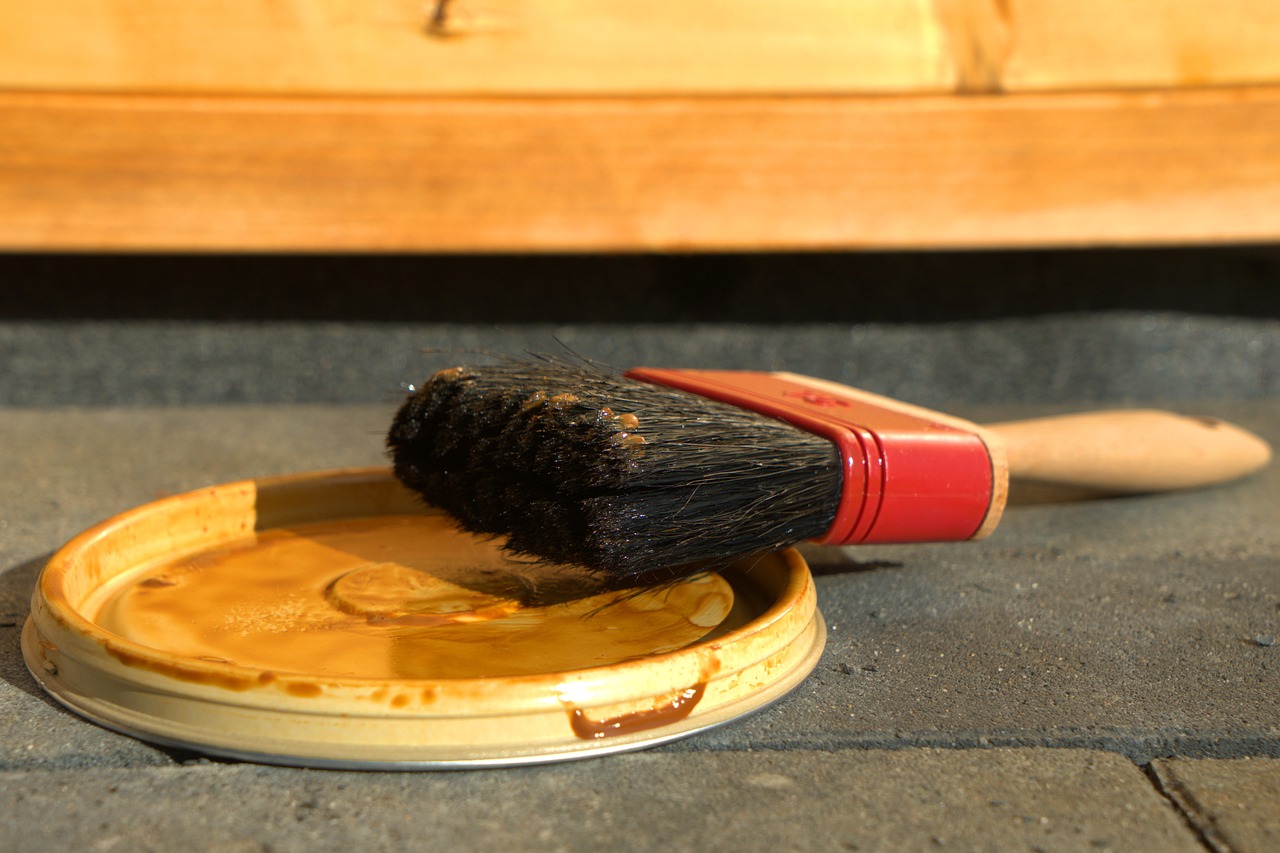
A generously applied oil will fill the pores of the Cedar and leave a protective tint on the surface. This dual action helps the wood resist moisture and absorbs the worst of the sun’s rays.

With oil, you can tell if the Cedar is dry by spraying water onto the surface. If the water beads off, the boards still have a reservoir of oil. If the water soaks in, you probably need to recoat.

Stains work similarly, creating a barrier that shields the timber. Over time, the stain will oxidise and erode by design – this means it’s doing its job by absorbing the UV damage – resulting in a patchy, uneven appearance with lighter and darker areas.

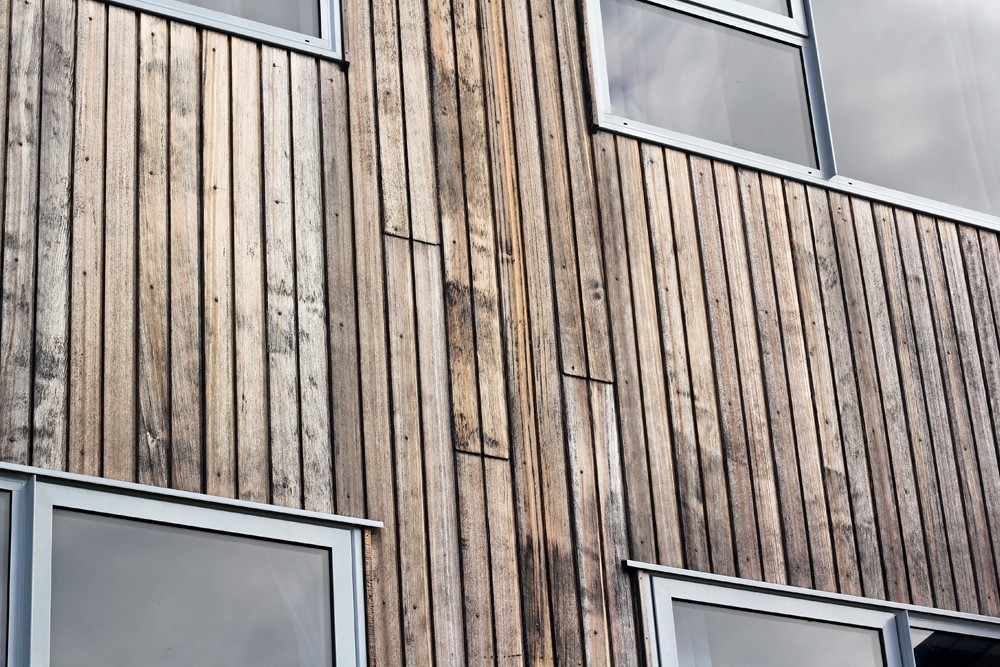
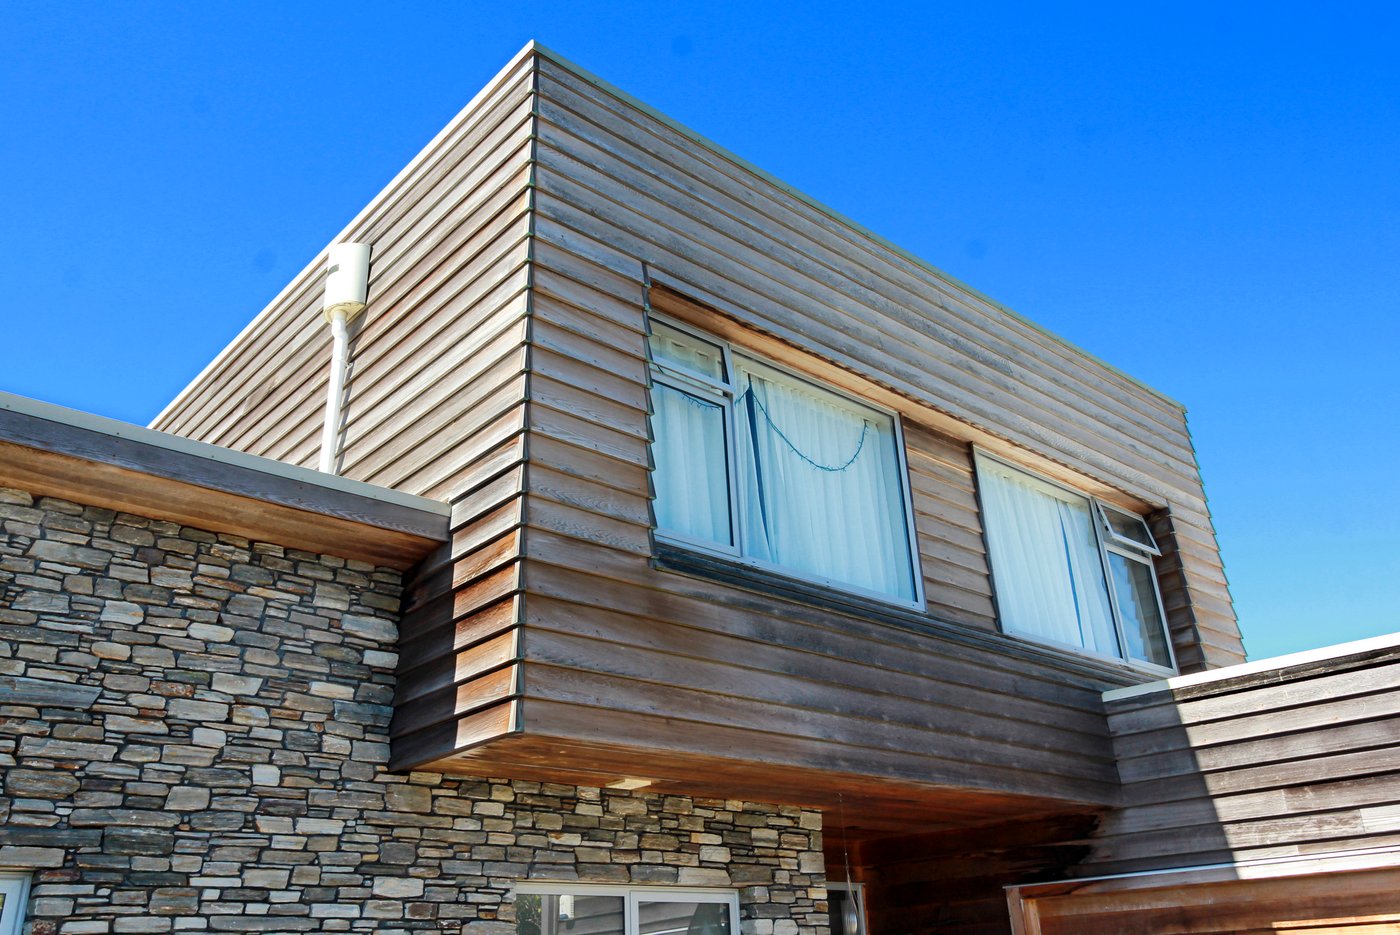
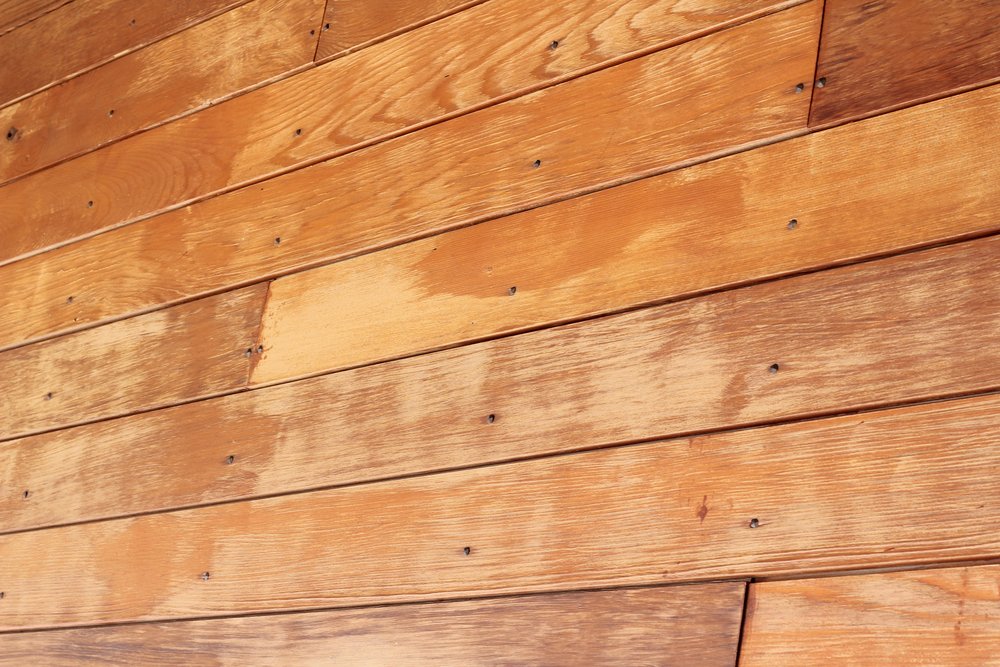
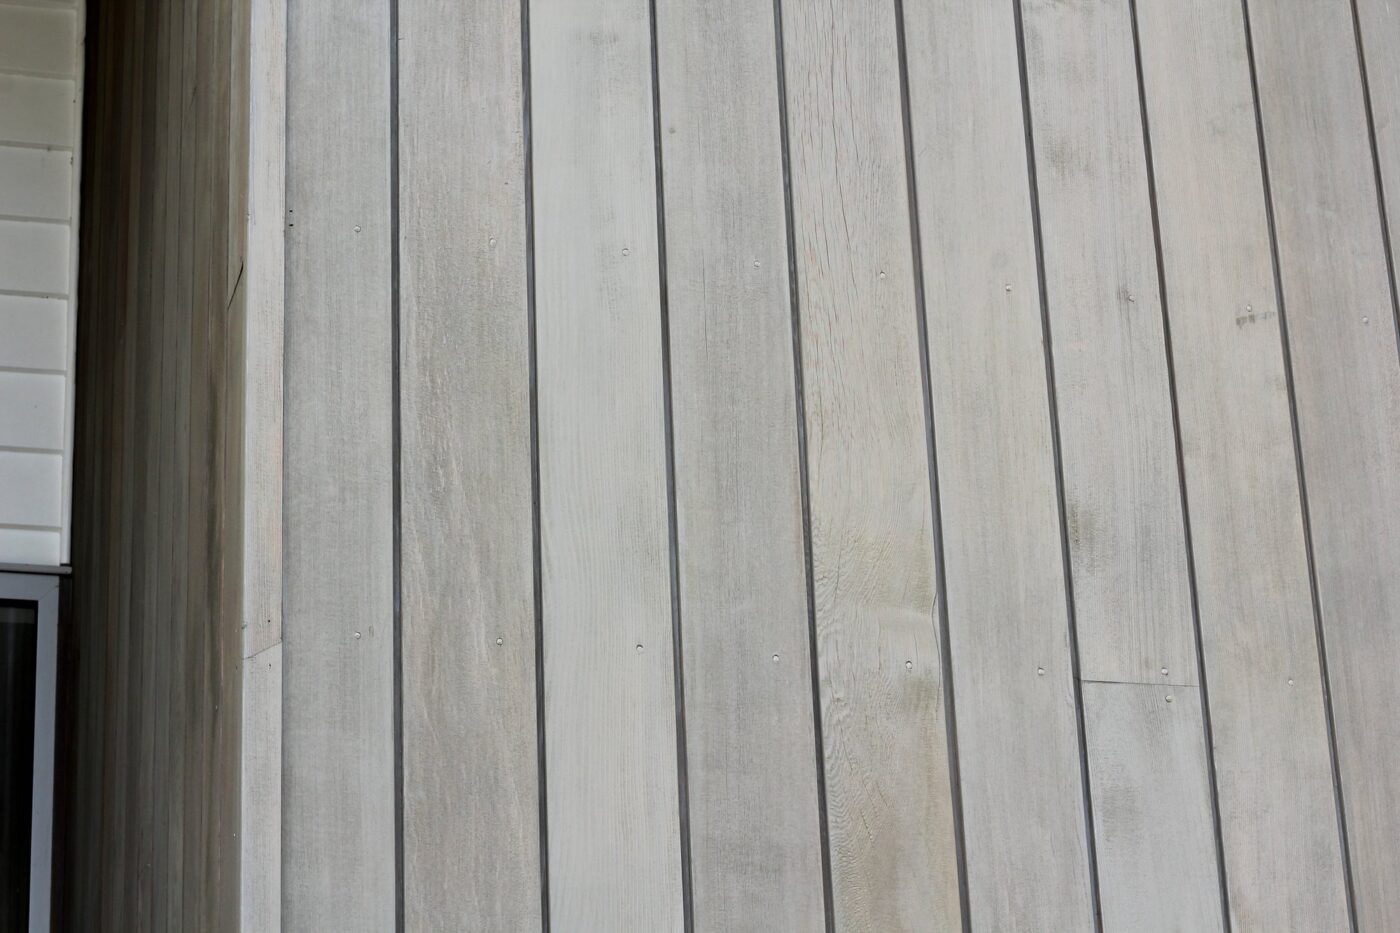
2. Fading or silvering

Silvering is caused by exposure to UV rays, which fray and loosen the top cells of the Cedar and cause the surface to become bleached.

While some people prefer this aged appearance, it can be a problem in warm, damp climates. The roughened surface of the wood can trap moisture, dirt, and bacteria, causing the Cedar to turn black.

If you like the silvered look, you can get protective oils with a silver tint that will give you the aesthetic you want while still protecting your Cedar from the sun.

Img 2759 Before Img 2759 After

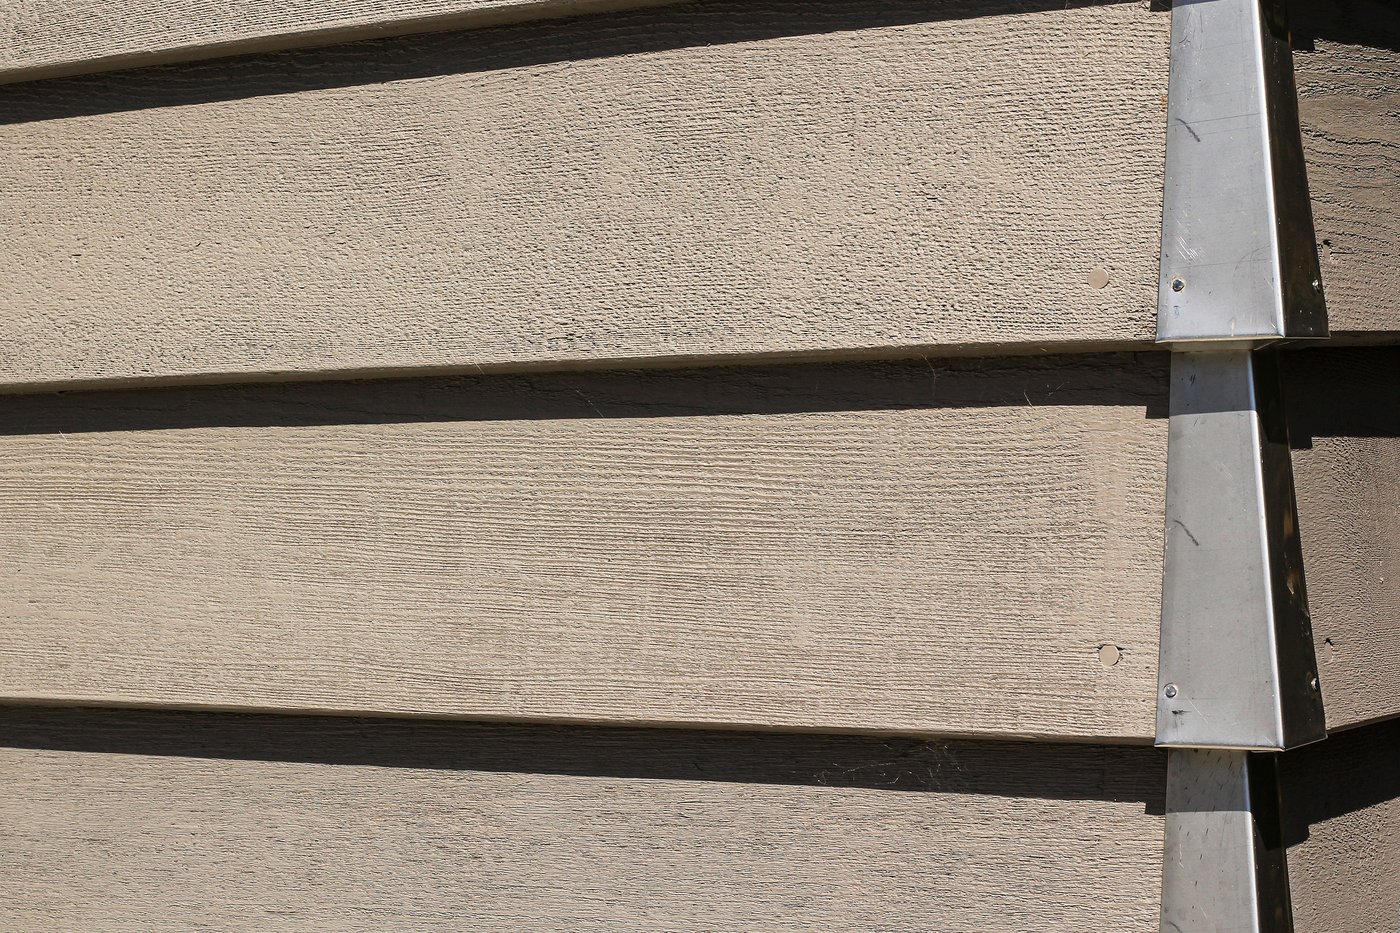
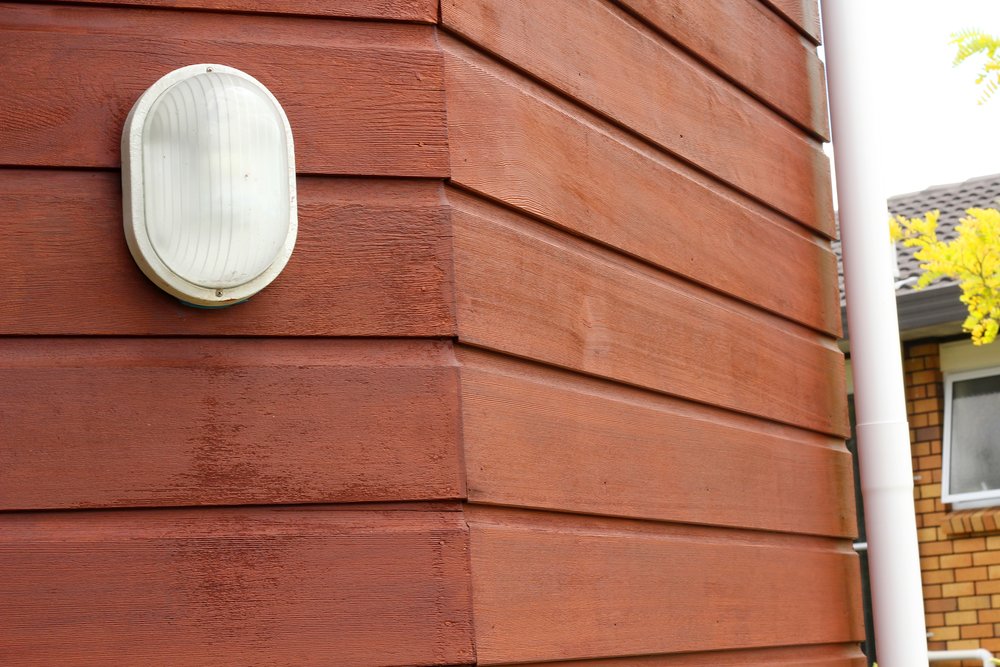
3. Patchy or uneven colour

Patchy or uneven colour on your Cedar can be a sign of a few things. The previous coating might have been applied unevenly, or it could be breaking down faster in some areas than others for a variety of reasons.

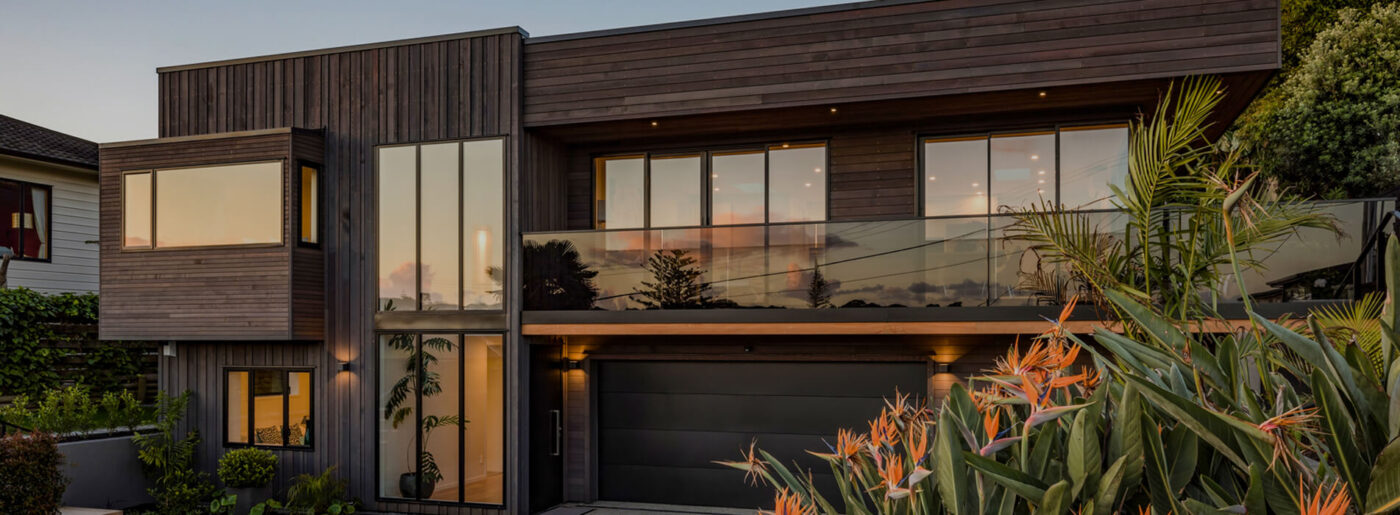
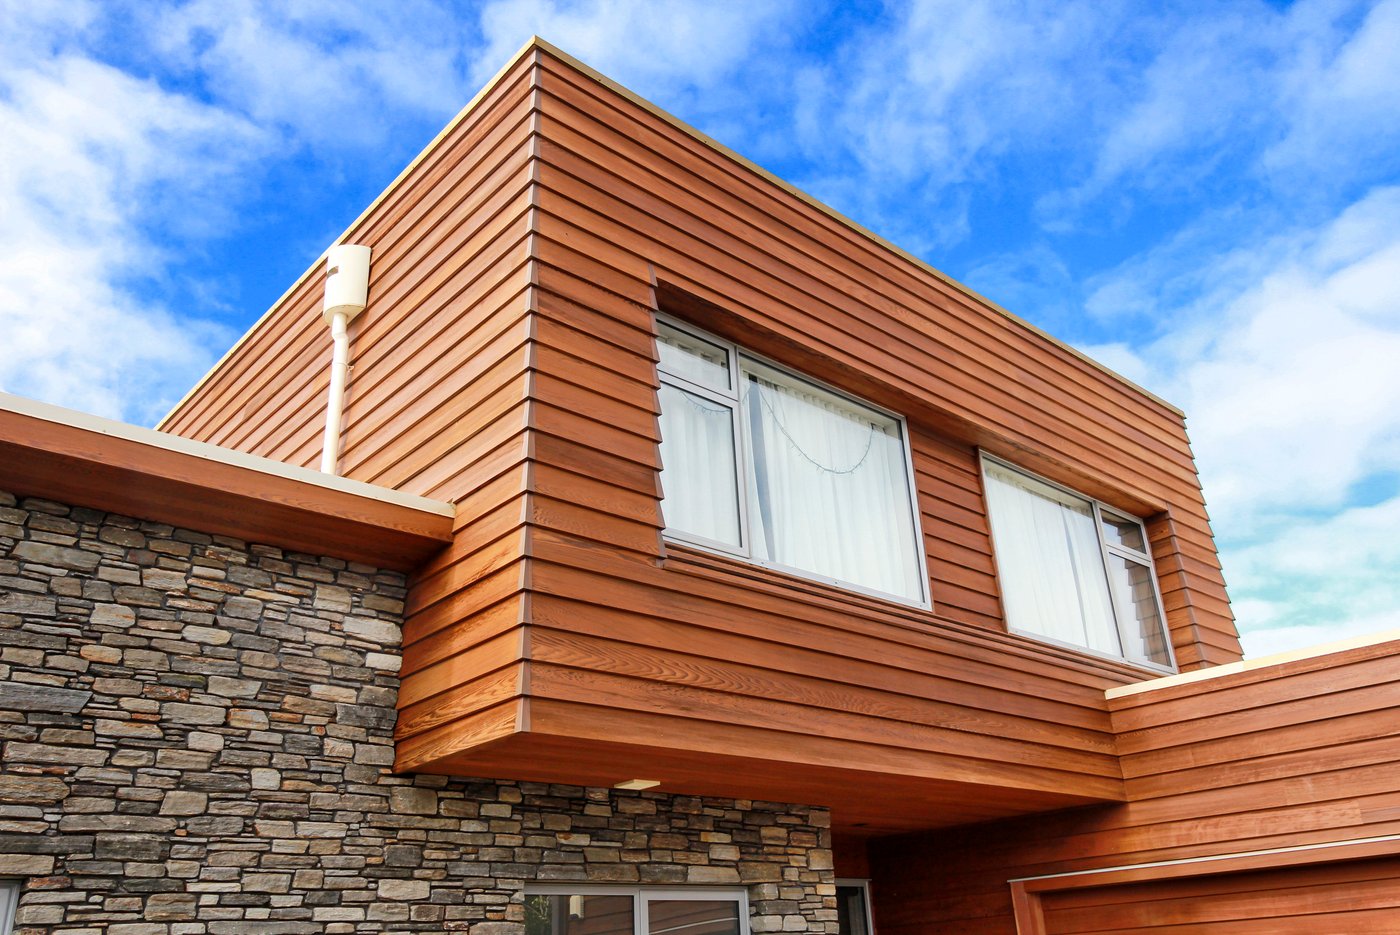
A well-maintained Cedar home should have a consistent colour across all its walls. If your home hasn’t been maintained in quite some time, the faces of the house that gets more direct sun exposure will fade faster than the shaded faces.

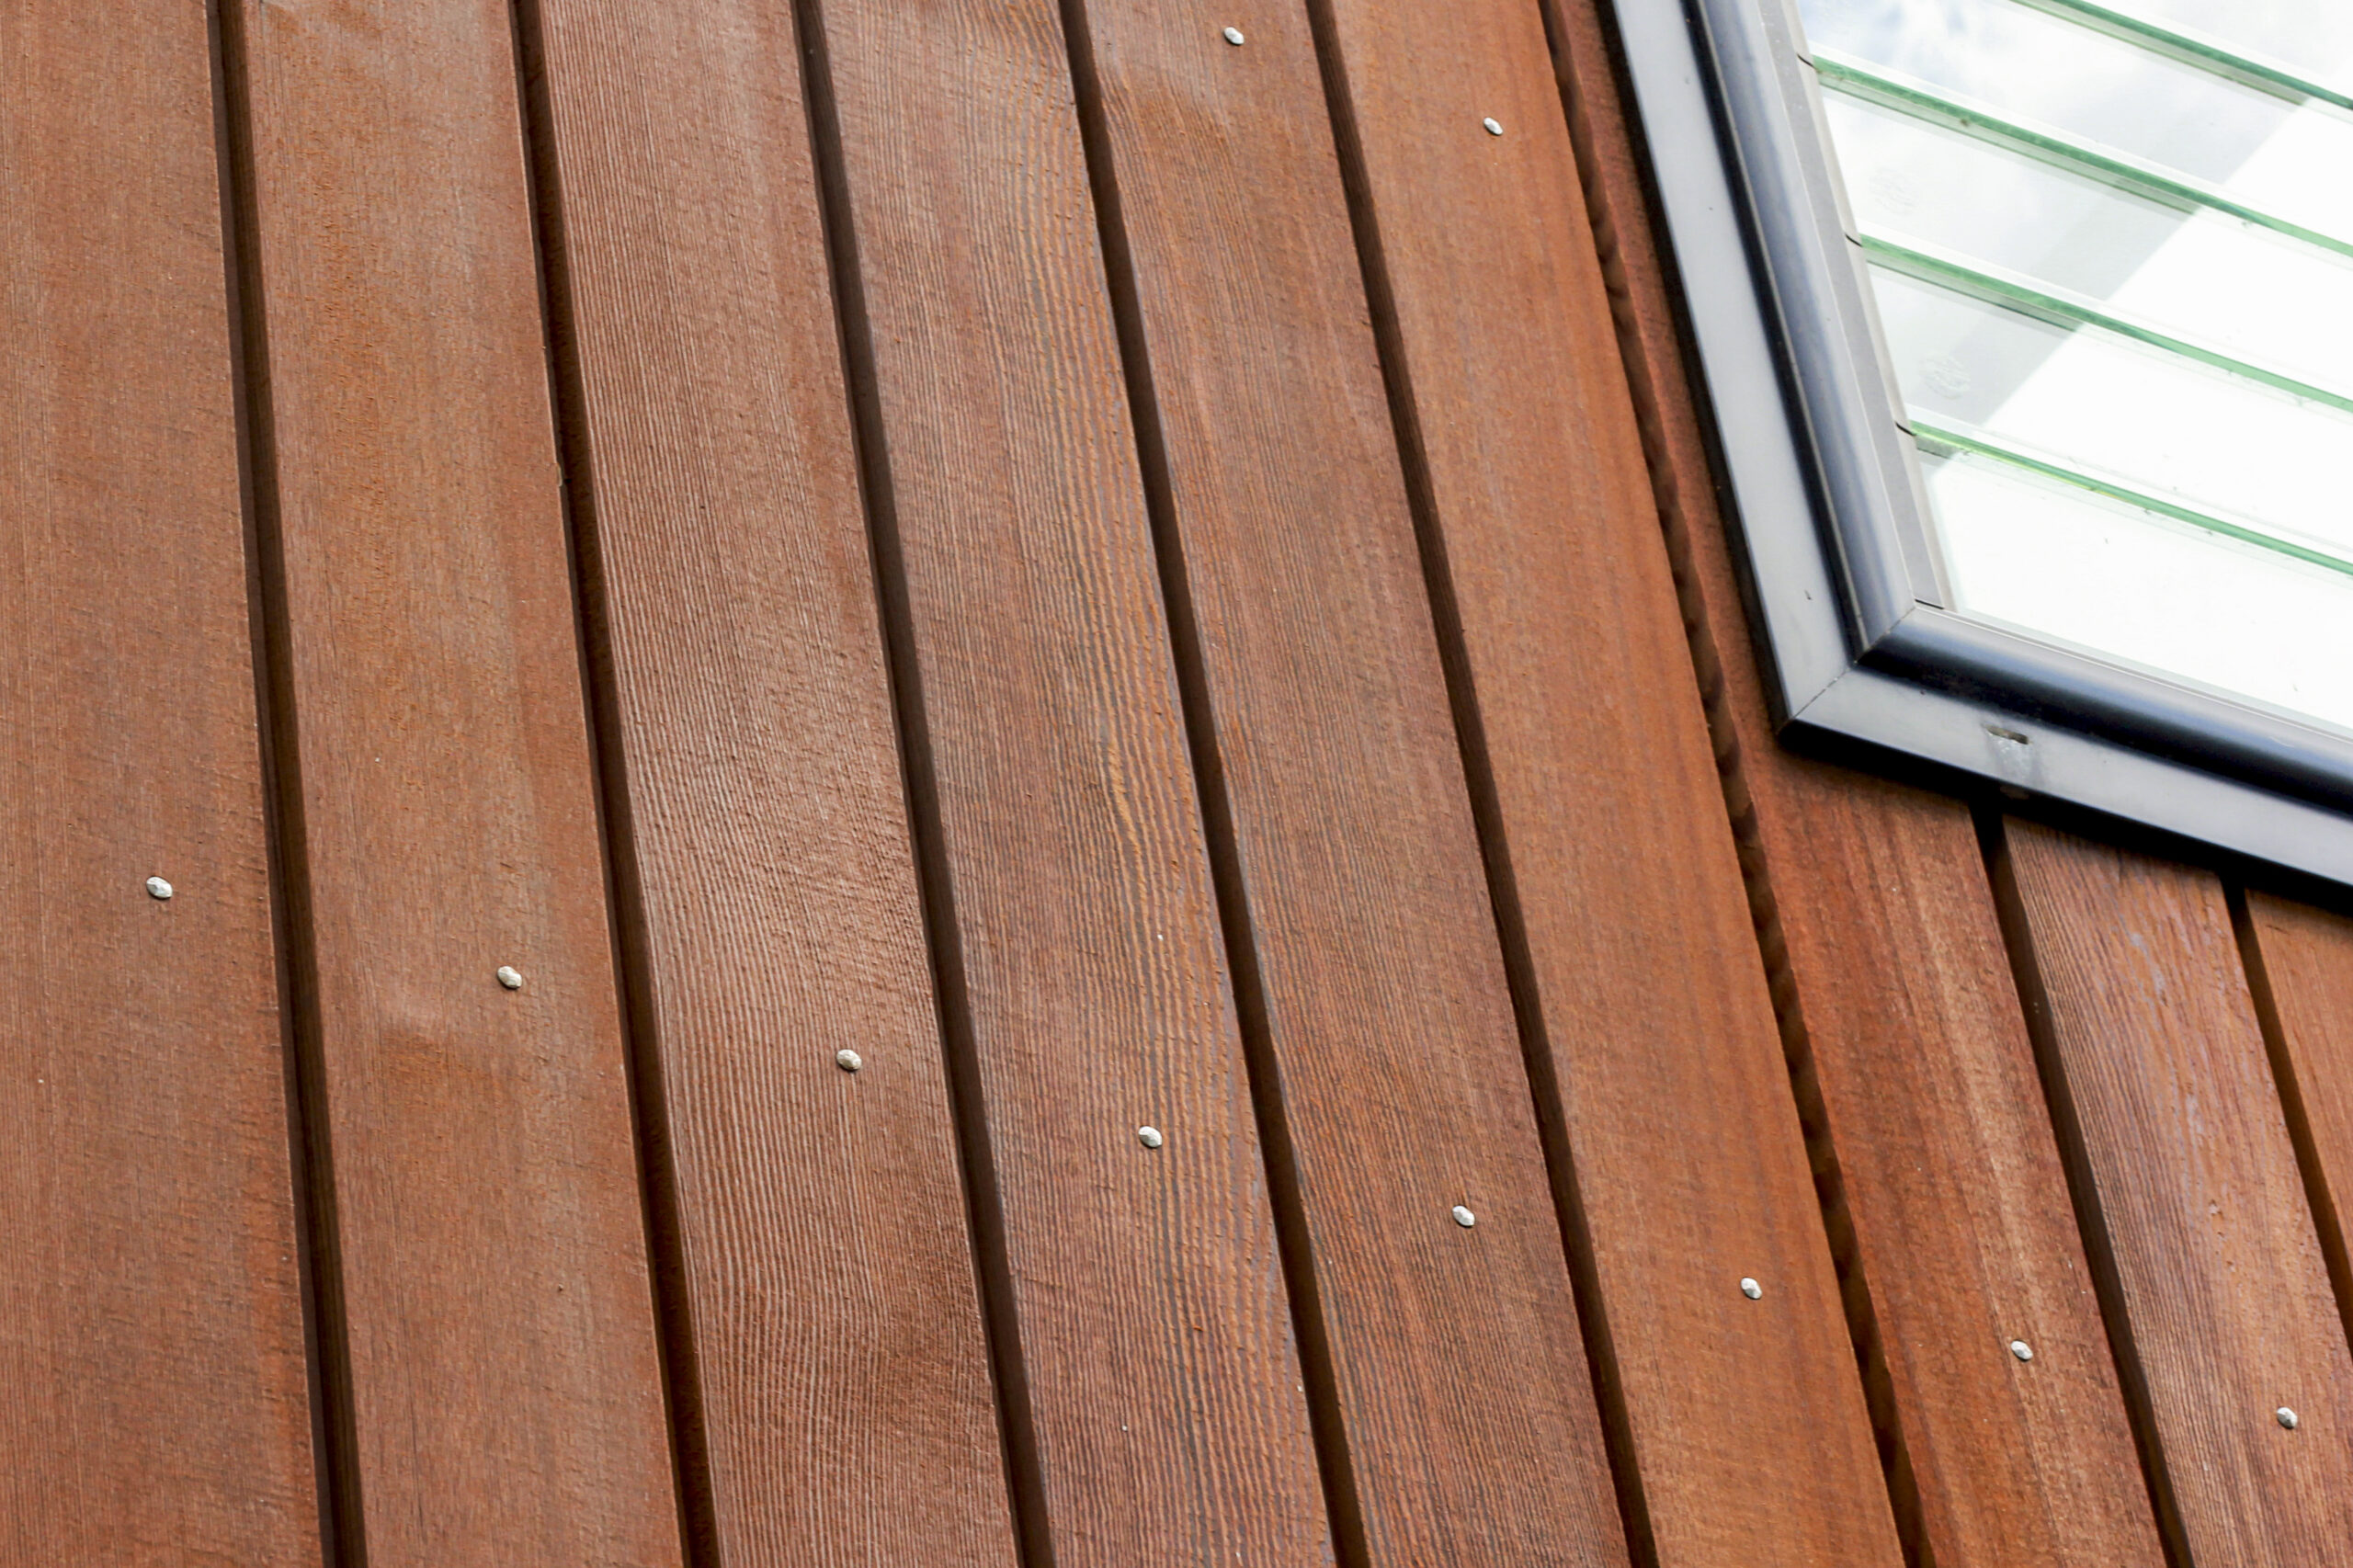
Reapplying an oil or stain not only enhances the colour but also helps replenish the wood’s natural oils and fortify its anti-fungal properties, restoring its vibrant, like-new appearance.

cedar-stain-to-oil-before-1 cedar-stain-to-oil-after-1

4. Mould and lichen forming

Mould and lichen often grow on the damper areas of your house away from the sun. Mould can appear on the surface coating or might be ingrained in the timber if it’s been left for a while.

The first signs of mould are small black spores that look like spots or splatters, and as it gets more severe it will get more obvious, turning black, green or red.

Img 2426 Img 5196

Signs of mould and lichen are not always a big concern. Get a professional to look at it, and if you catch it early enough, you might just need a clean without having to recoat the timber.
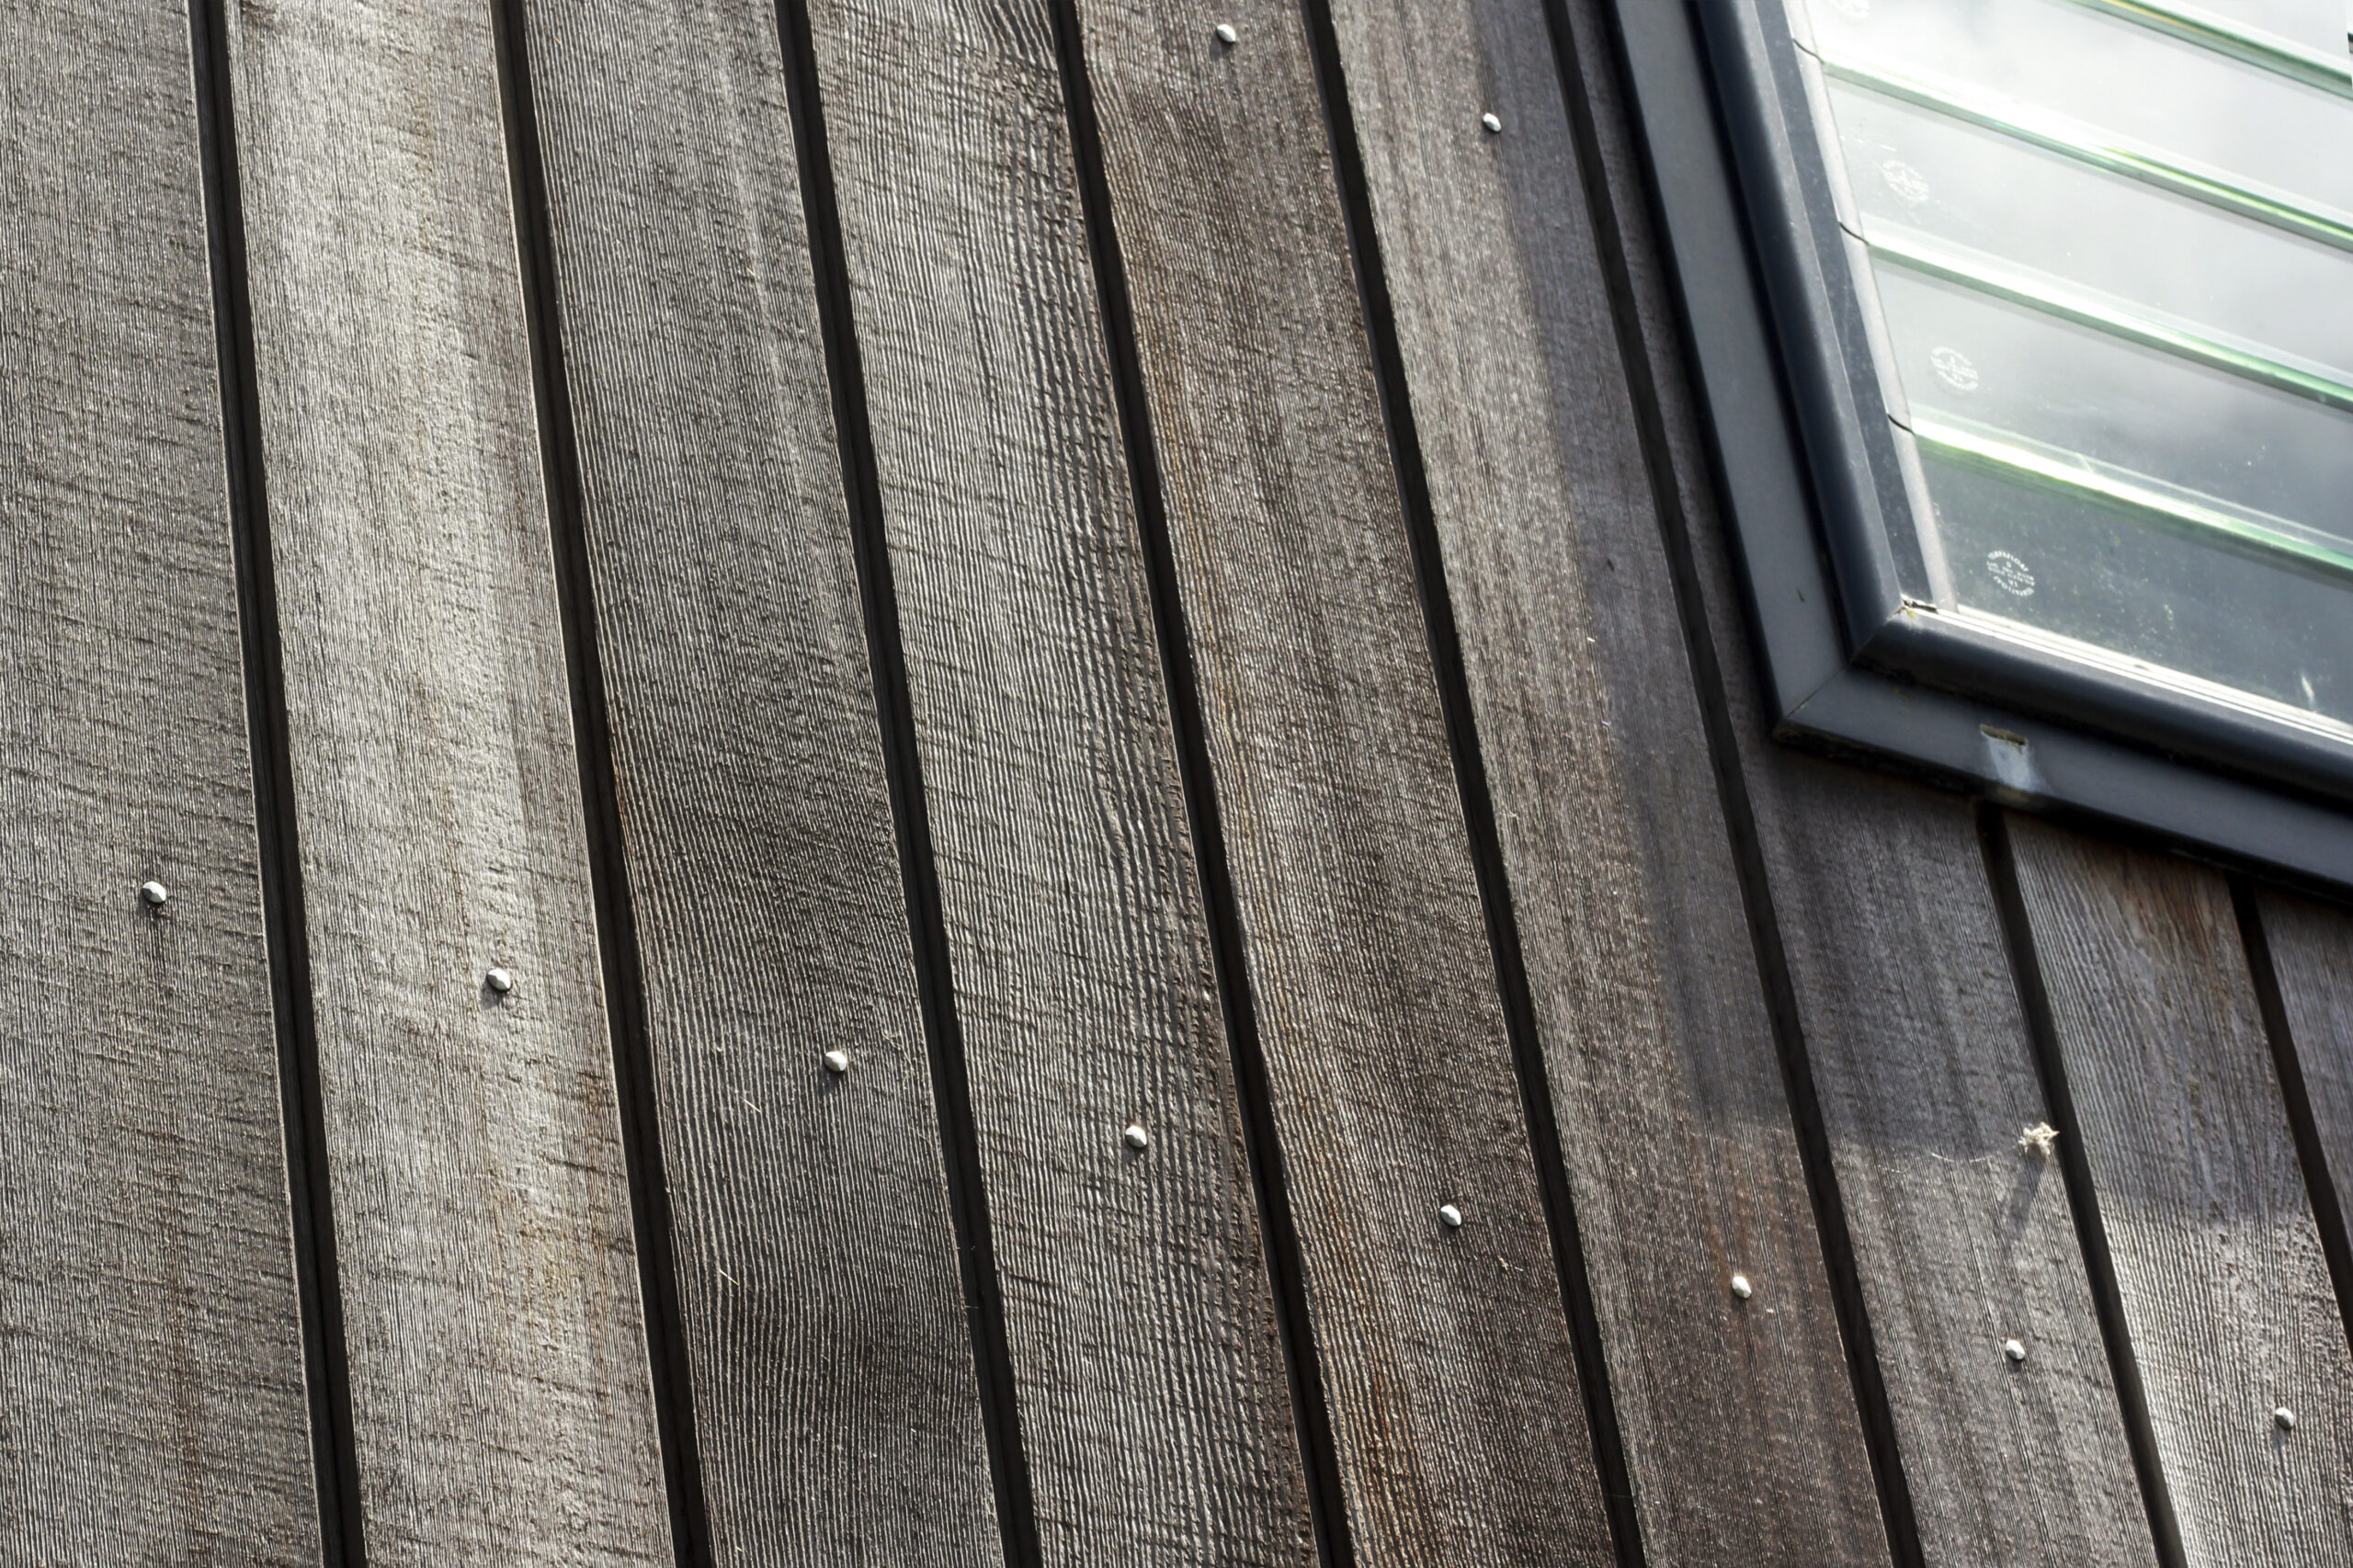
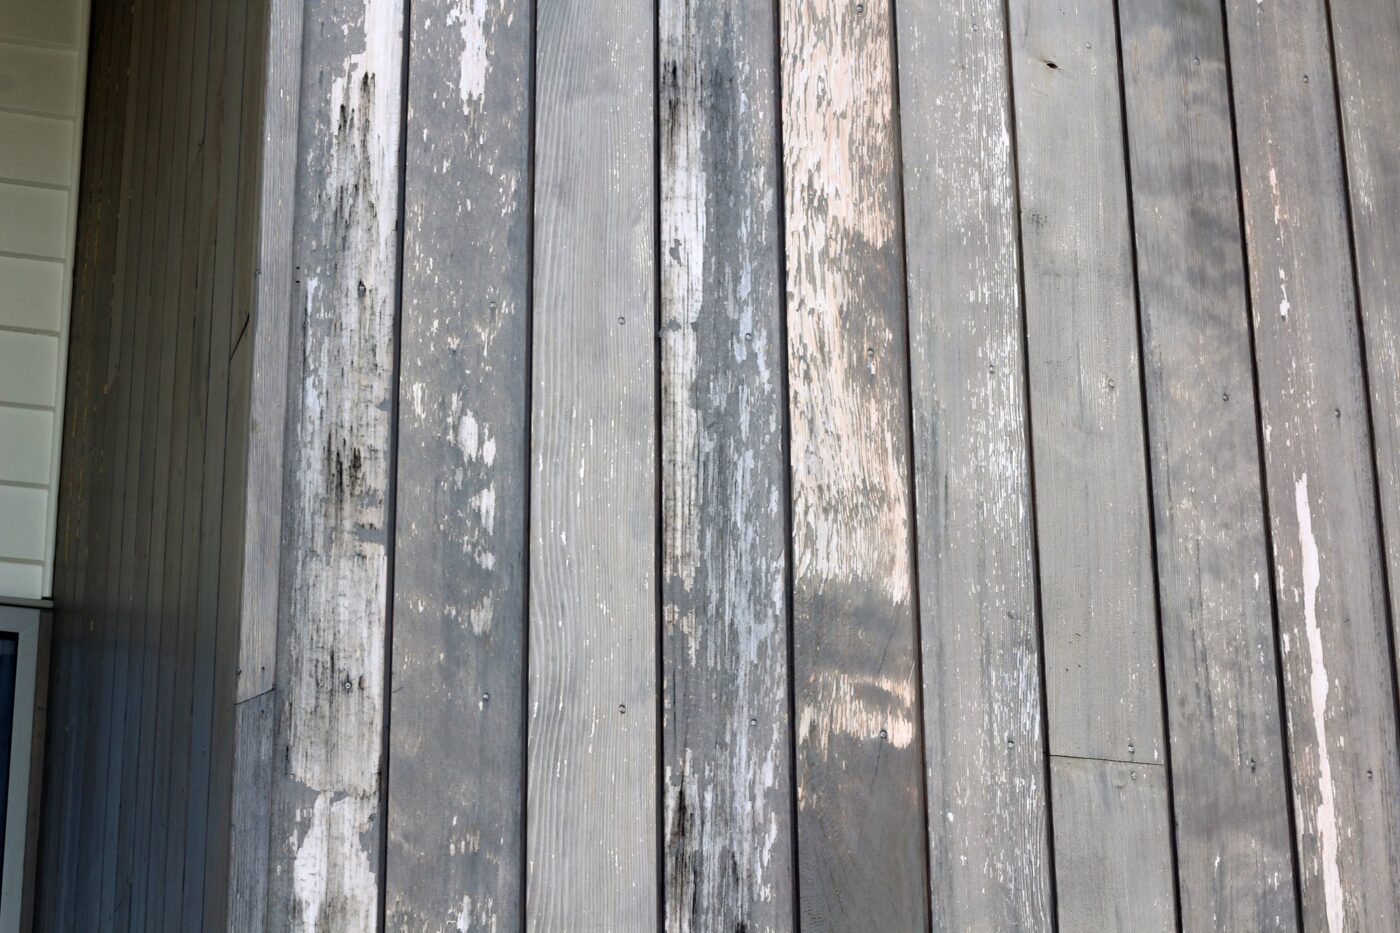
cedar-restoration-before cedar-restoration-after

5. Cracks, or worse

Look for small cracks appearing, either in the coating or the boards themselves. Those little cracks are allowing moisture to get into the boards and create a toehold for mould, mildew and lichen to get established.

If nails are popping out, or you can see warping, this is a sign that the boards are moving a lot. This usually happens on the north face, or any area that is exposed to the sun and doesn’t have any protection against the wet-dry-wet effect.

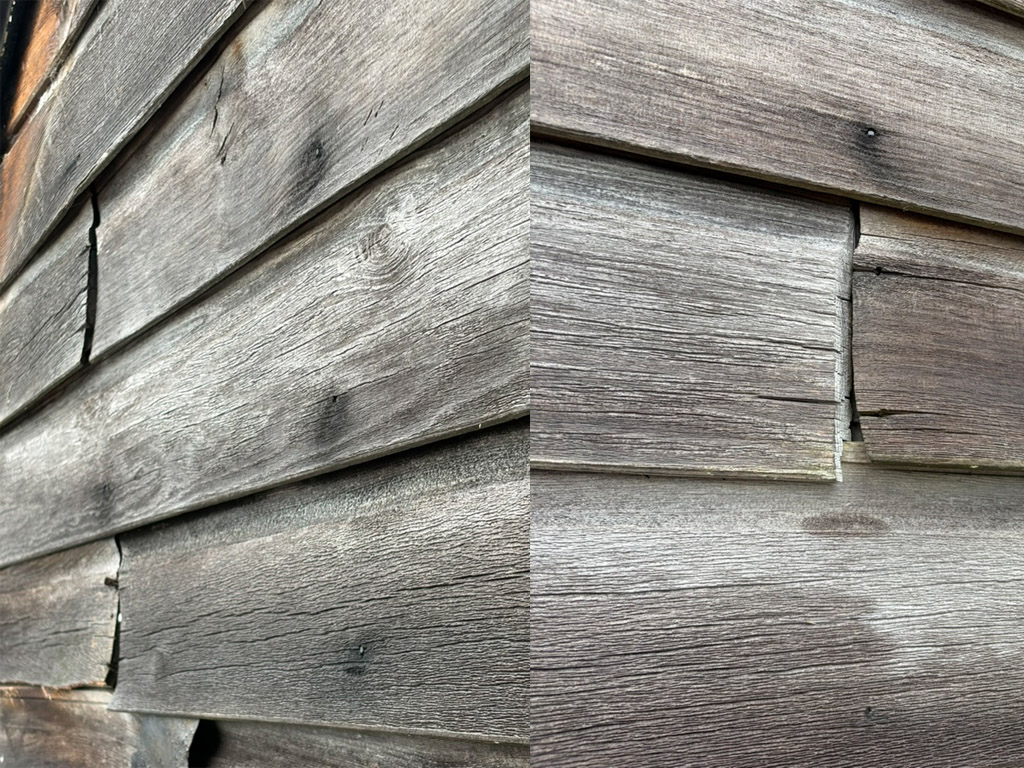
If your boards are starting to cup, it doesn’t mean the boards are beyond repair. Often the structural integrity of the boards is still good, we just need to clean them up and replace the oil to reduce the surface tension and repel water.

Final thoughts…

Knowing the signs that your Cedar needs attention helps you make an informed decision about when to invest in its health.

If you’re unsure, it’s always best to have a professional take a look.

We offer a free, onsite Cedar Assessment across Auckland and Northland. One of our Cedar experts will provide a genuine assessment of your timber and offer advice to keep your Cedar protected and looking beautiful for years to come.

Read More Articles

15 Feb 2024
Cedar is a miracle timber if ever there was one. It’s a better insulator than brick or concrete, it keeps noise out, is highly durable and - as every Cedar homeowner can attest - it looks stunning and unique.

Cedar is a miracle timber if ever there was one. It’s a better insulator than brick or concrete, it keeps noise out, is highly durable and – as every Cedar homeowner can attest – it looks stunning and unique. 

At TimberTech, we genuinely believe that Cedar is a remarkable cladding material. 

In this article, we want to share what makes Cedar such an effective cladding, and highlight some little-known facts about this amazing timber. 

If you own a Cedar home, or are looking to buy a Cedar home, rest assured that Cedar is one of the best claddings around. 

1. Cellular Structure 

Cedar is designed to move, with deep pores that allow moisture in and out without damaging the stability of the timber. 

This means that in the summer, when the hot sun is sucking moisture from the timber and causing it to contract, Cedar can move with minimal cracking. 

And in the winter, when Cedar gets wet and starts to expand again, it does so without cupping and warping, which are problems that come with other timbers. 

2. Deep Pores

Those deep pores we mentioned, they are also genius at holding stains and oils. 

This is important for extending the life of the timber and keeping it looking fresh and vibrant. 

New Zealand has strong UV rays that will break down any type of coating applied to a house and suck out the natural oils, eventually drying out the timber and leading to roughening of the surface and fine cracks (which is called “surface checking” in the industry). 

Regular oiling will prolong the beautiful look and weather resistance of your Cedar by penetrating deeply through the Cedar’s open cellular structure and replacing the natural oils lost over time. 

3. Ease of Maintenance 

Like any building material exposed to the elements, Cedar needs maintenance both to protect the internal structure of the house, and to keep it looking cosmetically beautiful. 

This isn’t a downside, just an unavoidable part of owning a house. 

With Cedar you don’t have to constantly maintain the whole house, just the areas that are exposed to the sun. 

For most Cedar homes, this means recoating sun-exposed areas every 2-3 summers. The sheltered faces of a Cedar home are very low-maintenance and will only need recoating 2-3 times over a 15-year period. 

4. Durability & Insulation 

Cedar is a superior insulator compared to other weatherboards, letting the house breath over summer, and keeping the warmth in over winter. It also dries very quickly because the timber is so porous and rich with pores. 

On a side note, regularly maintaining your Cedar will help improve the energy efficiency of your home. Adding oil to the boards keeps them flat and stops the cold getting in, and the heat getting out. Boards that have been oiled will also cause rain to bead from the surface and keep the internal structure of the house dry. 

Cedar also has its own mould and fungal inhibitors within the timber to stop rot and nasties from getting established. 

5. Cedar Just Looks Stunning 

Let’s put the amazing properties of Cedar to one side and talk about how good it looks.  

A well-maintained Cedar home has a timeless look. As the timber ages, it will naturally weather, getting etched by the sun, rain and elements to have a beautiful rustic look. 

Colour wise, Cedar can be anything from blonde-yellow to deep Mahagony red, which lends itself to a unique aesthetic quality. There are no two Cedar weather boards that are the same. Some have lots of grain, some are very plain, but when oiled, each will have a different appearance. 

Because the oil is translucent, it works with the underlying tones of the Cedar. And because stains and oil come in different colours, the final colour is always a unique blend, and always interesting to look at. 

Want to Know More?

To learn more about Cedar, visit our Knowledge Hub. This is a free resource for homeowners, with expert advice on Cedar protection, maintenance and restoration. 

If you would like to see more beautiful Cedar homes, view Our Work.

And if you have any questions, please reach out. We are always happy to help!

15 Nov 2023
Let's get to the point. Is DIY Cedar maintenance possible? Absolutely. Furthermore, the process is relatively straightforward. But there are some factors to consider before attempting DIY.

Let’s get to the point. Is DIY Cedar maintenance possible?

Absolutely. Furthermore, the process is relatively straightforward.

Cedar maintenance is all about protecting the timber from the elements, most importantly, the harsh New Zealand sun. If you have a long, hot summer, the natural oils in the boards will be sucked out by the sun.

Your job is to replace the oil that the sun is extracting. Without oil replenishment, the boards will dry out over time and begin cupping.

A general DIY Cedar maintenance plan would involve soft washing your house once every few years and applying a coat of oil to sun-exposed faces every 2-3 summers.

Seems straightforward, right?

So is changing the oil on your car, but very few people have the time or are willing to get their hands dirty. The same goes for Cedar.

Here are some factors to consider before attempting DIY maintenance.

1. Convenience

We have a customer in Northland who is 83 years old and had previously maintained the Cedar on his family home for decades – and did a great job of it. Now that he can’t get up the ladder like he used to, he came to us for help.

Anybody can learn how to maintain their own Cedar, but not everybody has the inclination. Maintaining Cedar is physically demanding, often working at heights, using bulky equipment, in a wet and mucky environment.

Hiring a professional means you don’t have to worry about anything. They will bring all their own equipment, have experience working at heights and clean up after themselves, leaving nothing but a beautifully maintained house.

2. Property Access

Accessing the different areas of your house can be tricky, and potentially dangerous.

Even on a flat property, there are always parts of a house that are difficult to reach. The job gets even more complicated if the ground is uneven.

Double story house can be quite daunting. Some houses require scaffolding, but most houses can be accessed with a ladder.

If you are not comfortable working on a ladder, or the ground around your house is uneven, it is usually safer to hire a professional who is experienced working at heights.

If your house does require scaffolding, a professional Cedar maintenance company will often have their own scaffolding and manage the whole process, saving you time, headaches and money.

3. Risk of Damaging the Cedar

The surface of a Cedar weatherboard can be easily damaged. The water blaster should be set at a low pressure and moved across the boards in a steady motion without pausing.

Water blasting at a high pressure can strip away too much of the soft tissue in the timber, leaving it streaky and unsightly.

This is often when we get called, only now the customer is paying for remedial work to restore the damage rather than just maintenance.

Your home is usually your most valuable investment. By hiring a professional, you are removing the risk of damaging the timber and ultimately, adding value to your investment.

4. Preparing the Cedar for application

Cleaning and preparing the Cedar is the most important part of getting a satisfactory finish.

People can be so scared of damaging the timber, that they use a water pressure that is too low or don’t scrub sufficiently to properly clean the Cedar.

If you do not remove all the built-up organic matter, whatever you put on the surface will then be compromised.

To prepare your Cedar with a water blaster, make sure you wash it at the right pressure, or scrub the boards with an appropriate brush, making sure the boards are free of any timber fibres, oxidised tint, dirt, mould, lichen and moss.

Once all that is gone, you need to make sure any stain on the boards is evenly removed. You don’t want the boards under the soffit left a different colour.

5. Consistent application of the product

Applying a stain is simple, you move the brush from one side to the other keeping an even coverage and a wet edge.

But getting an even finish across the boards takes time and practice. If the stain dries before you finish, there will be lines in it.

We have also seen DIY oiling attempts that only go 3/4 of the way up the wall because they couldn’t reach any higher, or thought the Cedar was protected by the soffits of the house.

Trying to blend that in after the event is very difficult and always ends up costing more in the long run.

Thinking Twice About DIY?

Anyone can learn how to maintain their Cedar, but it probably looks easier than it is and is fraught with little problems that when added together, become bigger issues.

If you require expert advice, call us on 0800 298 298. Our friendly team is always ready to help.

17 Oct 2023
Many Cedar homes that were built before the 2000s have a distinctive red colour than now looks dated. At the time, the red/brown tint was all that was available, but now we have access to a wide range of tinted oils and stains.

Most Cedar homeowner aren’t aware that they can change the colour of their Cedar. It usually comes about in our initial conversation with new customers who have just bought their home and want a more contemporary look.

Many Cedar homes that were built before the 2000s have a distinctive red colour than now looks dated.

At the time, the red/brown tint was all that was available, but now we have access to a wide range of tinted oils and stains.

What colours we recommend depends on the unique circumstances of each house: the existing colour of the Cedar, levels of UV exposure, whether the Cedar is treated with an oil or a stain, and when the Cedar was last maintained.

Before talking colours, it’s useful to understand how Cedar works in relation to oils and stains.

How Cedar Works

Raw Cedar can be a myriad of colours, anything from light pine to mahogany red.

There is a lot of red Cedar around. If you cut it in half, the inside is a deep red colour. Add oil to that and the red pops out, making it a difficult base colour to compete with. But more on that later.

Once the Cedar has been used in construction, an oil or stain is applied to protect it from the elements and give a cosmetic finish.

A tint is a pigment added to an oil or stain. This is like how pigment is added to paint. To create a pastel colour, you start with a white base, add the pastel pigment and blend it together to get the final colour.

It’s the same principal for stains and oils.

Assessing Your Colour Options

The more drastic the change of colour, the more difficult the process will be.

If you have a natural Cedar colour, which is less red and more of a brownish hue, it can be covered with a dark brown or black quite easily.

If you have deeper colours such as dark red, changing the colour becomes more difficult.

For a lighter or muted finish, you would need to scrub off some of the deep red. If you are going for a brown or black finish, you need to put on more of the next coat to hide the red that is underneath.

Changing from dark to light will also be more expensive, as the initial colour will need to be stripped back and is a much more intensive process.

Changing Colour with Oils

When an oil has already been applied, the tint will often need to be stripped from the surface using a degreaser. Because oils are translucent, they work with the colour underneath, which is generally the red Cedar.

If you don’t use a degreaser, you are working with the already pigmented Cedar and no matter how many coats you put on, it won’t make a difference.

The extent of this process depends on how much UV the treatment has been exposed to.

If the oil has been exposed for 4 or 5 summers, the tint will have oxidised and broken down, and will most likely come off with a heavy wash. If it’s only been on for 1 or 2 summers, chances are the sun hasn’t broken it down and it will need a degreaser.

If there are parts of your house that are protected from the UV, such as under soffits, we treat those areas separately to achieve an even finish.

Changing Colour with Stains

The underlying principle behind changing the colour on an oil or a stain is basically the same: you first need to remove as much of the original finish as possible to create the best results.

If any of the original colour remains, the oil or stain highlights whatever is left on the board.

Stain is opaquer than oil and hides a lot more. If you are going from light brown to dark brown, or red to dark brown, you can probably get away with a standard wash and 2-3 coats of stain. For more drastic colour changes, you will need to use a paint stripper.

Modern paint strippers are less potent than in the past and are made from organic compounds that are brushed on the surface, then scraped off and put in the rubbish bin.

Want a Modern Look for Your Home?

As you can see, there are a lot of different factors that need to be considered when looking to change the colour of your home.

To learn about your options, give us a call on 0800 298 298. One of our Cedar experts will visit your home and assess your timber.

If you want to browse colours, please visit our Colour Range page and look at some swatches.

Read More Articles

Showing 1 - 10 of 16

Subscribe

Sign up to our quarterly newsletter for all the latest Cedar tips and expert advice.