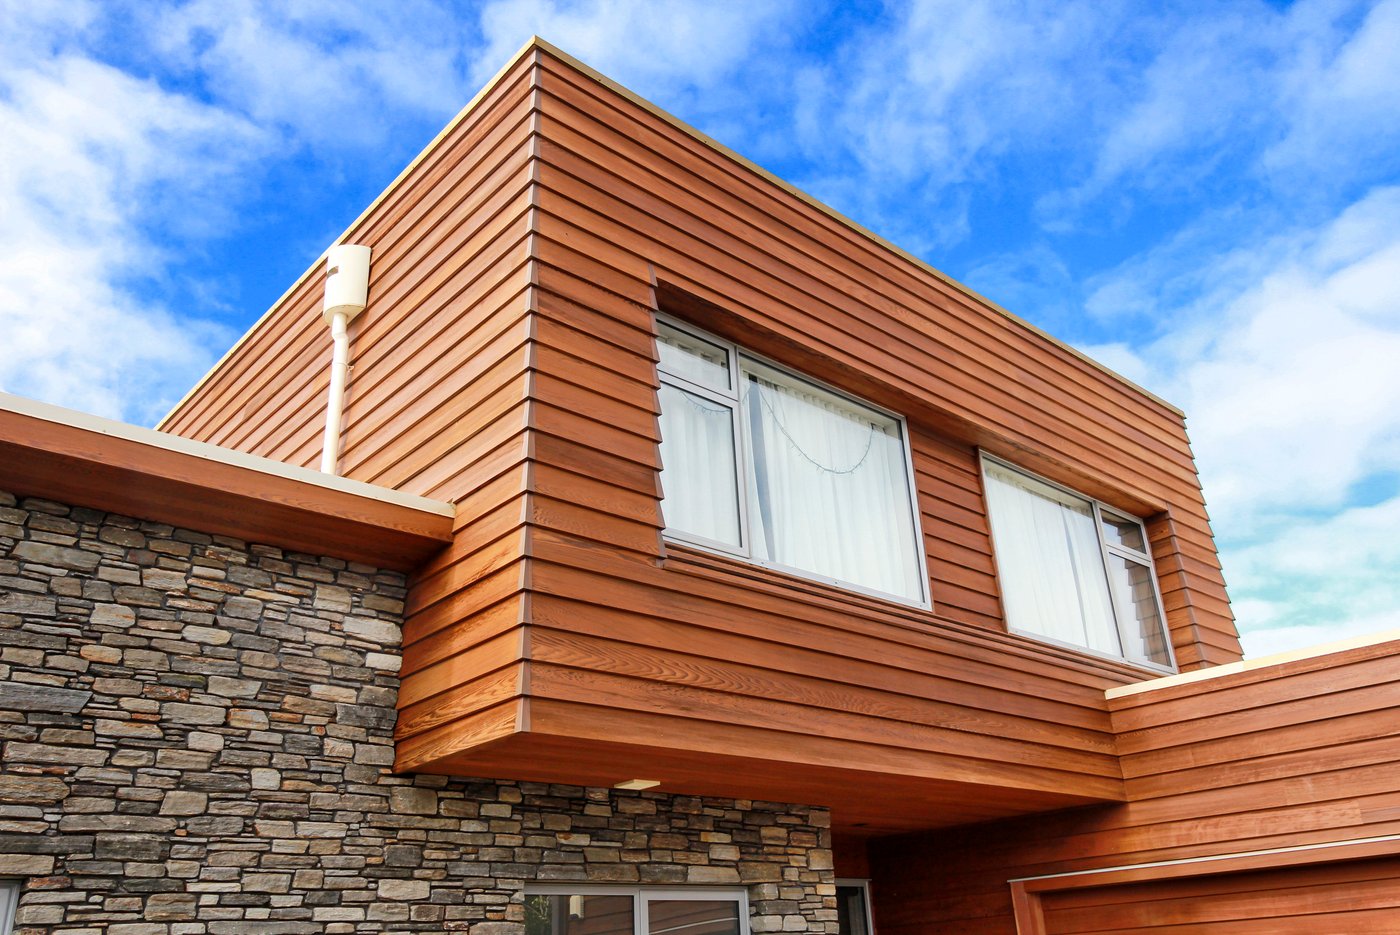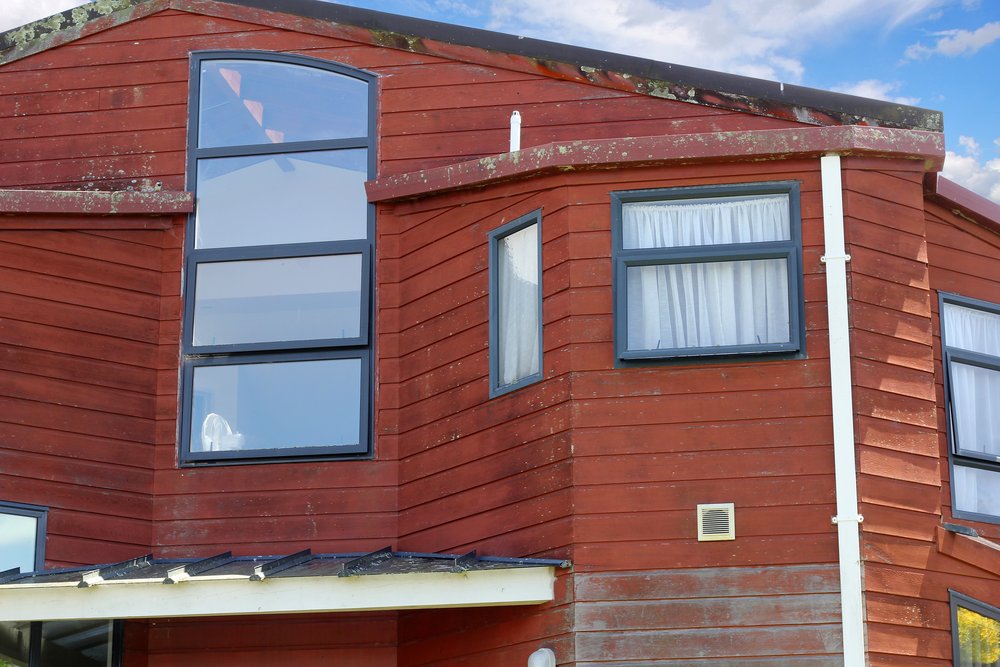
As the cooler, damper months roll in, many homeowners take one look at their Cedar cladding and decide to put off maintenance until summer. It is a natural reaction. We are conditioned to believe that outdoor home maintenance – especially involving coatings – is strictly a warm-weather task.
The reality is quite different. When we look at actual climate data, the perception of winter as a non-stop deluge is quickly debunked. On average, a typical summer month might see about 8 fully wet days, while a winter month averages around 15. While that is roughly double, it still leaves at least 15 perfectly dry, workable days every single month.
Waiting for the “perfect” season to protect your Cedar often does more harm than good. In this article, we dismantle the four most common myths surrounding Cedar care and wet weather, giving you the facts you need to protect your investment year-round.
Myth 1: “Cedar oil behaves just like paint, so it won’t dry or cure in the cold.”
The Preconception:
Homeowners often treat paint and wood oil as identical products. Because acrylic paints and film-forming stains require a strict, warm temperature window to dry and cure properly, people assume Cedar oil suffers from the same limitations in winter.
The Facts:
Paint and oil are fundamentally different chemical formulations, and they protect wood in entirely different ways:
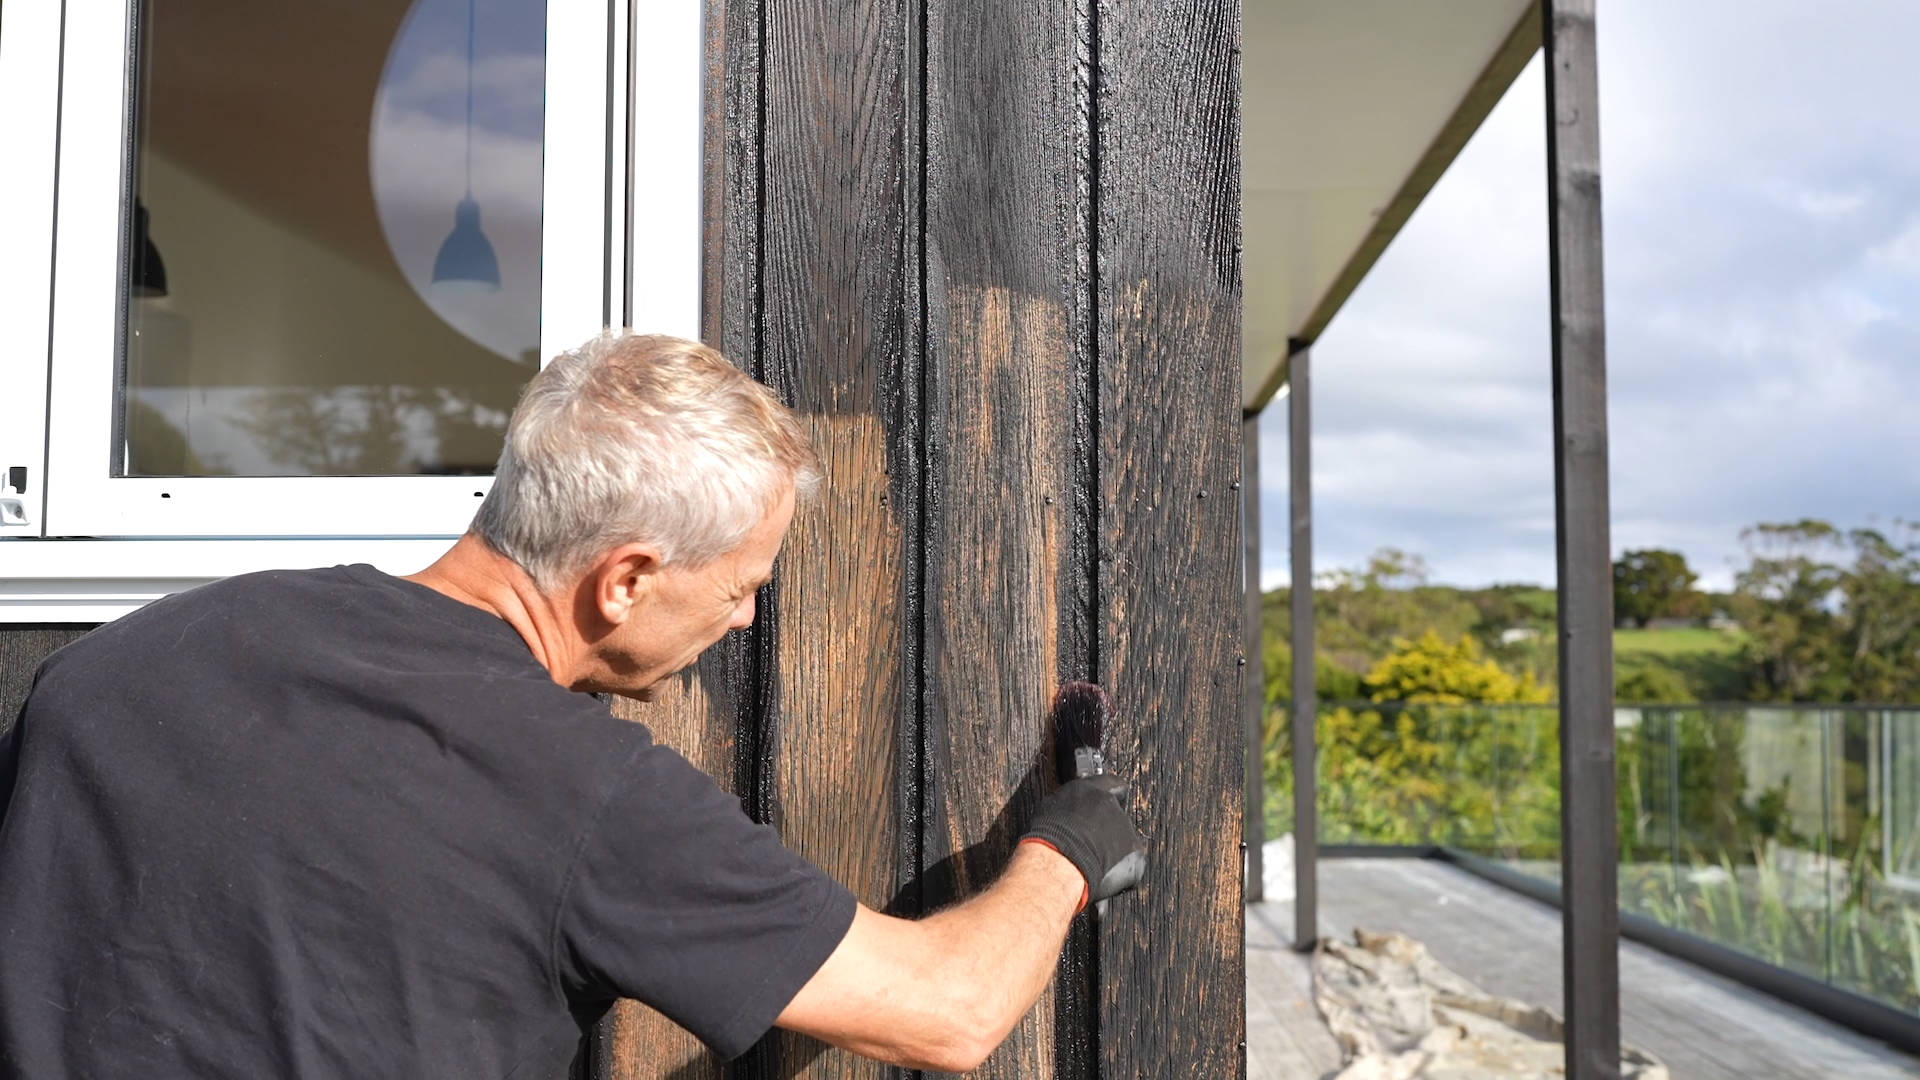
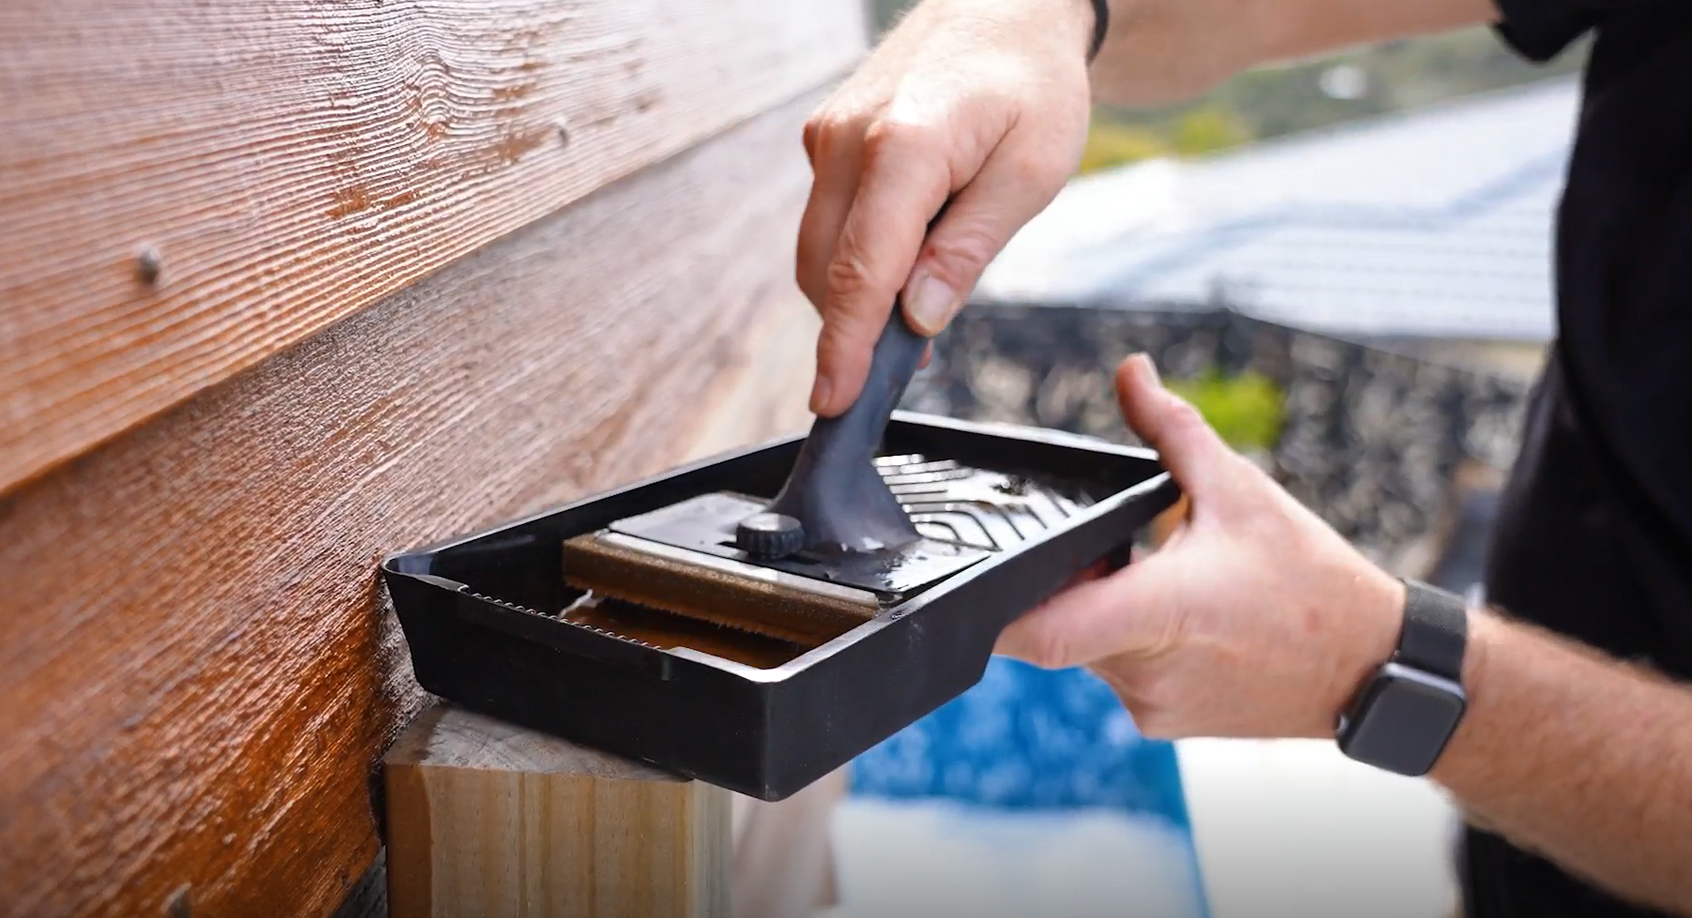
- Paint Cures, Oil Absorbs: Paint must dry on the surface to form a solid, protective film. If it is too cold or damp, this curing process fails, leading to peeling, cracking, or poor adhesion. Premium Cedar oils (such as Wood-X) do not “cure” or form a surface film at all. Instead, they penetrate deep into the cellular structure of the timber.
- Wider Temperature Tolerances: Because oil relies on absorption rather than evaporation and chemical curing, it is incredibly forgiving. While oil absorption does slow down slightly in cold temperatures, the final appearance and protective qualities of the finish remain completely unaffected by the lower temperatures.
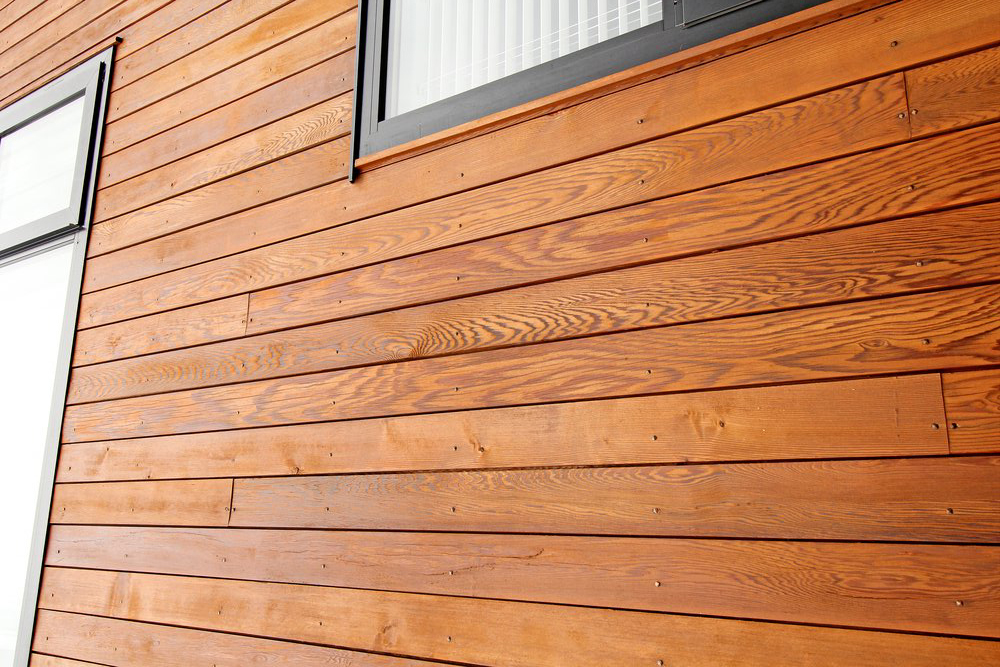
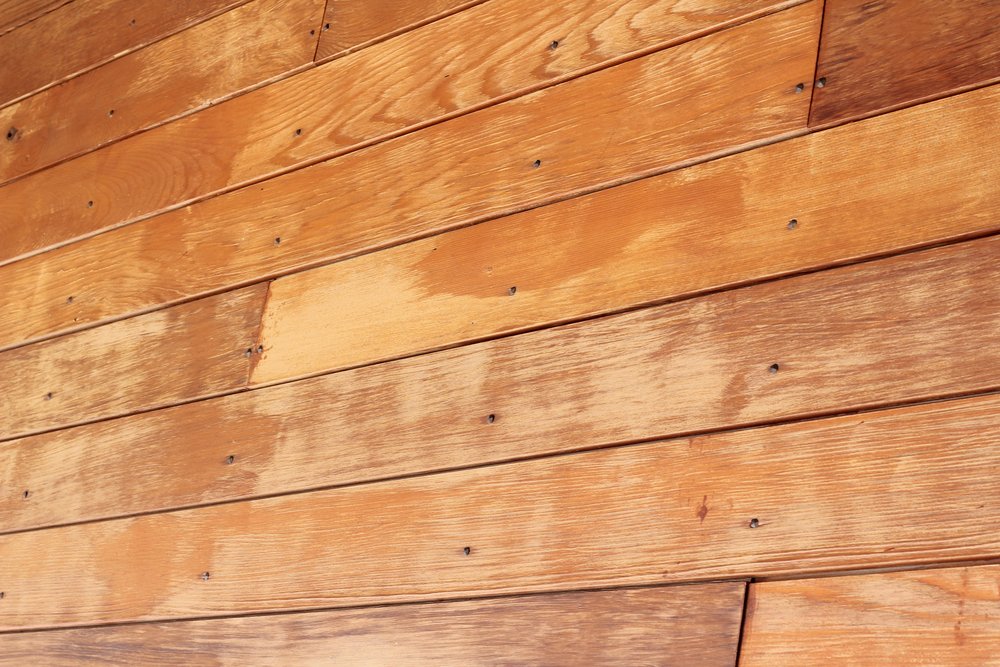
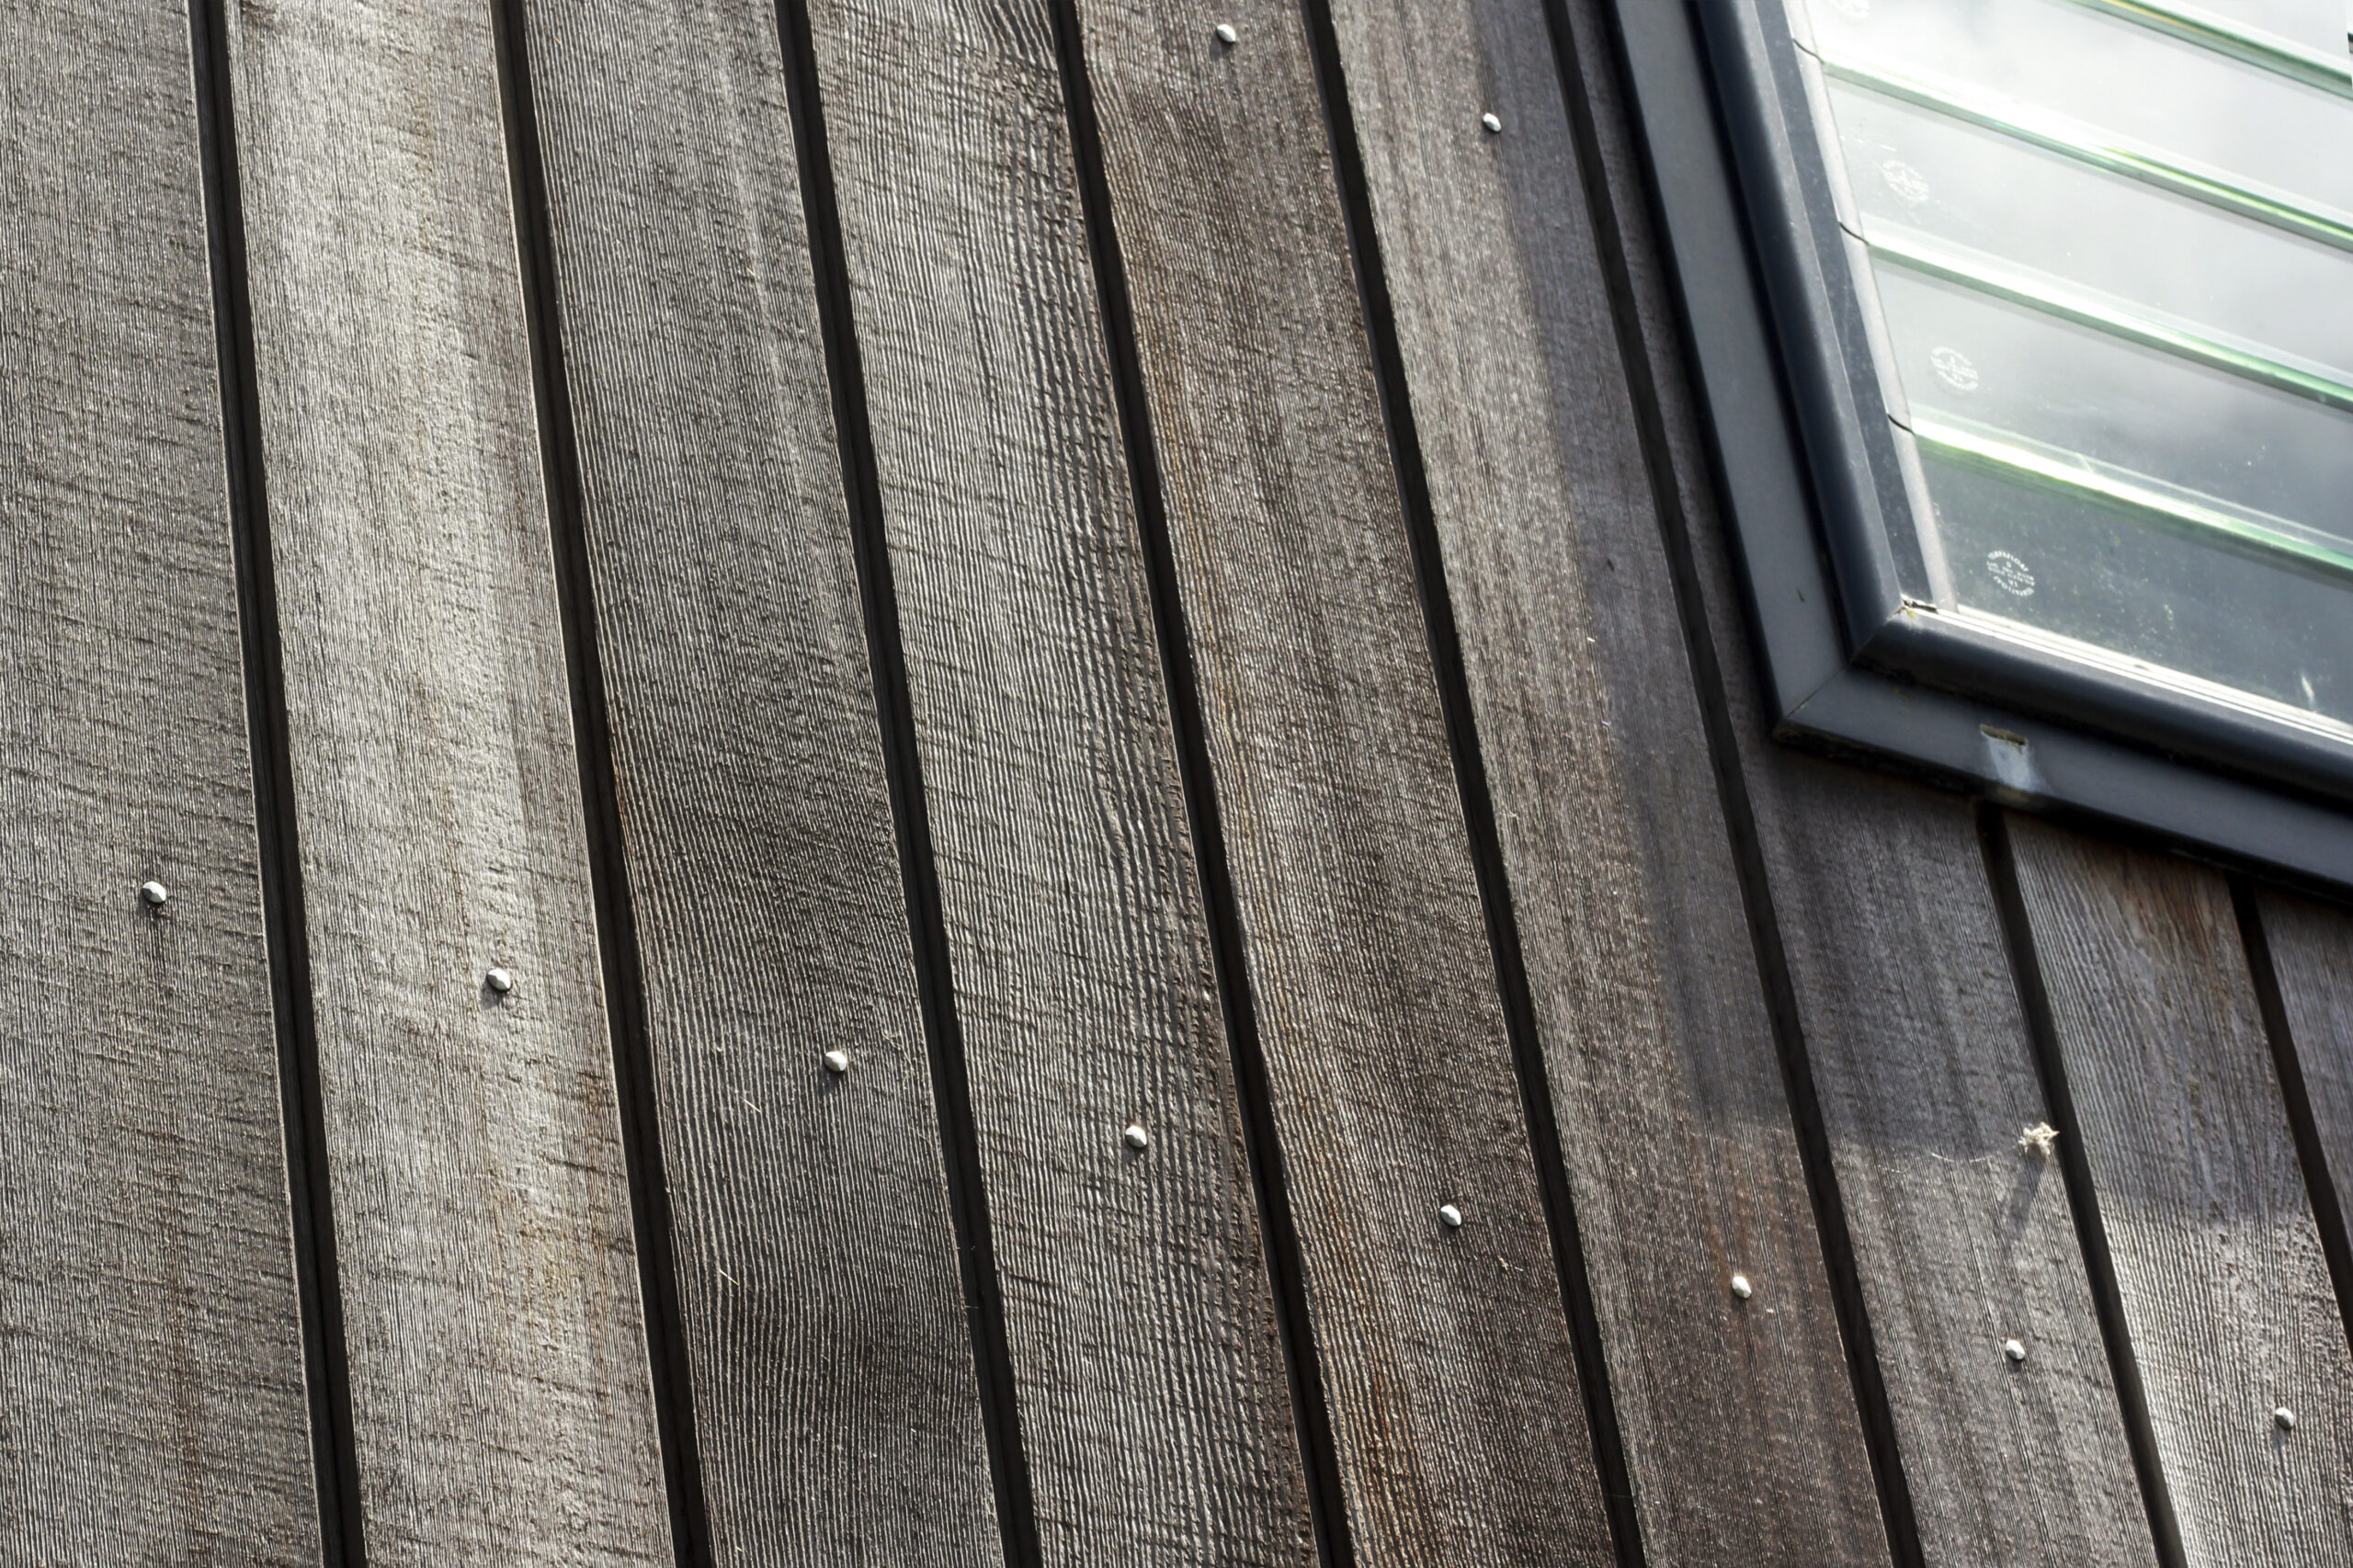
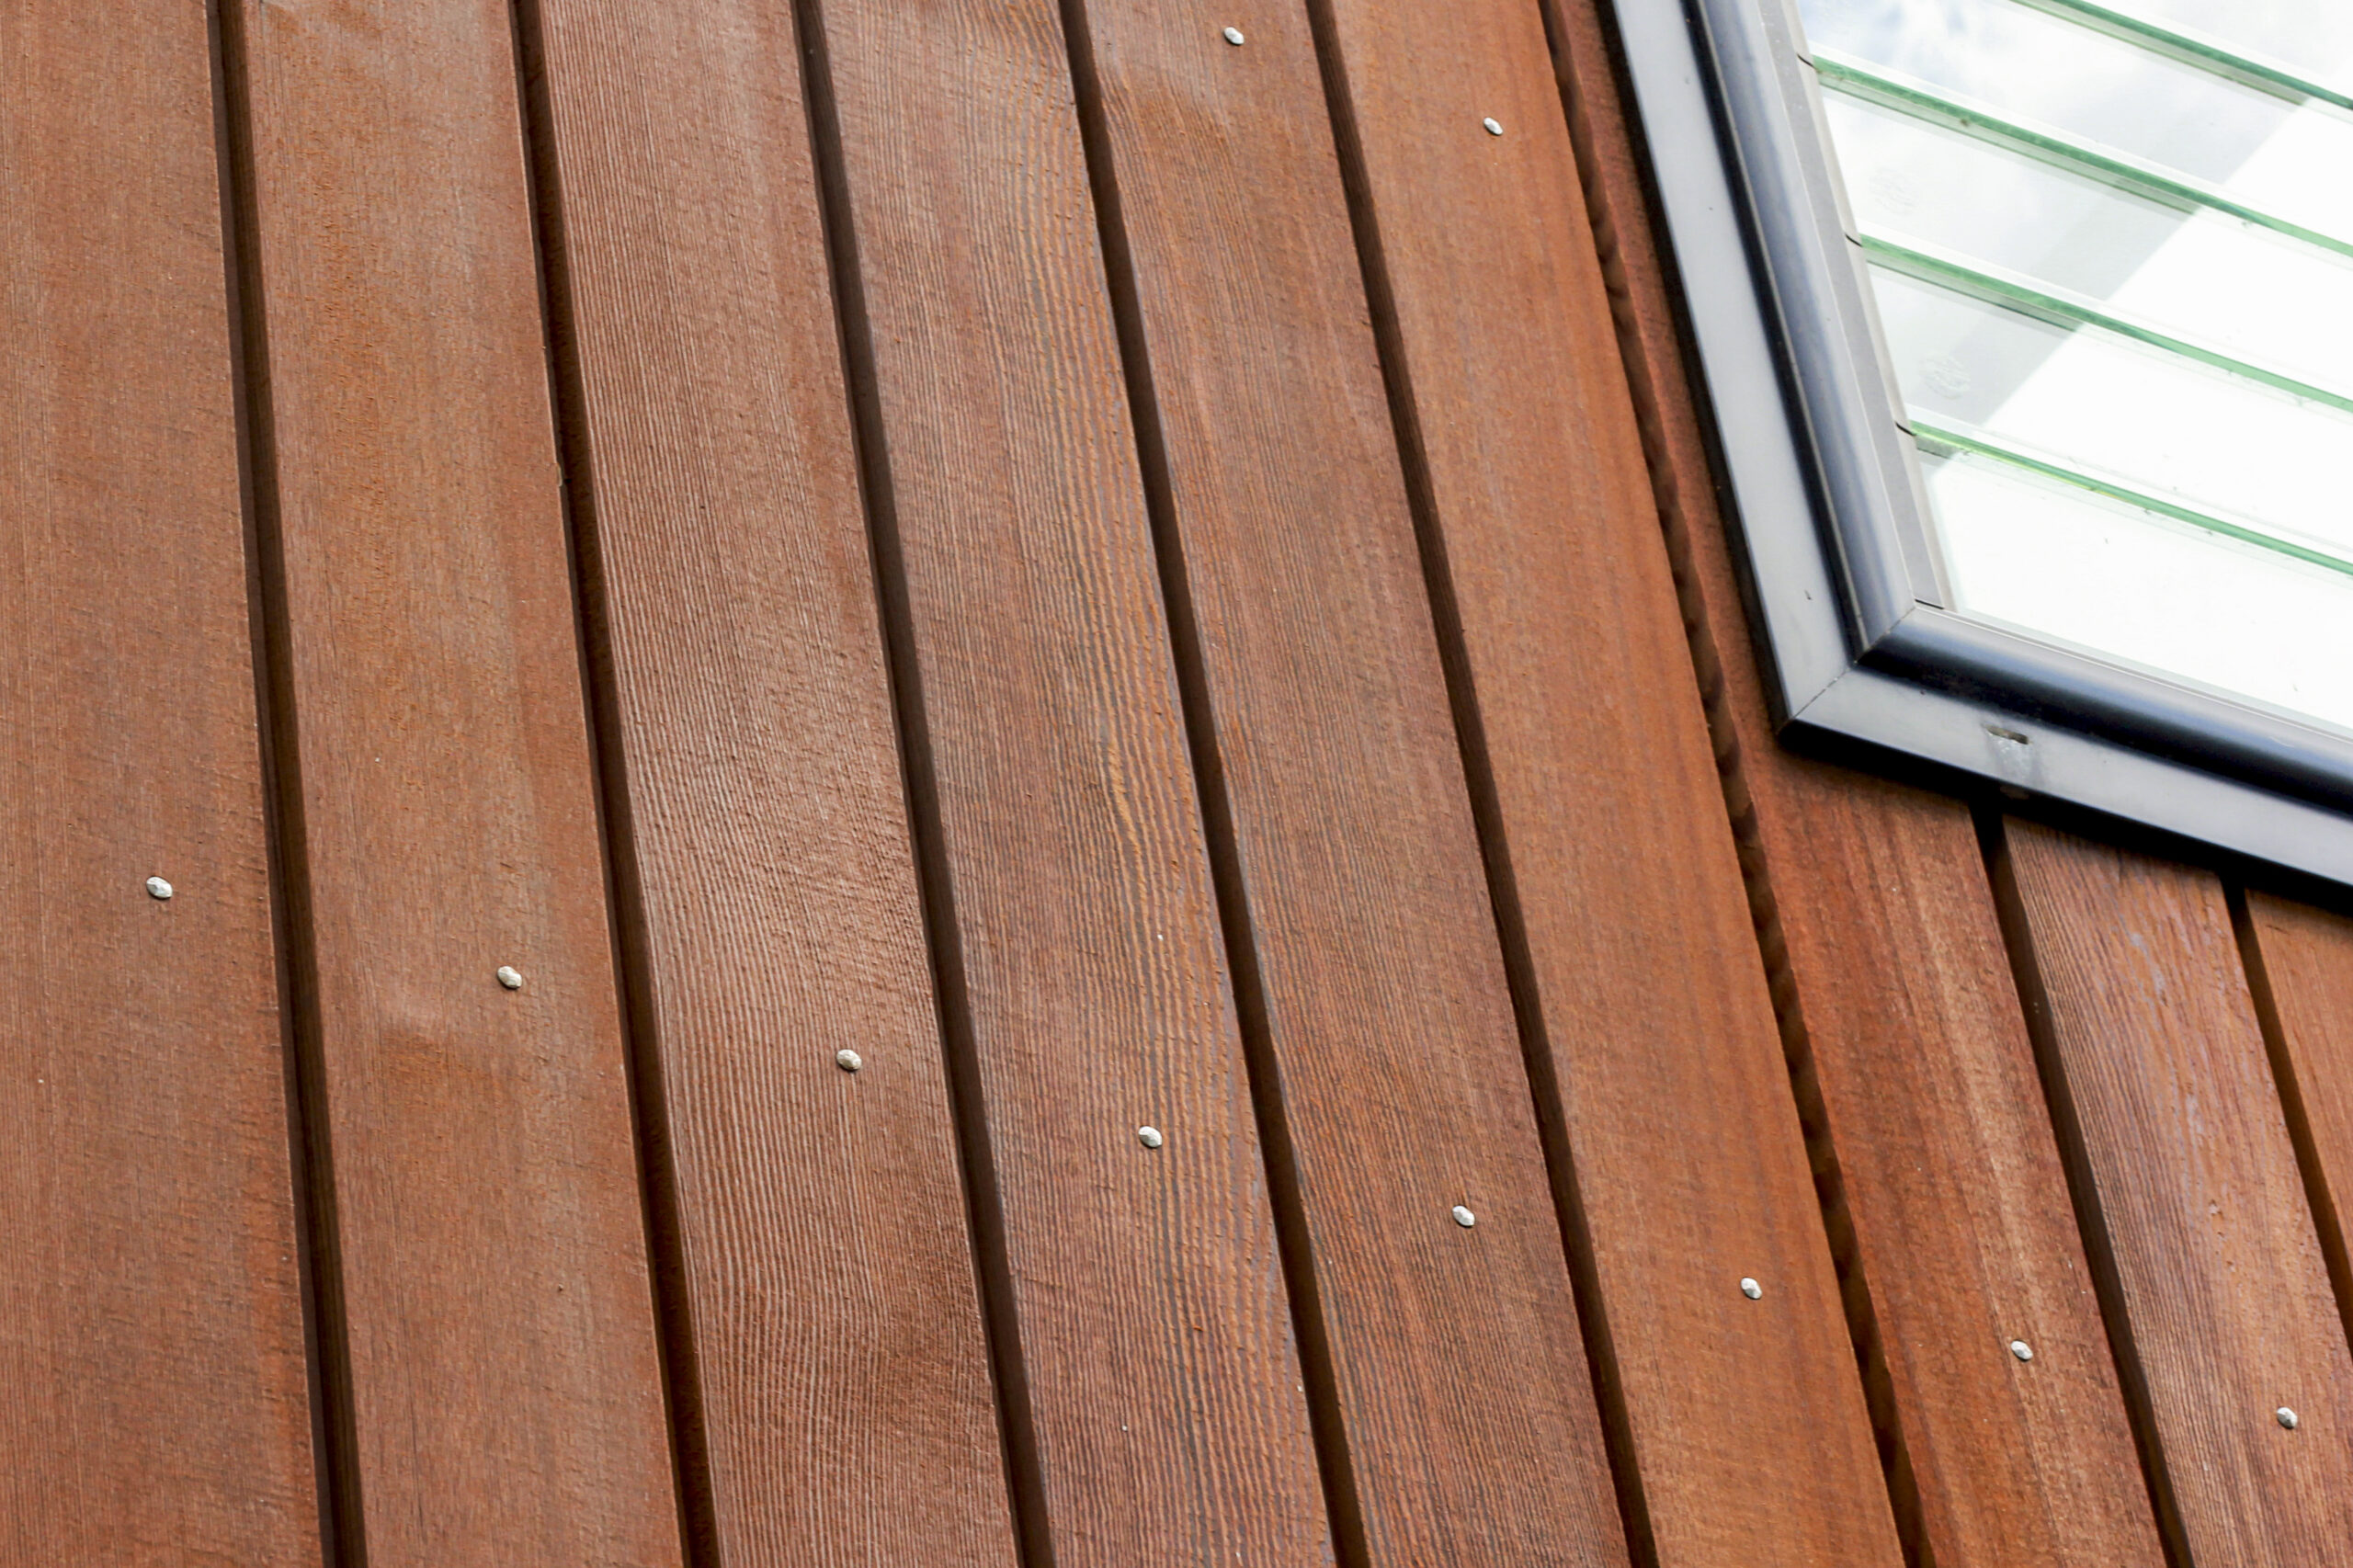
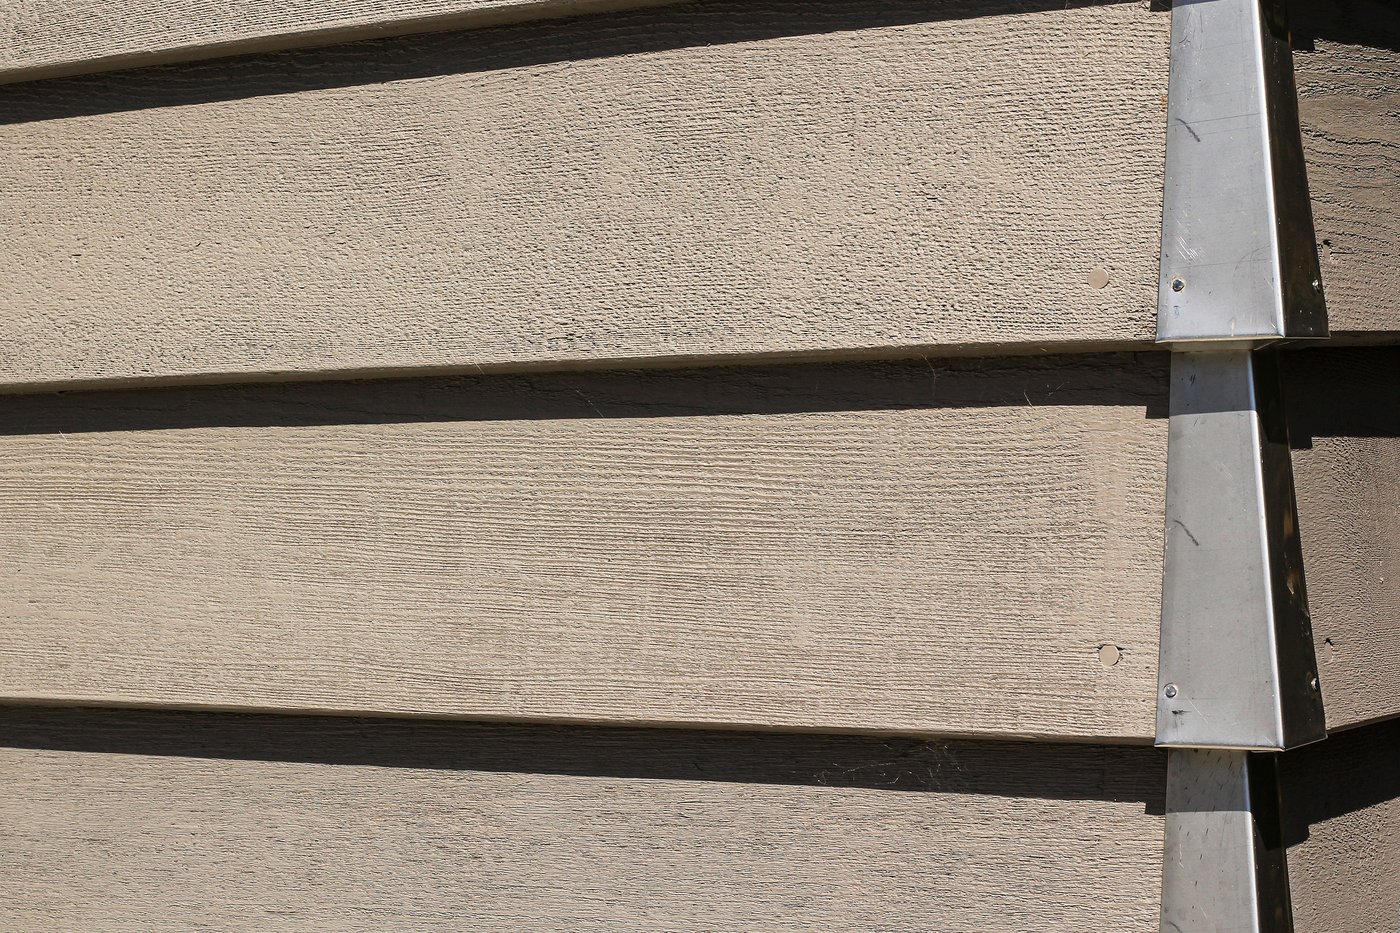
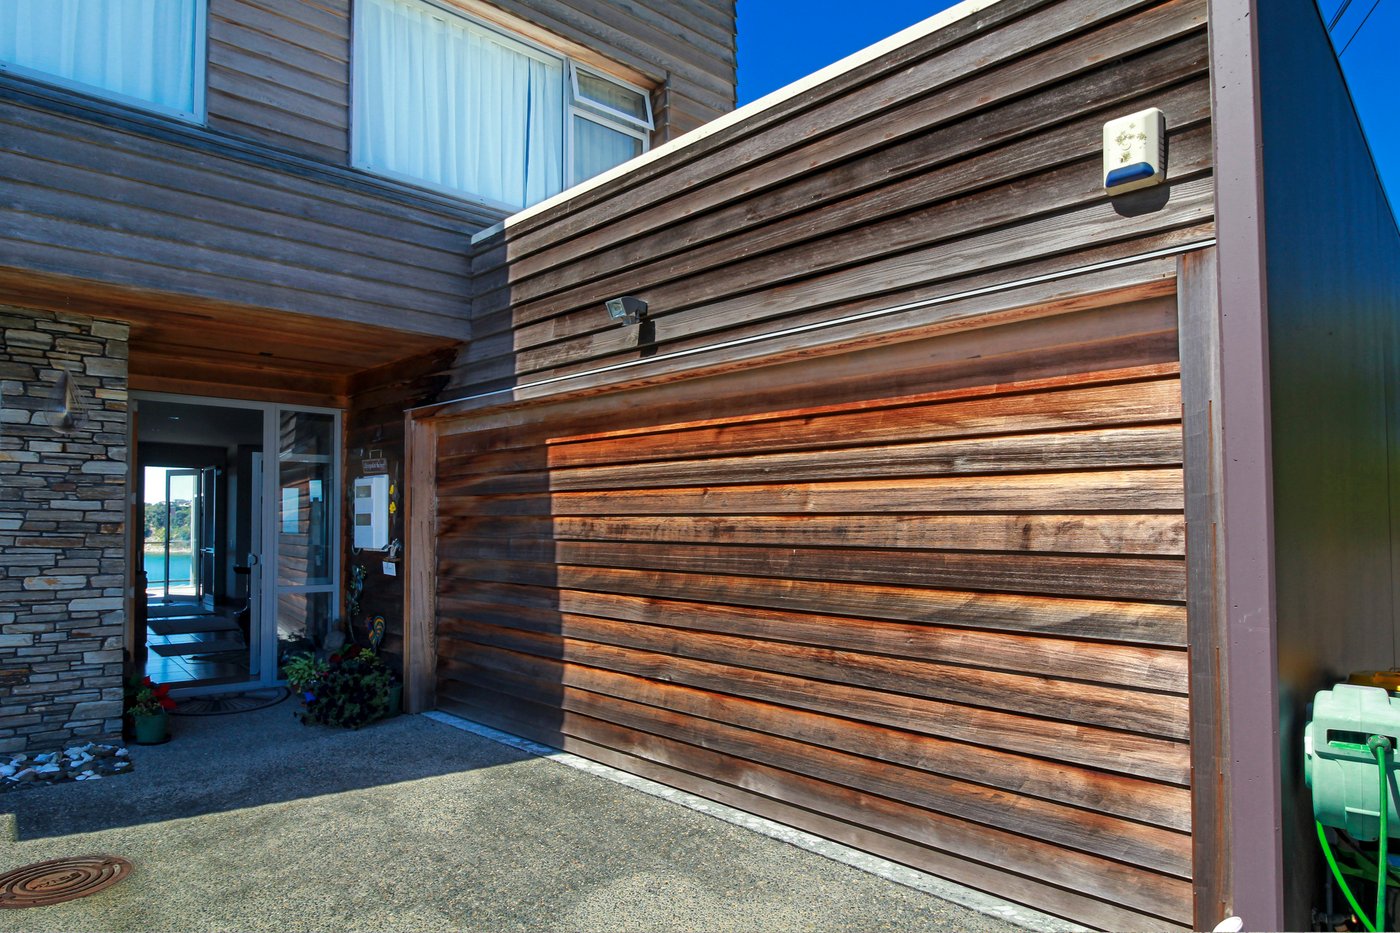
- Timber Thirst Dictates the Speed: The age and condition of your Cedar play a big role in how fast the oil is taken up. If you are oiling highly weathered Cedar, the dry, porous wood is so thirsty that it absorbs the oil almost instantly, drying to the touch almost immediately even on a brisk winter day. Newer cladding takes slightly longer to absorb, but the oil still makes its way safely into the timber without needing heat to set.
Myth 2: “You can’t coat Cedar if rain is forecasted.”
The Preconception:
There is a widespread belief that the mere threat of a shower means Cedar maintenance must be ground to a halt. Homeowners worry that a sudden downpour will wash the product away or trap moisture under the finish.
The Facts:
While we absolutely do not apply oil during heavy, persistent rain, our teams easily navigate sporadic winter weather through smart planning and technical tools:
- Cedar Dries Exceptionally Fast: Cedar is a lightweight, highly porous timber. Unlike dense hardwoods, as soon as a rain shower passes and a bit of wind or sun hits the boards, they dry out incredibly quickly.
- The Hour Window: Once applied, oil only needs about an hour of dry weather to soak safely into the wood fibers. Once it has absorbed, even direct rainfall shortly afterward will not ruin the protective application or damage the cladding.
- Micro-Climate Scheduling: Our teams don’t just look at the sky; they look at the wind direction and the layout of your home. If there are sporadic showers, we adapt by working on the sheltered sides of the house, letting the weather blow past while keeping the job moving along.
Myth 3: “If you wash my house but wait a few days to oil it, the Cedar will get dirty again.”
The Preconception:
The standard restoration process requires washing the Cedar first to clean it, followed by applying the oil. Homeowners are often nervous if there is a gap of a few days or even up to two weeks between these two stages, fearing that dust or light rain in the interim will ruin the final finish.
The Facts:
Managing workflows by separating the washing and oiling stages is a standard, highly effective practice – especially in winter. It allows us to keep jobs moving along and make the best use of dry weather windows.
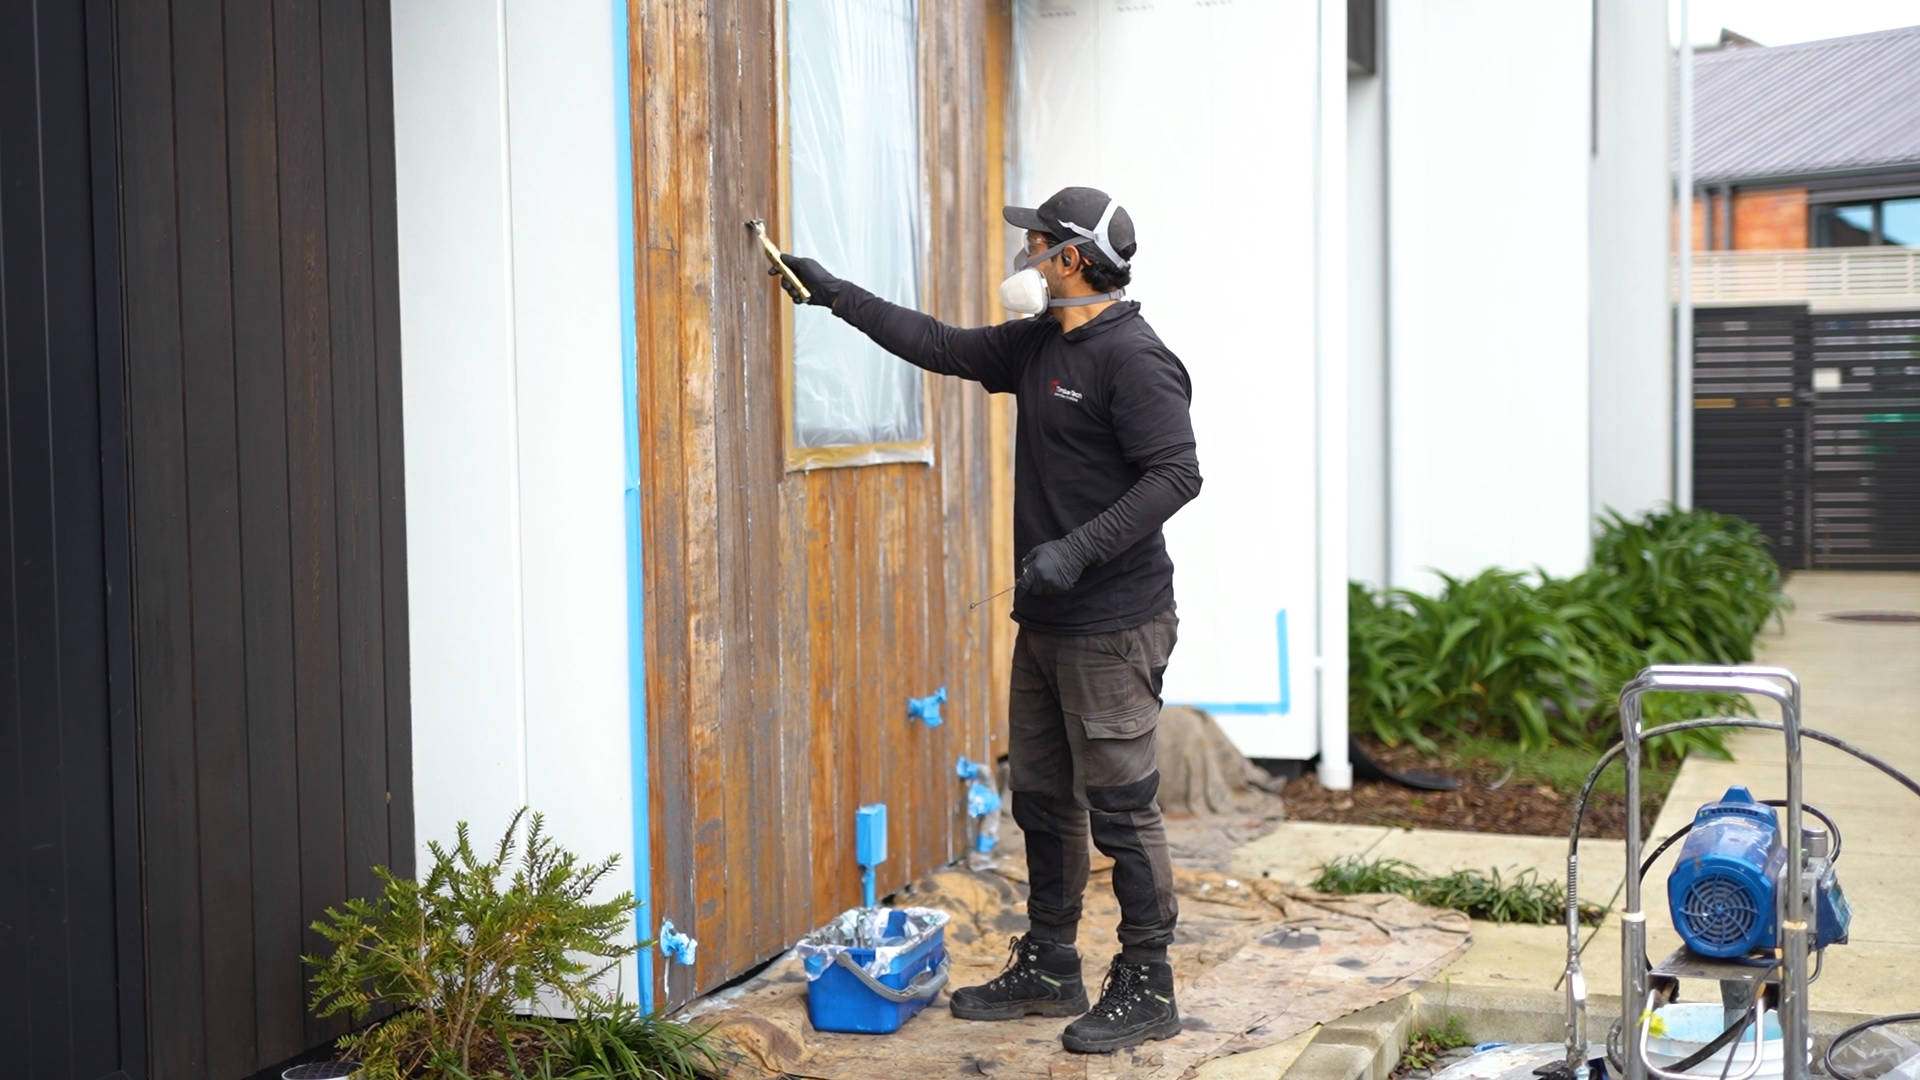
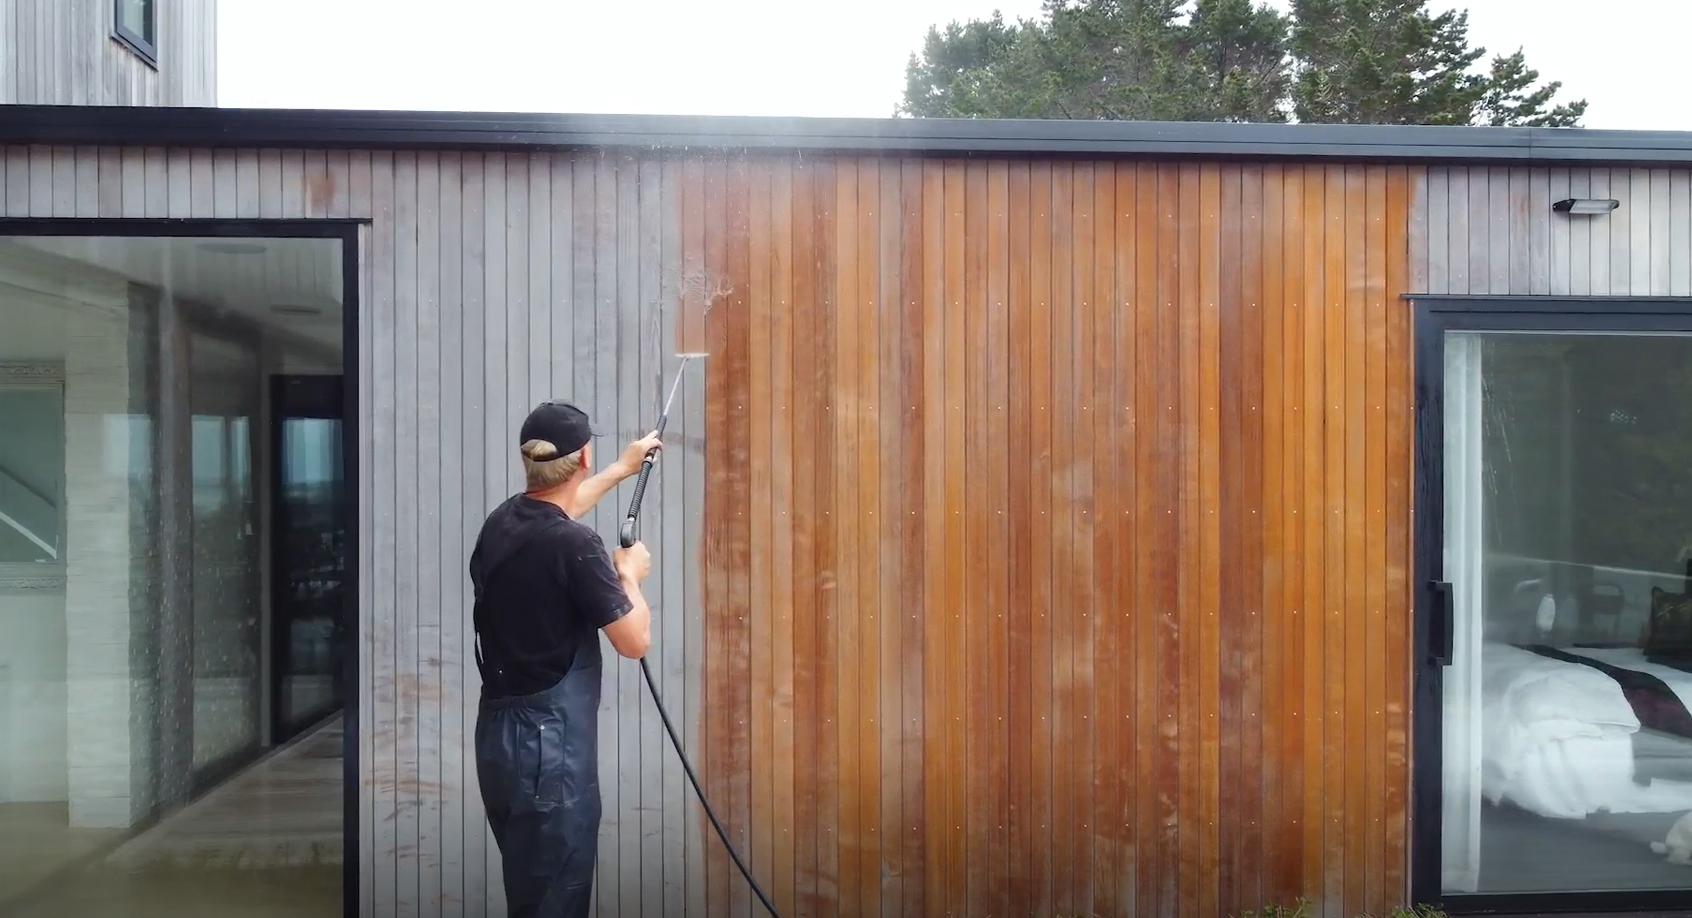
- Targeted Deep Cleaning: The initial wash we perform is not a superficial rinse. It is designed to kill and extract deeply ingrained mold, fungi, organic spores, and stubborn environmental grime. Once these elements are chemically treated and washed away, they do not return overnight.
- Surface Dust is Easily Managed: If a week passes between the wash and the coat, some light environmental surface dust might settle on the timber. This is entirely normal. Before we begin oiling, our team performs a quick, dry brush-down of the surface. This instantly removes any loose dust, leaving a perfectly clean slate for the oil.
Myth 4: “My Cedar will warp if there is a delay between washing and coating.”
The Preconception:
A highly specific concern that occasionally crops up is the fear that leaving washed, un-oiled Cedar exposed to winter elements for a week or two will cause the timber boards to cup, twist, or warp.
The Facts:
While timber movement is a real physical process, it does not happen overnight, nor does it happen over the course of a couple of weeks.
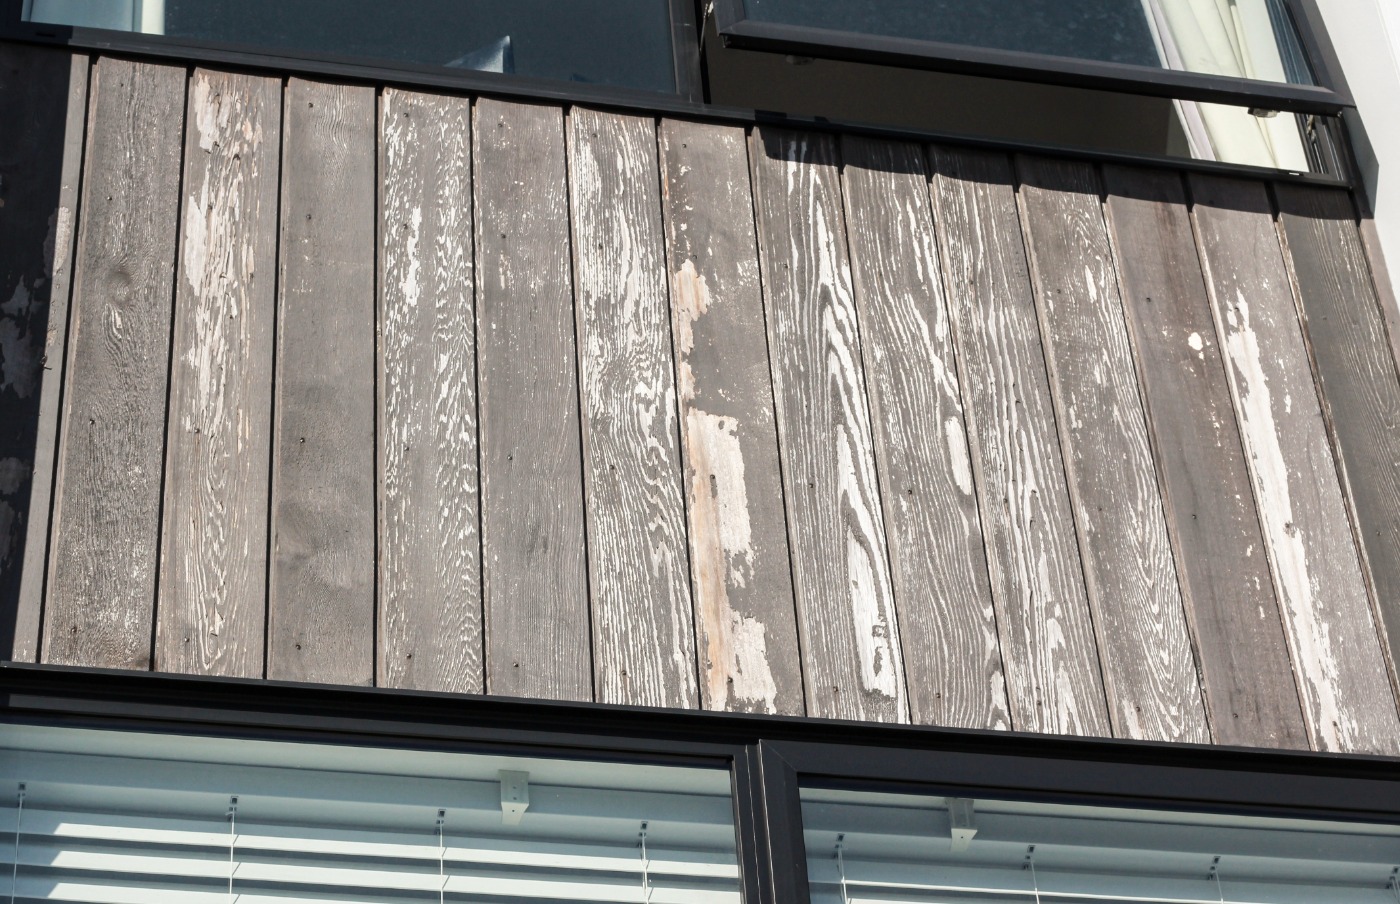
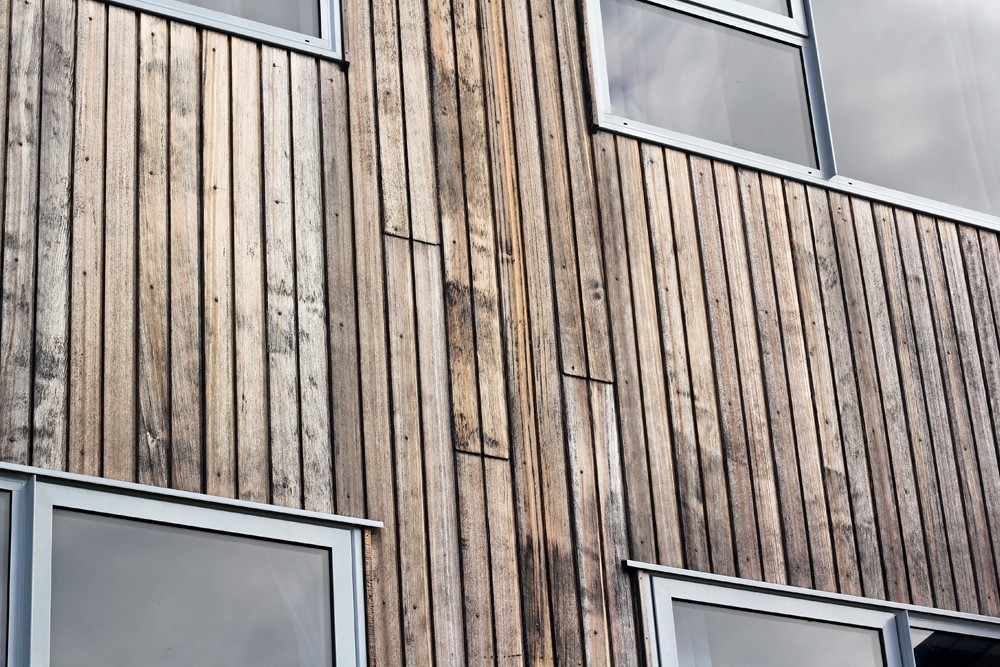
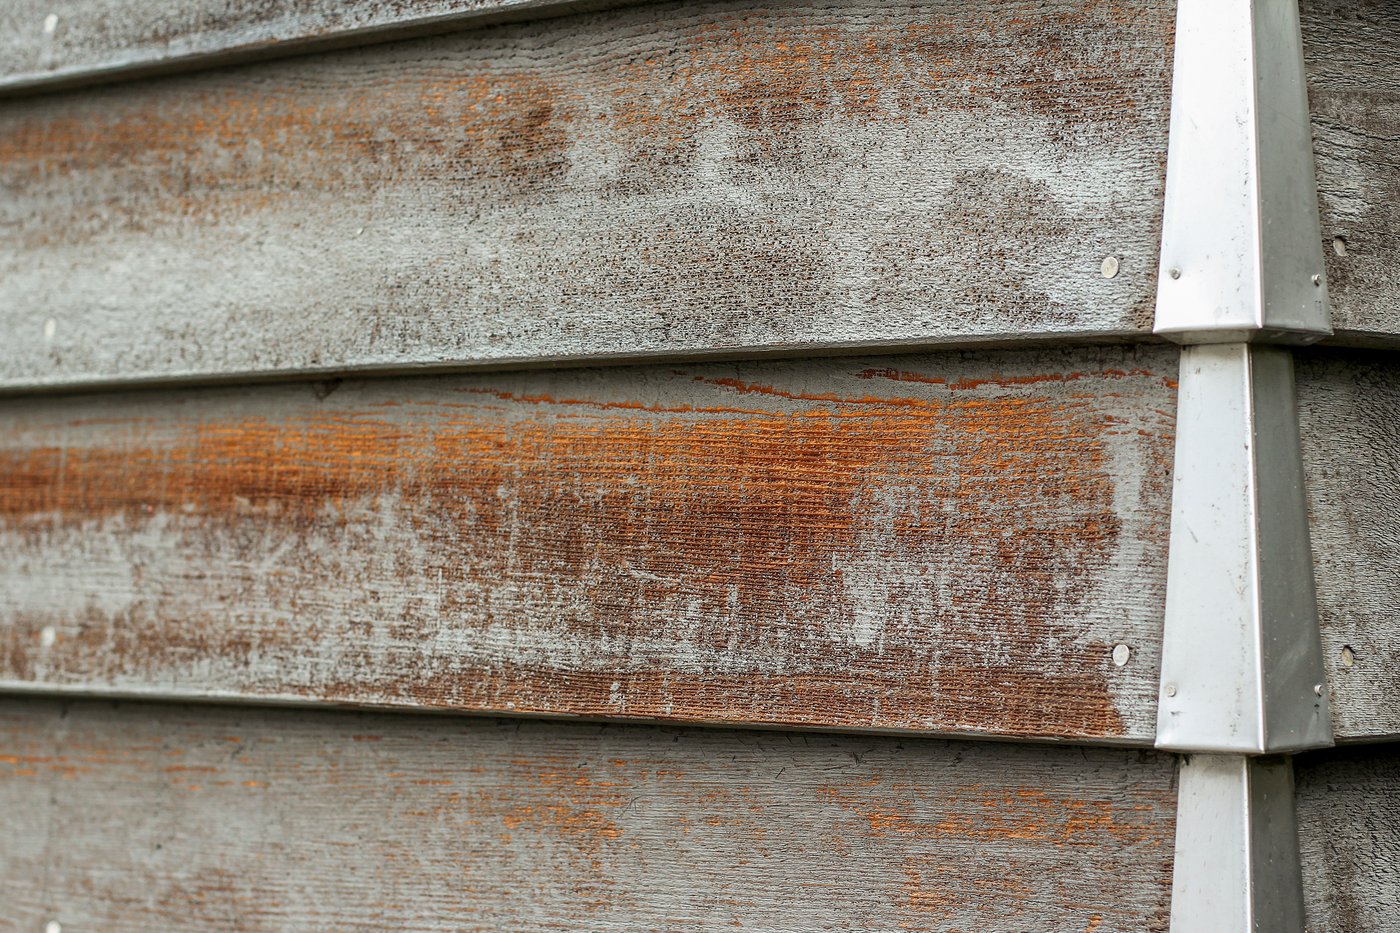
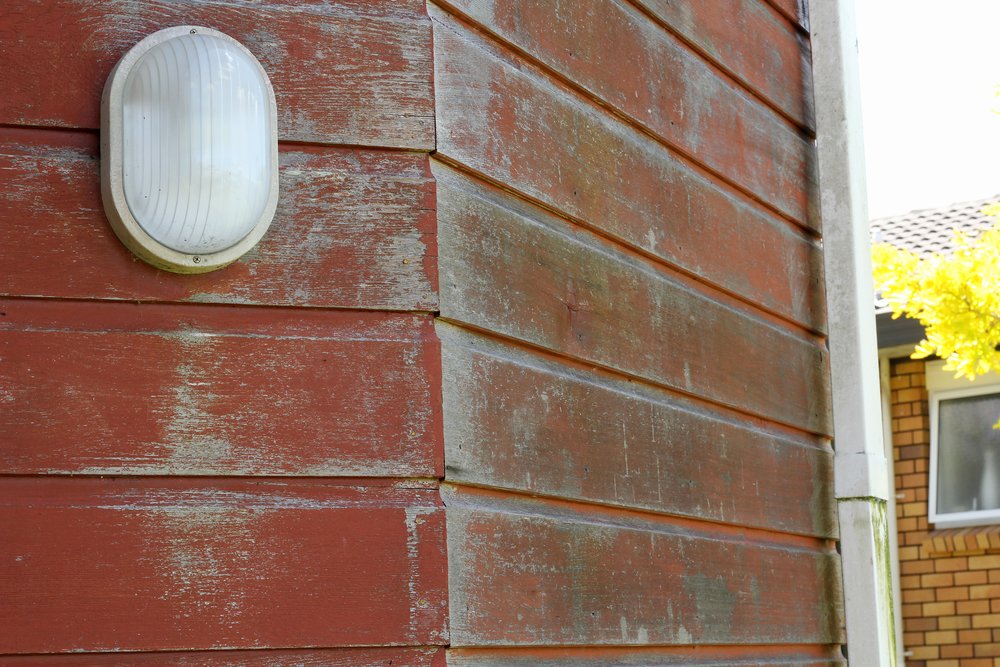
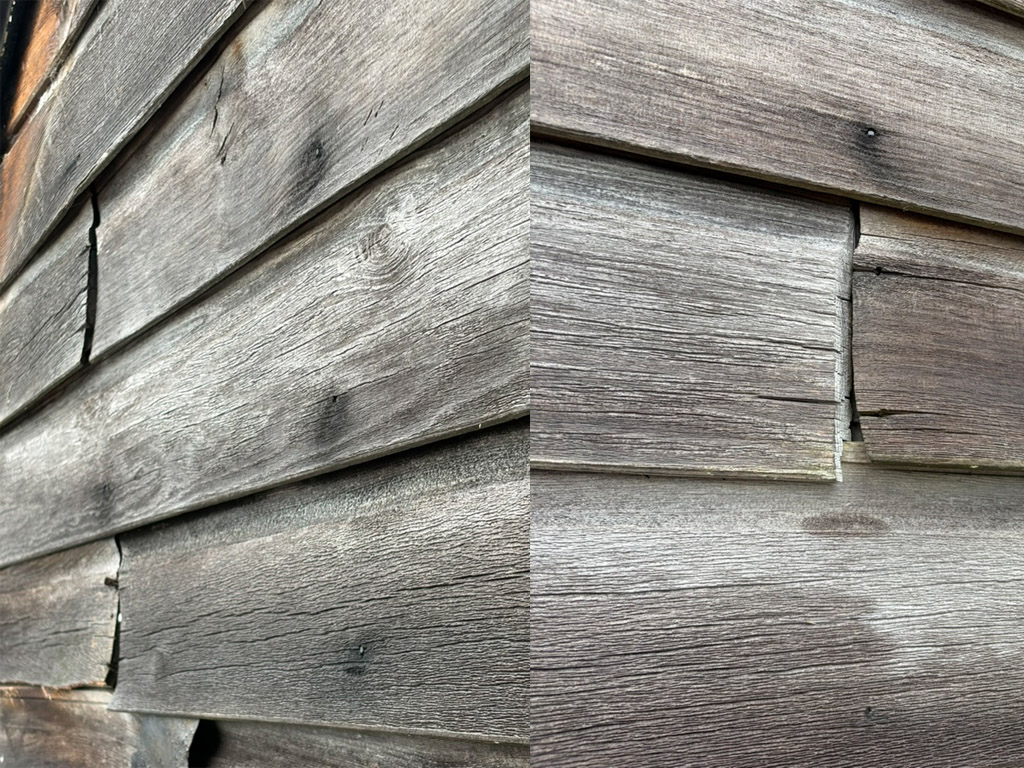
- A Long-Term Process: Cedar warping is the result of years – often a decade or more – of cumulative neglect. It occurs when entirely unprotected timber is repeatedly saturated by winter rain and then baked dry by intense summer sun. This constant, extreme cycle of expansion and contraction over 10 to 15 years eventually breaks down the cellular structure of the wood, leading to cupping and warping.
- Two Weeks is Harmless: A temporary delay of a few days or a couple of weeks between washing and coating has absolutely zero impact on the physical stability of the wood. The timber will not warp, degrade, or shift in that brief window. It is a completely safe operational timeframe.
Conclusion: The Best Time to Protect Your Cedar is Now
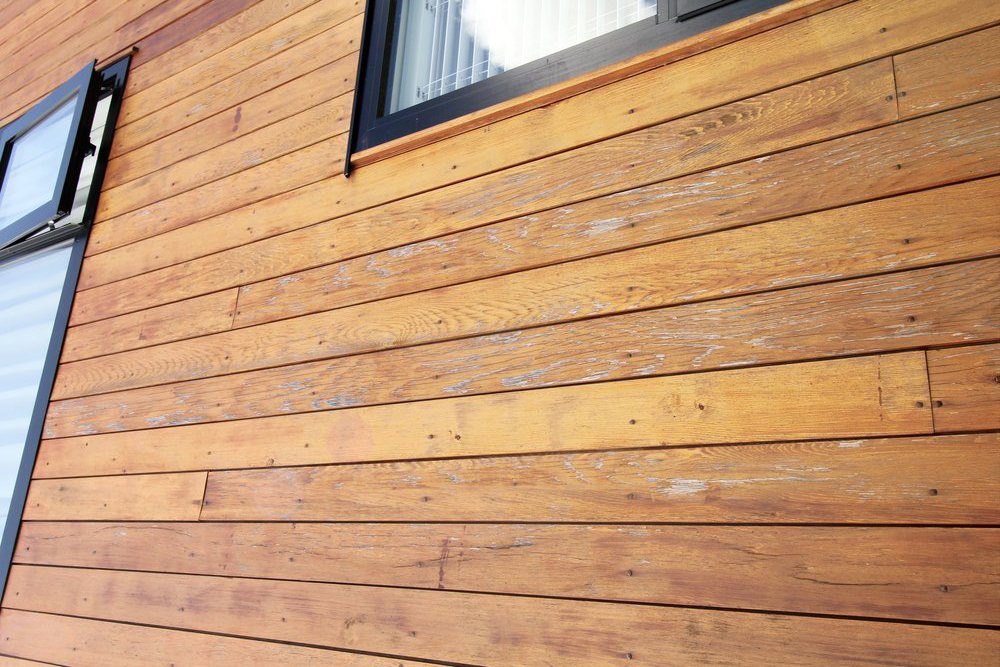
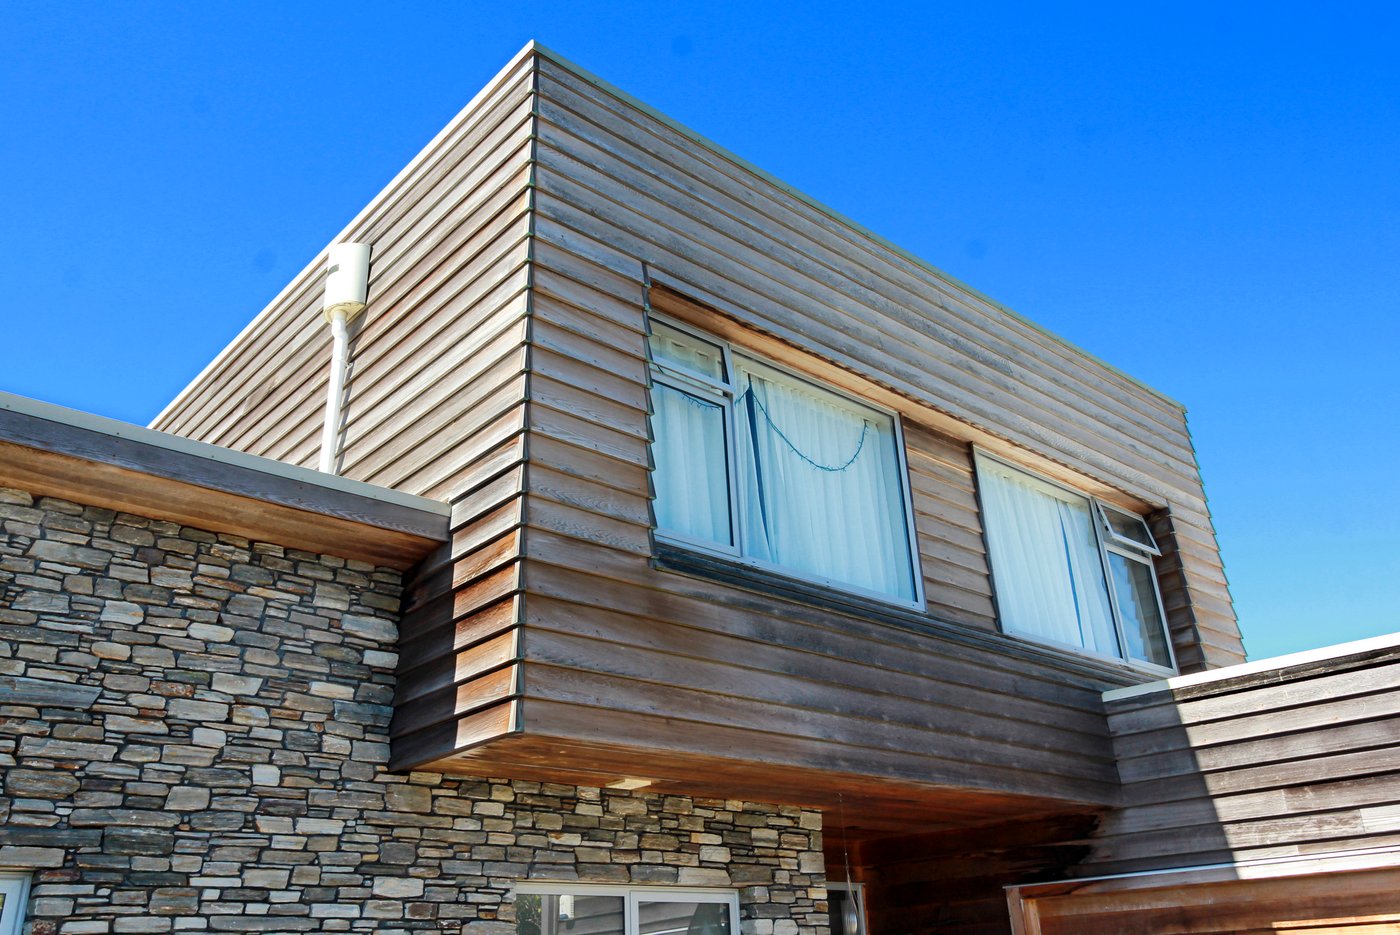
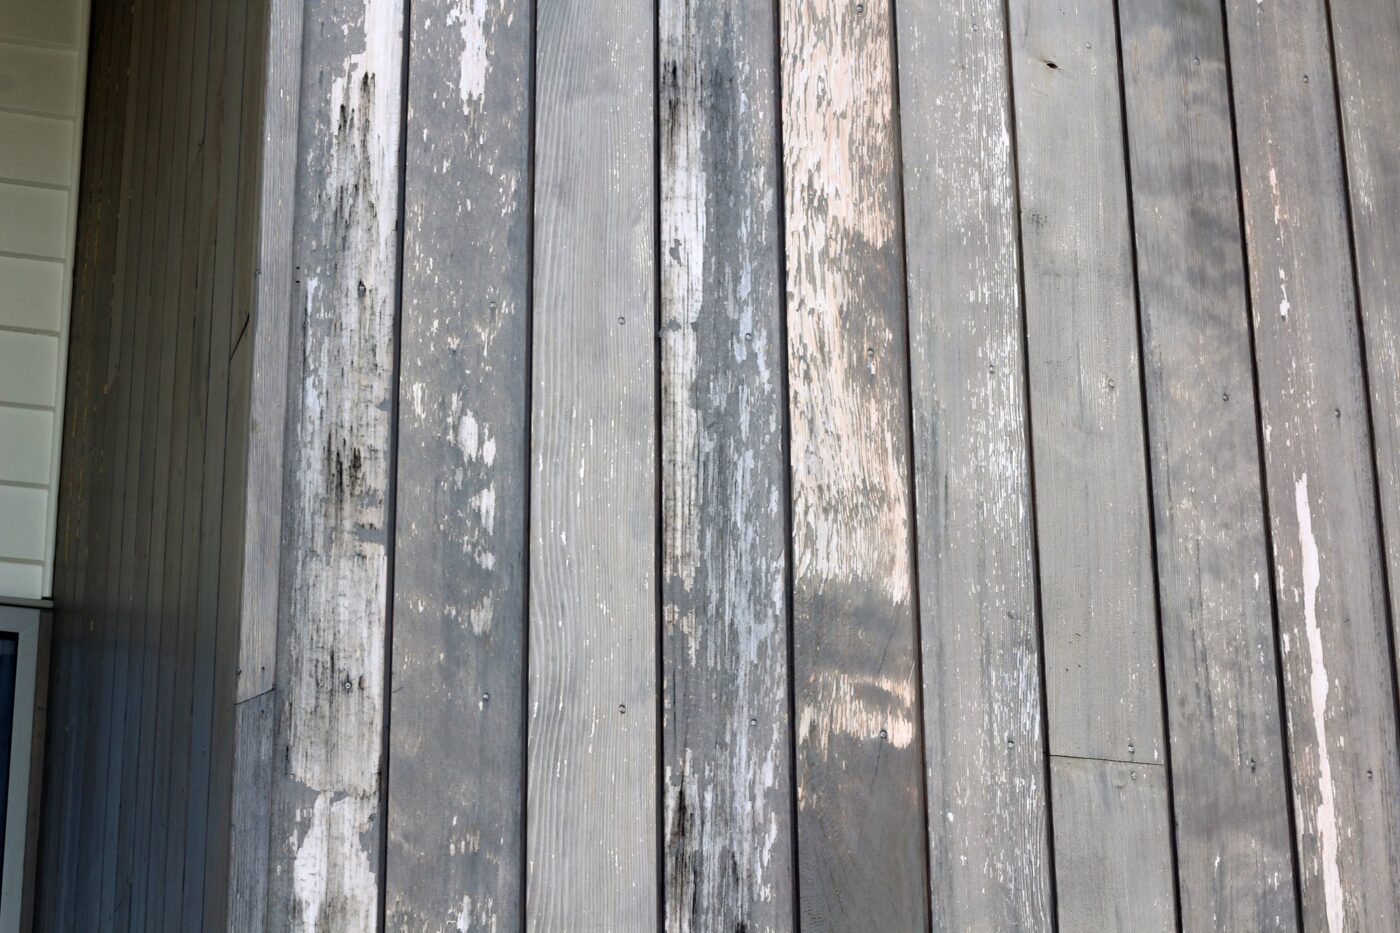
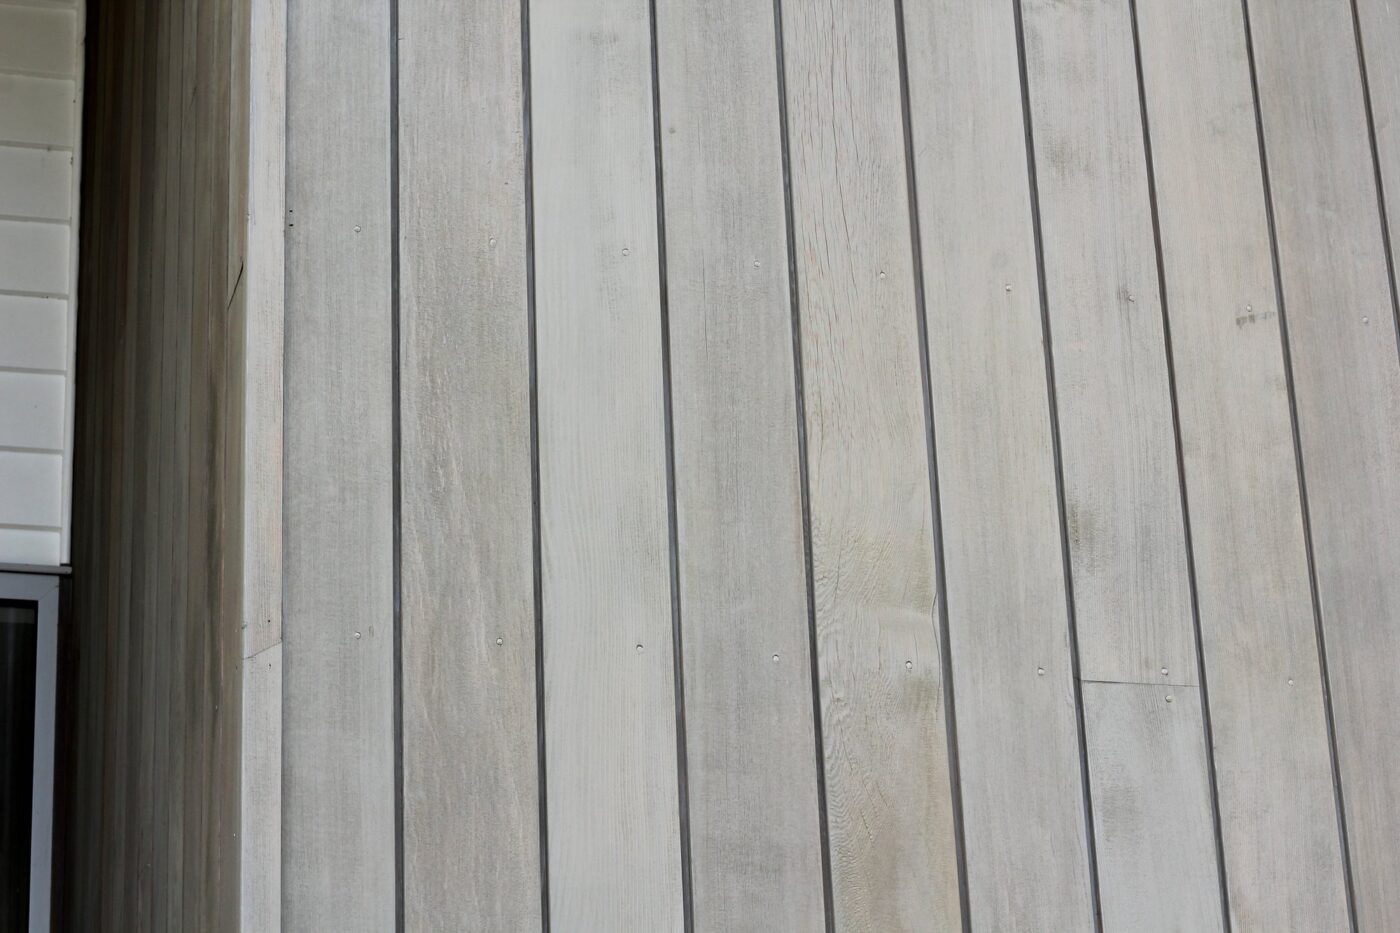
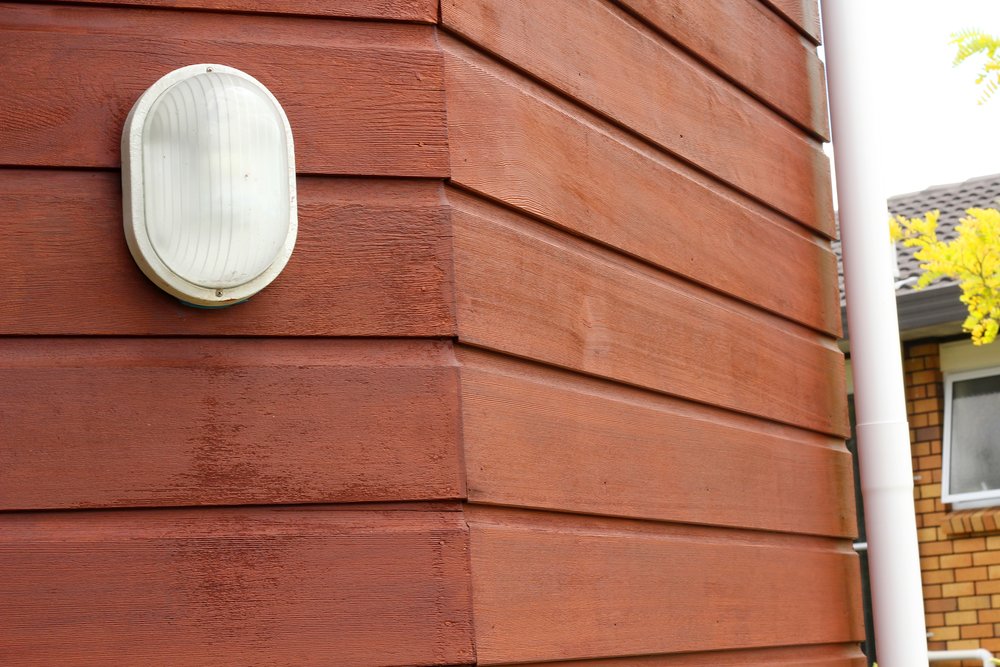
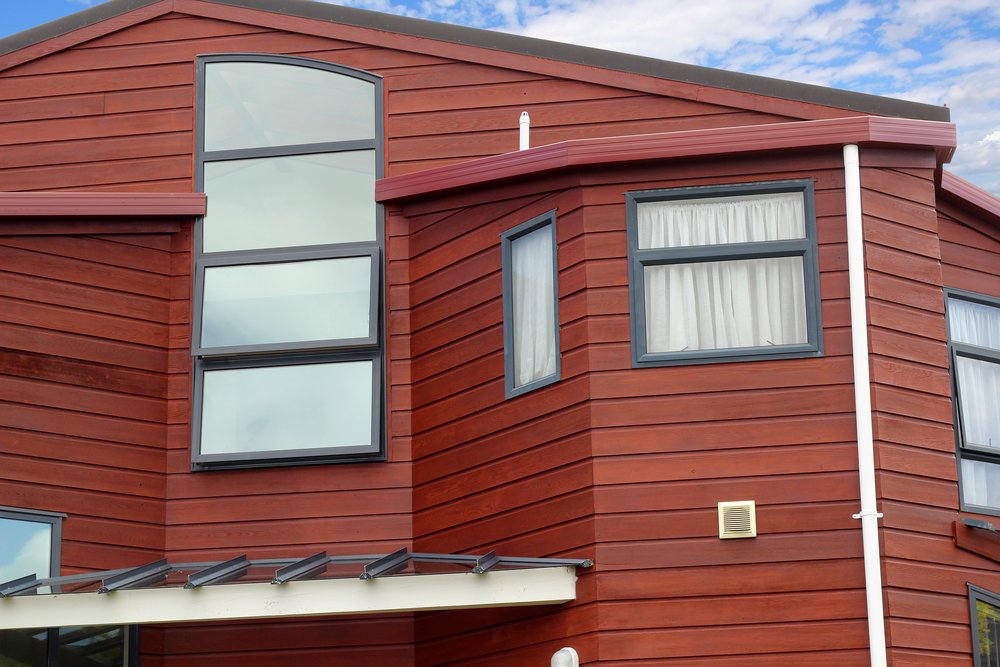
When it comes to Cedar maintenance, there is one golden rule: the best time to protect your timber is always right now. Waiting for the “perfect” summer season to address dry, fading, or silvering Cedar simply leaves your home exposed to harsh winter moisture for longer than necessary.
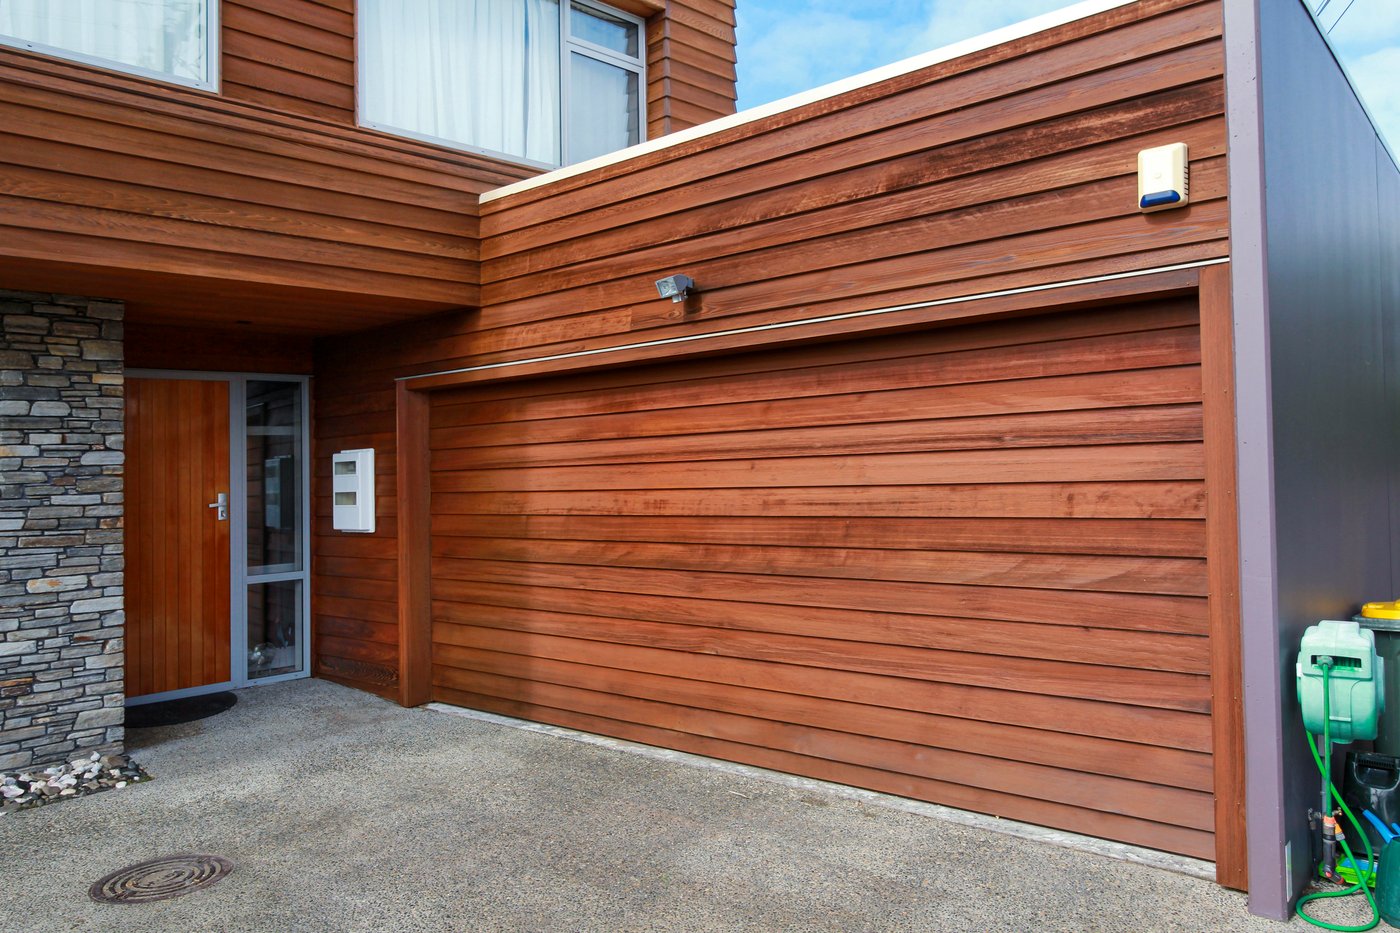
Our specialist teams work successfully all year round. Equipped with technical expertise, moisture meters, flexible scheduling, and high-performance penetrating oils like Wood-X, we know exactly how to safely restore and protect your Cedar in any season.
Don’t let seasonal myths leave your home unprotected!