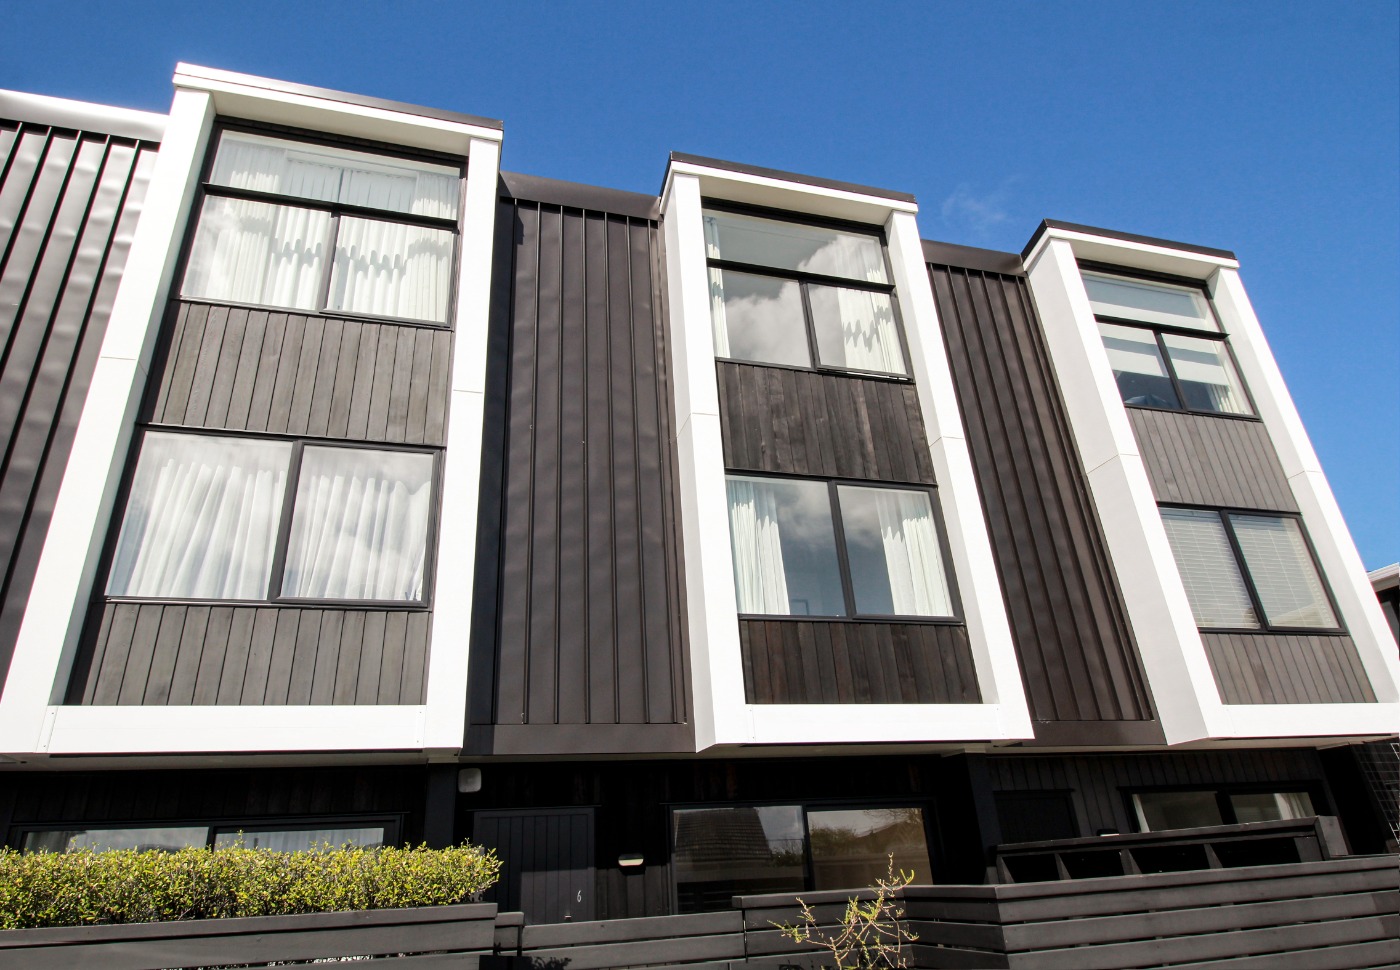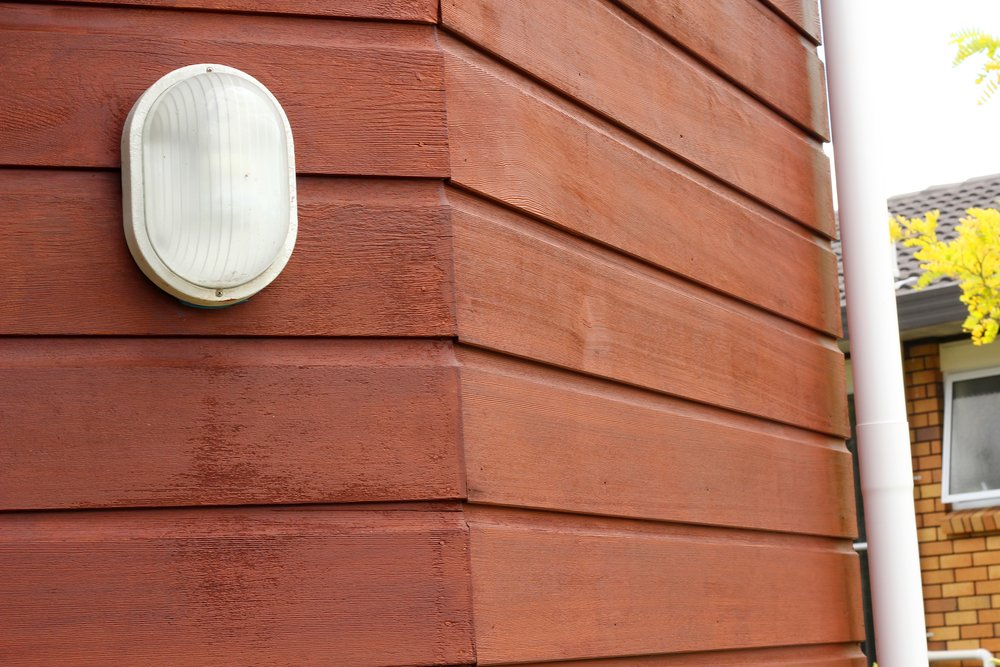


Cedar Maintenance Advice for Newly Built Homes

Cedar Maintenance Advice for Newly Built Homes

14 Jun 2023

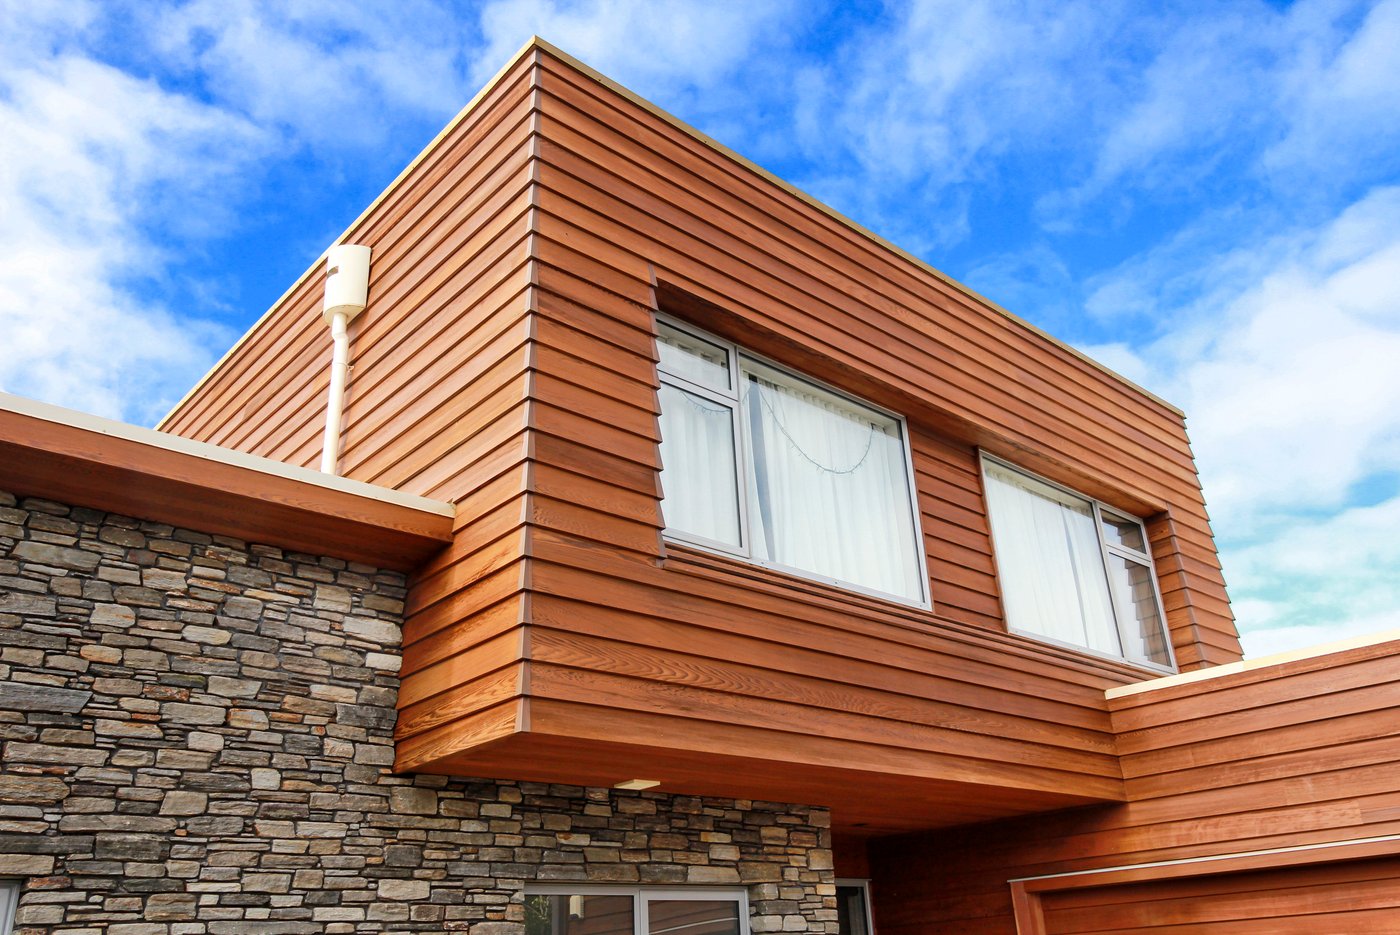
Congratulations on purchasing your newly built Cedar home! 

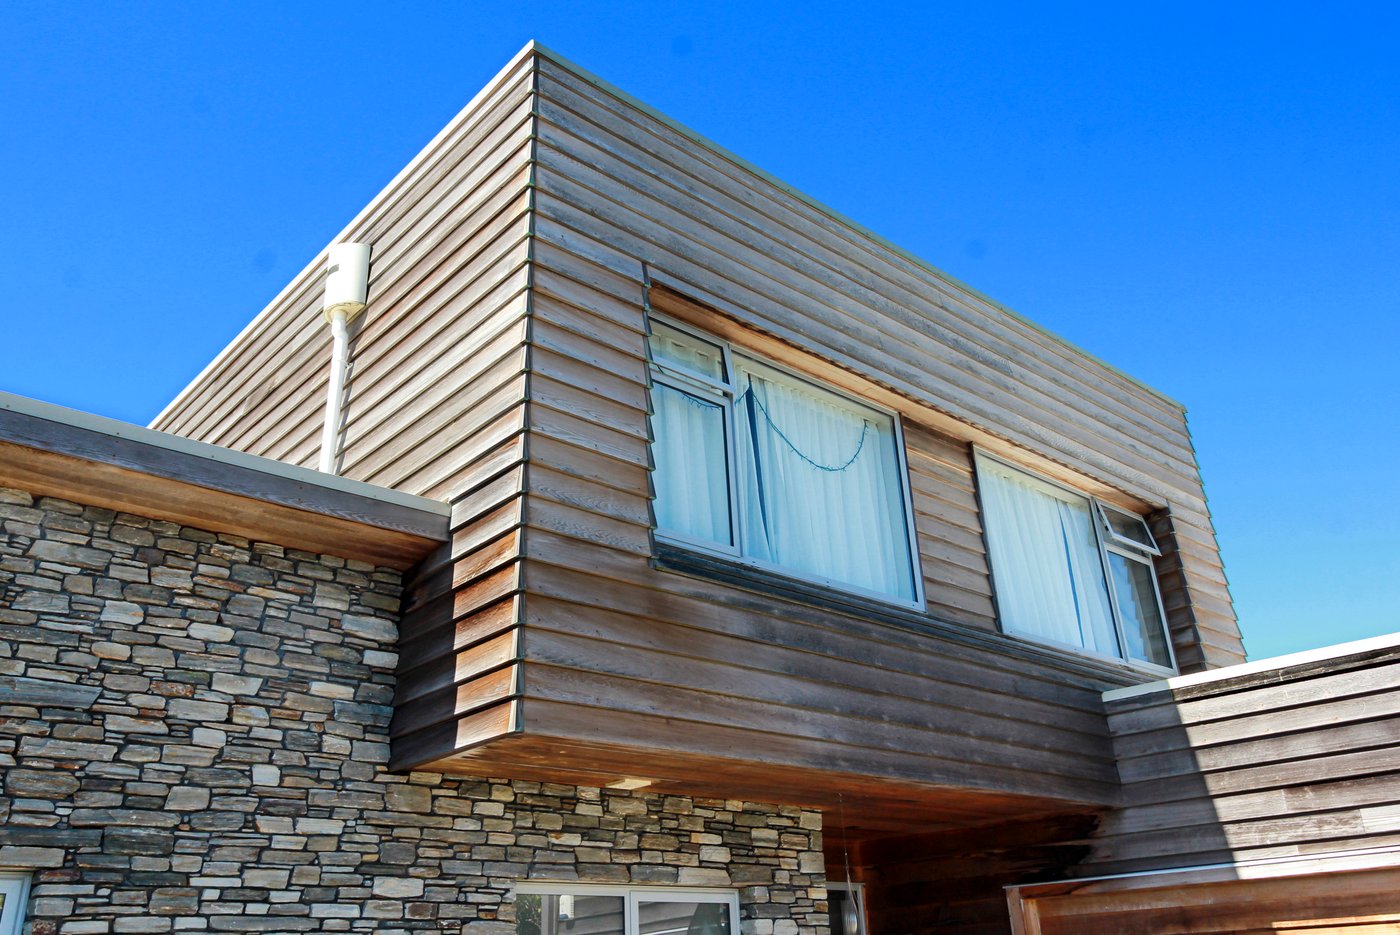
Cedar is a miracle timber if ever there was one: durable, long lasting, rot resistant and a superior insulator – warm in winter and cool in summer. Not to mention it looks stunning. 

But like any outdoor timber, Cedar will require maintenance to stay in optimal condition.  

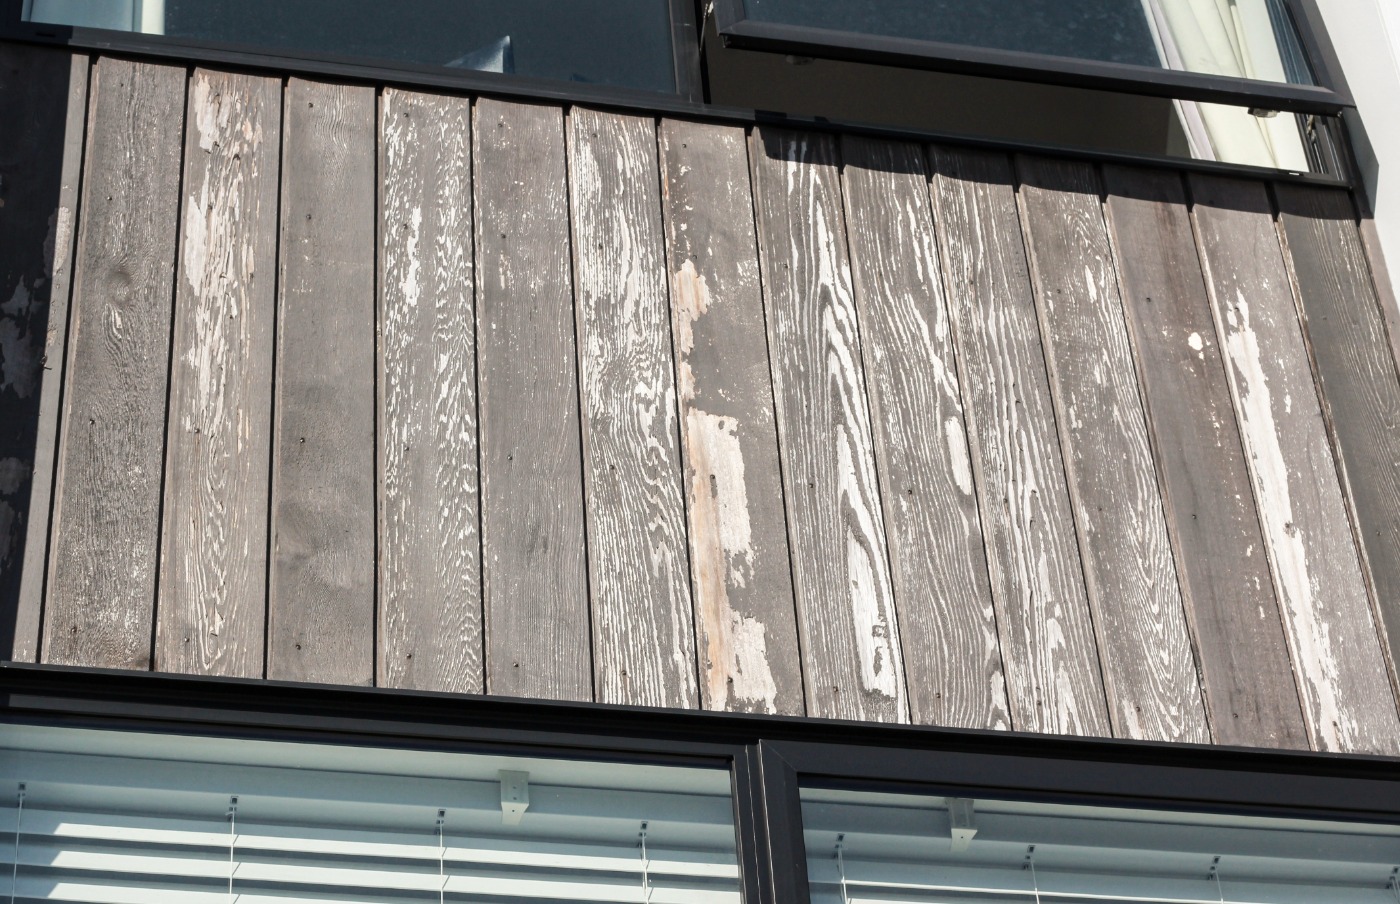
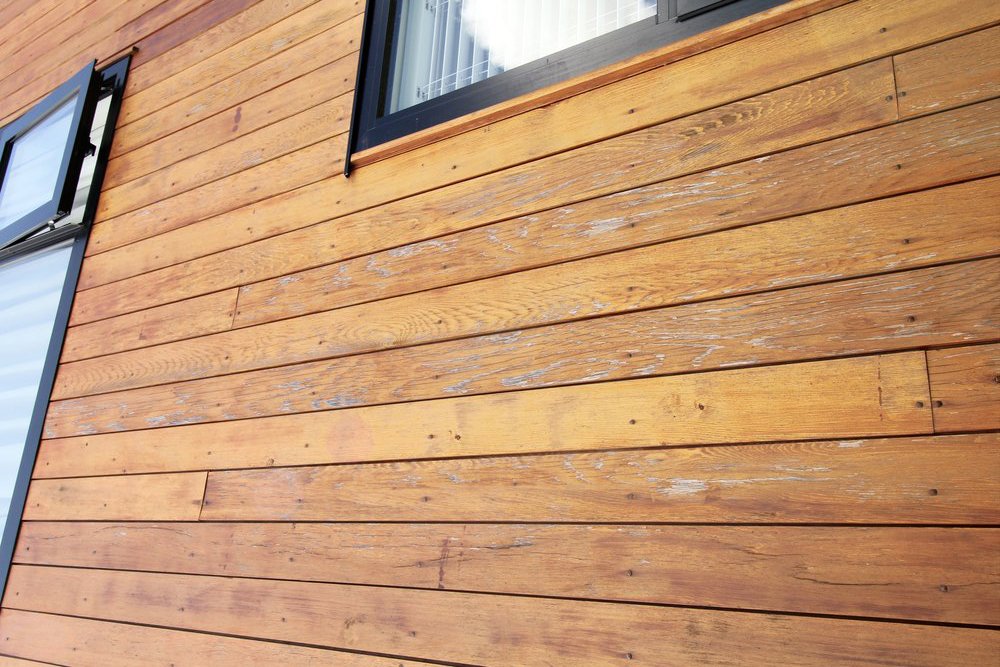
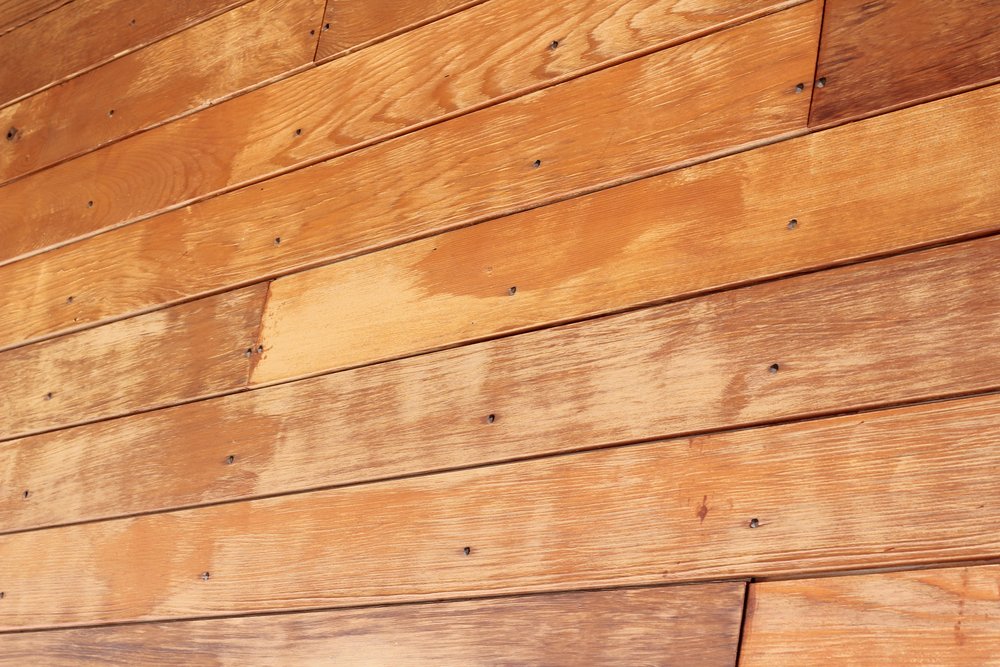
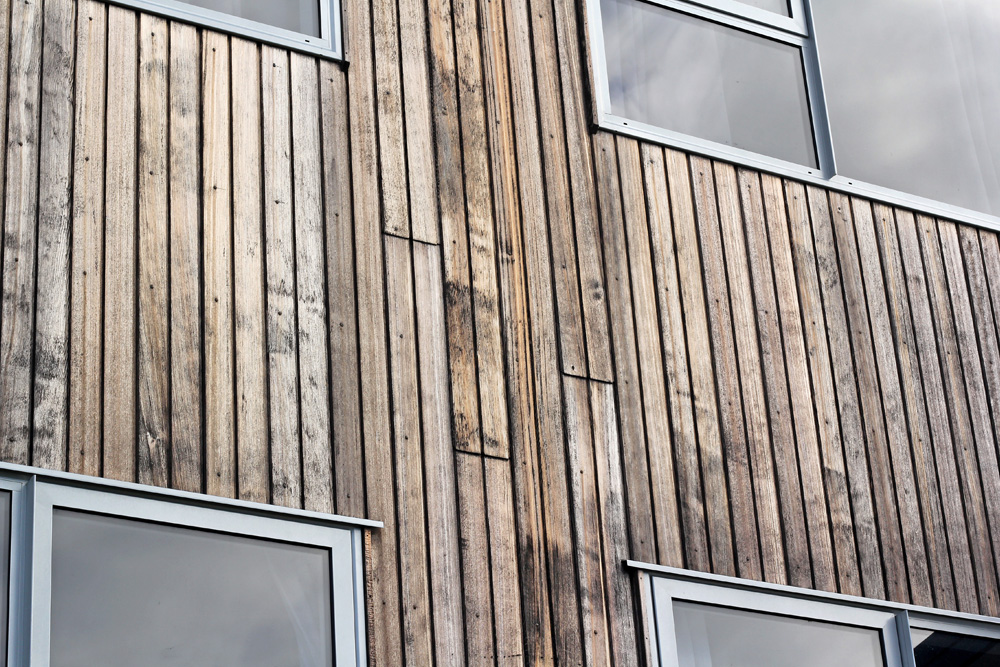
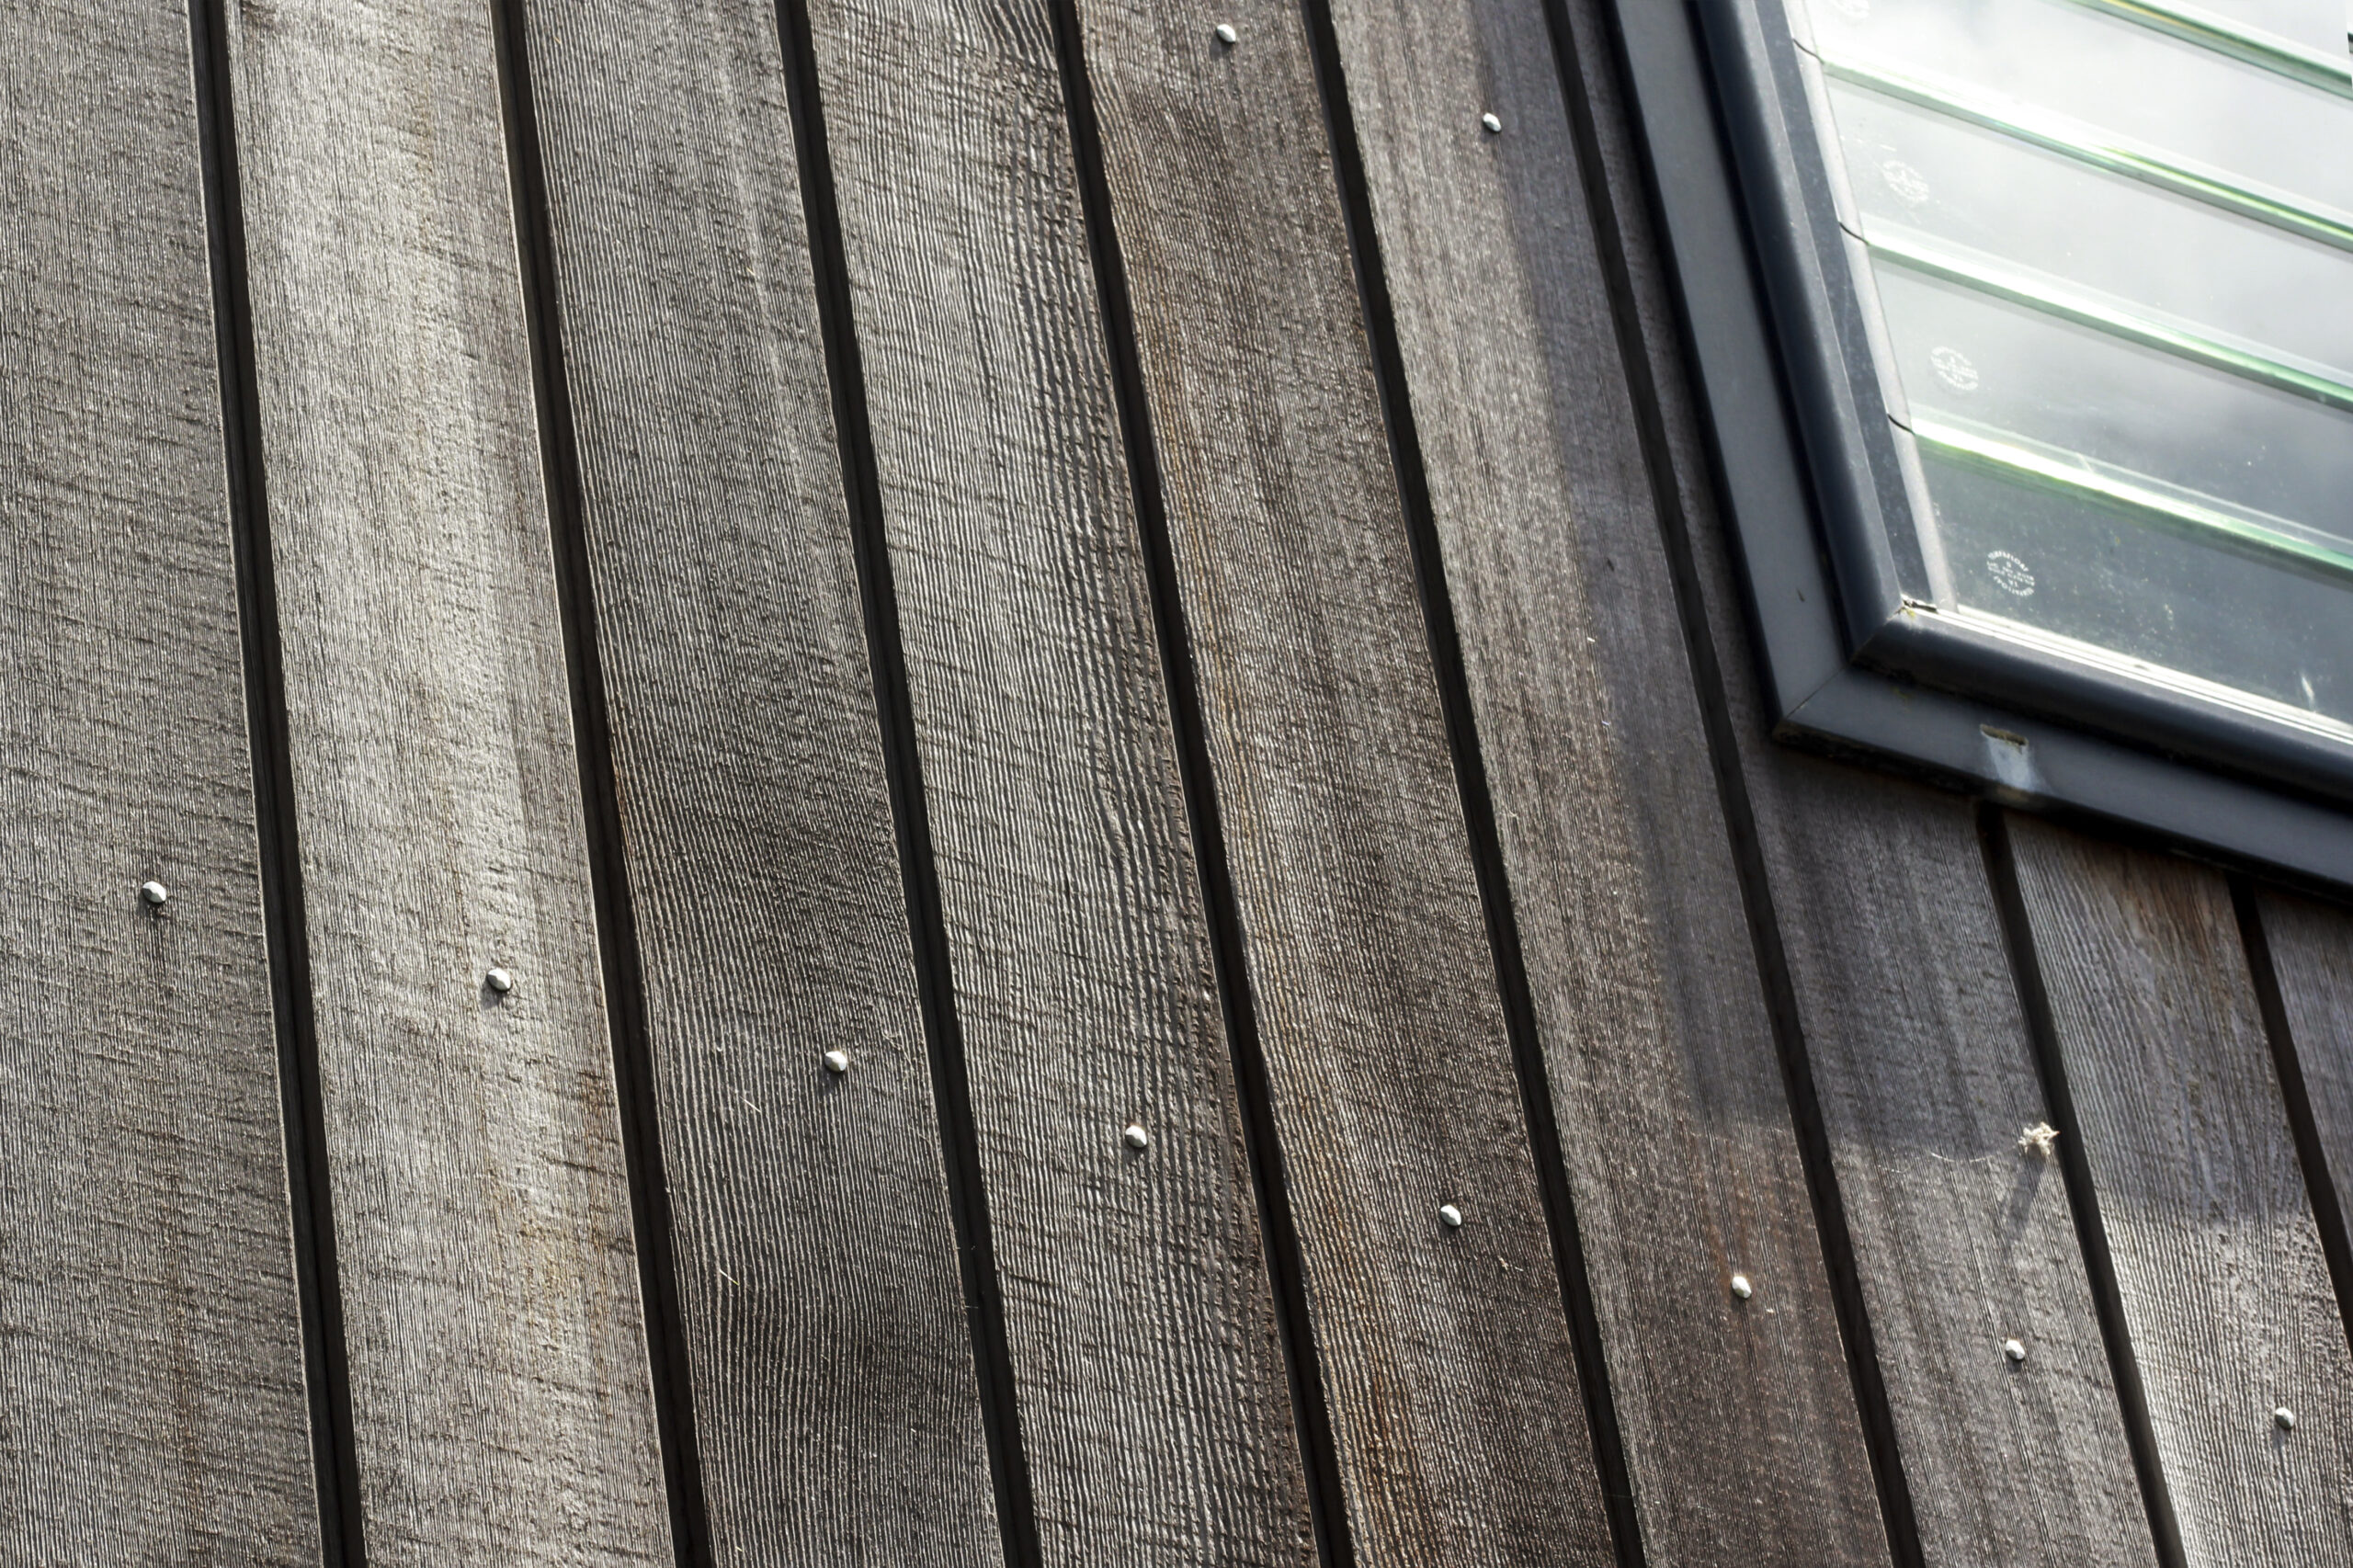
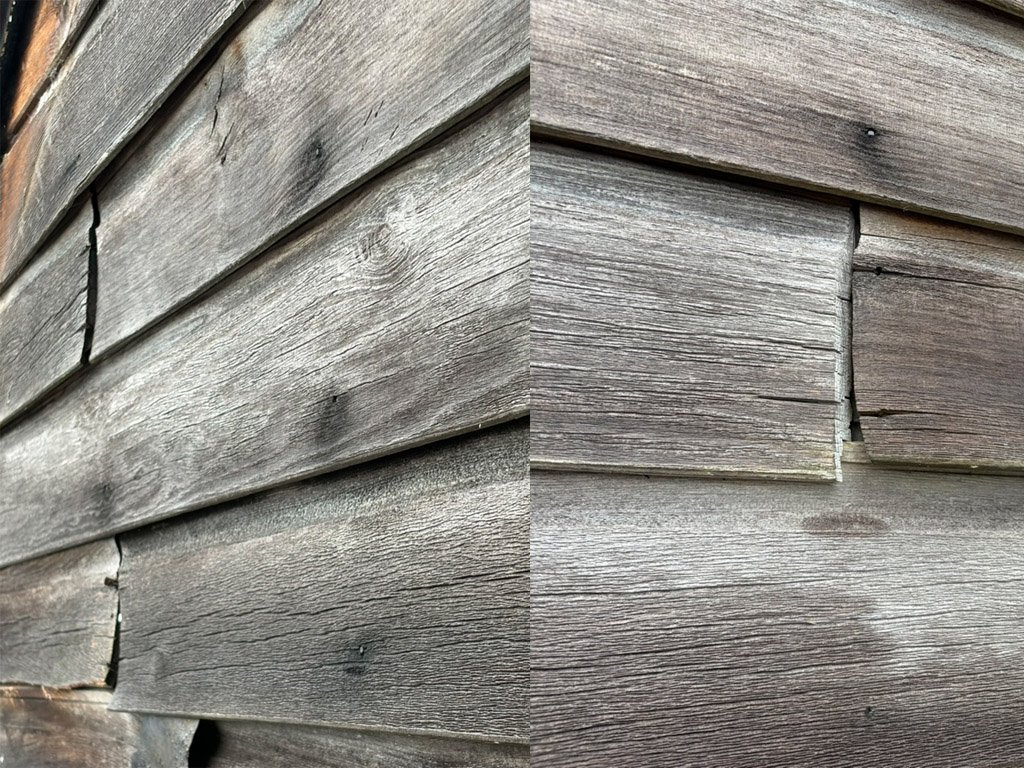
New Zealand’s UV rays are some of the harshest in the world and they will eventually dry out the Cedar, leading to fine cracks and a roughening of the surface. This can commonly be seen in Cedar houses that have been left to “silver off”. 

By starting Cedar maintenance early, you can get ahead of costly maintenance further down the line and keep your cladding looking just as beautiful as the day you moved in. 

When To Start Cedar Maintenance

We recommend starting Cedar maintenance after two summers. 

At this point, you may be wondering why we are talking about maintenance for a house that has just been built two years ago? Fair question! 

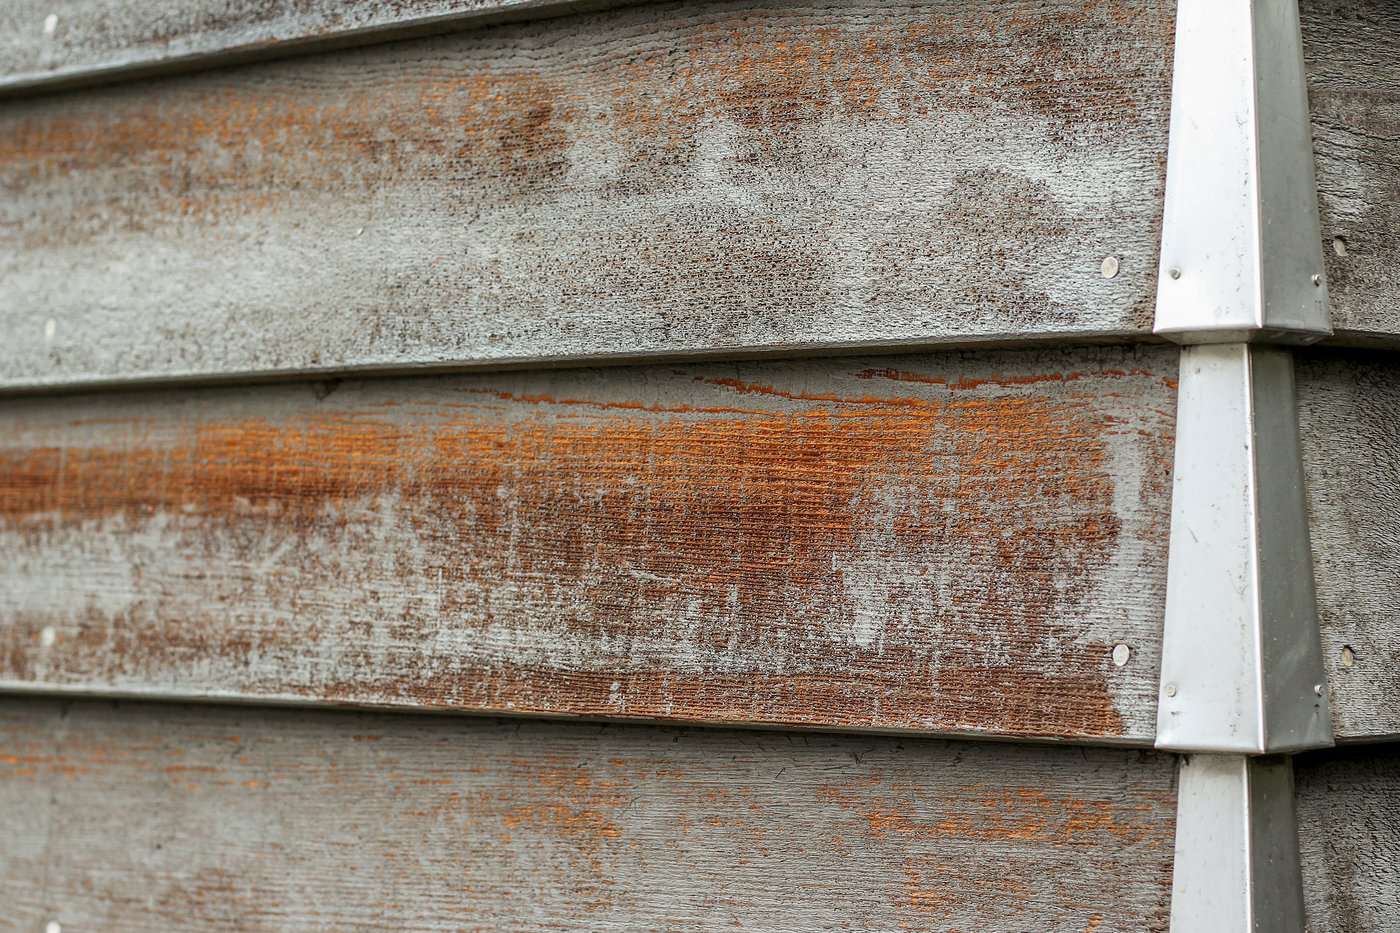
While fresh Cedar boards do have a reservoir of natural oils that will keep them protected for longer, the boards have now been exposed to the sun for two summers and the natural oils are already being depleted. 

It’s also worth noting that although you just recently moved, the Cedar may have been installed up to 3-6 months before that, so this process is well underway. 

What Does Cedar Maintenance Involve?

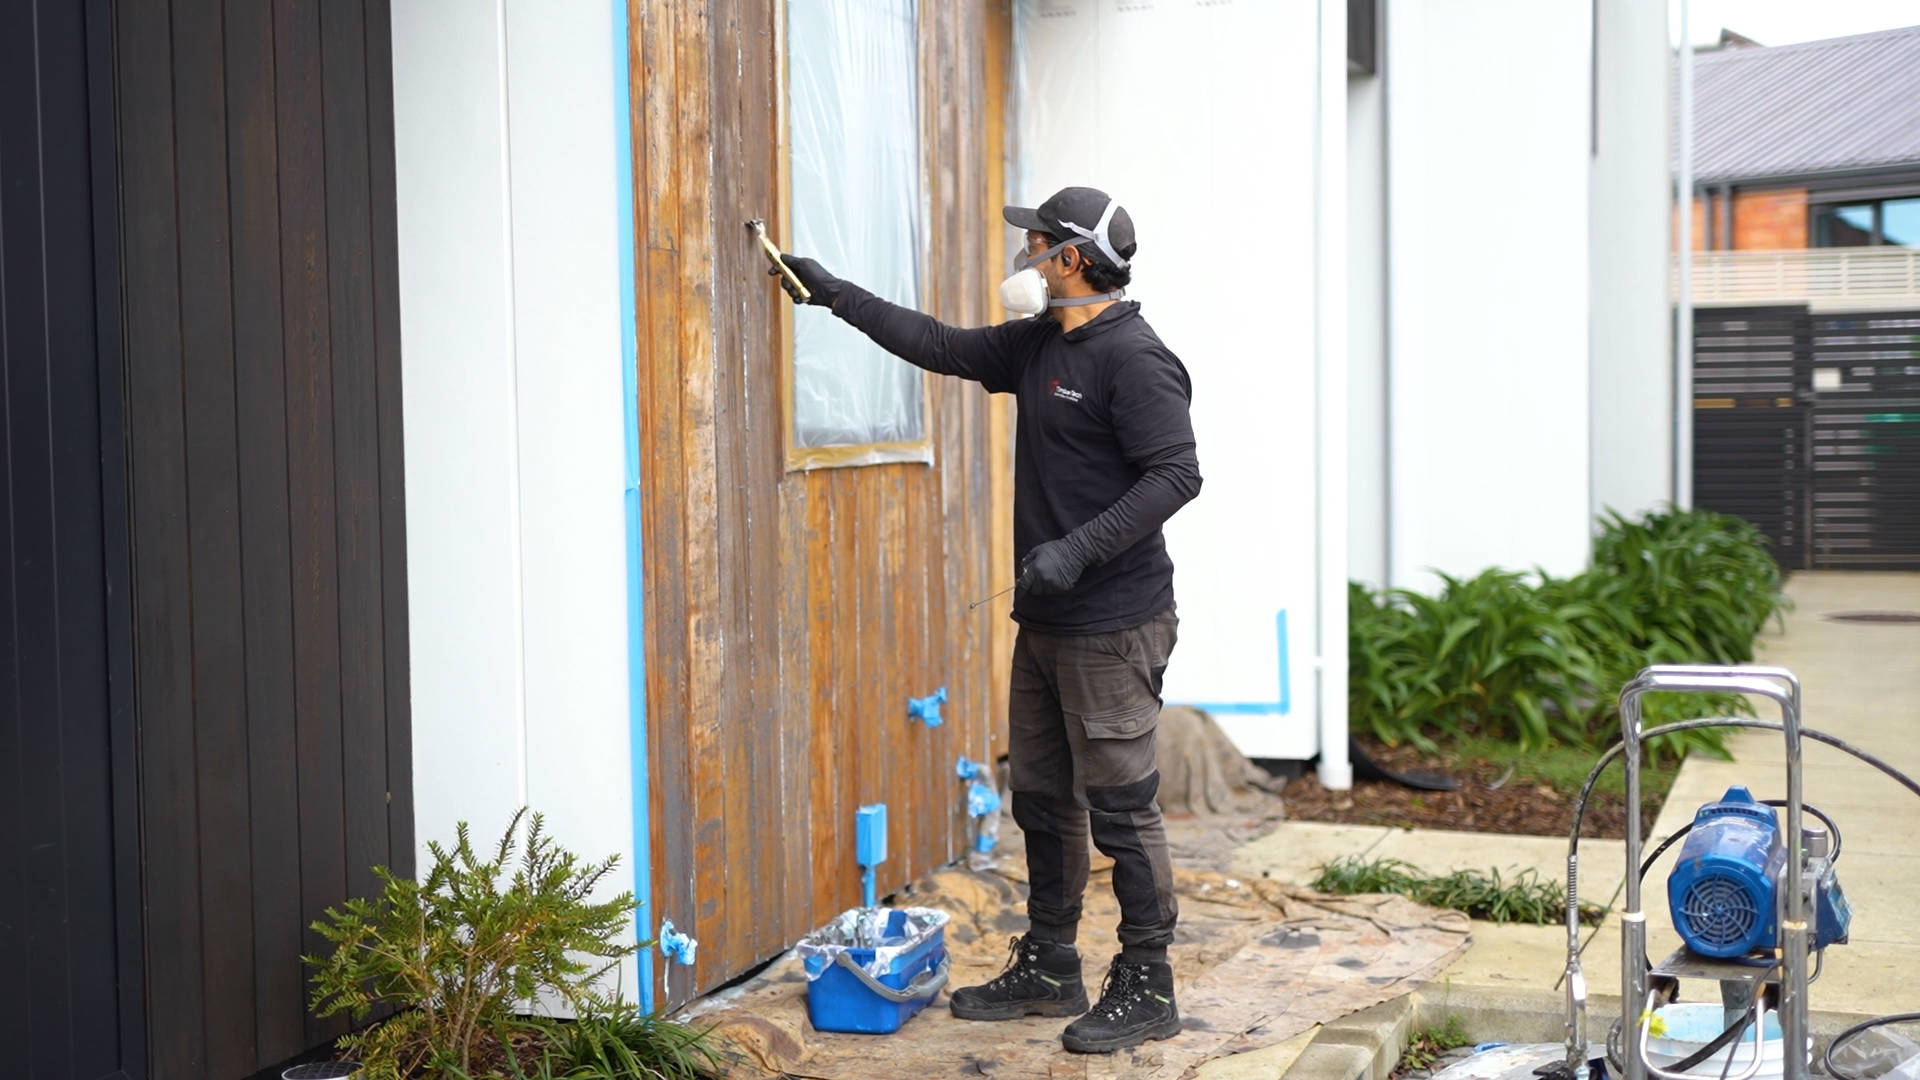
For most new Cedar homes, maintenance consists of a soft wash and a recoat of sun exposed areas. 

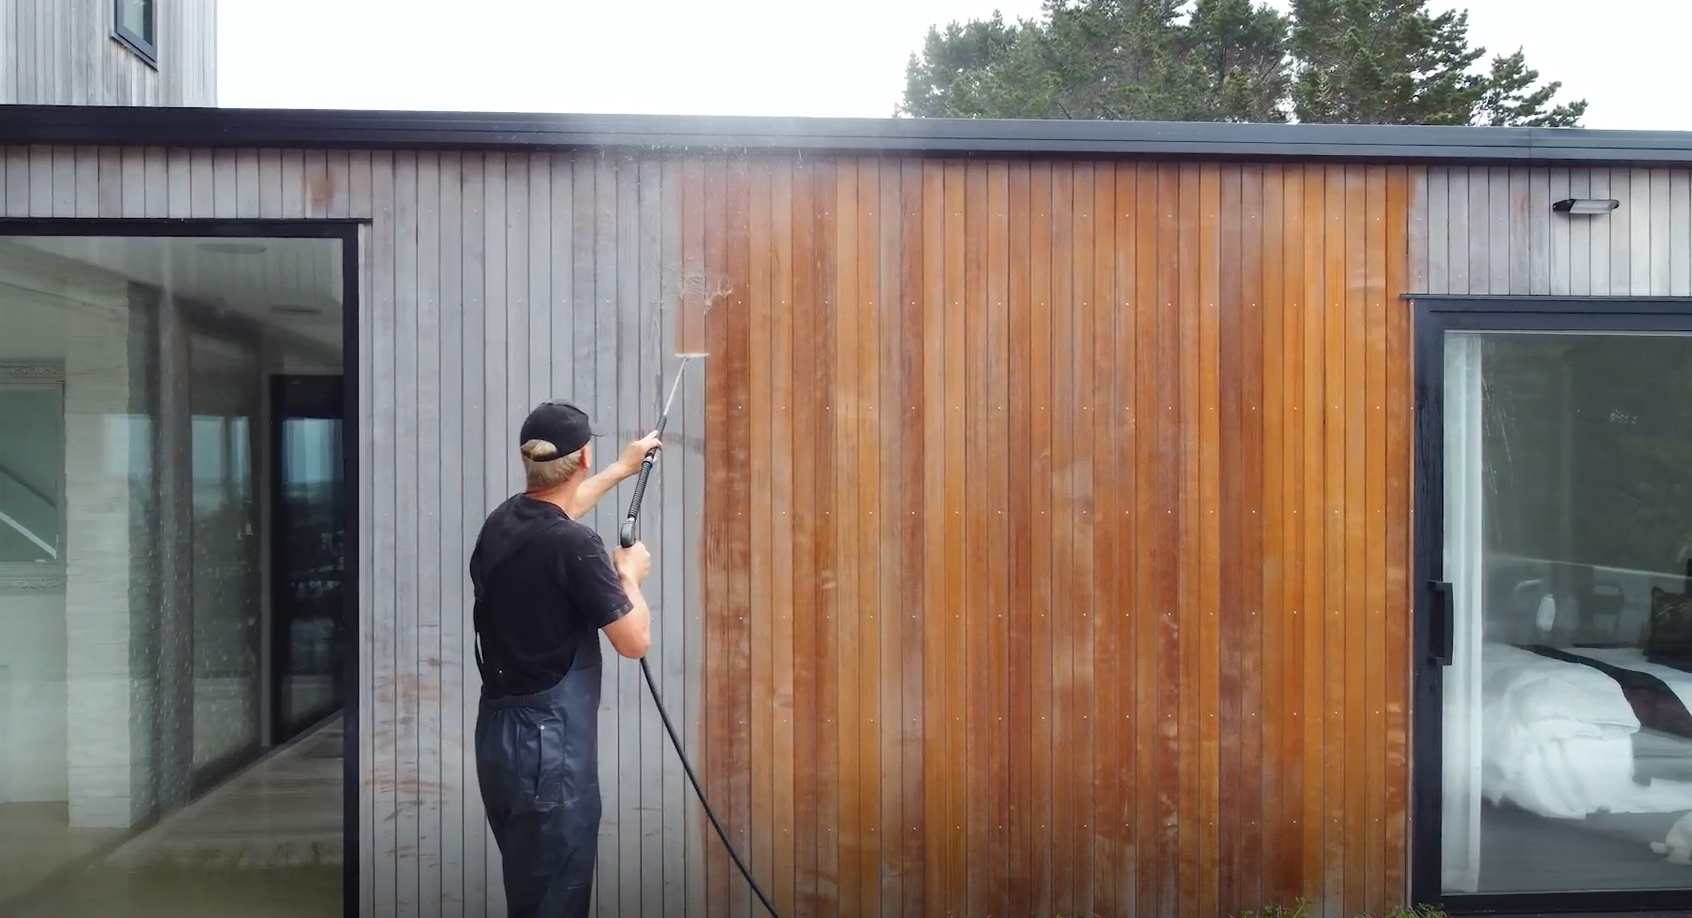
Our soft wash is an oxy-wash solution that removes any built-up organic matter – dust, pollen and spores – and leaves the Cedar fresh and vibrant. 

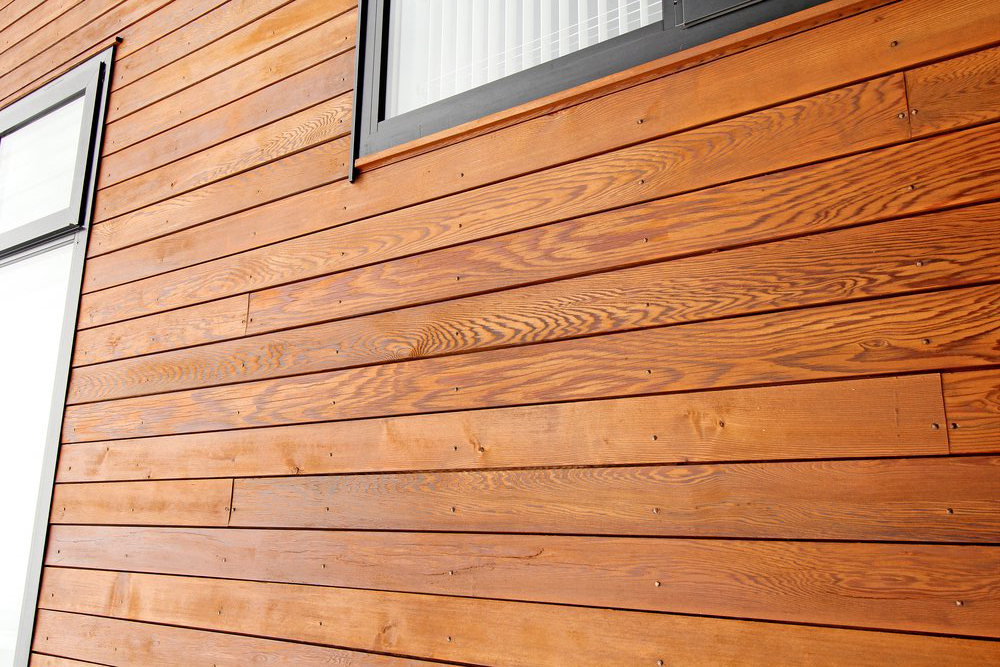
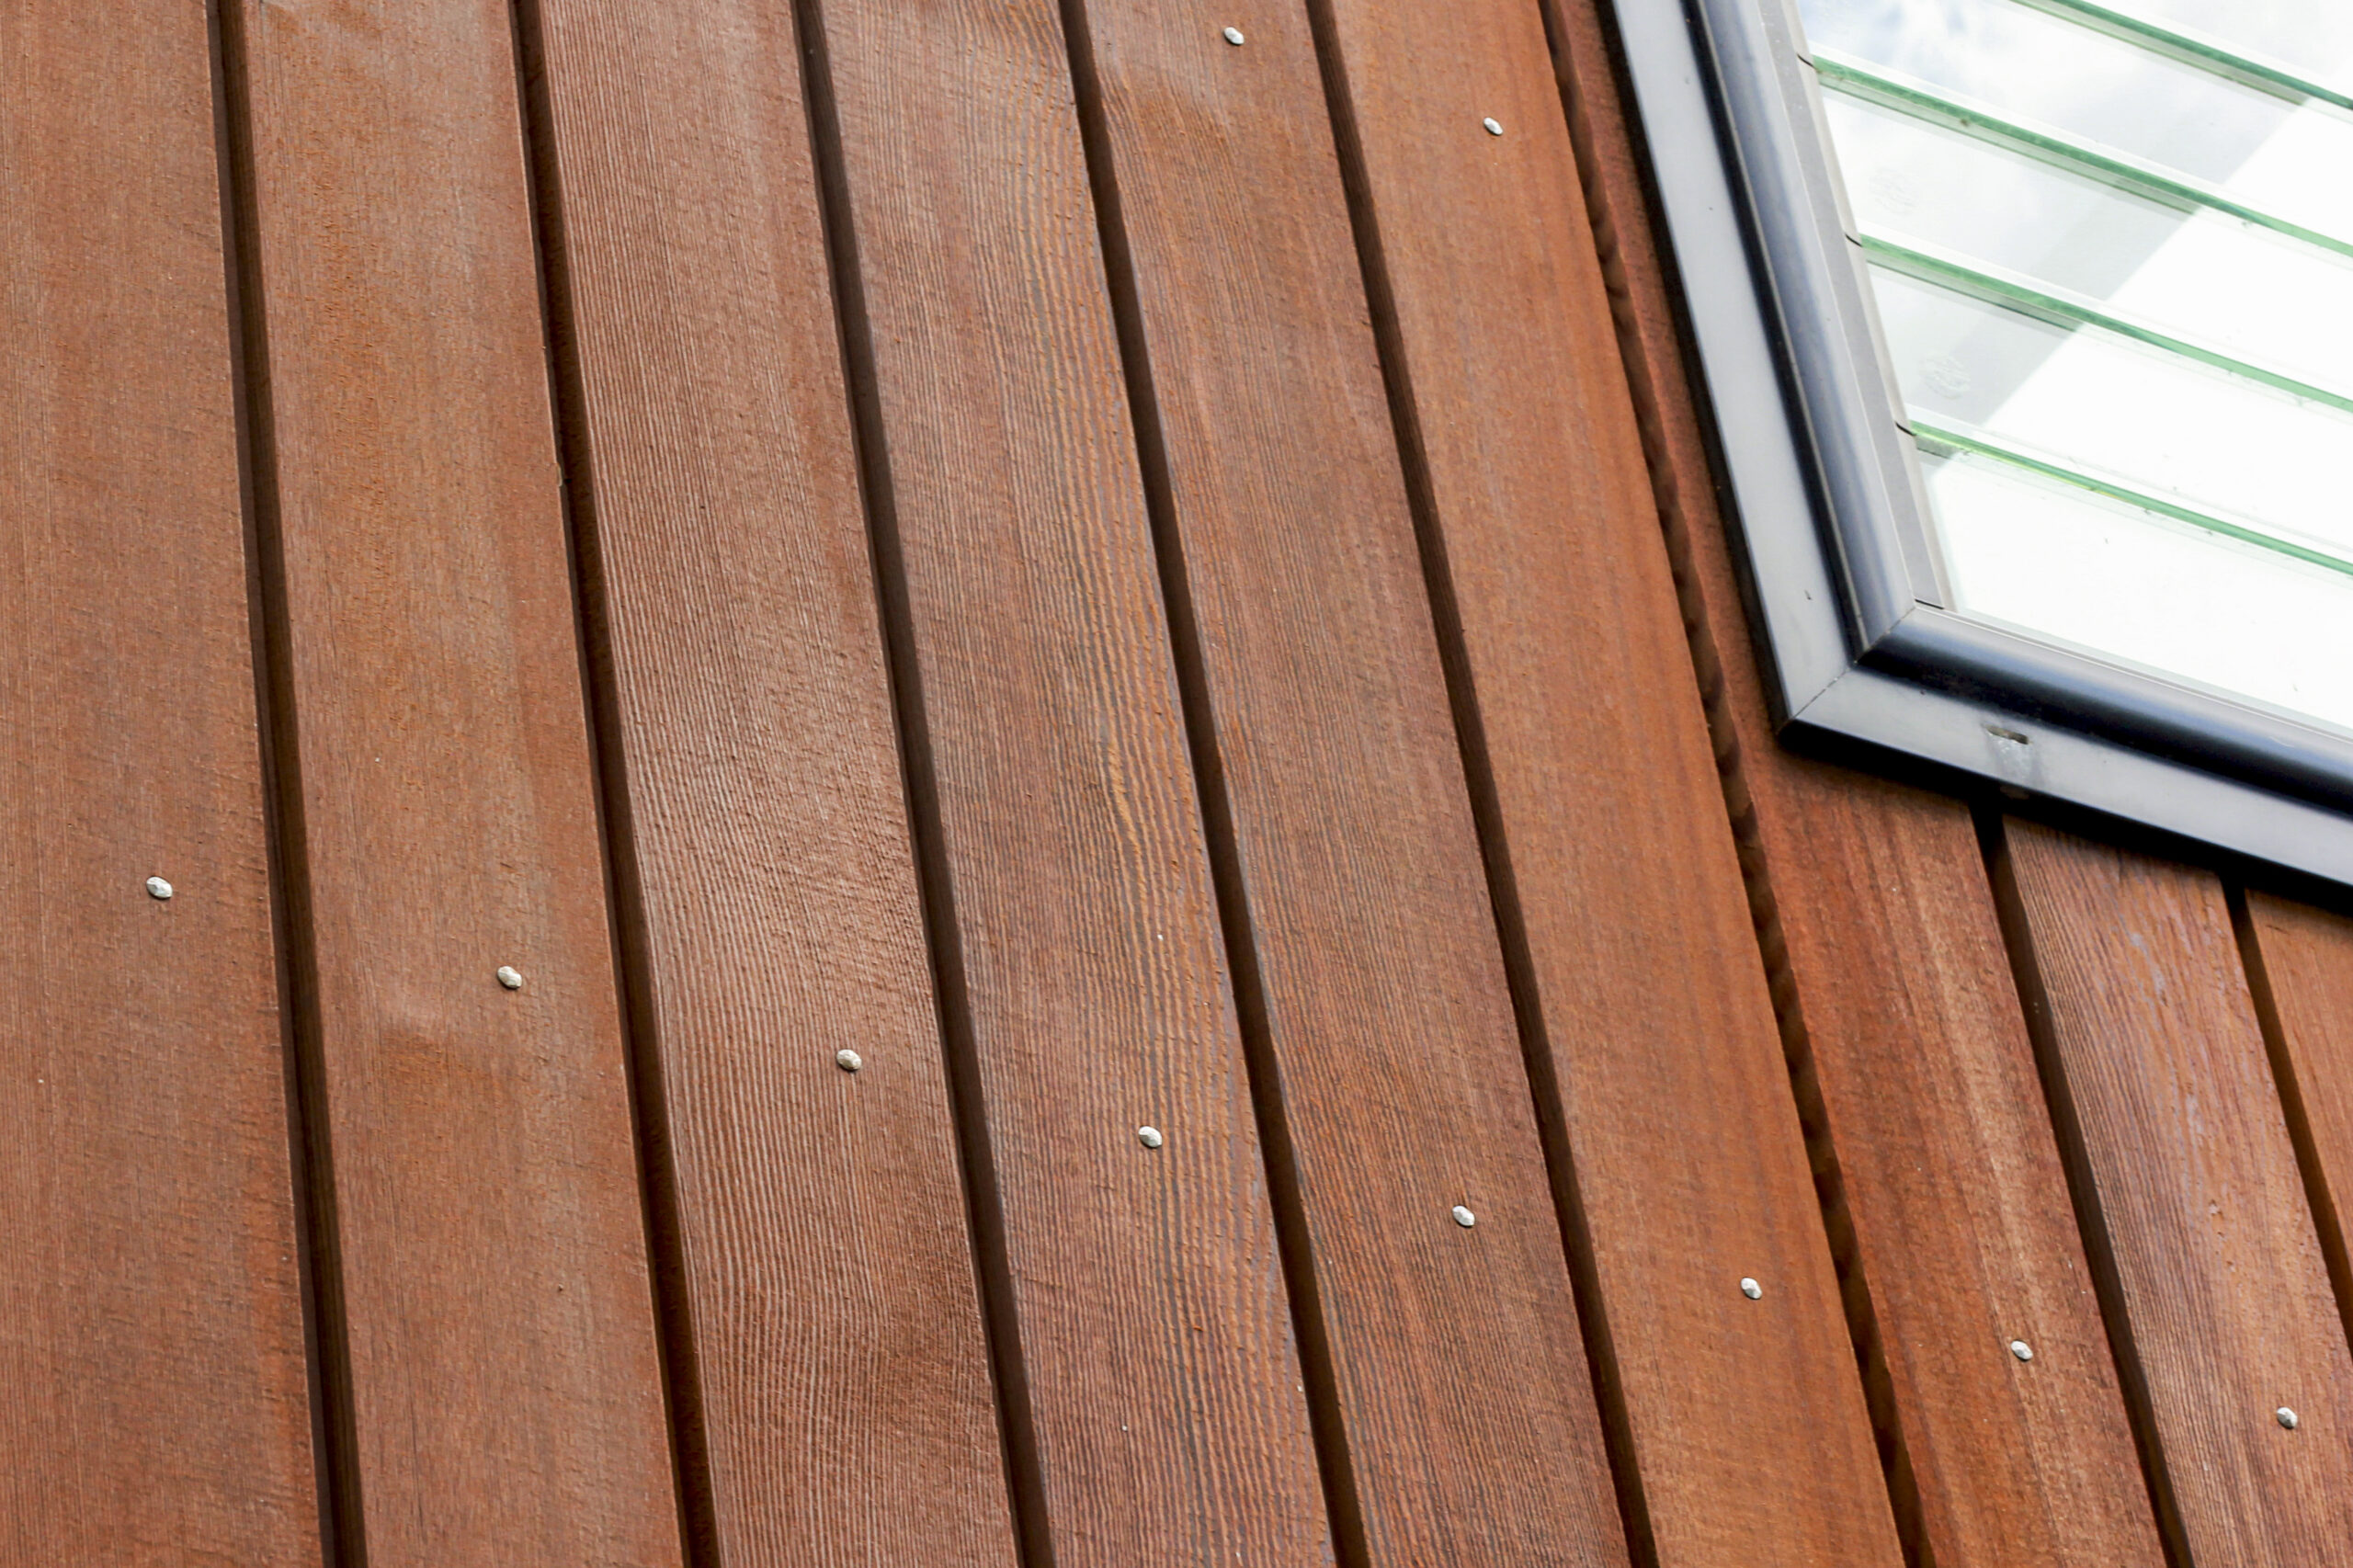
Applying a recoat of oil will replenish the Cedar’s natural oils, fortify existing anti-fungal properties and enhance the colour tone, retaining the vibrant look of freshly installed Cedar. 

After the initial treatment, sun exposed areas need to be maintained every 2-3 summers. The rest of the house may not need any maintenance for 5-7 years, apart from a light wash to remove built-up organic matter. 

How Much Does Cedar Maintenance Cost?

This depends on the house size, ease of access and if scaffolding is required, but as a rough guide, the initial treatment of a single-story house with good access can cost anywhere between $4-5k.  

A larger house with multiple stories can cost anywhere between $8-9k, plus you may need to include the cost of scaffolding on top of that. 

However, after the initial treatment of the whole house, the cost of regular maintenance drops by 40-50% as only the sun exposed areas need maintaining. 

If you have bought a Cedar house in a new development, chances are you are in the same maintenance schedule as the houses around you. By pooling together with your neighbours, we can often spread fixed costs (such as a cherry picker) across the all the involved parties. 

Protecting Your Investment

A new house is an investment, possibly the most expensive investment you will ever make.  

By regularly maintaining your Cedar, you are protecting the long-term value of your property and investing money now to get a higher resale value if you decide to sell. 

Regular maintenance is also more cost effective than undertaking restoration just before you are ready to sell – and you will get to enjoy the beautiful look of freshly maintained Cedar while you are still actually living there! 

Does Your Cedar Need Help?

Our Free Cedar Assessment will assess the health of your timber and give expert advise on how to keep it looking beautiful for years to come.

Read More Articles

15 Nov 2025
Yes, transitioning Cedar from stain to oil is possible, but it's not a process to be undertaken lightly. There can also be 3-9 month transition period where the Cedar will have a shiny-flat-shiny-flat appearance. However, the end result is Cedar that looks stunning and is protected against the UV rays.

Yes, transitioning Cedar from stain to oil is possible, but it’s not a process to be undertaken lightly. Removing stain requires a chemical stripper to remove the broken-down stain, and perhaps even some sanding to remove any stubborn remnants.

There can also be a 3-9 month transition period where the Cedar will have a shiny-flat-shiny-flat (or “patchy”) appearance. However, the end result is Cedar that looks stunning and is protected against the UV rays.

How Stained Cedar Ends Up Looking Unsightly

Treating Cedar with stain isn’t usually an informed choice by the homeowner.

Often, the previous owner has done a quick fix and used stain to make the Cedar look pretty before selling, or the current homeowner has stained over a poorly prepared stain without stripping back the boards.

Stains are translucent, so even though they have some opacity, you can still see through them and unless the preparation is done well, stains don’t hide imperfections.

Eventually the stain will delaminate in the harsh UV, giving a camouflaged look with light and dark shades that are often patchy and uneven.

Why Transition From Stain to Oil?

No matter how much stain you put on the surface of the timber, 5-10 years of sun exposure on a northern face will deplete the natural oils of the Cedar and cause the boards to dry out, cup, then ultimately split.

This doesn’t just look bad, it threatens the integrity of your home to withstand the elements and if the damage continues, you may need to replace the cladding altogether.

Img 9433 Cc2

Unlike stain, oil soaks into the pores of the timber leaving only a thin film on the surface, so it does not break down or flake off. The oil then replaces the natural oils depleted by the sun and protects the timber against surface tension and cracks.

Oil is also easier to maintain and as you only need to recoat exposed faces every 2-3 summers, the maintenance will be more cost-effective over the long term.

The Transition Process from Stain to Oil

First, we do a site visit to look at the current state of the boards. 

In the best-case scenario, the weatherboards will have had an even exposure to the sun. We then use a stripper to lift the broken-down stain, followed by a deep clean to remove anything which is loose.  

The heavy wash will give us a good look at the condition of the boards below. If there is any stain remaining on the surface, we might need to sand or strip the boards back to their virgin state before applying the oil. 

If the boards have received partial shade cover, such as nearby trees or soffits that have only protected the upper areas, they need to be stripped. You can’t just oil over the top and hope that it’s going to match the weatherboards below.  

This adds a lot of cost to the process and if the homeowner isn’t willing to spend that much money, we may recommend applying another coat of stain to provide at least some protection against UV and keep the house looking tidy. 

Be Prepared for the Patchy Look

One of the biggest downsides of moving from stain to oil is a 3-9 month transition period where your Cedar will have a shiny-flat-shiny-flat (or “patchy”) look.

This happens when oil is applied to any surface that still has stain remnants. The oil cannot soak through the non-porous stain, so it sits around the surface area where the oil has soaked in, giving the shiny-flat-shiny-flat look.

cedar-stain-to-oil-before-1 cedar-stain-to-oil-after-1

In the sunlight, the shiny-flat-shiny-flat look is not pretty. However, this effect is only temporary and eventually the oil will soak in and delaminate any remaining stain.

After 3-9 months, we come back and give the boards another deep clean, sand back any remaining stain and apply another coat of oil. 9-12 months later we repeat the same process.

After 12-24 months the transition will be complete and the Cedar will move into a regular maintenance schedule, with sun exposed areas being treated every 2-3 summers.

What Costs Are Involved?

Cost is the final hurdle for many Cedar homeowners. Stripping off stain is an expensive process and if your current home is not your forever home, the costs might be prohibitive.

However, if you are planning to stay in your current home for the foreseeable future, the costs become an investment that will pay for itself. Over time, oil is much easier to apply than stain, provides superior protection against the elements and increases the lifespan of your Cedar.

In broad terms, it comes down to this: do you want to spend the extra 10k to remove the stain and give yourself an easy to maintain finish, or deduct the 10k from the cost of replacing the cladding in the not-to-distant future?

By investing in the health of your Cedar now, you will save money on long-term maintenance, and your cladding will look amazing.

Get An Expert Opinion!

As you can see, there are a lot of variables when considering the transition from stain to oil.

For a Free Cedar Assessment, get in touch by calling 0800 298 298.

There is no obligation and our goal is always to look after the best interests of our customers over the lifecycle of their homes.

11 Sep 2025
Cedar needs to be recoated every 2-3 summers to protect the timber from New Zealand's harsh UV rays. Knowing what signs to look for will help you stay on top of maintenance before small issues turn into larger, more expensive problems.

Cedar needs to be recoated every 2-3 summers to protect the timber from New Zealand’s harsh UV rays.

By applying an oil or a stain, the boards are protected by a coating that takes the brunt of the UV rays, but over time, it will break down and needs to be reapplied.

Knowing what signs to look for will help you stay on top of maintenance before small issues turn into larger, more expensive problems.

1. Discolouration

Discoloration is often the first sign that your cedar needs attention. It happens when the UV rays begin to break down the existing coating, allowing the natural colour of the timber to come through.

A generously applied oil will fill the pores of the Cedar and leave a protective tint on the surface. This dual action helps the wood resist moisture and absorbs the worst of the sun’s rays.

With oil, you can tell if the Cedar is dry by spraying water onto the surface. If the water beads off, the boards still have a reservoir of oil. If the water soaks in, you probably need to recoat.

Stains work similarly, creating a barrier that shields the timber. Over time, the stain will oxidise and erode by design – this means it’s doing its job by absorbing the UV damage – resulting in a patchy, uneven appearance with lighter and darker areas.

2. Fading or silvering

Silvering is caused by exposure to UV rays, which fray and loosen the top cells of the Cedar and cause the surface to become bleached.

While some people prefer this aged appearance, it can be a problem in warm, damp climates. The roughened surface of the wood can trap moisture, dirt, and bacteria, causing the Cedar to turn black.

If you like the silvered look, you can get protective oils with a silver tint that will give you the aesthetic you want while still protecting your Cedar from the sun.

Img 2759 Before Img 2759 After

3. Patchy or uneven colour

Patchy or uneven colour on your Cedar can be a sign of a few things. The previous coating might have been applied unevenly, or it could be breaking down faster in some areas than others for a variety of reasons.

A well-maintained Cedar home should have a consistent colour across all its walls. If your home hasn’t been maintained in quite some time, the faces of the house that gets more direct sun exposure will fade faster than the shaded faces.

Reapplying an oil or stain not only enhances the colour but also helps replenish the wood’s natural oils and fortify its anti-fungal properties, restoring its vibrant, like-new appearance.

cedar-stain-to-oil-before-1 cedar-stain-to-oil-after-1

4. Mould and lichen forming

Mould and lichen often grow on the damper areas of your house away from the sun. Mould can appear on the surface coating or might be ingrained in the timber if it’s been left for a while.

The first signs of mould are small black spores that look like spots or splatters, and as it gets more severe it will get more obvious, turning black, green or red.

Img 2426 Img 5196

Signs of mould and lichen are not always a big concern. Get a professional to look at it, and if you catch it early enough, you might just need a clean without having to recoat the timber.

cedar-restoration-before cedar-restoration-after

5. Cracks, or worse

Look for small cracks appearing, either in the coating or the boards themselves. Those little cracks are allowing moisture to get into the boards and create a toehold for mould, mildew and lichen to get established.

If nails are popping out, or you can see warping, this is a sign that the boards are moving a lot. This usually happens on the north face, or any area that is exposed to the sun and doesn’t have any protection against the wet-dry-wet effect.

Cupped cedar

If your boards are starting to cup, it doesn’t mean the boards are beyond repair. Often the structural integrity of the boards is still good, we just need to clean them up and replace the oil to reduce the surface tension and repel water.

Final thoughts…

Knowing the signs that your Cedar needs attention helps you make an informed decision about when to invest in its health.

If you’re unsure, it’s always best to have a professional take a look.

We offer a free, onsite Cedar Assessment across Auckland and Northland. One of our Cedar experts will provide a genuine assessment of your timber and offer advice to keep your Cedar protected and looking beautiful for years to come.

4 Jul 2025
Yes, Auckland is a rainy place! But we've been looking after Cedar for 12 months of the year, for over 30 years, and rain isn't as big of a problem as you might think. This comes down to the unique properties of Cedar and how we care for it. But unlike paint, oil and stain do not need to cure and dry. Literally minutes after you put the coating on, it's already protecting the boards against moisture. If the boards are dry, we can coat them. Once we get to the point where the boards are wet and will not dry, we stop. Simple as that.

One of the most common questions we get asked is “Can I get my Cedar maintained in the winter?”

Absolutely! With winter, comes rain…but not as much as you might think.

At the height of the wet season, there are 19.1 rainy days in June and 20 in August. In summer, there are 14.1 rainy days in December and 9.8 days in February. That’s only 6-10 days difference.

Yes, Auckland is a rainy place! But we’ve been looking after Cedar for 12 months of the year, for over 30 years, and rain isn’t as big of a problem as you might think.

This comes down to the unique properties of Cedar and how we care for it.

Oil and Stain Are Not Paint

The statement above may seem obvious, but the idea of paint drying is so fixed in our collective minds that people often make the comparison.

Aside from both being applied to walls, they couldn’t be more different products.

Paint is applied by building a film on the surface of another film, which then must dry and cure.

Stain and oil penetrate into the pores of the Cedar and start providing protection against moisture almost immediately.

You could even spray the boards lightly with a hose 20-30 minutes after application and it would make no difference to the finish.

How Wet is Wet?

Similarly, in most people’s minds, when a board gets wet, it is wet the whole way through. This is only what our eyes are telling us.

In truth, it’s only the surface that gets wet (usually the top 1mm), the rest of the board stays perfectly dry.

To apply a Cedar coating, we only need the surface of the board to dry out. Depending on exposure to the sun, wind and air temperature, this can happen anywhere between 5 – 30 minutes.

You can feel whether Cedar it is dry or not by touching the boards. If the surface is too wet, we simply do not apply the coating.

Mark likes to use the analogy of hanging out washing. If you are happy to put out your washing to dry, you can coat Cedar.

And if a spattering of rain does get onto the surface, the oil or stain is already working to create a barrier against moisture.

What Happens if it Does Rain?

Every morning, the Senior Technicians assigned to the job will look at the weather and work with the Production Manager to make the call. In most cases, the decision has been made the previous day.

Our scheduling team also looks at the weather in advance and plans accordingly. If rainy weather is on the way, they will book in other work such as washing or adapt the scheduled work to the conditions.

If the weather is inclement, the technicians can focus on areas of the house away from the wind and rain.

If the weather is coming from the north, we can coat the areas on the south, or undercover areas.

If rain is truly setting in, we can wash the Cedar in preparation for coating. During periods of persistent rain, there can be a gap of 1-2 weeks between washing and coating, but this could be left up to 6 weeks without any issues.

So, When is the Best Time to Coat?

The answer is always now. If you ask us in 6 weeks or 6 months, the answer will be the same.

We are battling the sun here, and the sun always wins. New Zealand’s harsh UV rays are constantly sucking the natural tannins from the boards and they need to be coated to protect against the wet-dry-wet effect.

If left longer than the recommended 2-3 summers, the surface can begin to roughen and create a toe-hold for mould and lichen, resulting in an unkempt look.

This isn’t scaremongering. If you leave them for another 6 months, the difference is almost indiscernible. But that doesn’t change the fact that there is no “best time” for Cedar maintenance.

The best time is always now. You just need to pick your days.

Final Thoughts

We have been doing this for over 30 years and know our way around a bit of rain.

If the boards are dry, we can coat them. Once we get to the point where the boards are wet and will not dry, we stop. Simple as that.

Don’t let the idea of rain put you off getting your Cedar maintained and protected. Winter is just as good as summer, and autumn is just as good as spring. The sun never stops and neither do we!

Read More Articles

Showing 1 - 10 of 19

Subscribe

Sign up to our quarterly newsletter for all the latest Cedar tips and expert advice.

TimberTech

Cedar Care Experts
TimberTech

Hey, how can I help you today?

10:39 AM

Message Us