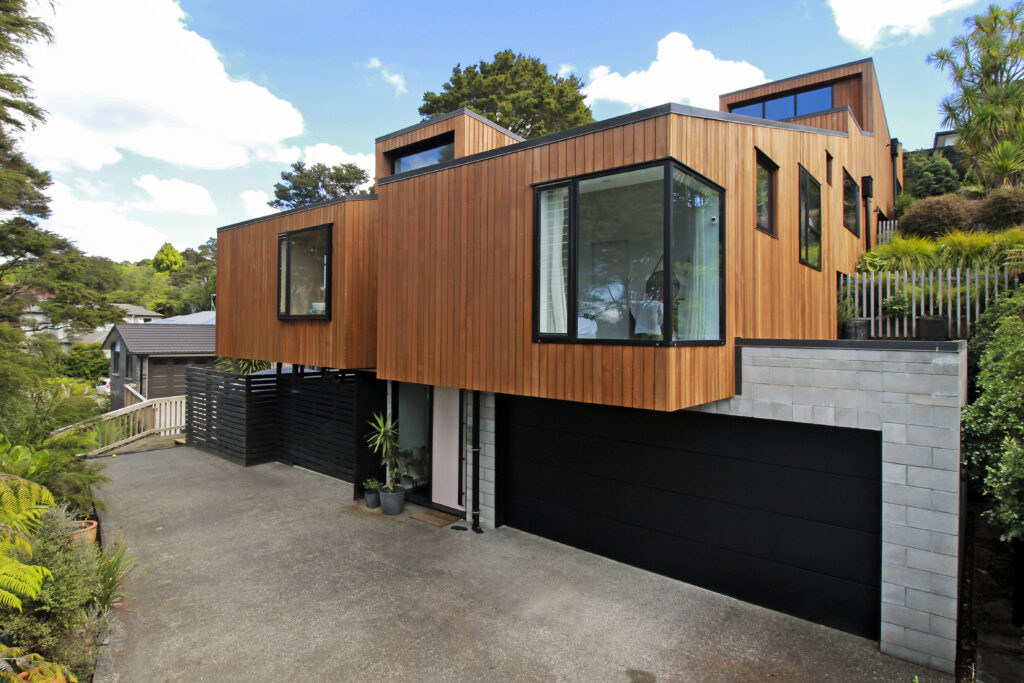
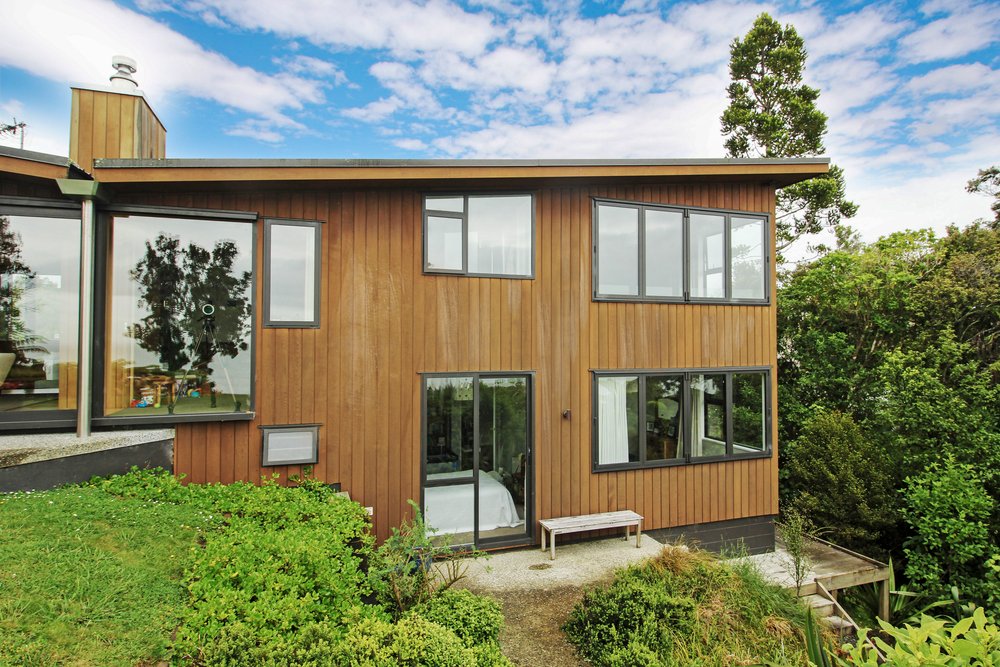
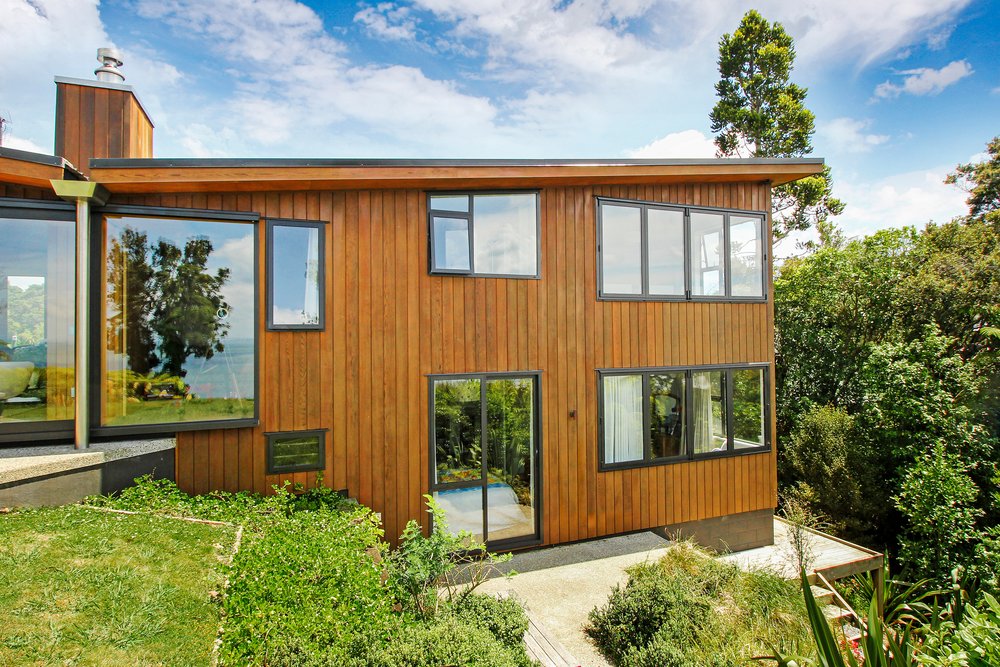
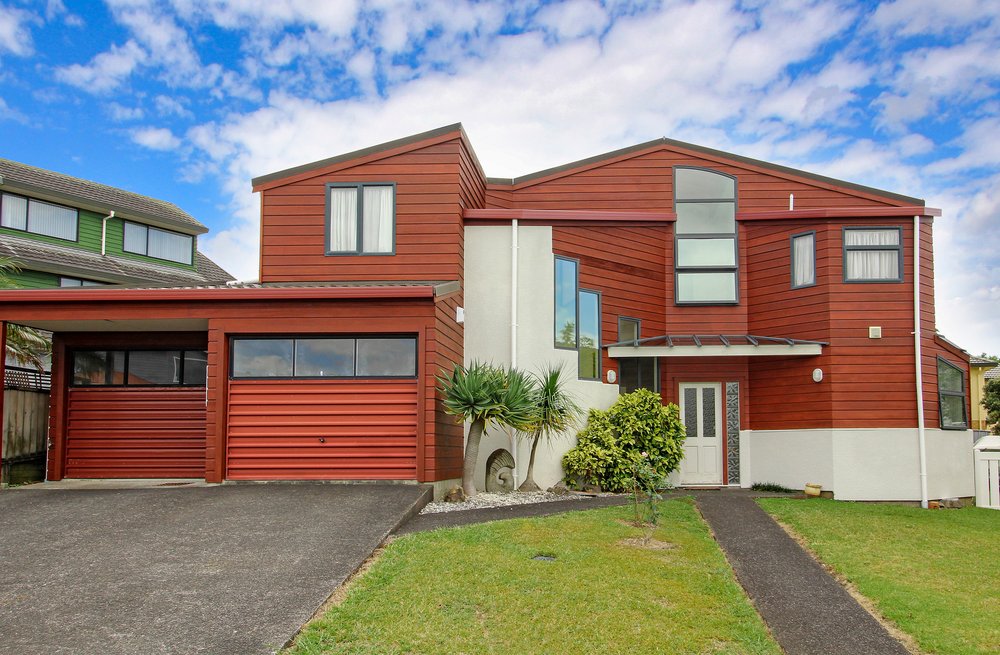
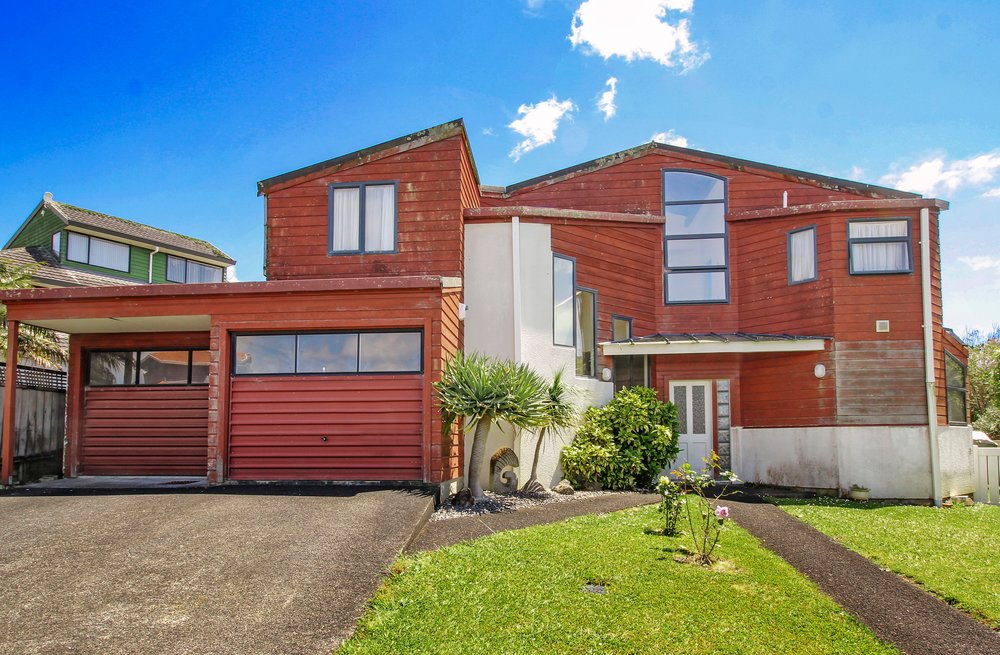
This architecturally designed home in Titirangi is the perfect example of a well-designed Cedar home, with few soffits or overhangs for most of the structure.
This allows the sun to weather the boards evenly, making ongoing maintenance more straightforward and cost-effective.
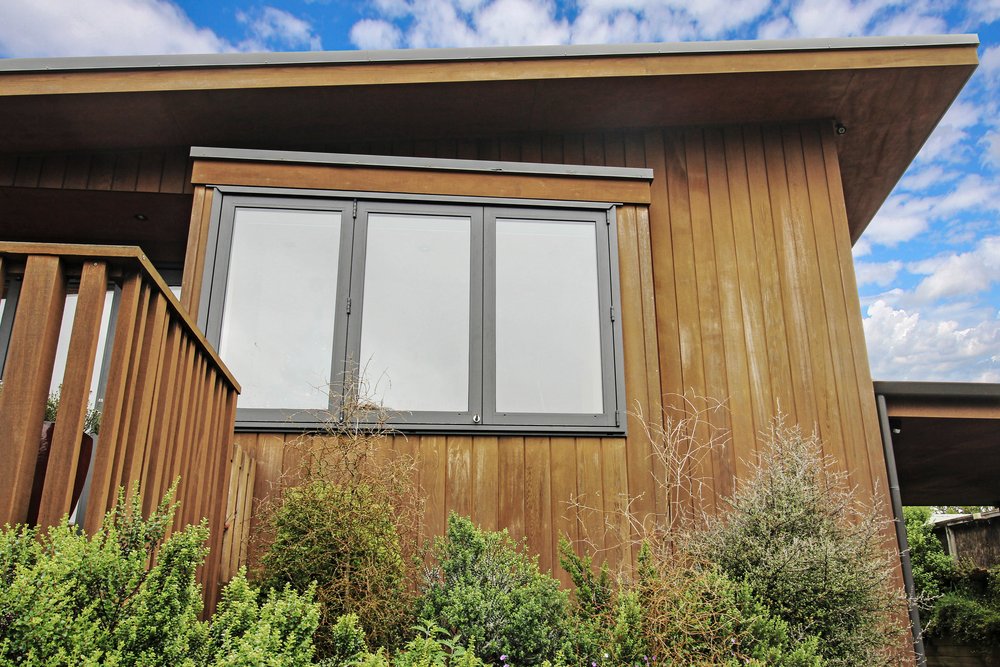
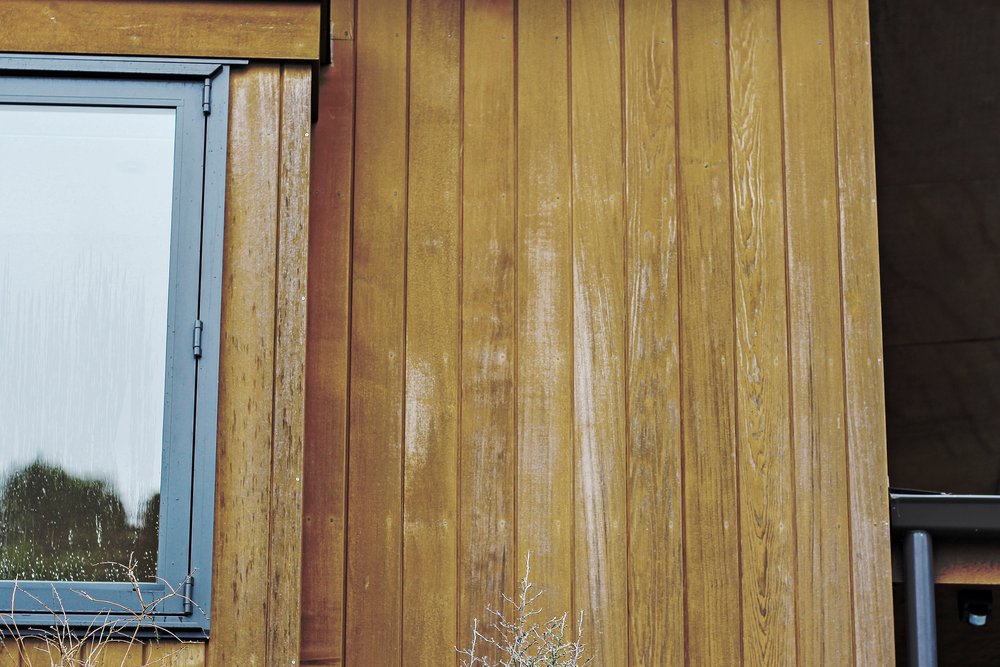
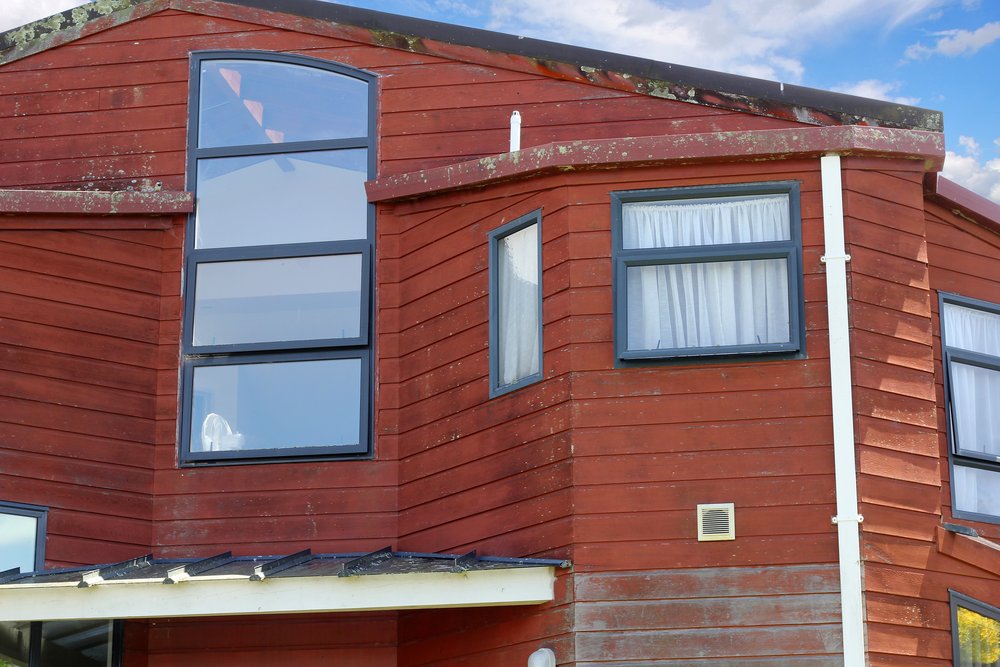
The western face at the rear does have an overhang, and you can clearly see the uneven effect it can have on Cedar. Uneven weathering usually requires restoration as opposed to maintenance.
This Cedar was installed 10 years ago, with little more than a light oil to protect the timber against the harsh UV. That coating has long since burned off, leaving the Cedar exposed to the sun.
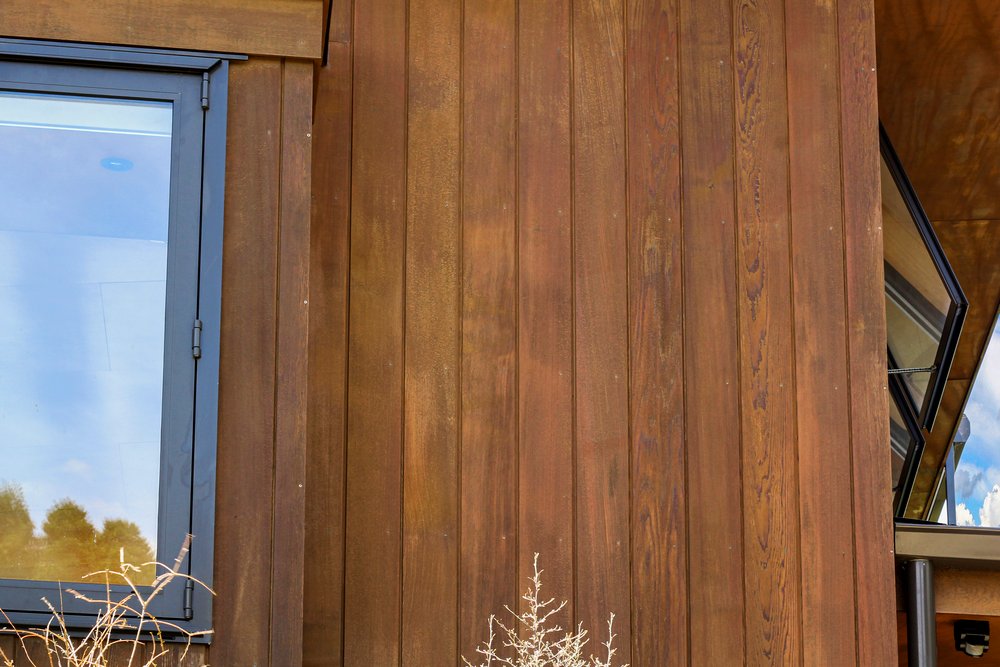
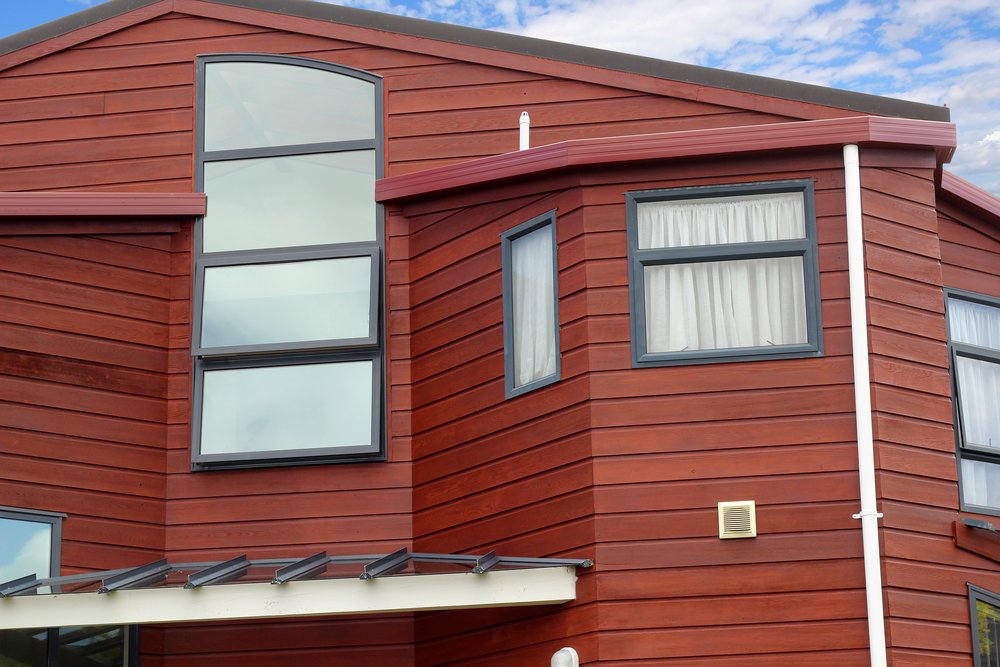
Thankfully, Cedar is such a resilient timber that a deep clean and oil can work wonders.
Maintenance Timeline
The customer first contacted us on the 15th of November, 2024.
- 21st November 2024 – Initial onsite assessment completed.
- 25th November 2024 – Quote sent.
- 6th January 2025 – Team arrived onsite to start the job.
- 21st January 2025 – Job completed.
Cedar Restoration Process
The initial assessment showed that the Cedar was in good overall condition, but the northern and western faces had been burned by the sun and were very dry.
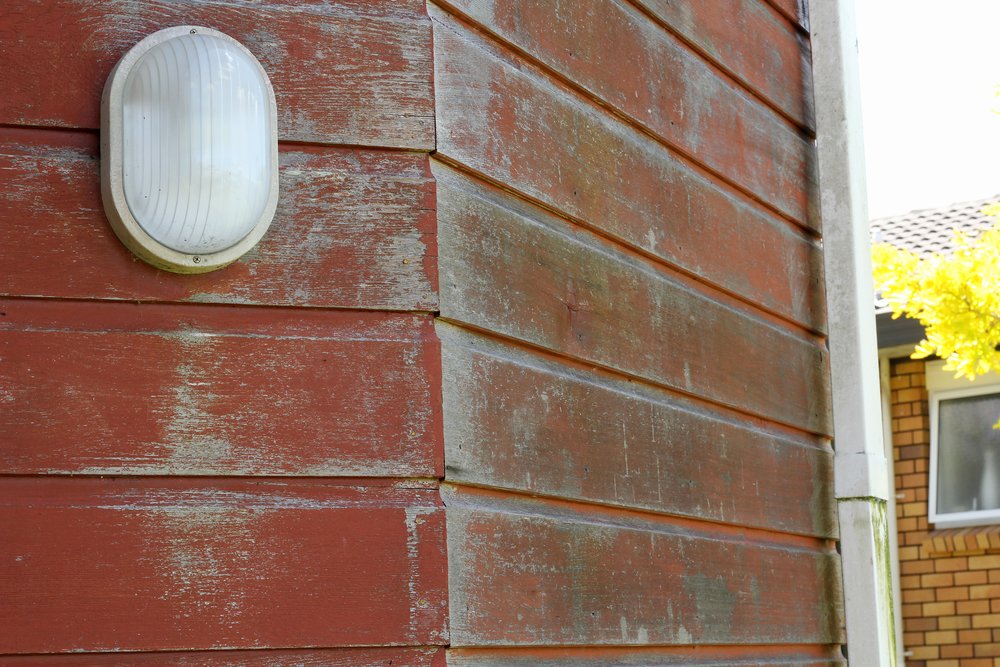
Whatever protective application they initially used did not have any pigment, leaving the Cedar to turn grey over time.
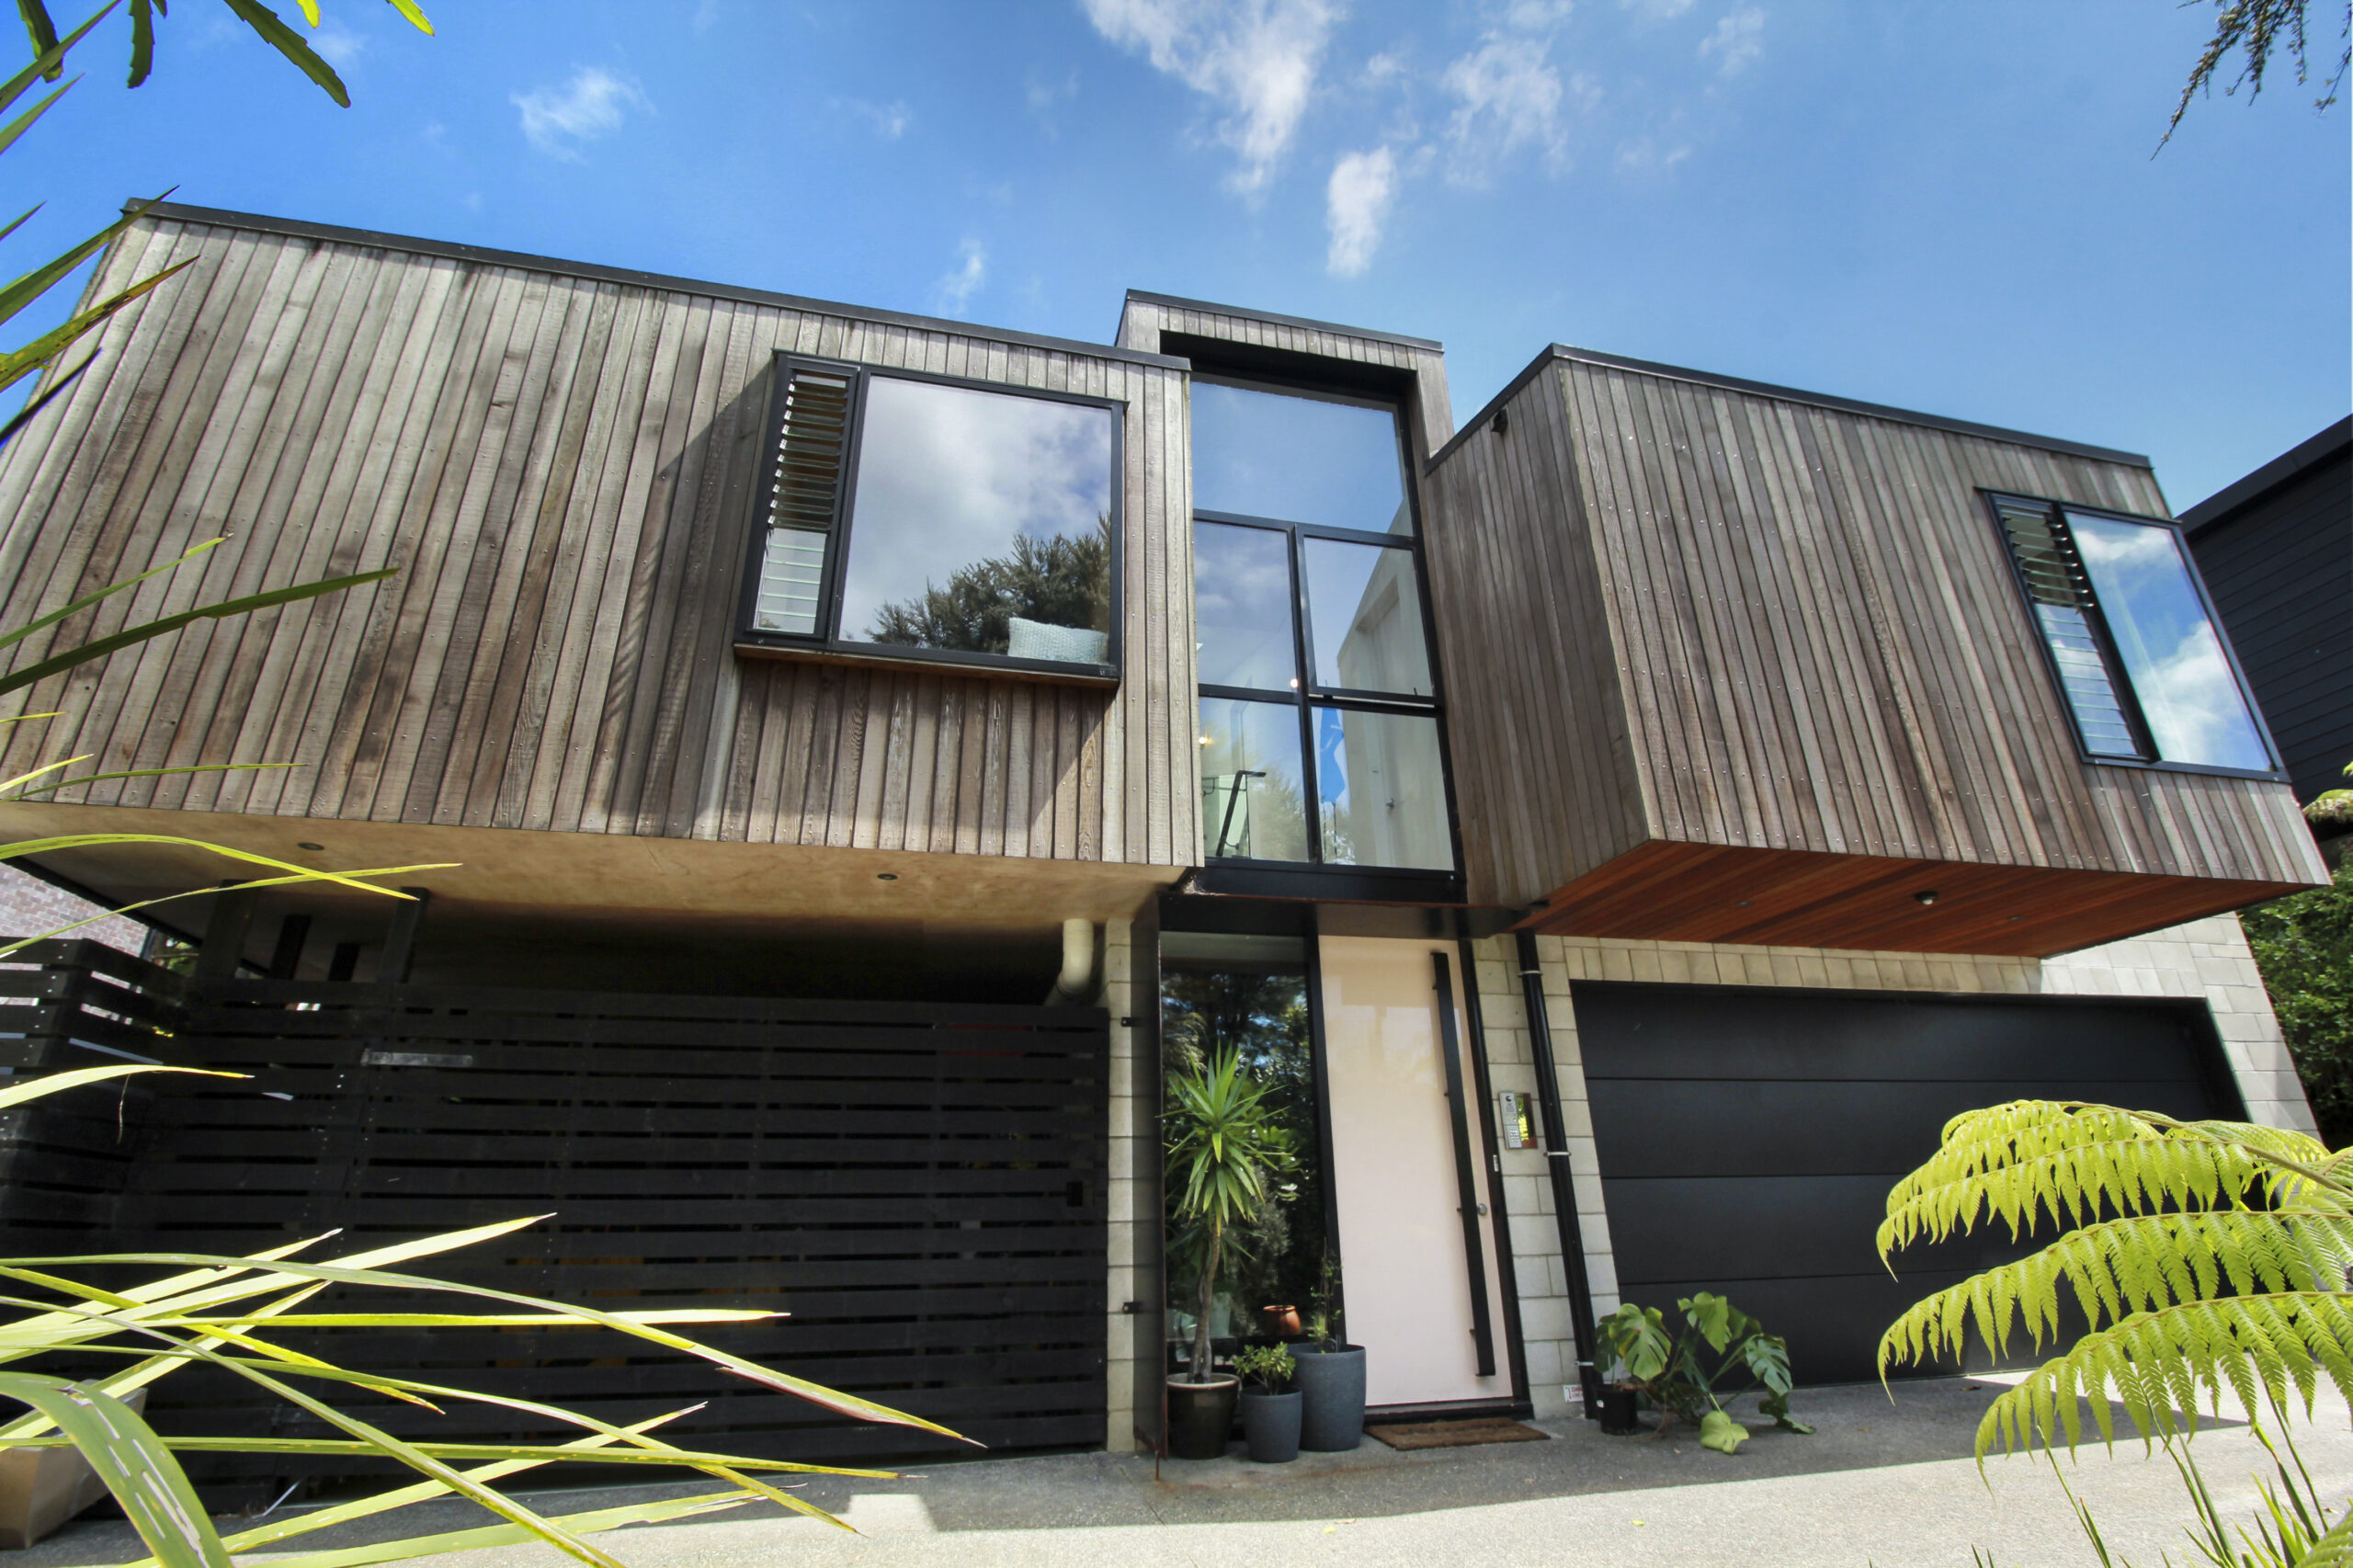
The Cedar also had mould and bacteria growing on the outside, which happens when the harsh UV rays break down the surface of the timber. To remove the organic matter, we deep clean the Cedar using a biodegradable cleaning solution that is safe for pets and does not harm any surrounding plant life.
Once the timber is clean and dry, we can start to apply the oil.
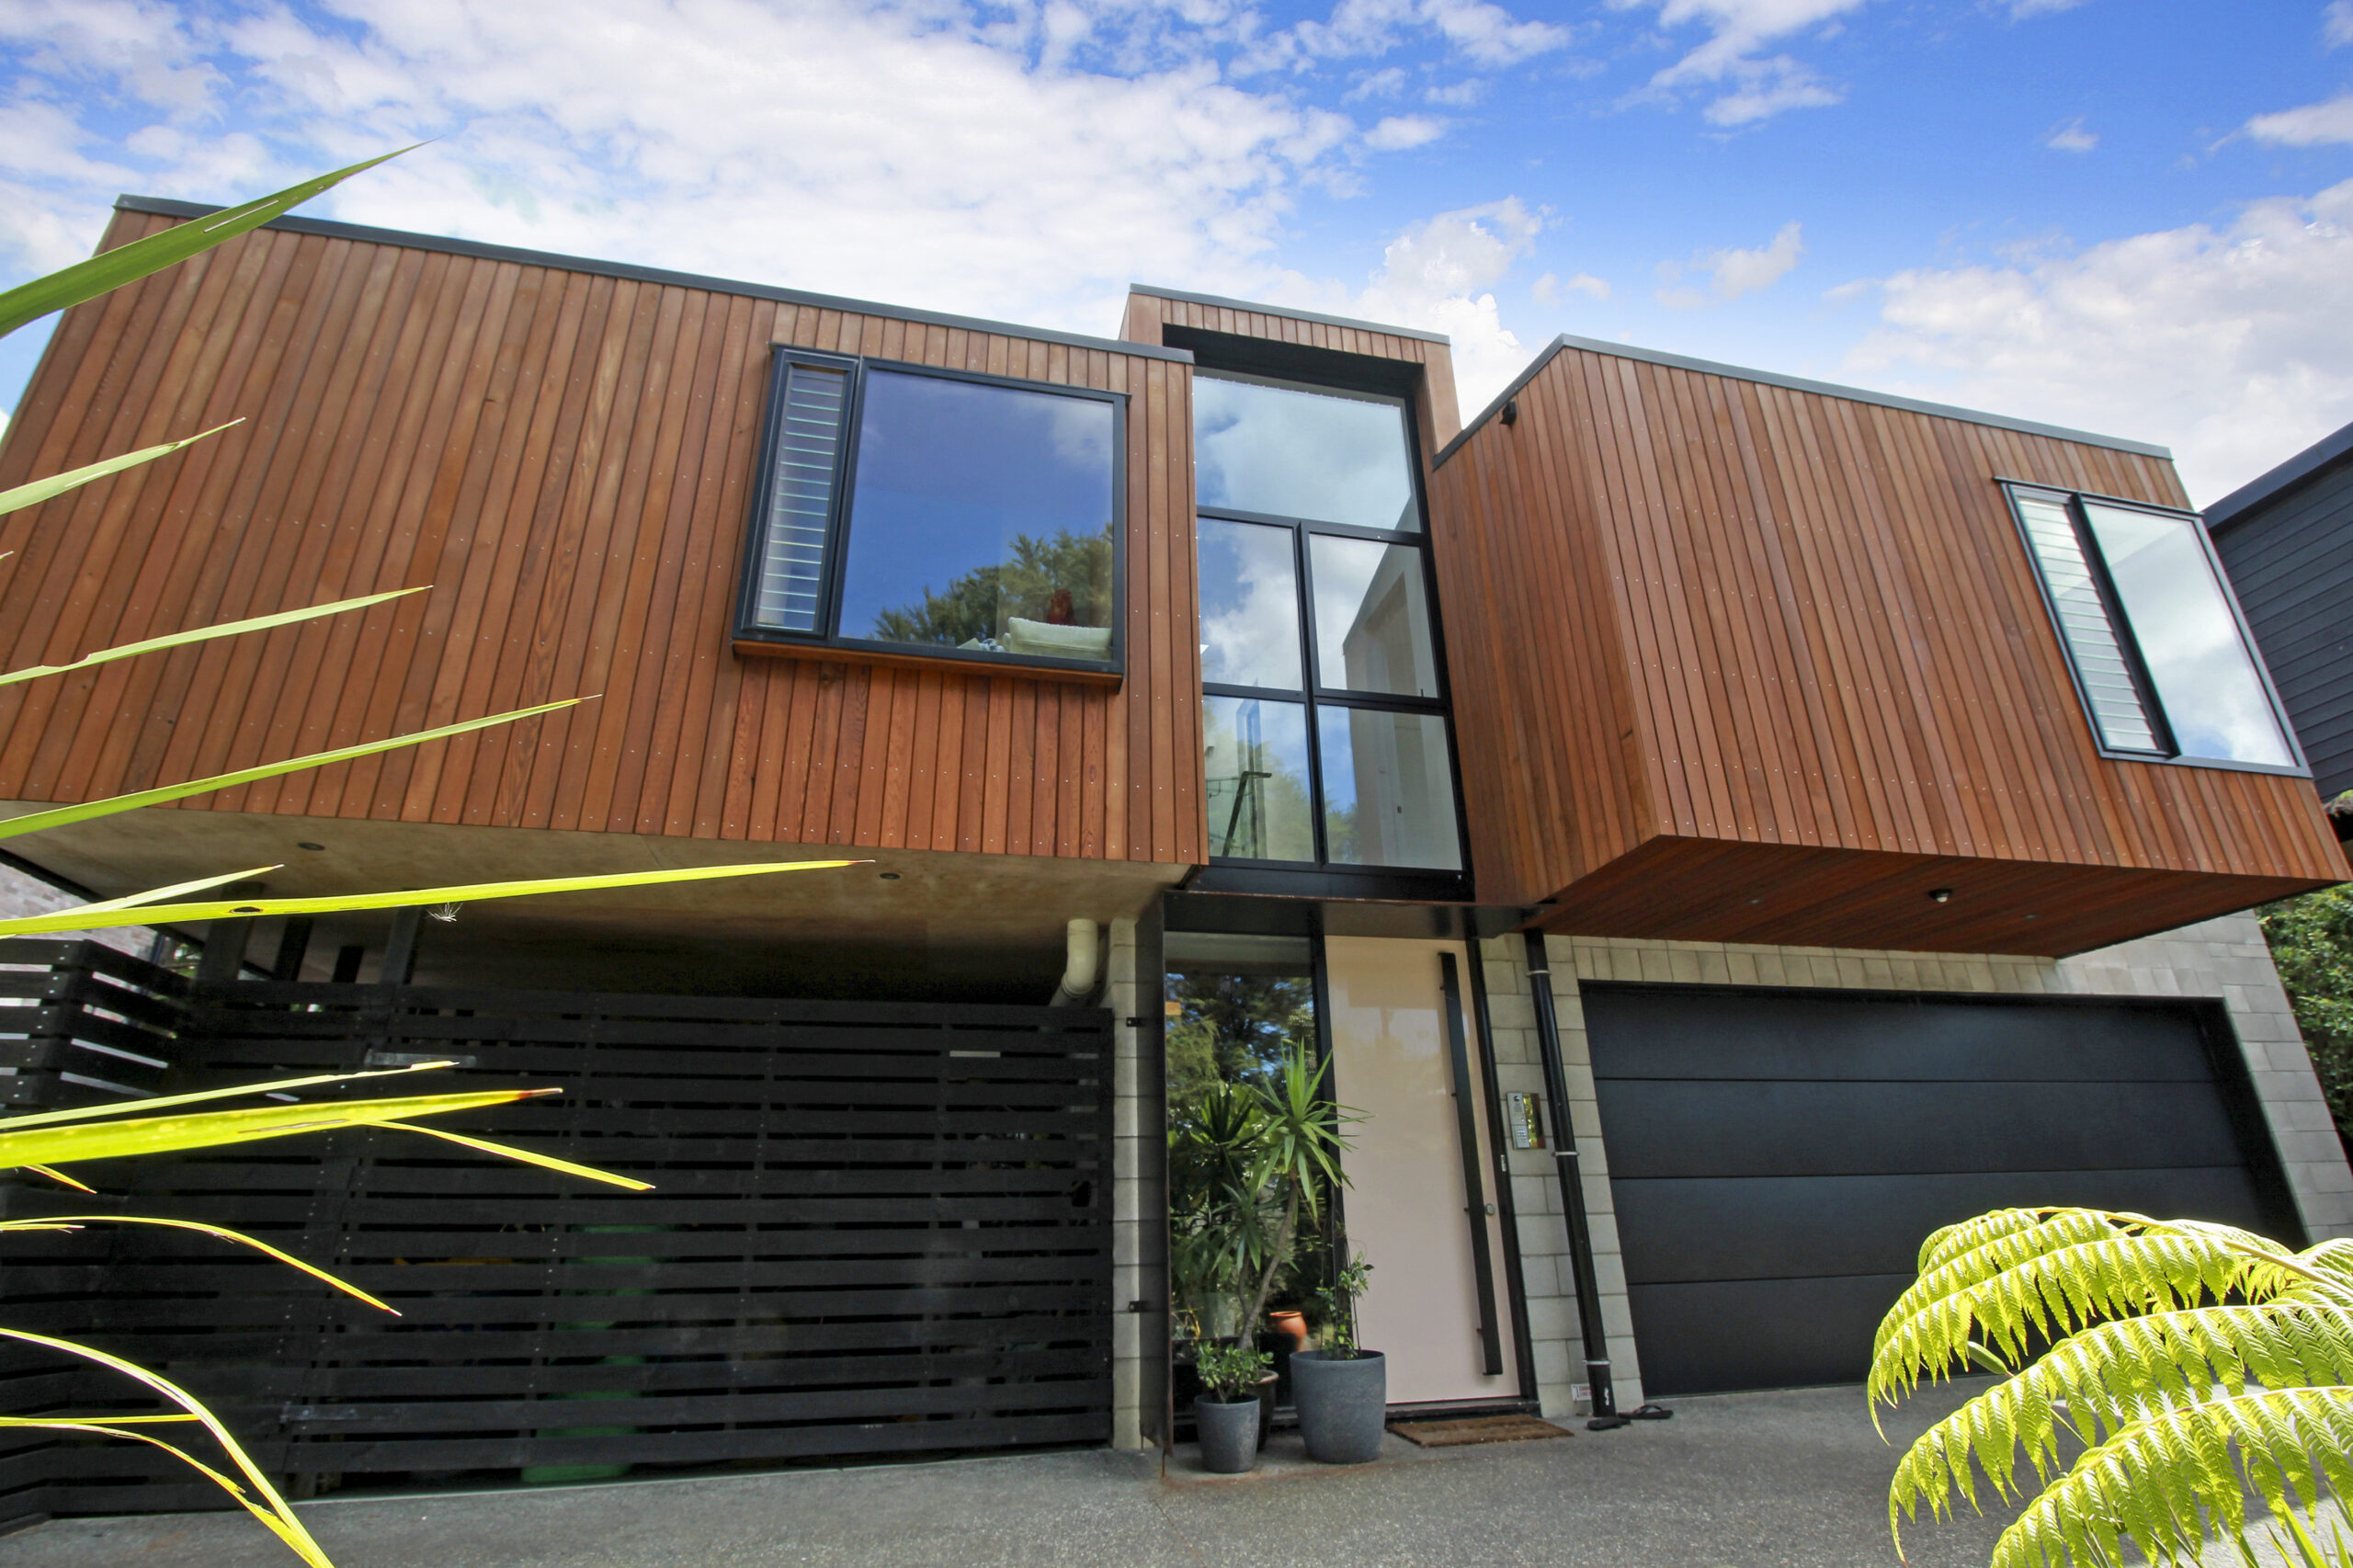
The customer chose Wood-X Kauri Gum to give the Cedar a natural look, closely resembling wet Cedar. This is a mineral oil that soaks into the timber, leaving pigment on the surface to protect against the UV rays.
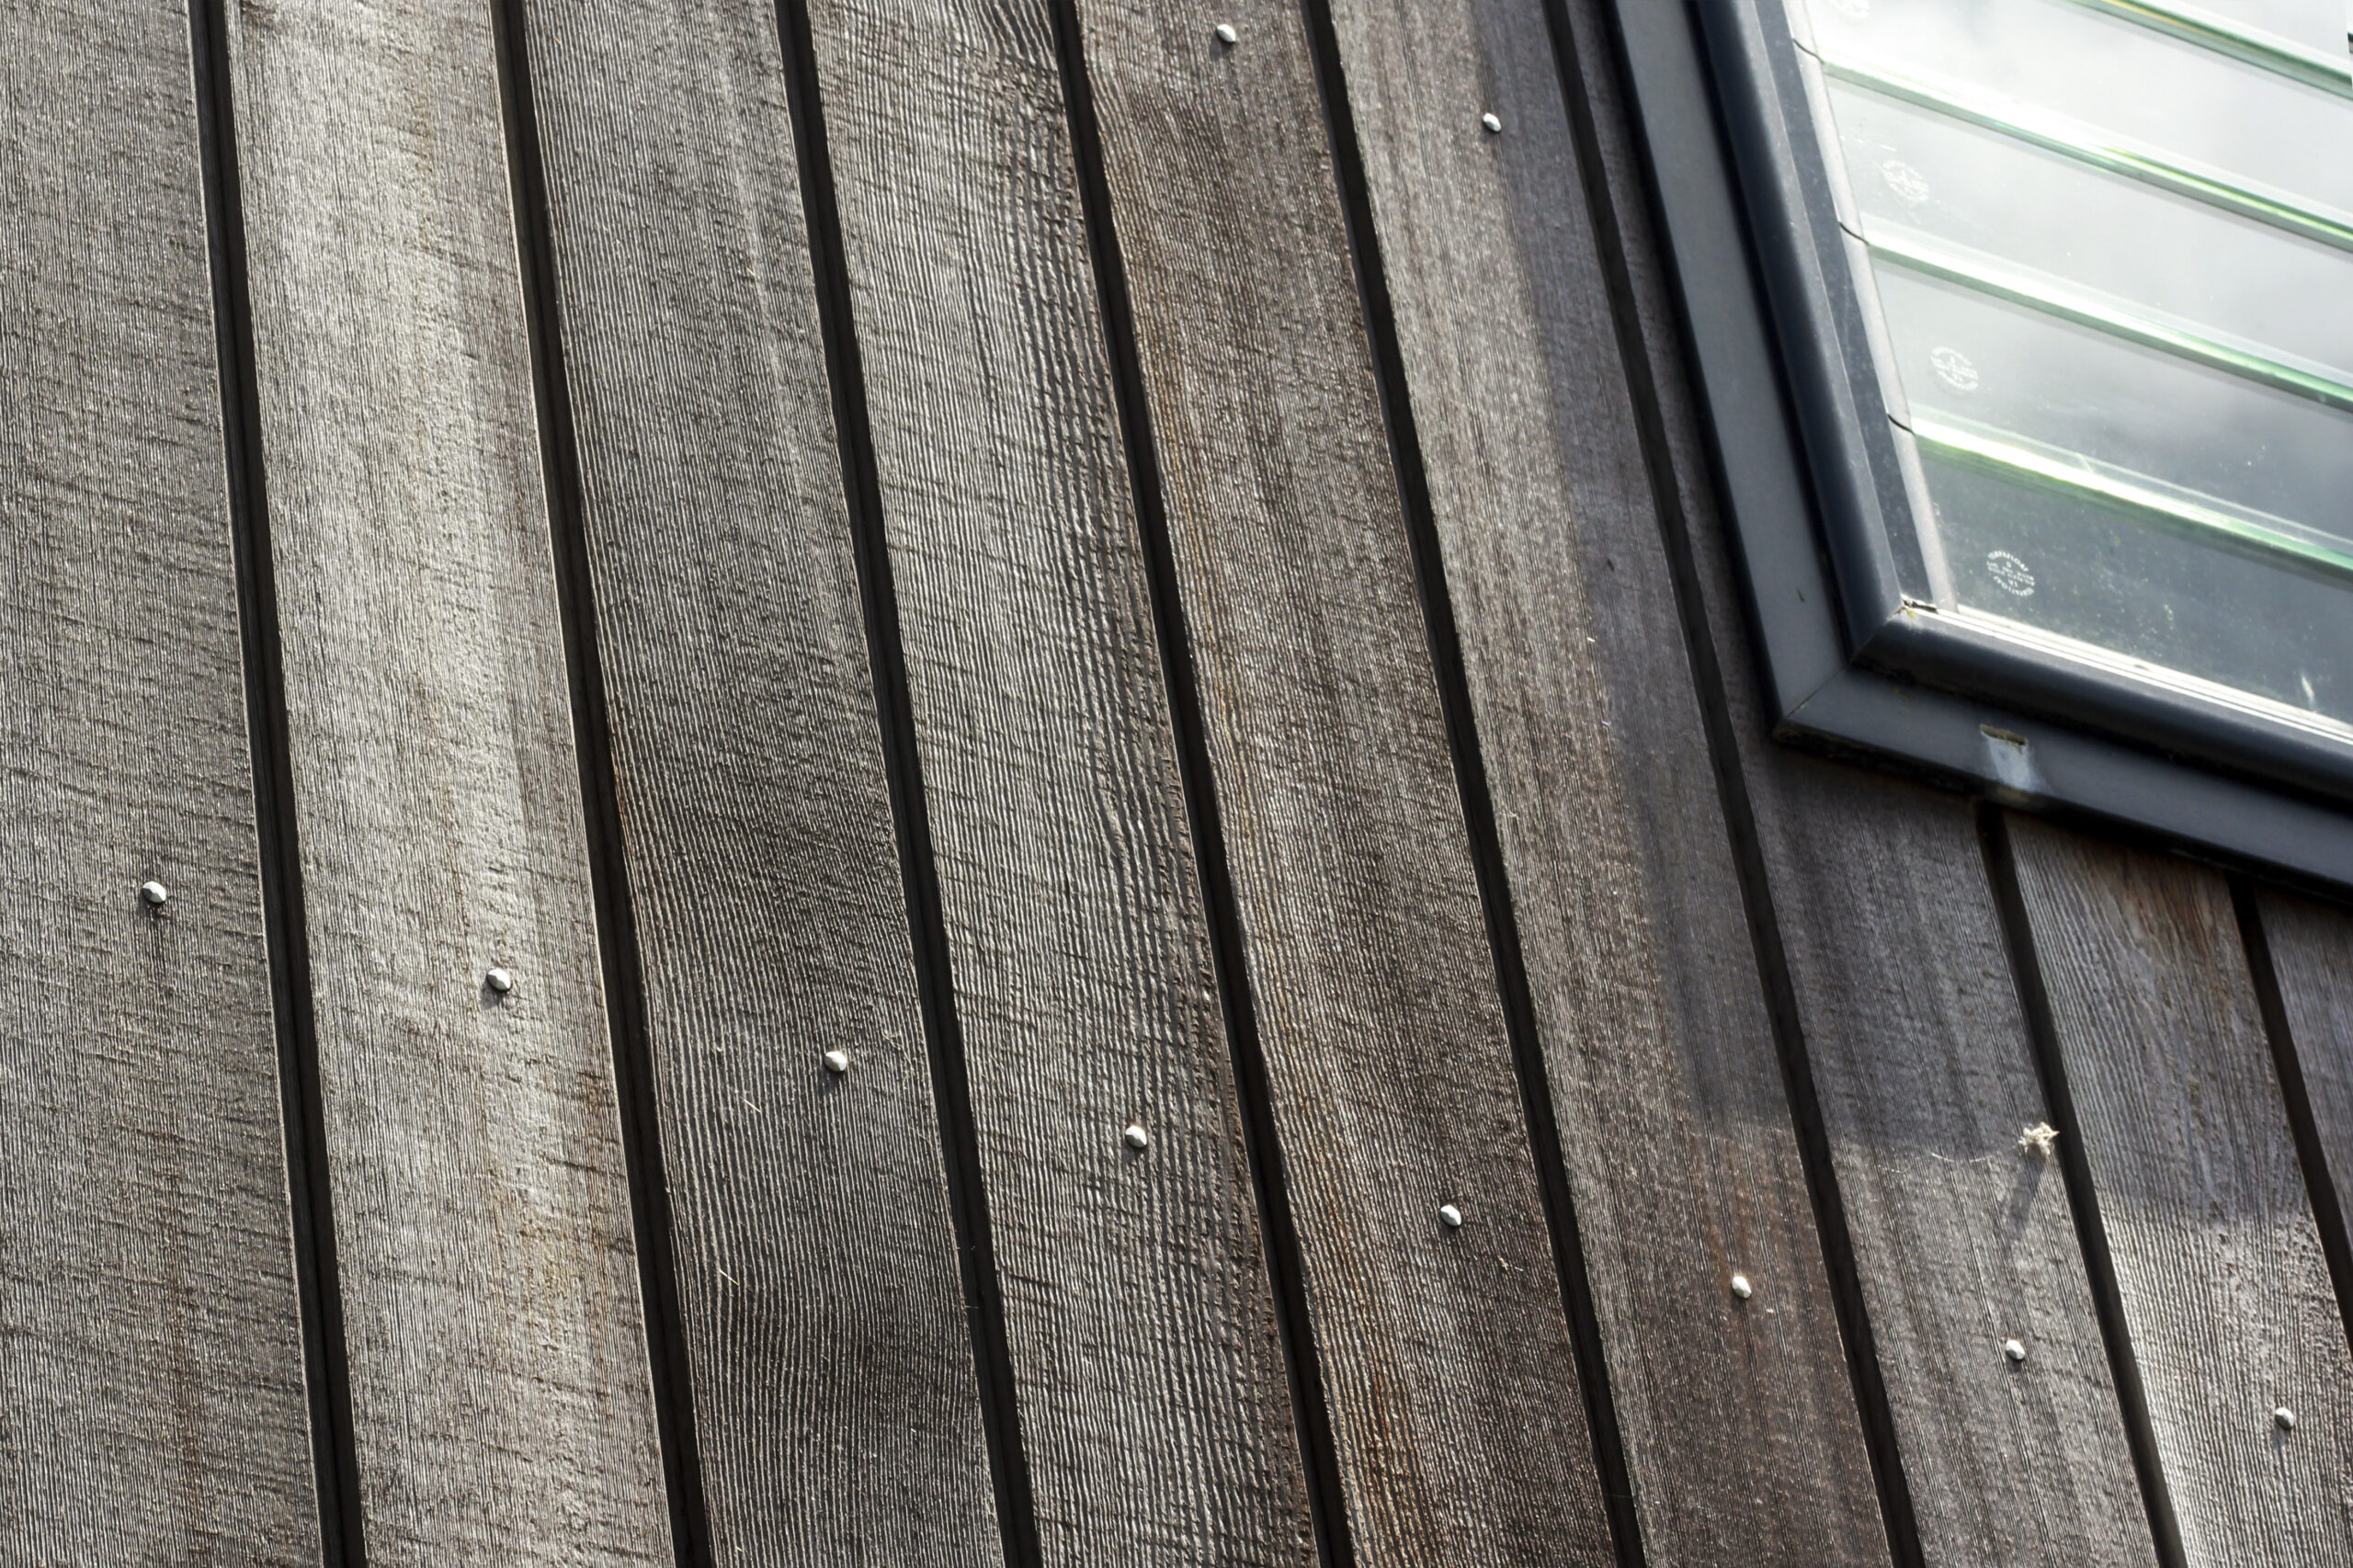
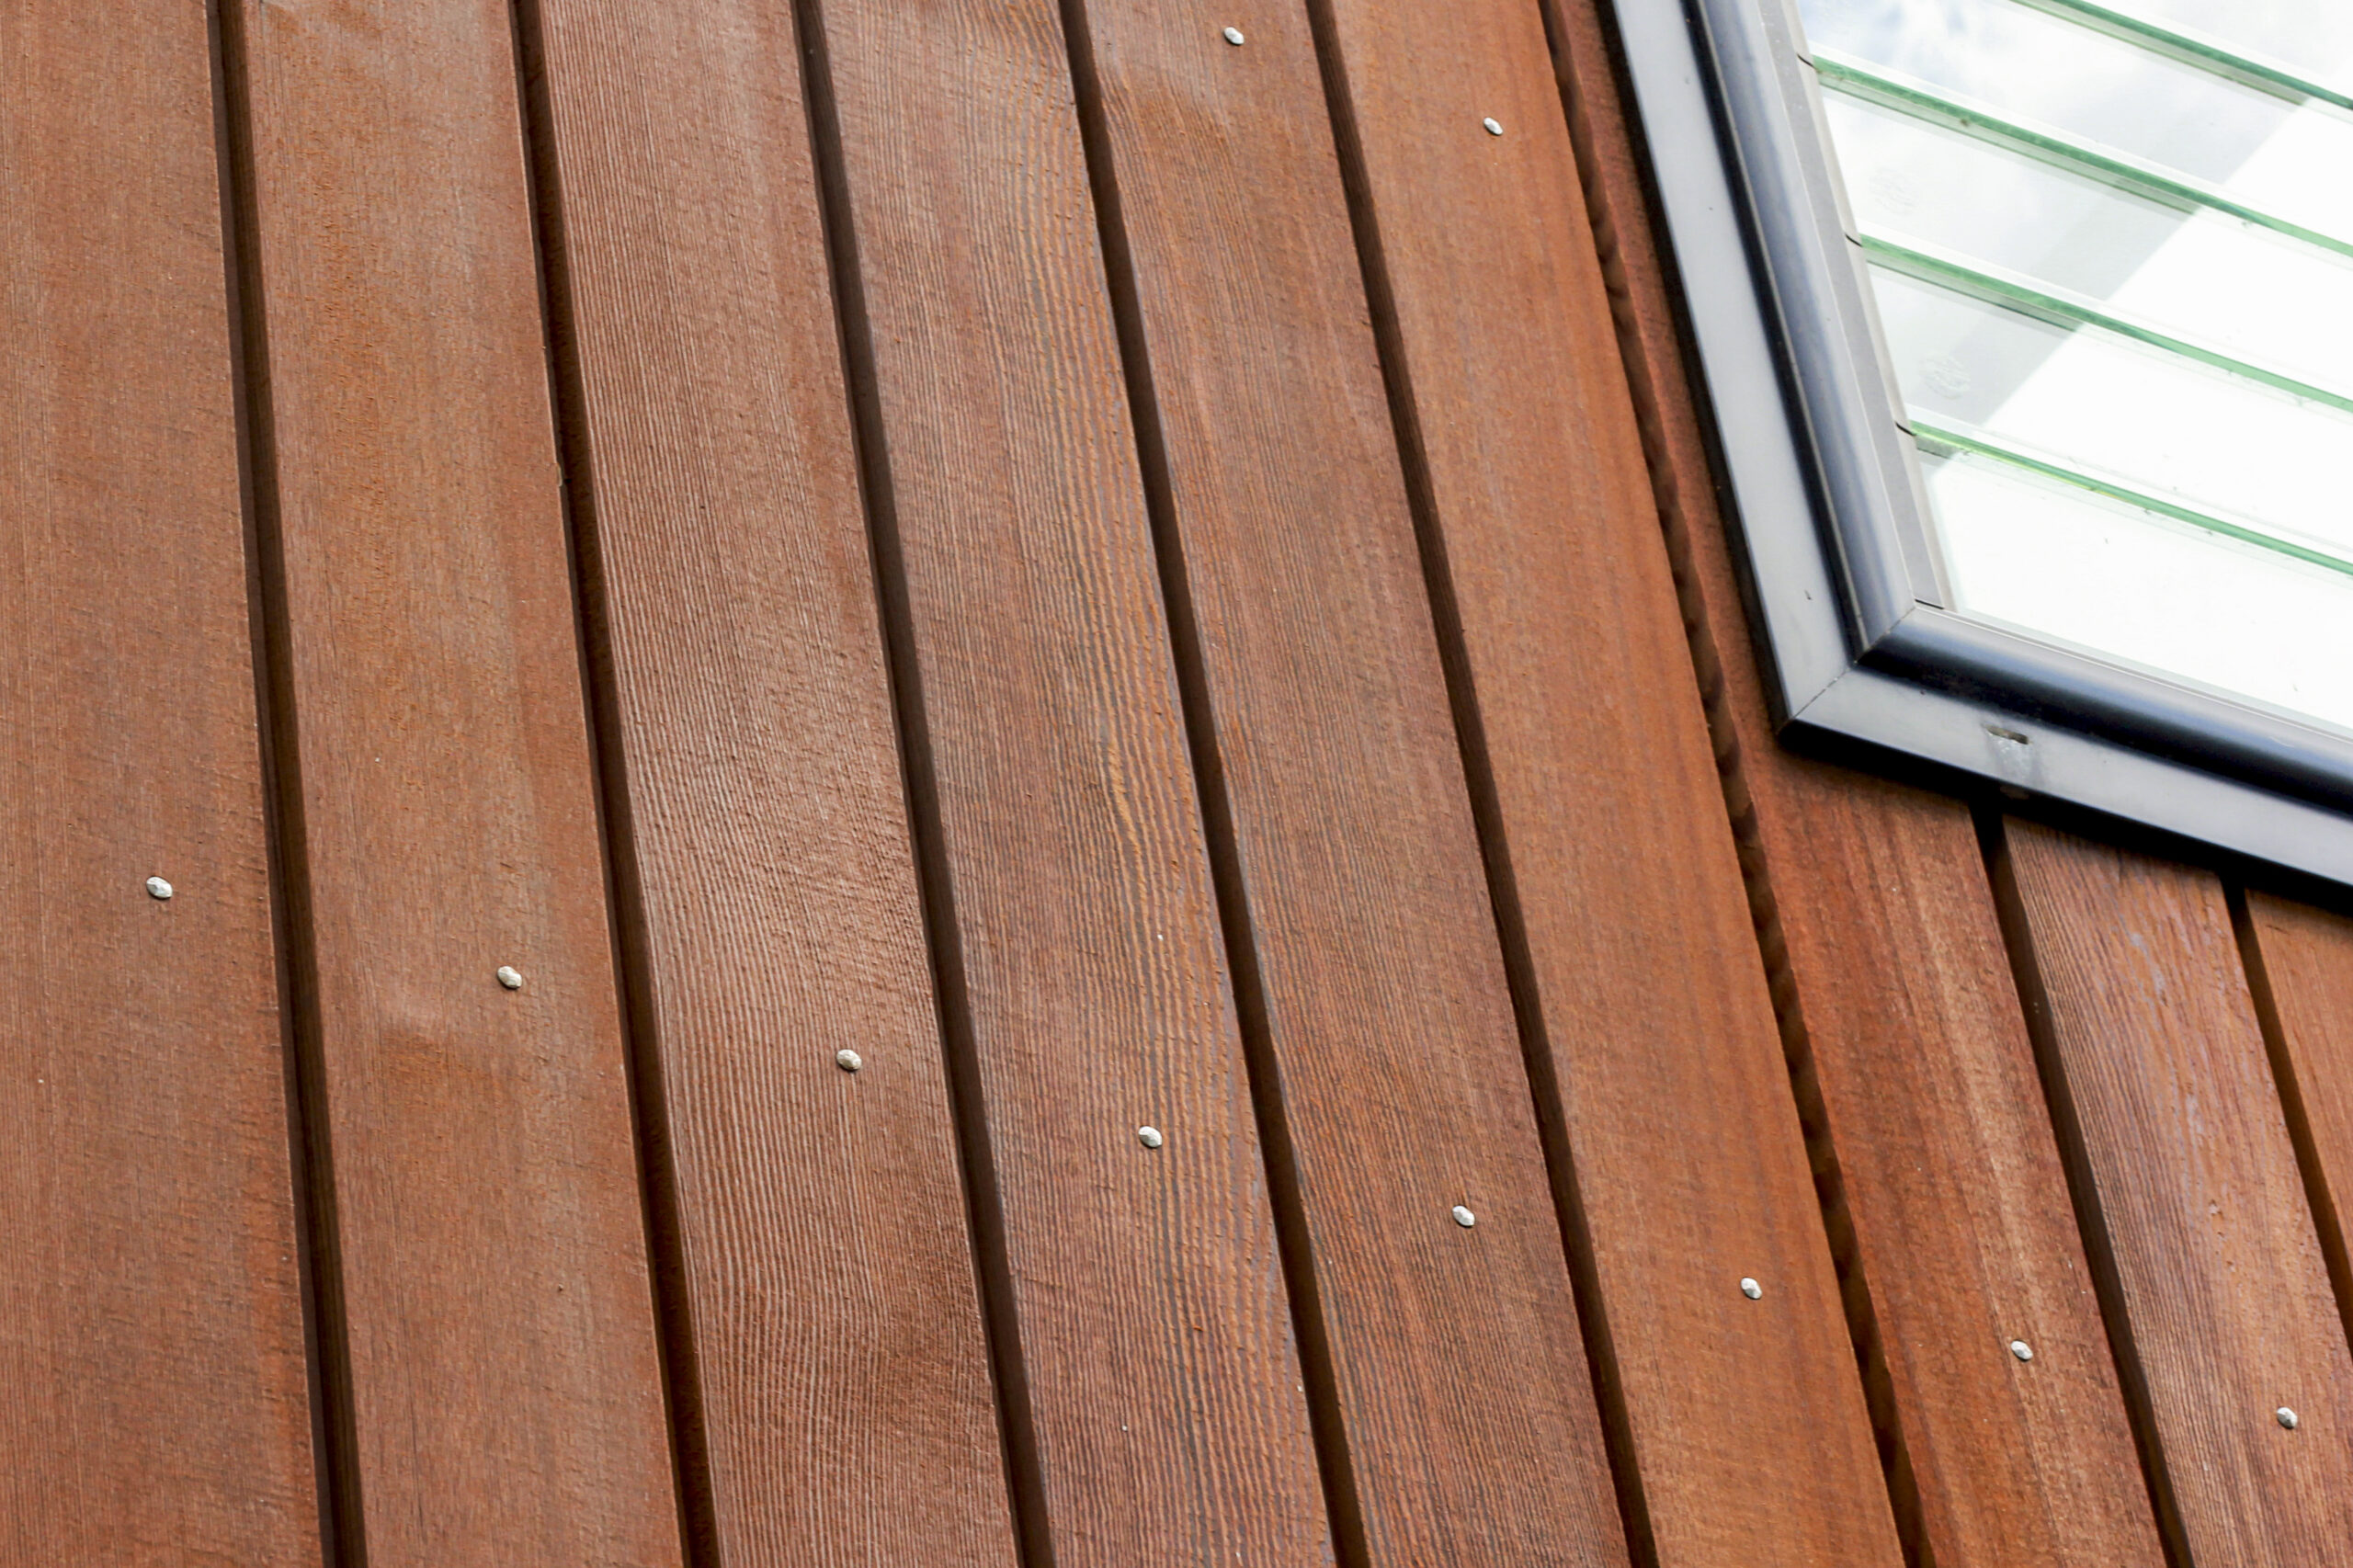
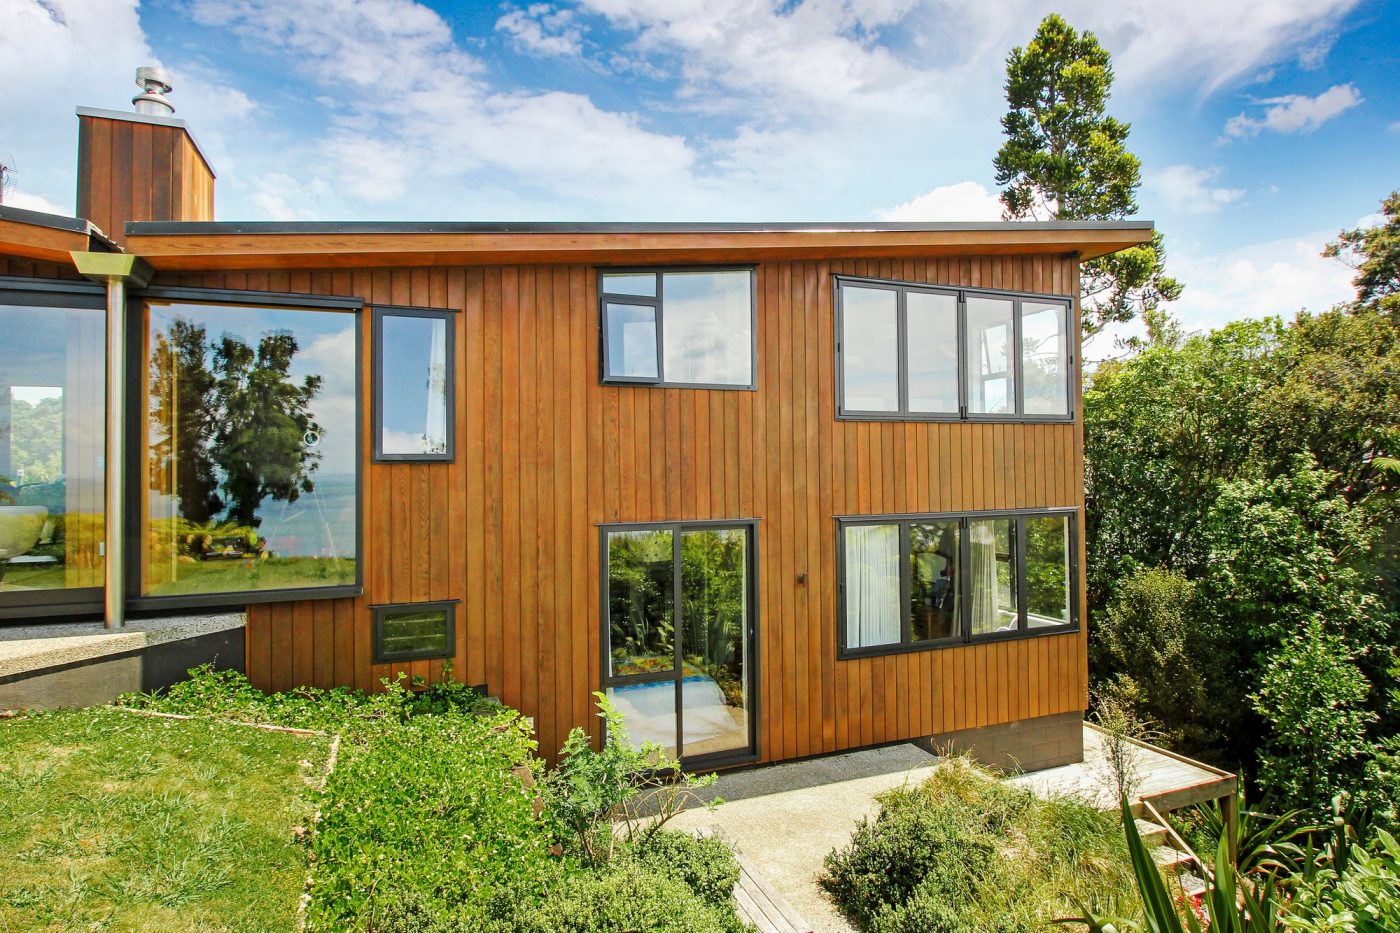
The northern face of the house runs long up the side of the property and is the first thing you see upon arrival.
The top of the cladding has been bleached by the sun. This was extremely dry and sucked up a lot of oil, around 4 square meters per litre.
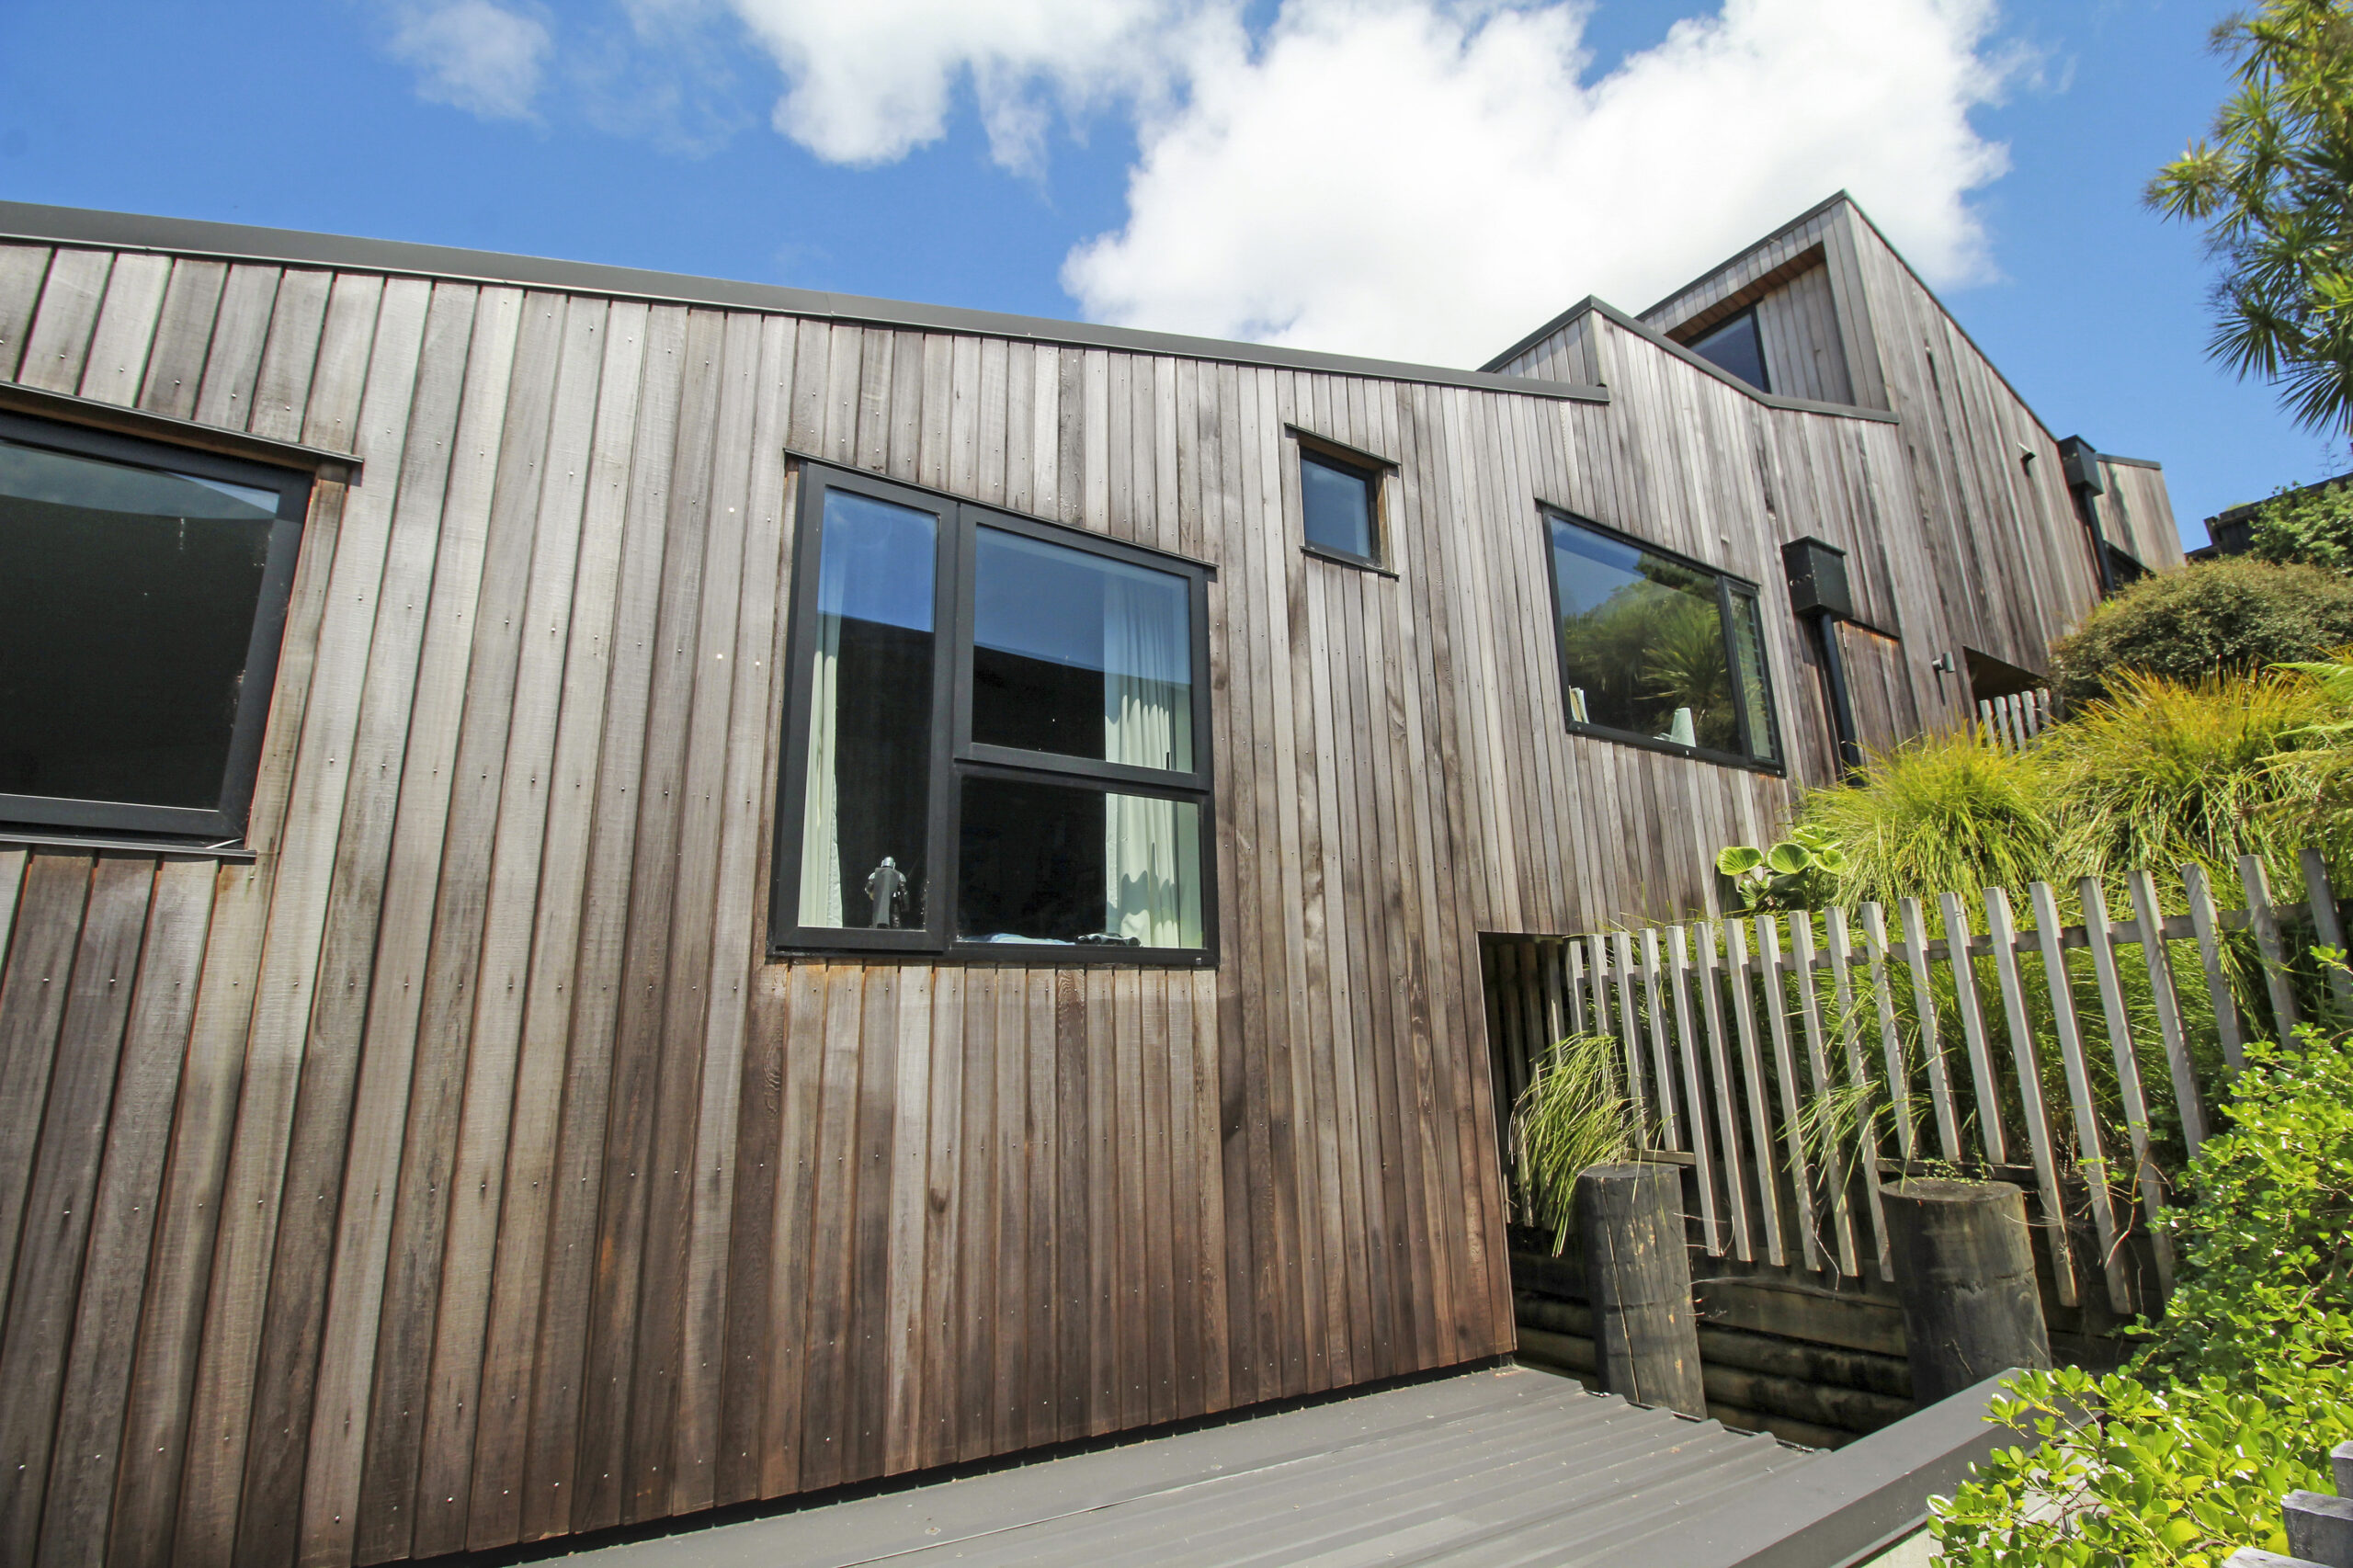
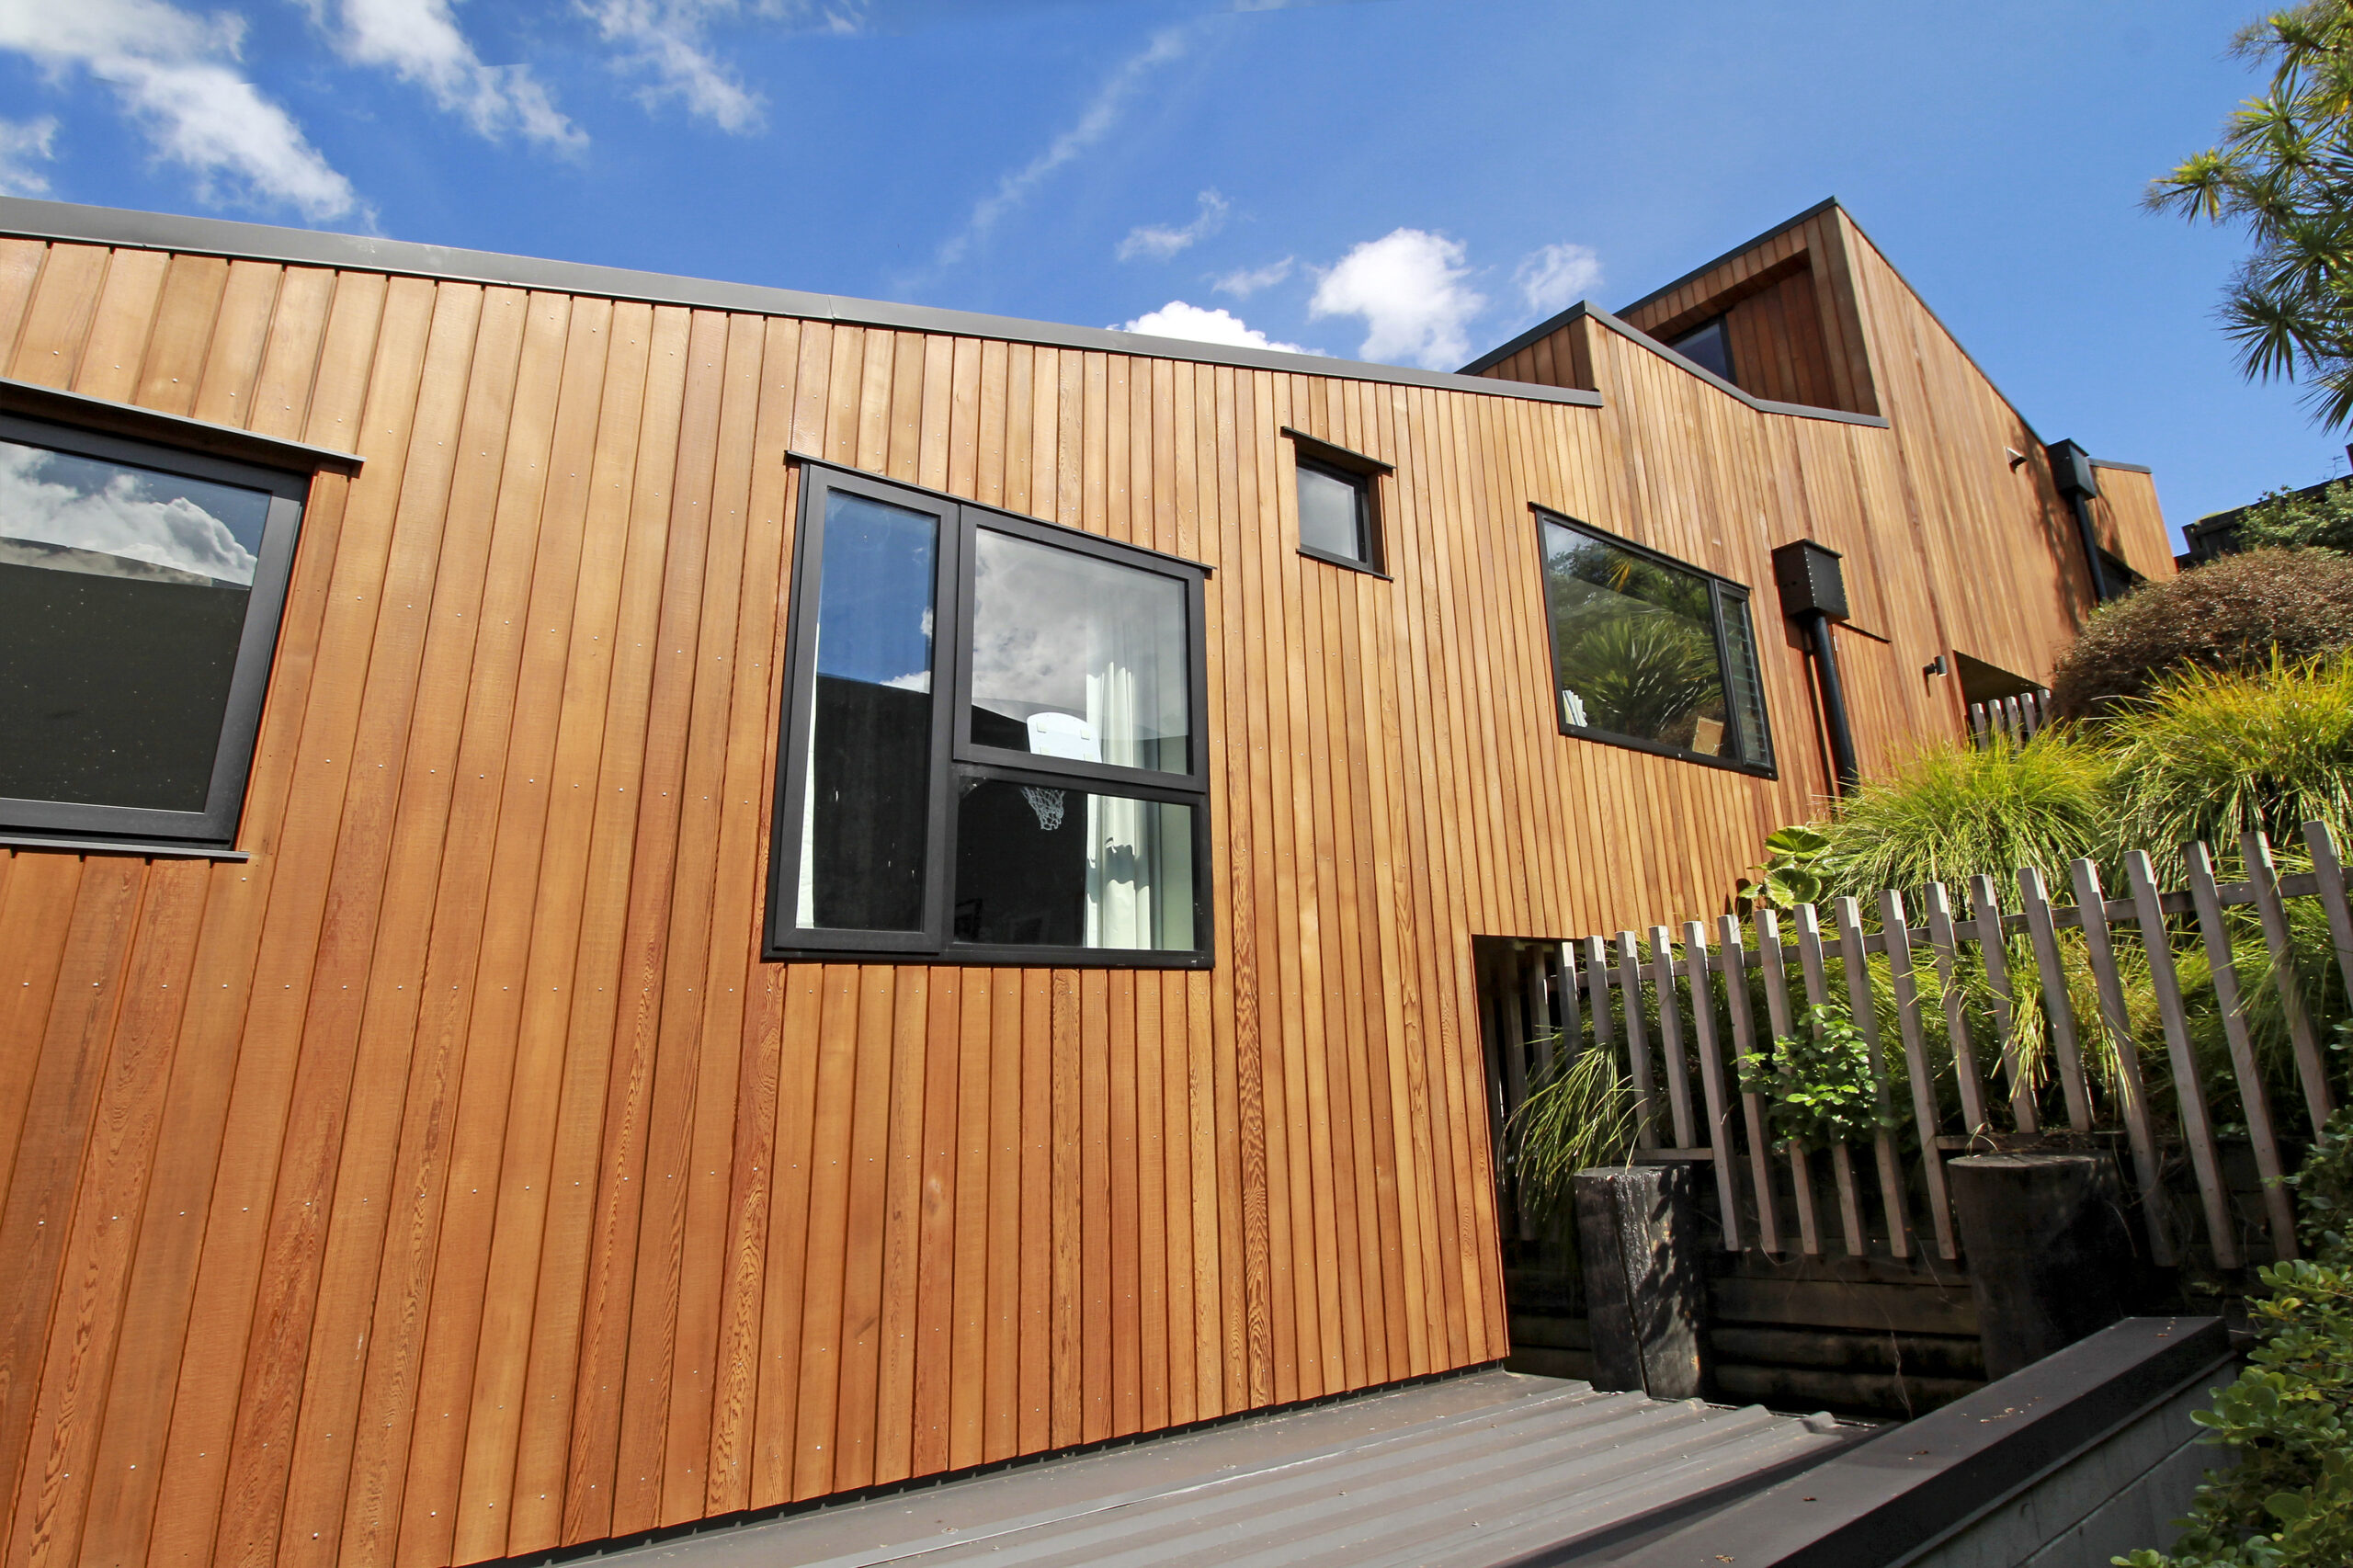
If you look under the window frame, you can see where the windows have been cleaned with a brush. Cedar is very structurally sound, but the surface can be easily damaged if you are not careful.
The darker sections at the bottom are mould and pollen, which have been exacerbated by the surrounding bush. Sometimes the trees can protect the timber if they are nestled in tight, but the number of trees here added to the amount of pollen on the timber.
Cedar Restoration Challenges
There were two main challenges for this job: access issues and uneven weathering.
The southern face of the house has high walls and two large water tanks at the base. Without ground access we could not use ladders or mobile scaffolding. To gain safe access to this area, we used fixed scaffolding.
Both the southern and northern faces have uneven ground, with limited access, and required careful use of ladders.
The dormer situated on the roof at the back of the house also needed rope and harness to be done safely.
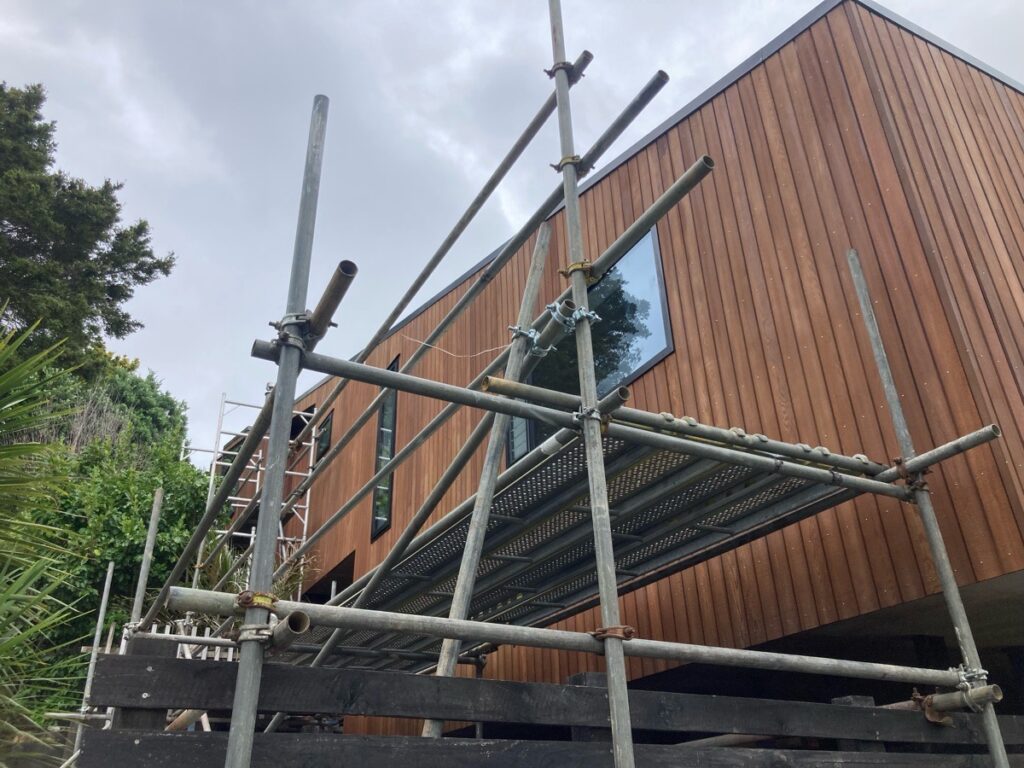
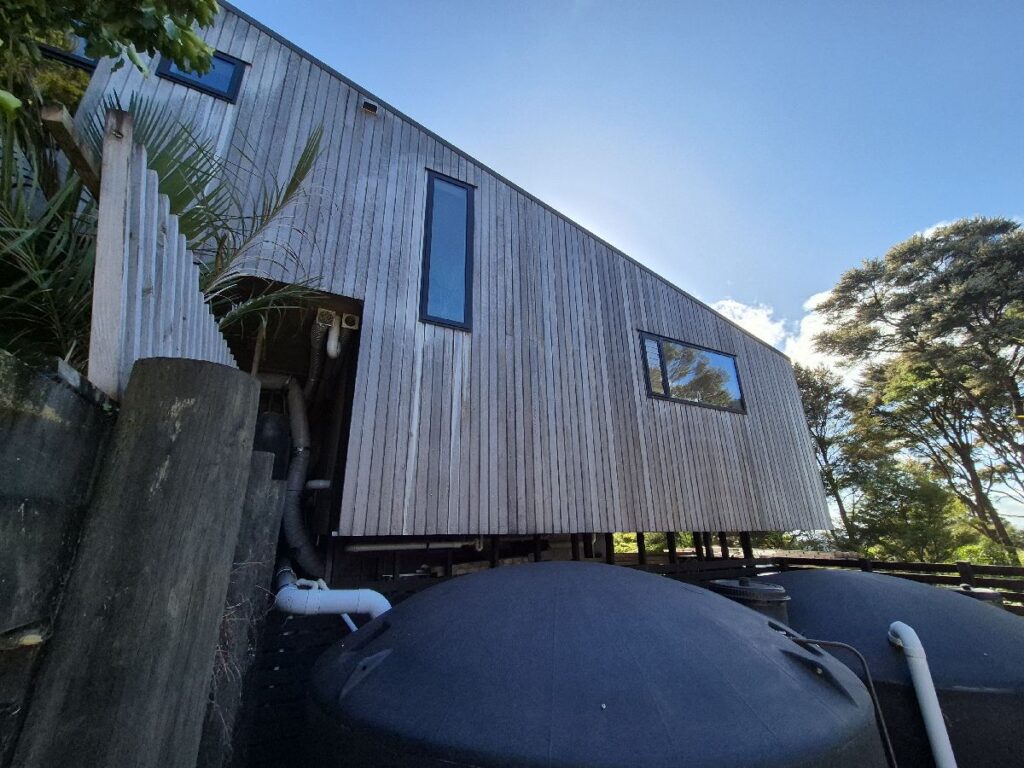
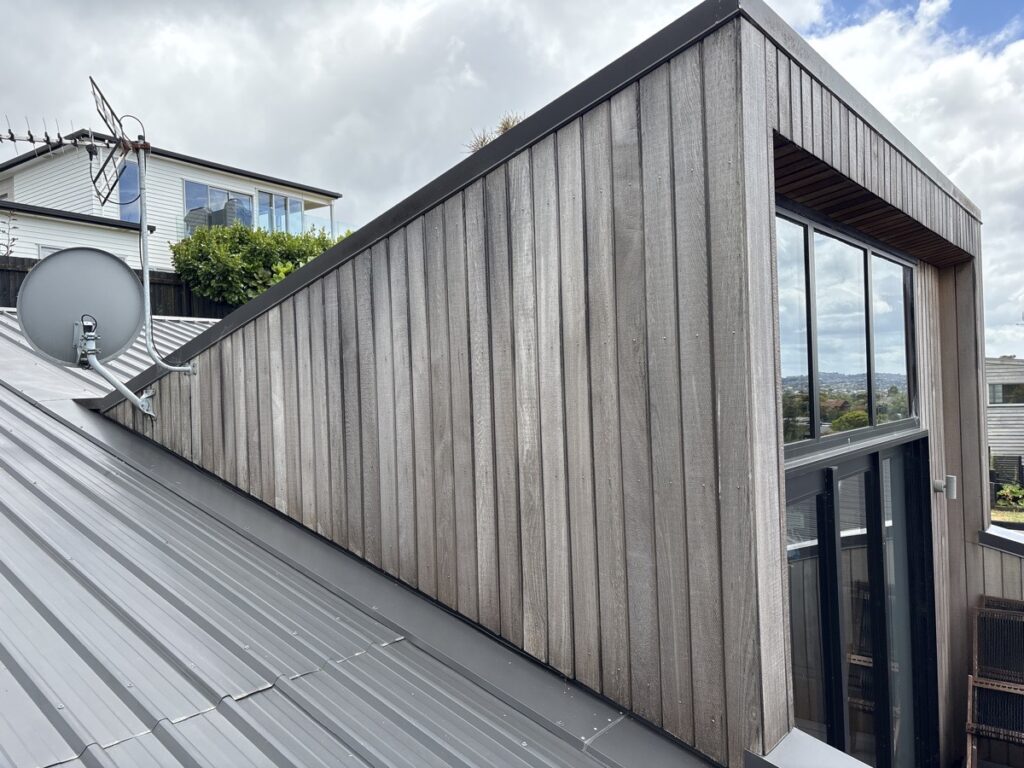
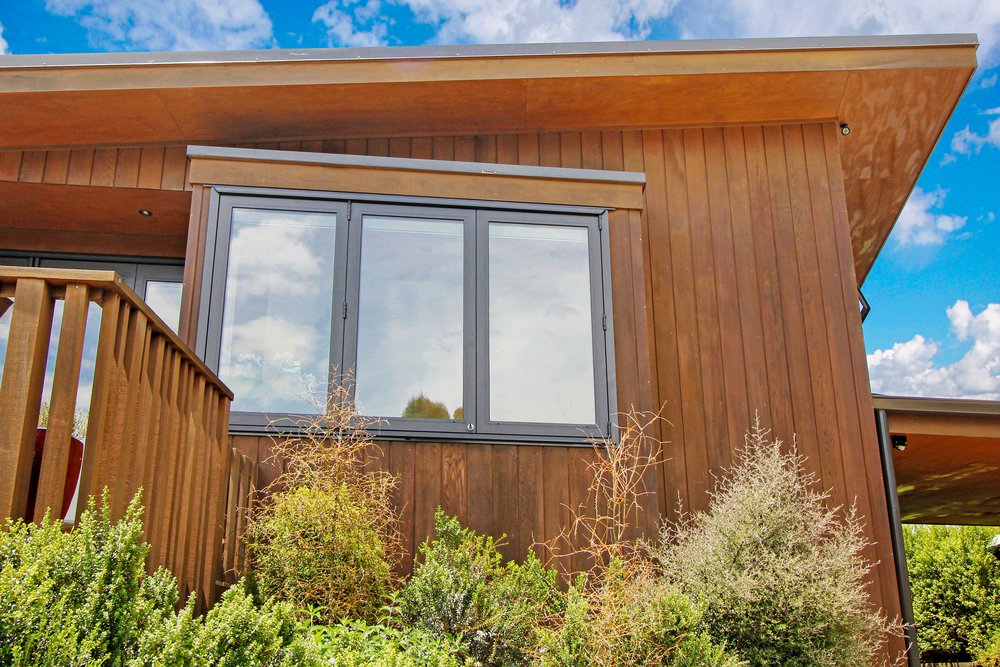
As mentioned before, it’s best not to have any soffits or overhangs on Cedar homes. While they do protect the timber from the sun, the effect can be aesthetically unpleasant, as seen here on the western face.
In the photo below, there is a line just below the overhang where the Cedar was shaded from the sun. To fix uneven weathering, our team needs to strip back the surface to an even finish and then apply oil.
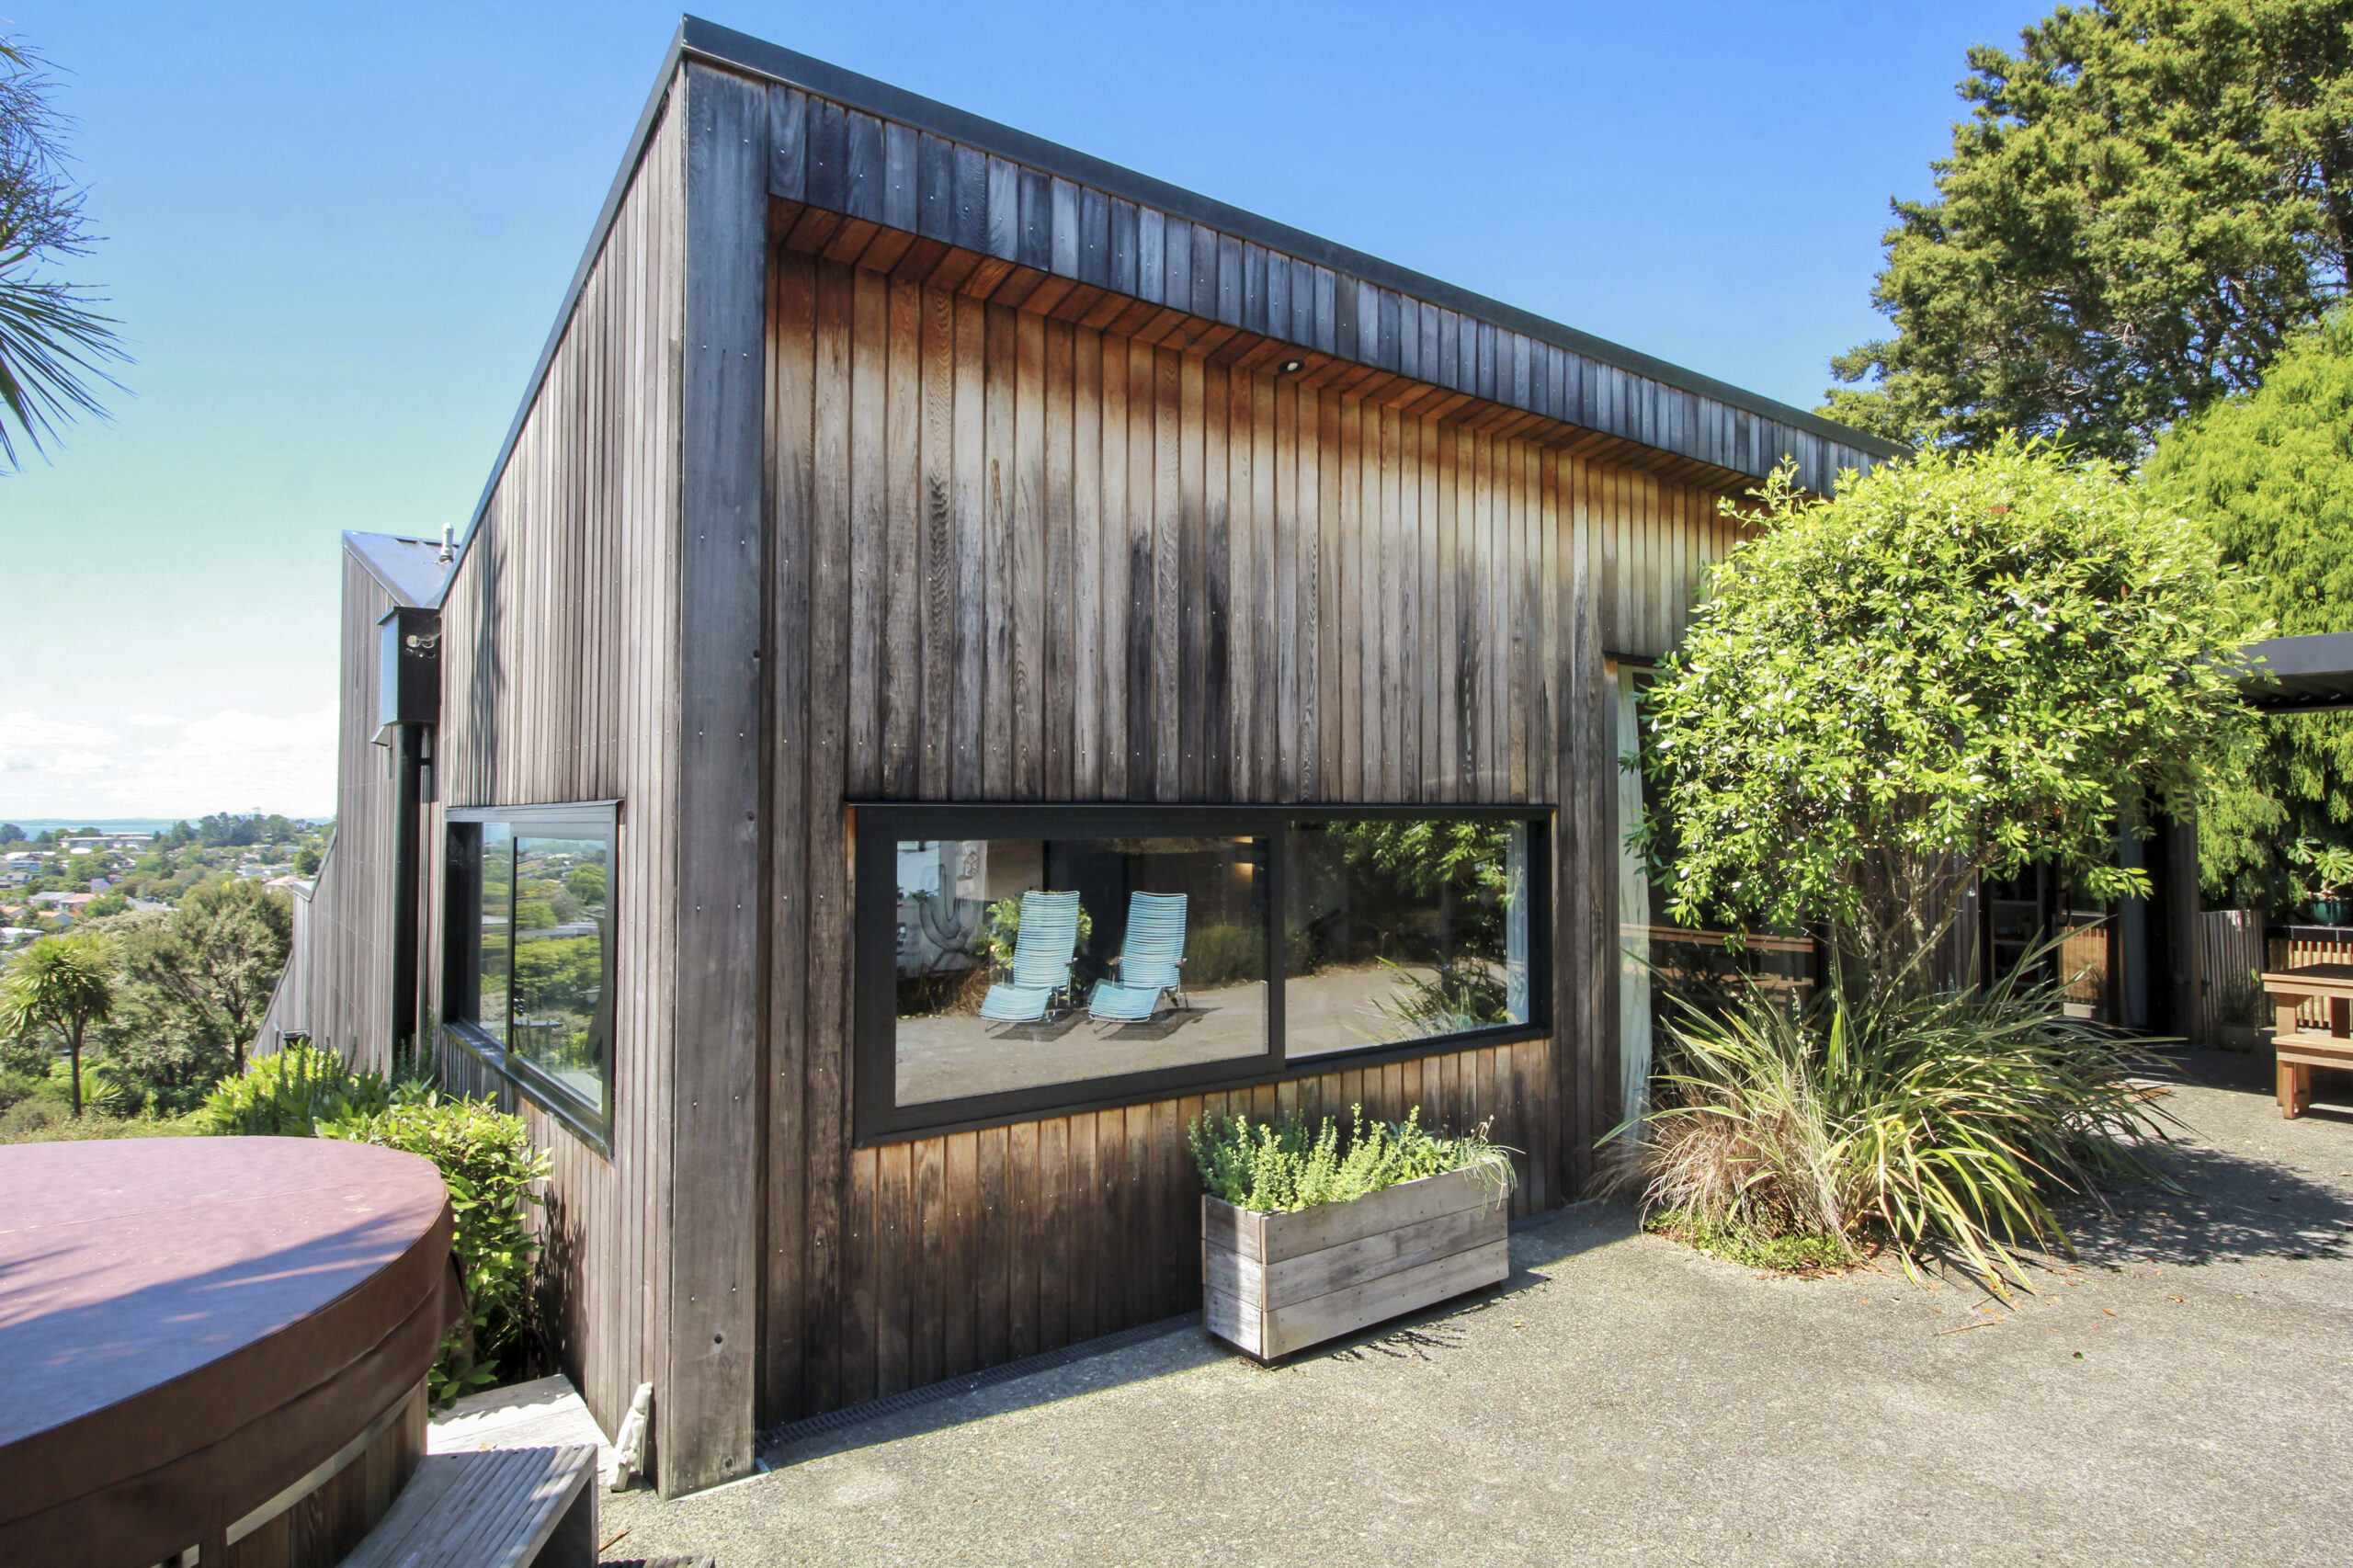
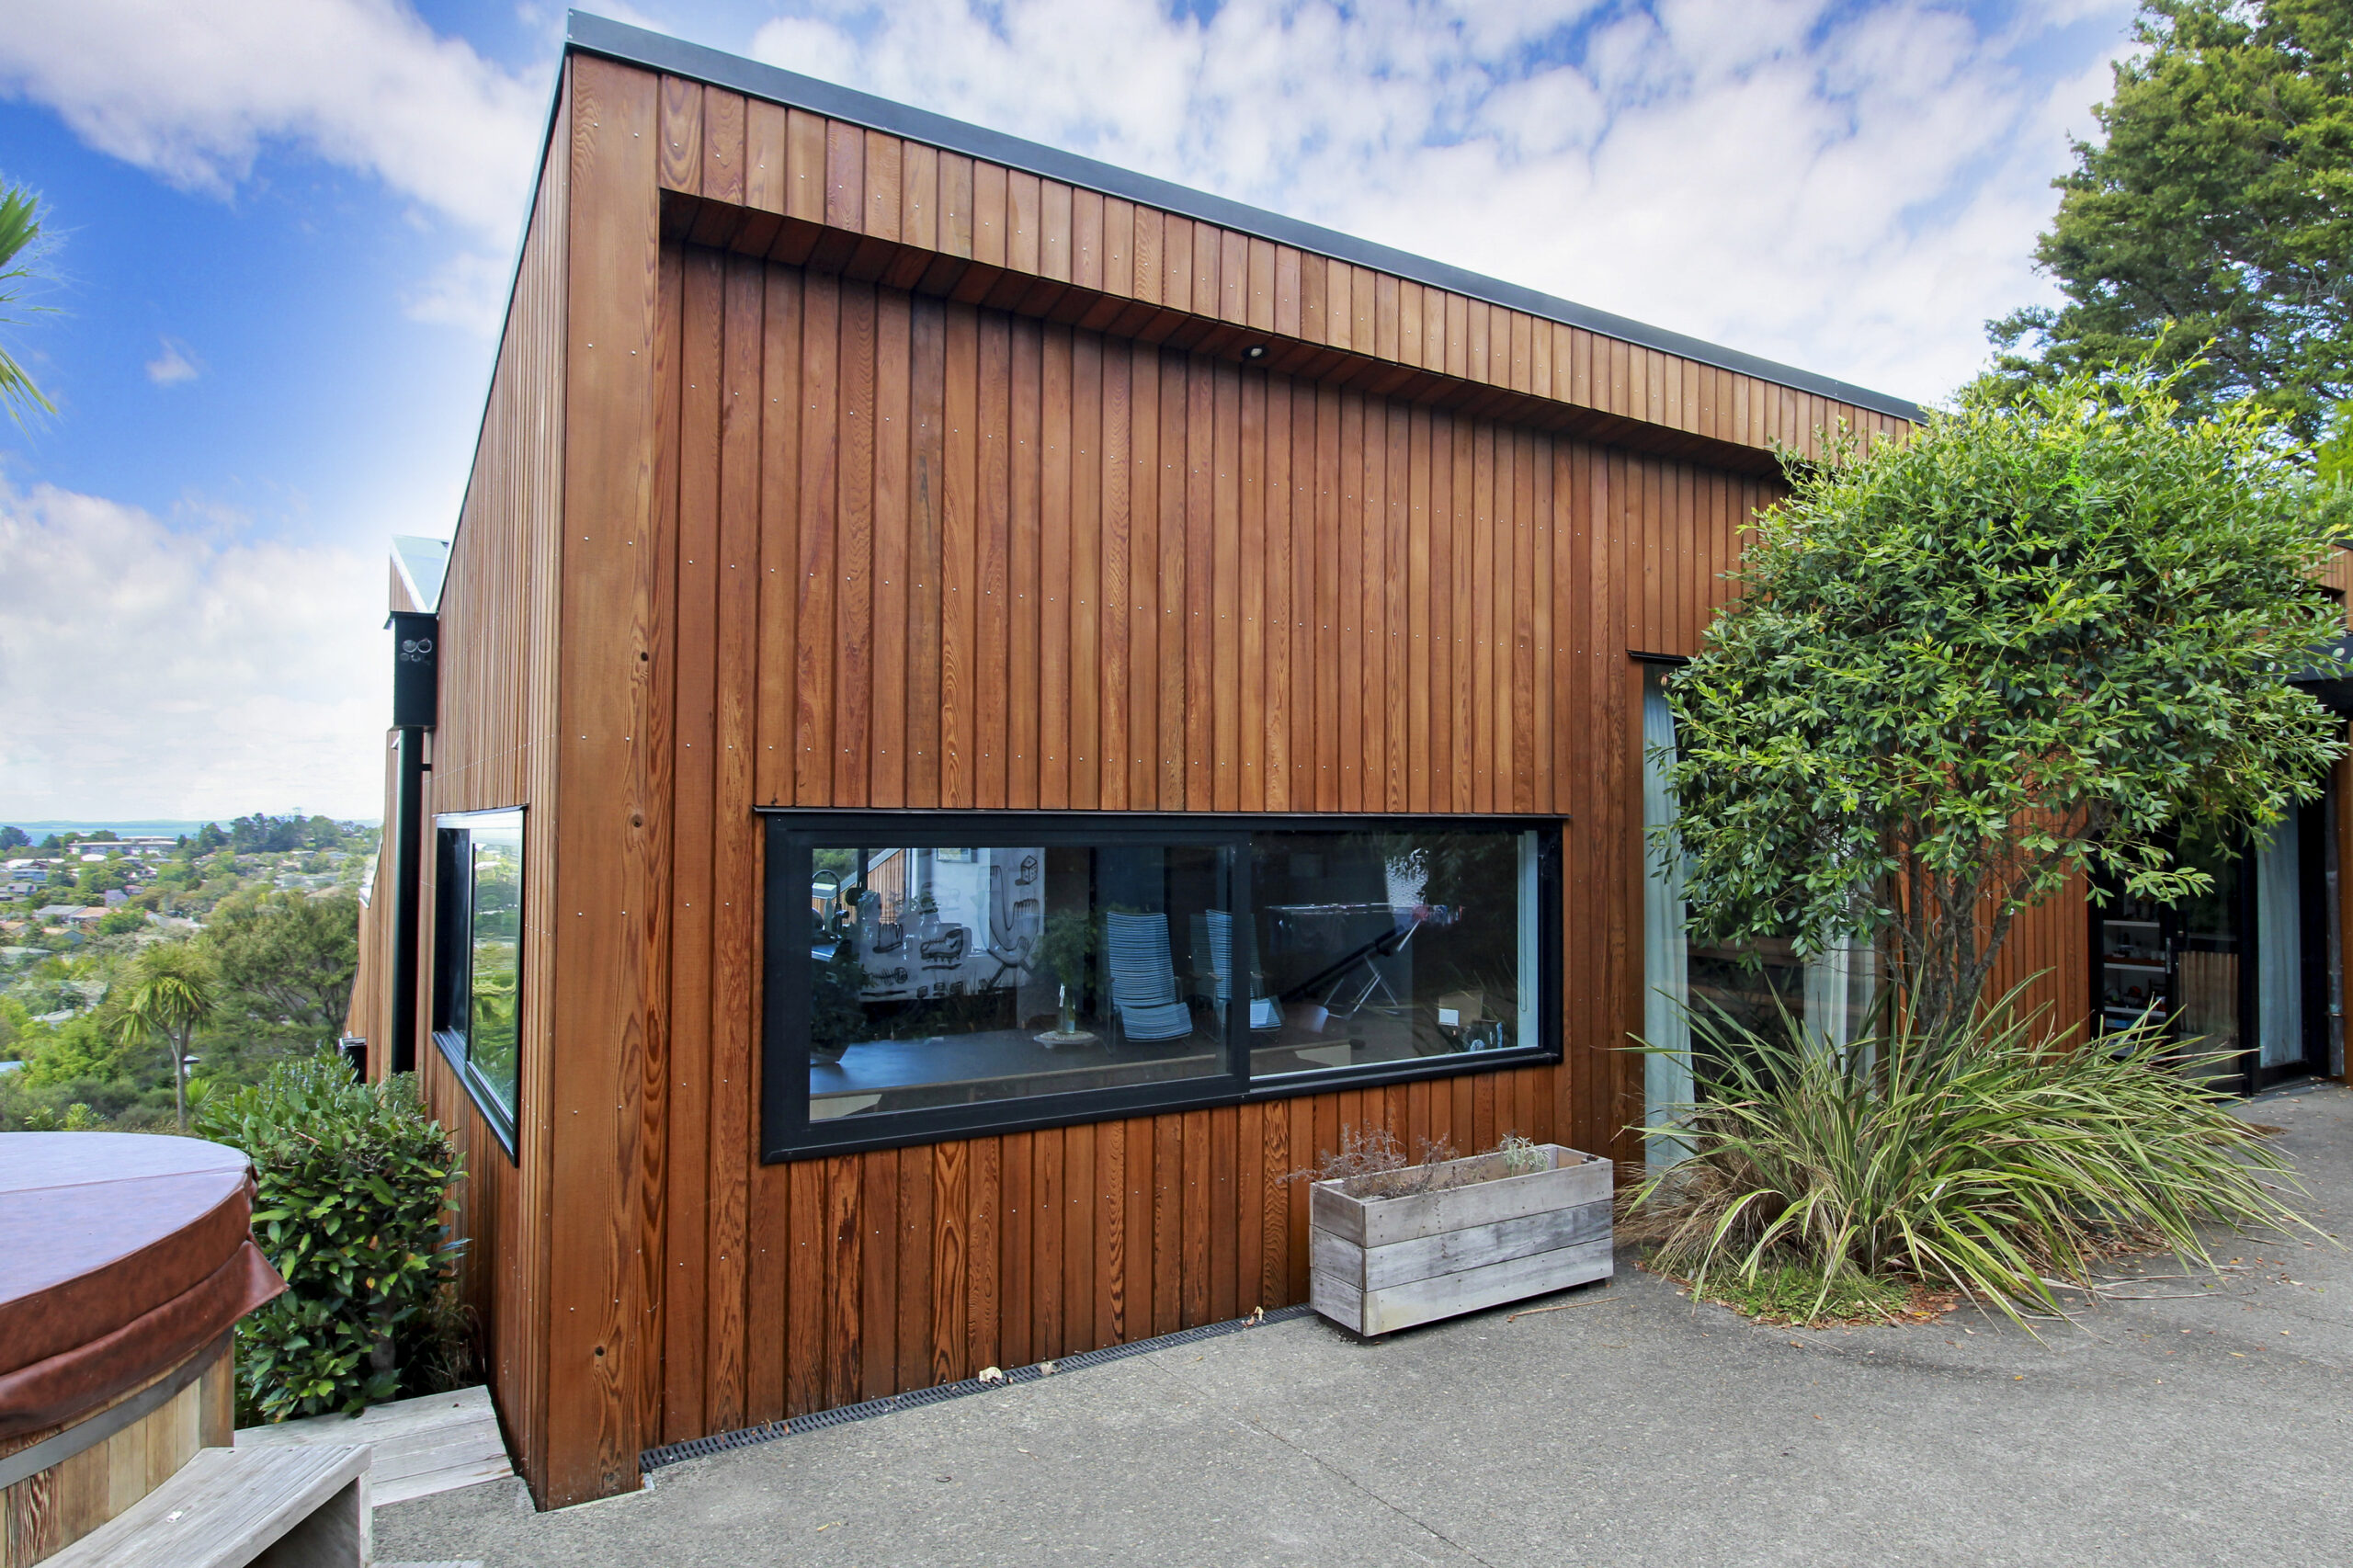
The western face also had some black areas above the window which had been burned by the sun. Below the window, there were even darker areas caused by the rain hitting the concrete and bouncing back, causing dust and muck to accumulate.
The front of the house, which faces east, had a section of timber above the front door that had not been exposed to the sun and appeared orange (the natural colour of the Cedar), in stark contrast to the grey timber to either side. This required an expert touch to even up the colour, which can be seen below.
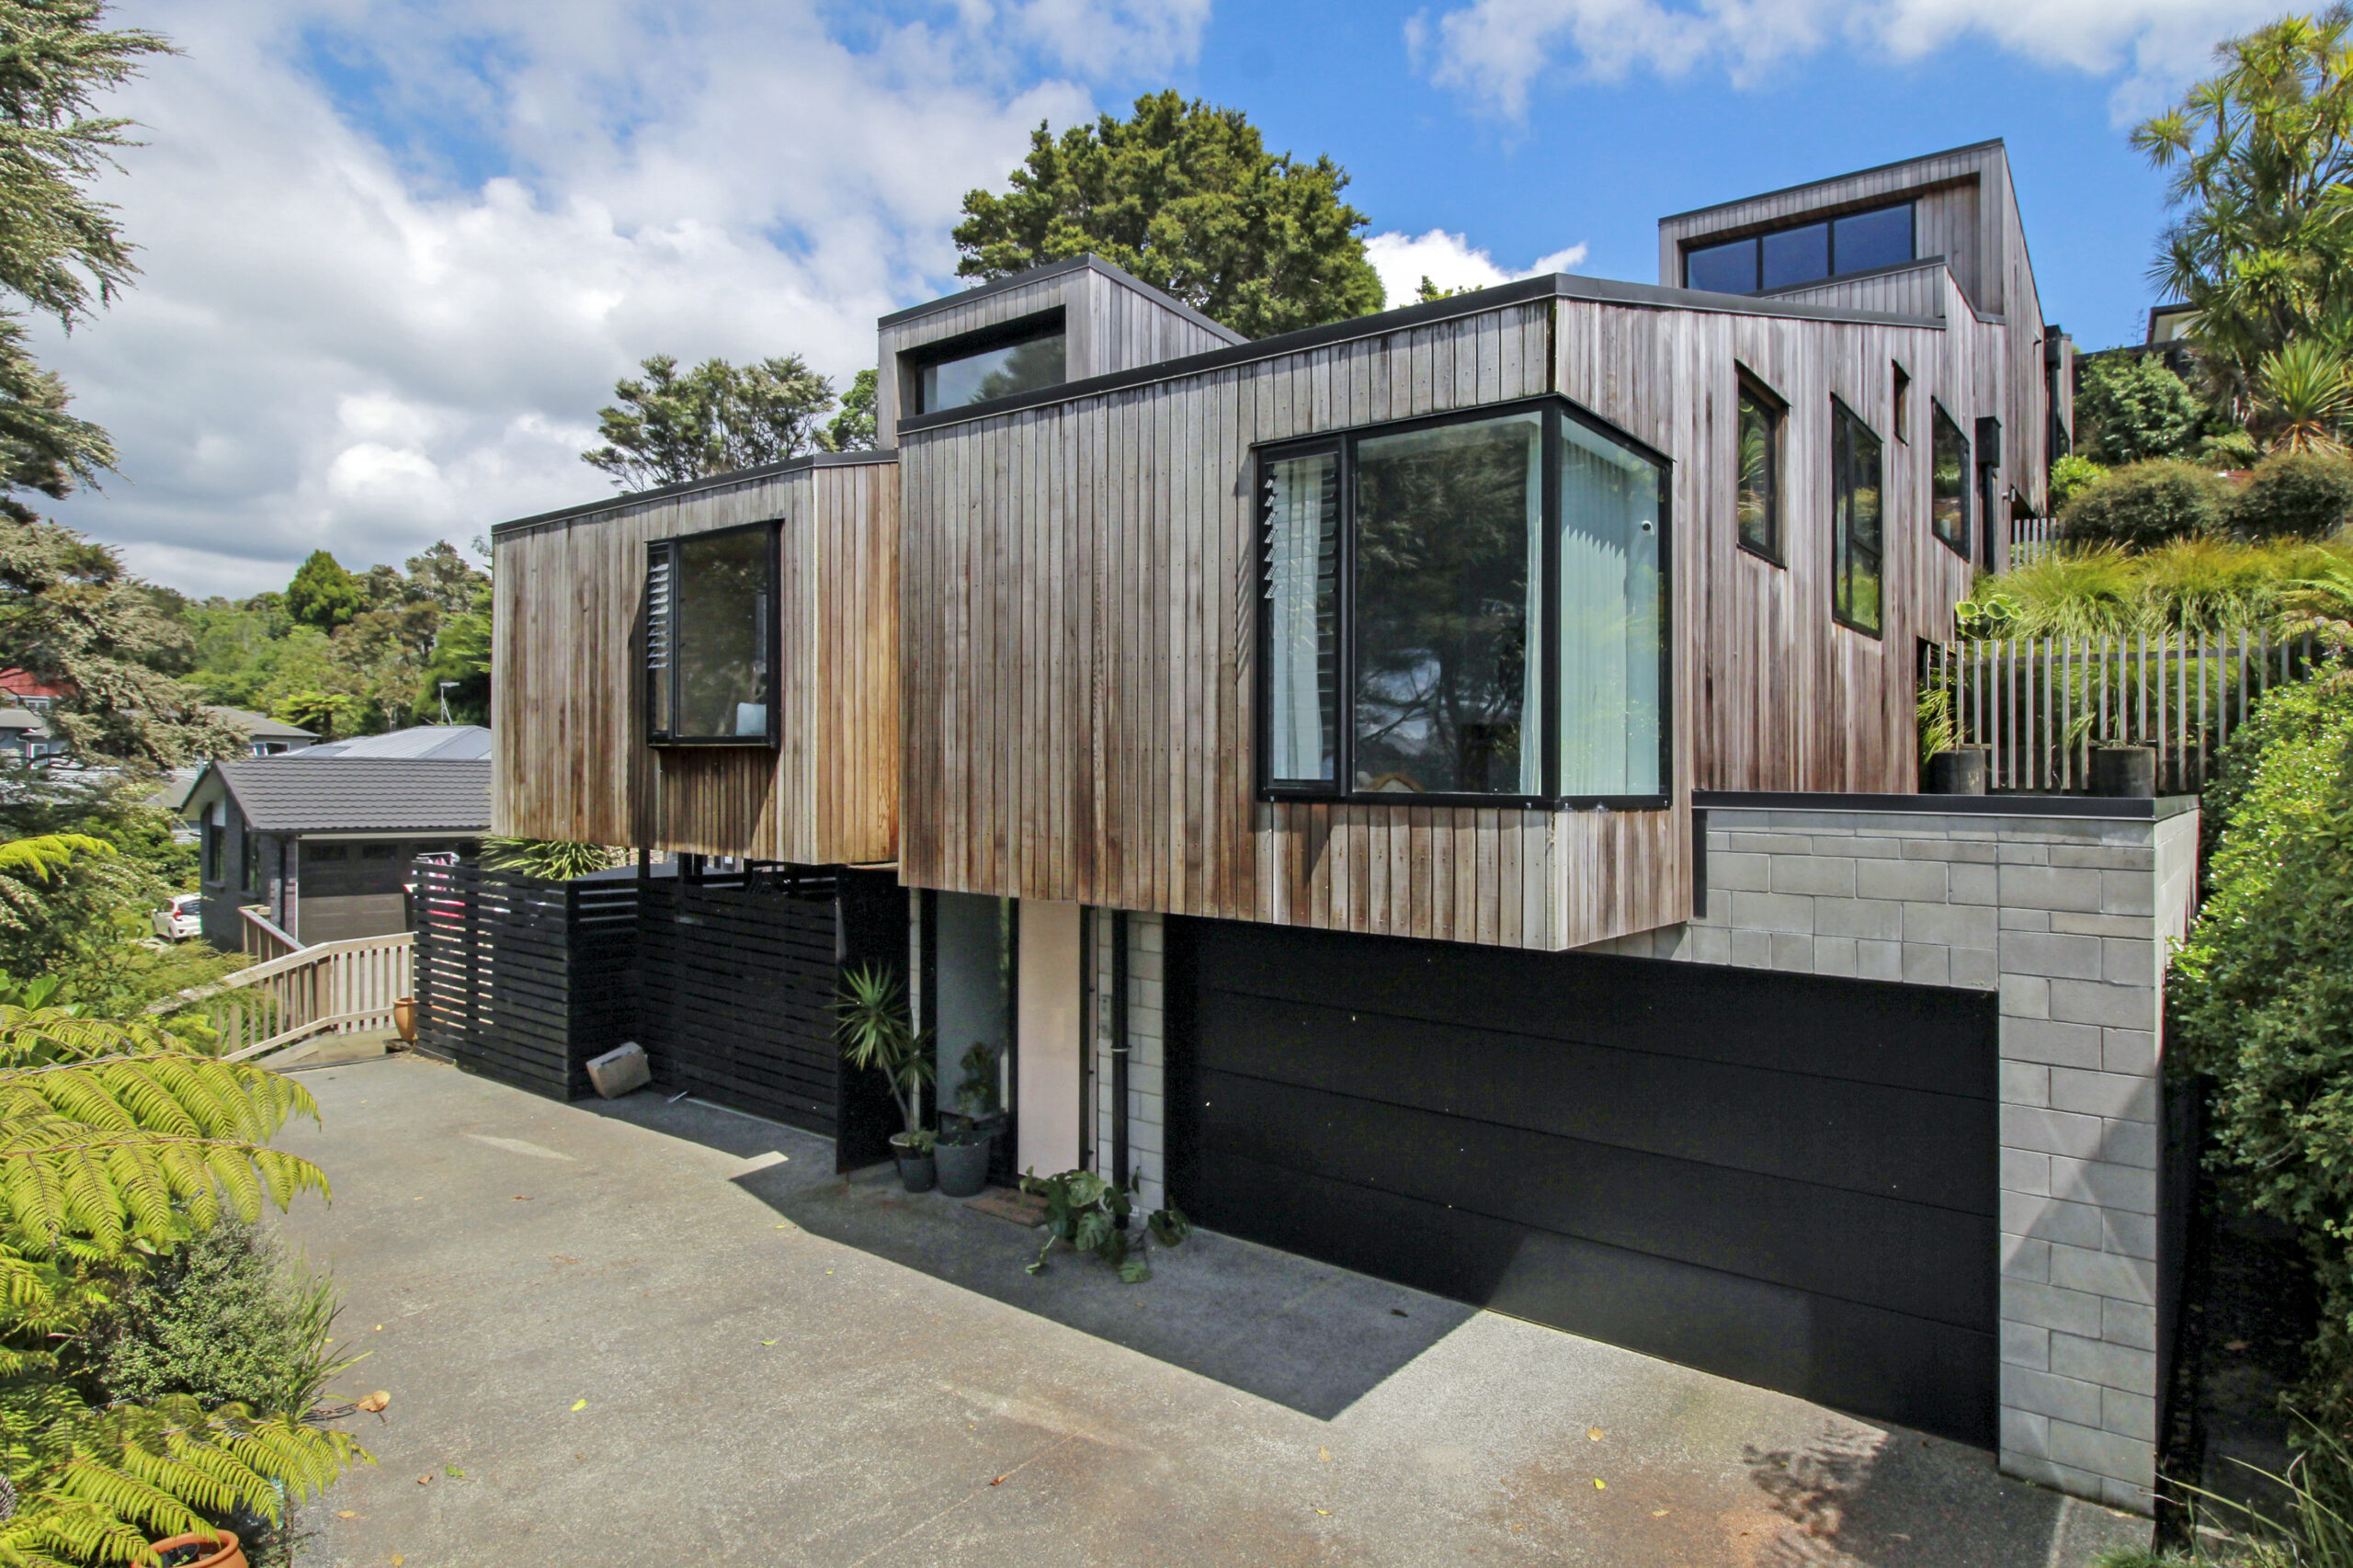
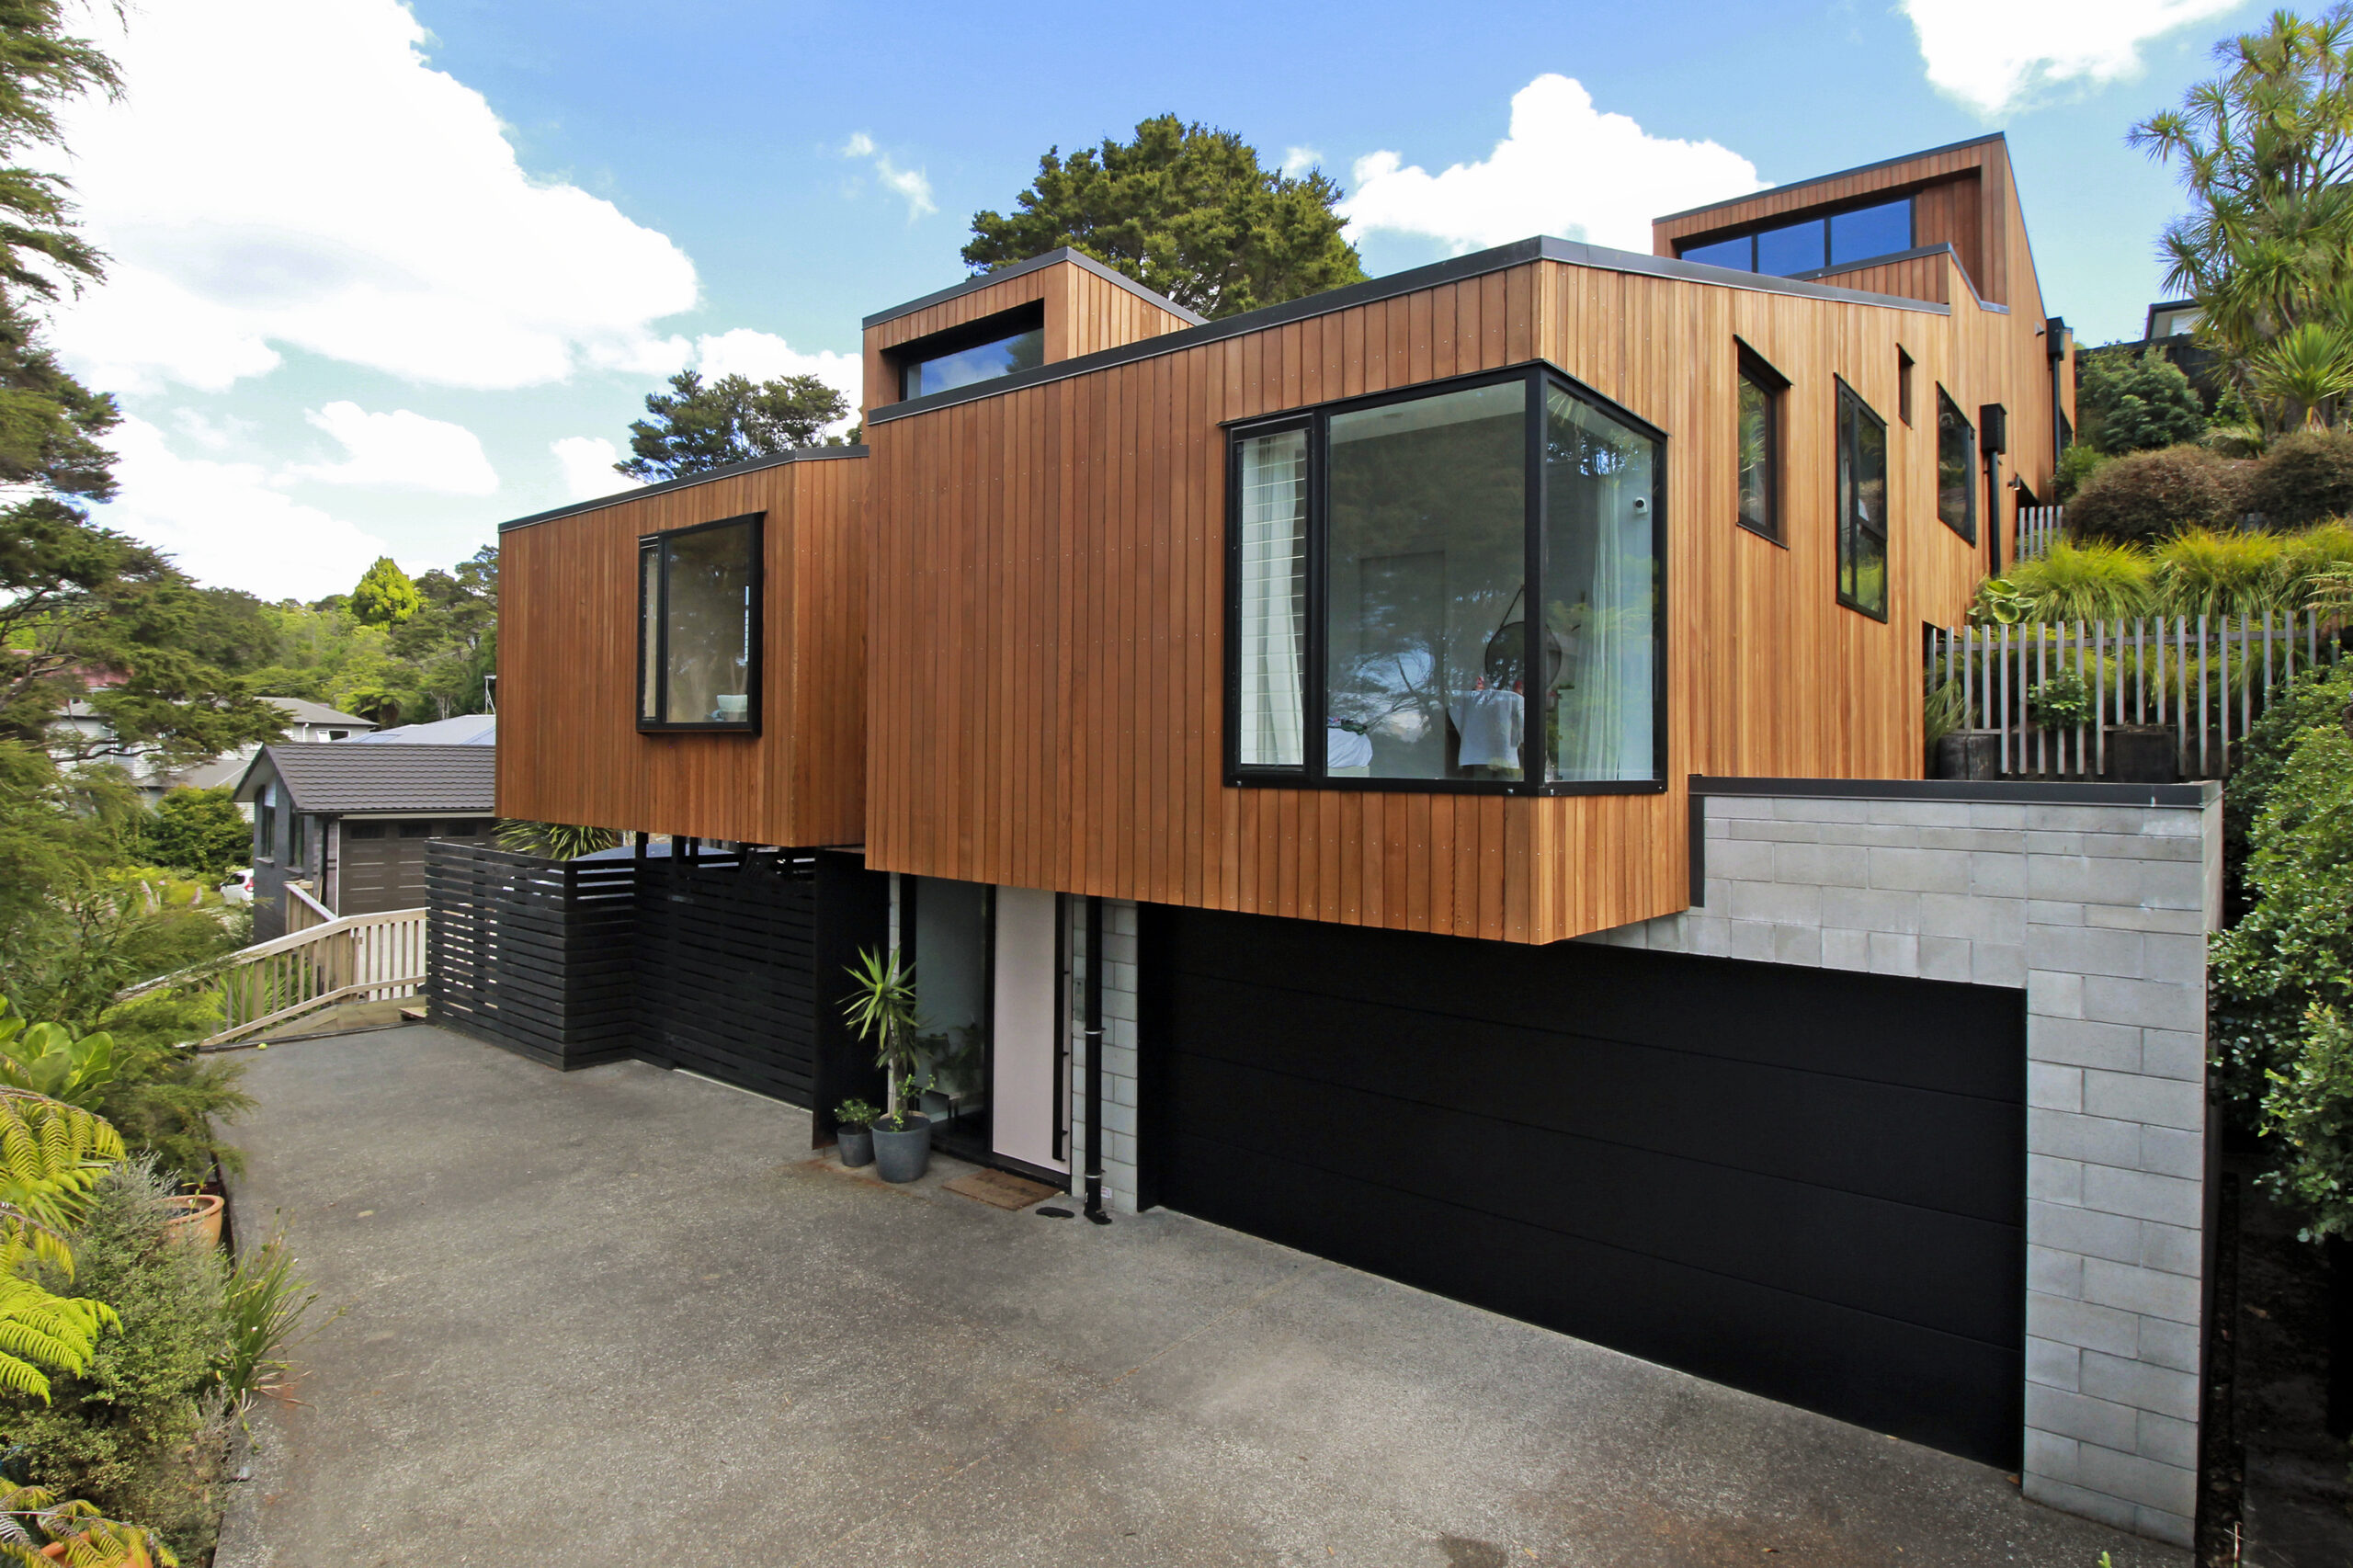
Ongoing Maintenance Requirements
Our recommendation is to recoat the northern and western faces within 3 months. If you look at the top of the walls in the after photos, the oil is already soaking in and appears lighter. And we used a lot of oil on this wall.
The recoat isn’t critical, but topping up the pockets in the Cedar with oil will provide maximum protection and make sure the colour remains consistent.
After that, the house will fall into a regular maintenance schedule, with sun exposed areas needing a recoat every 2-3 summers.
Final Thoughts
The customer was knocked back by the transformation. The years of grime and dirt were washed away and replaced by glistening Cedar that looked better than the day it was installed.
The contrast between the Kauri Gum tint and the black joinery looks amazing. We even washed their skylights while we were up there!
This was a quick job, with the bulk of the work being done in a week by our technicians, Mikey and Lorena. Great work, fantastic results!


