Professional Cedar Maintenance vs. DIY

Professional Cedar Maintenance vs. DIY

15 Nov 2023
2o0a4441 2000x1333px

Let’s get to the point. Is DIY Cedar maintenance possible?

Absolutely. Furthermore, the process is relatively straightforward.

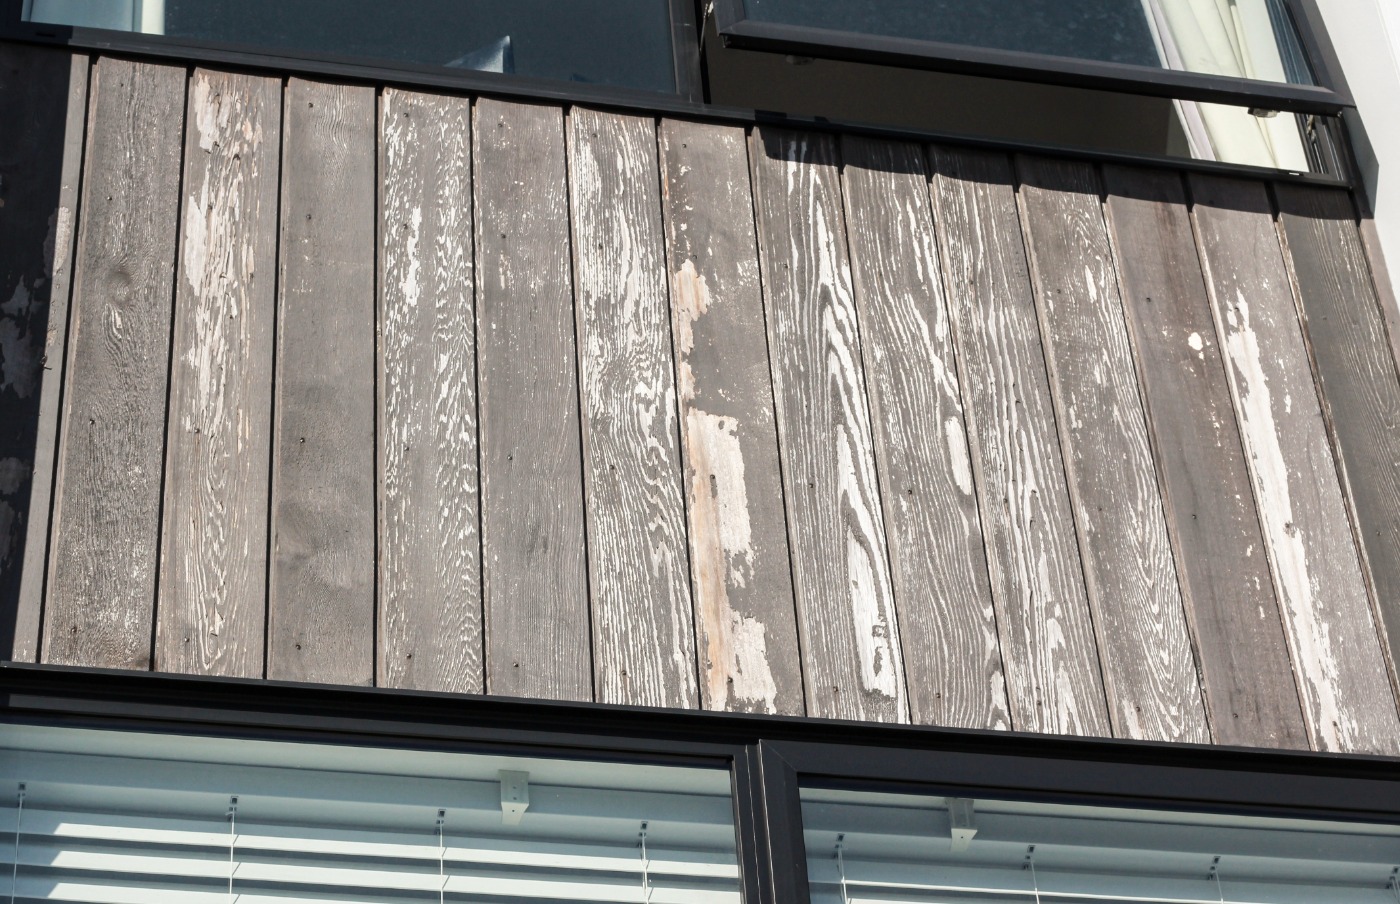
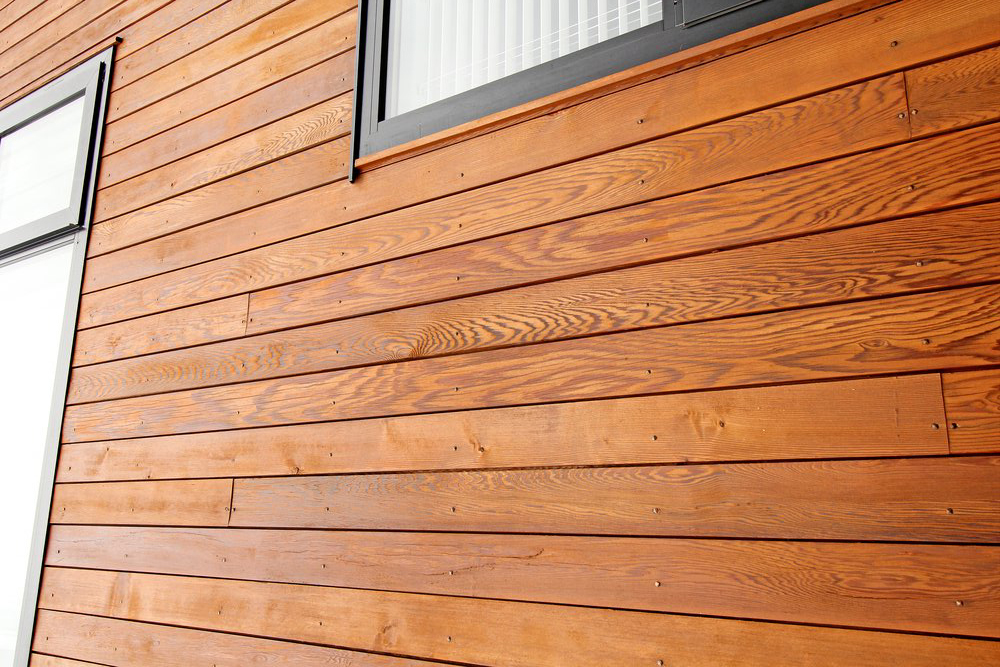
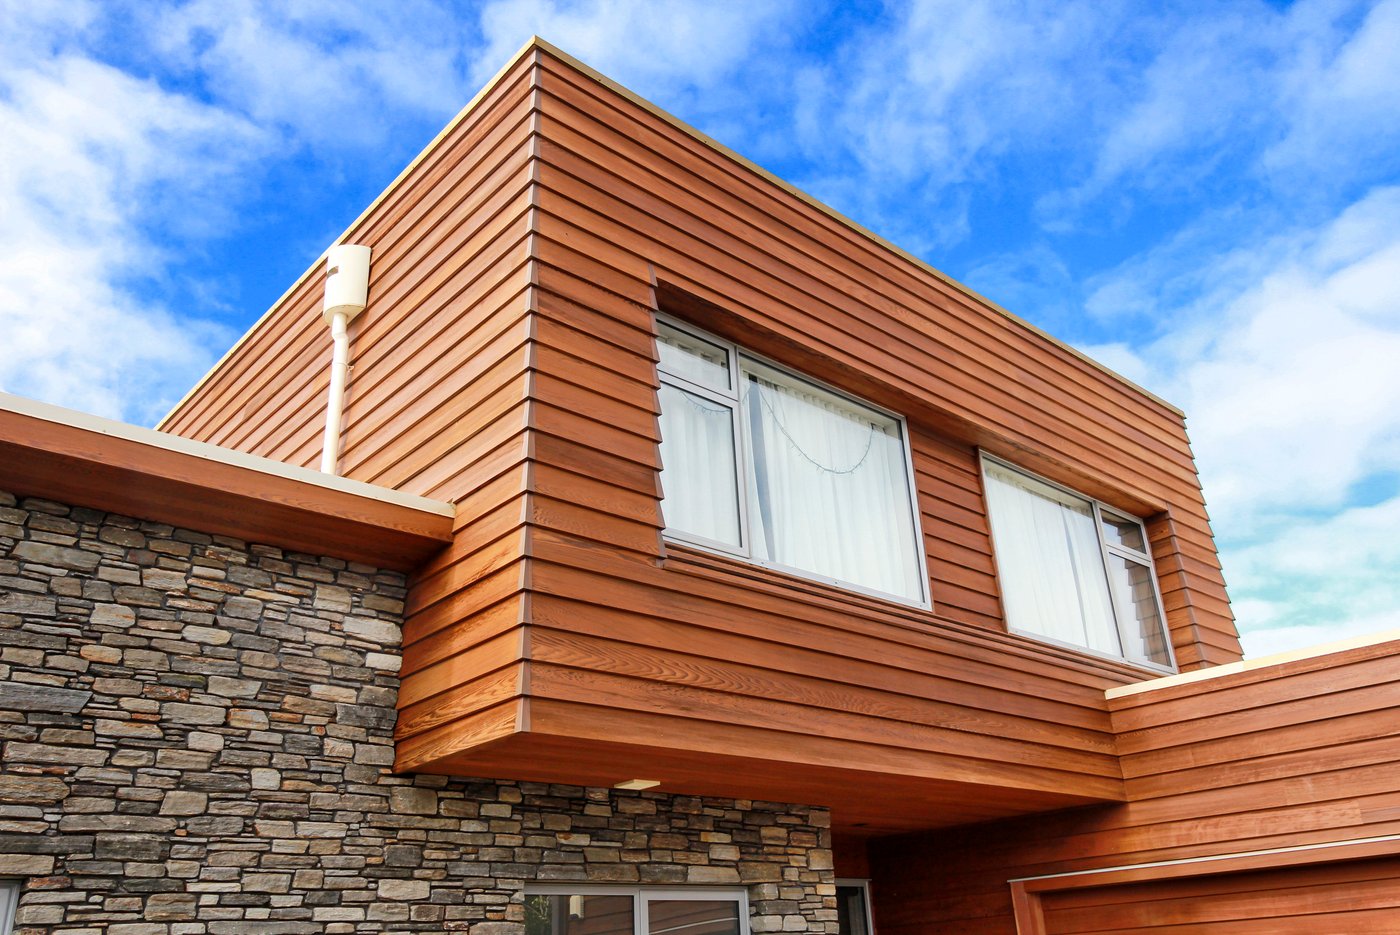
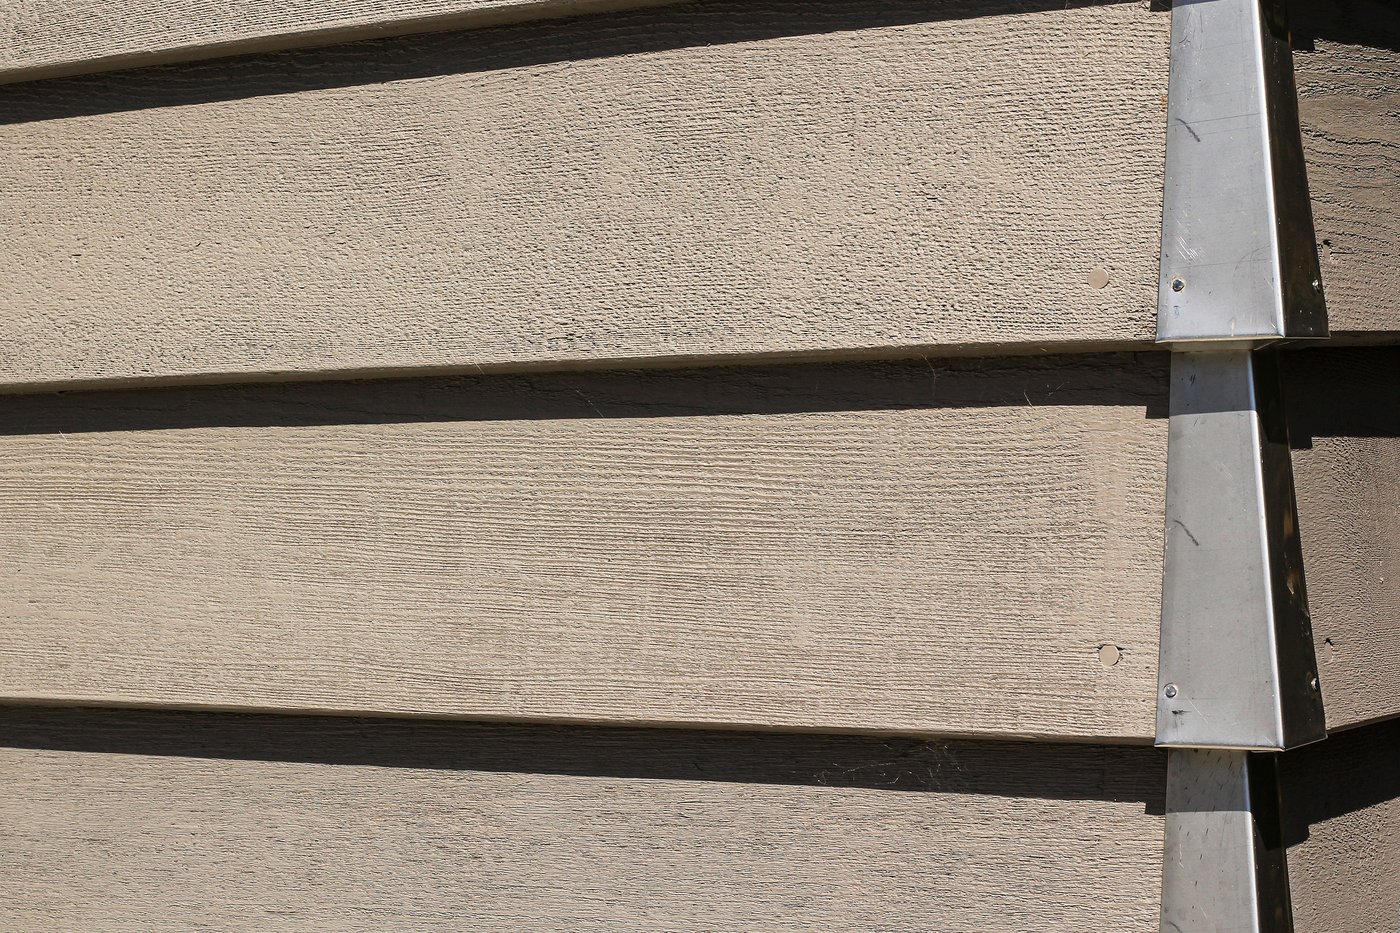
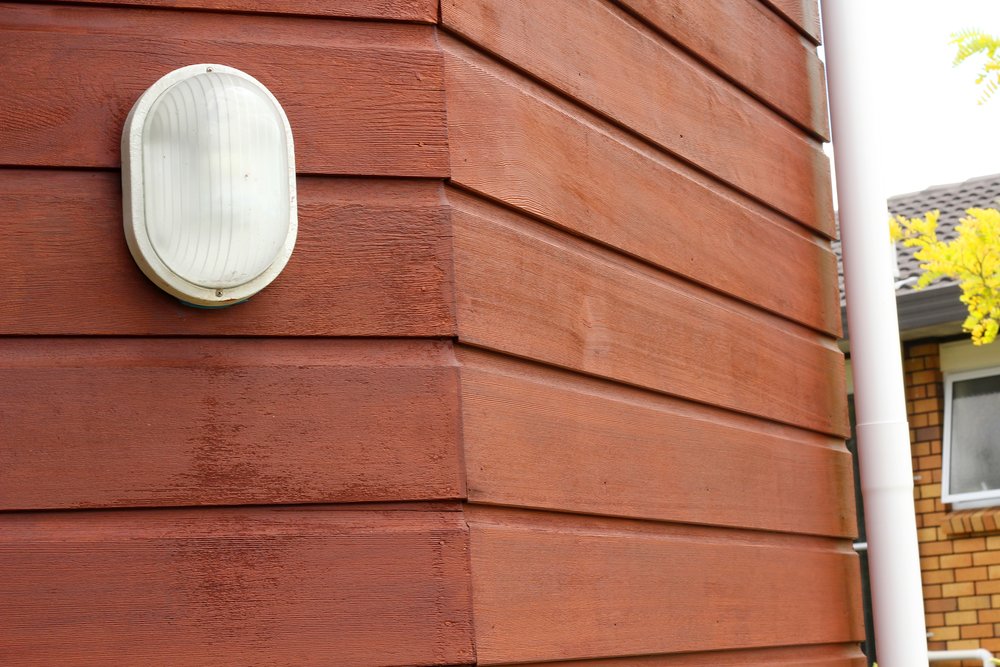
Cedar maintenance is all about protecting the timber from the elements, most importantly, the harsh New Zealand sun. If you have a long, hot summer, the natural oils in the boards will be sucked out by the sun.

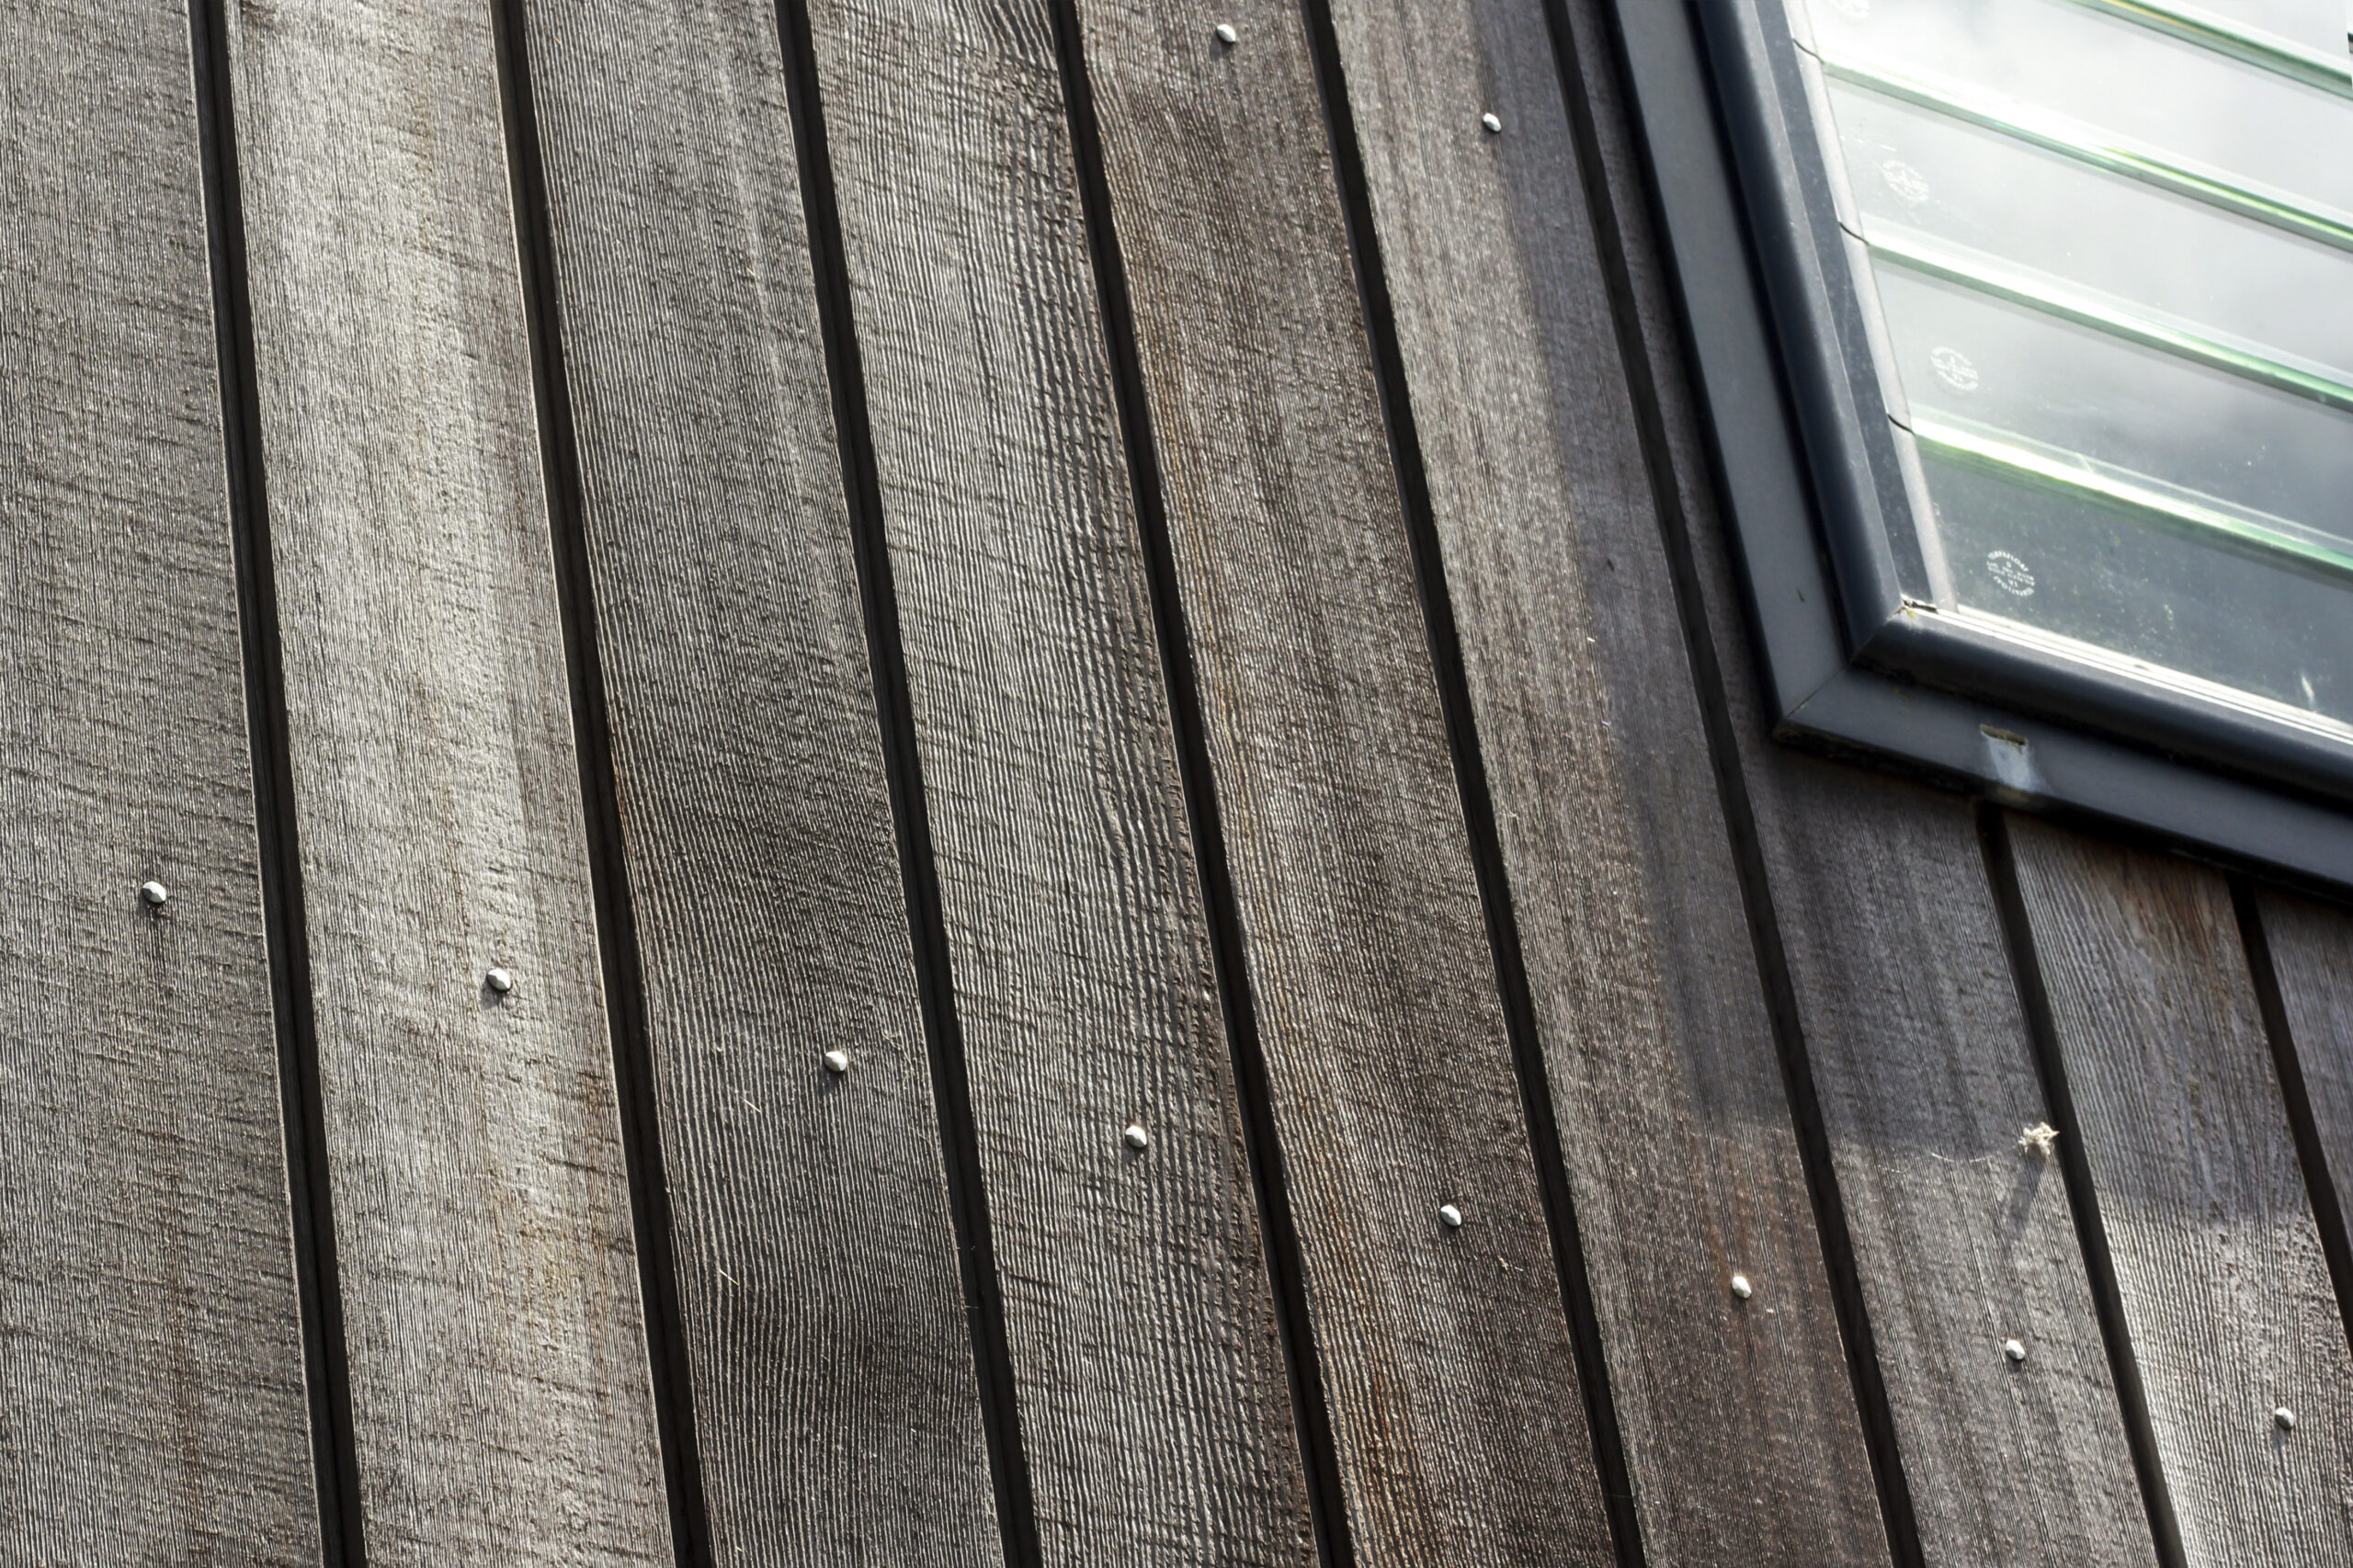
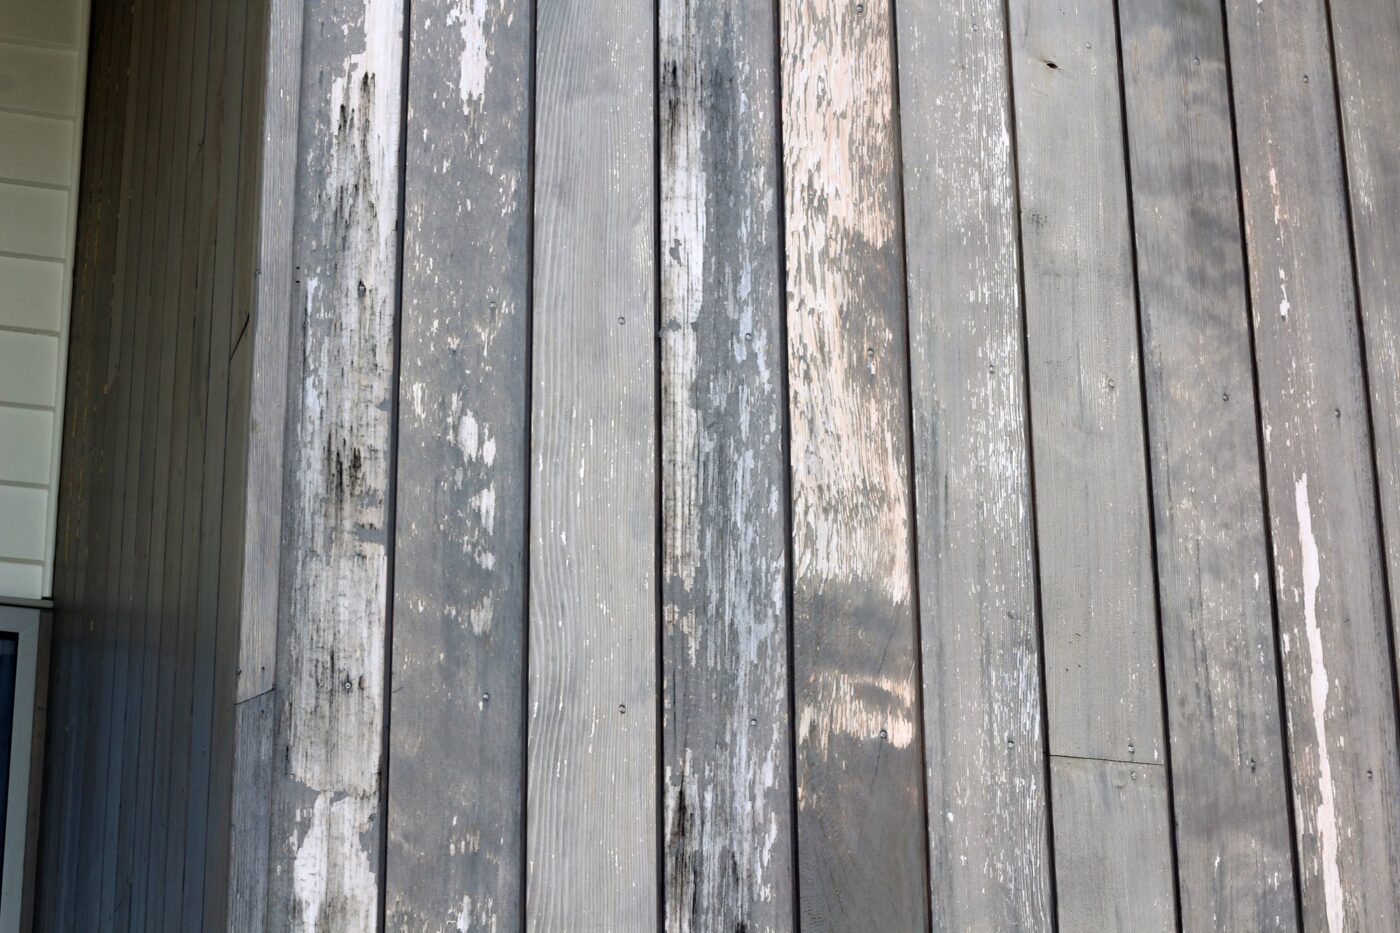
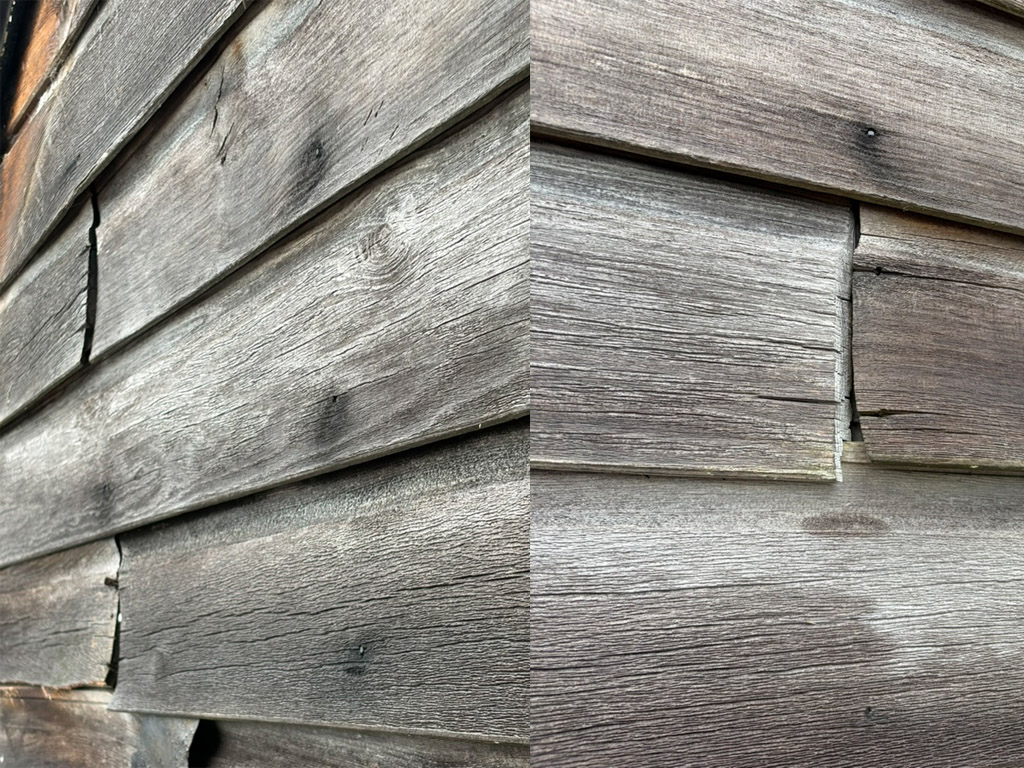
Your job is to replace the oil that the sun is extracting. Without oil replenishment, the boards will dry out over time and begin cupping.

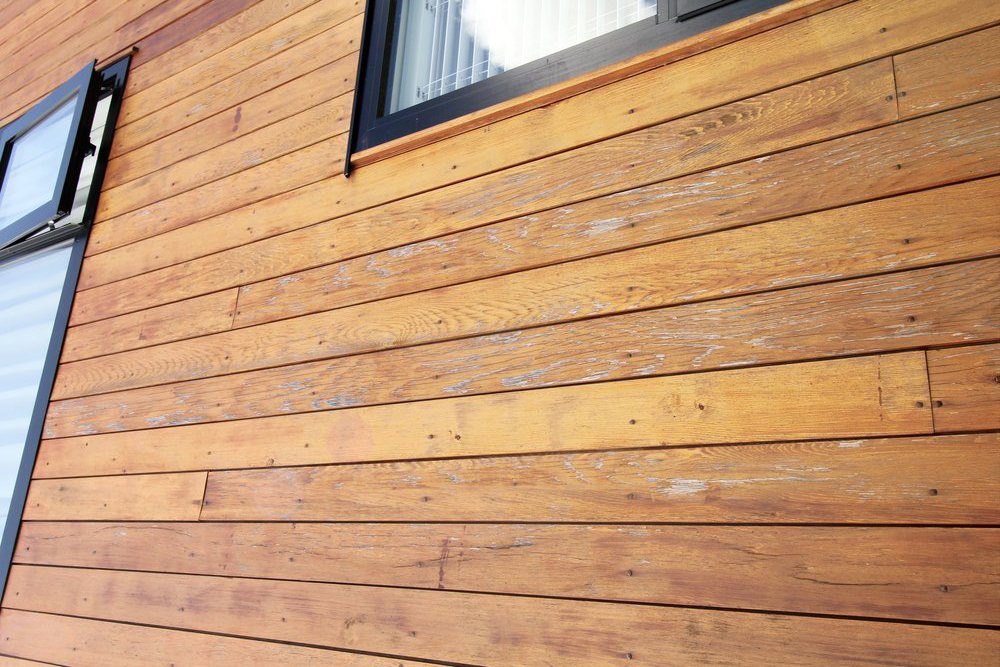
A general DIY Cedar maintenance plan would involve soft washing your house once every few years and applying a coat of oil to sun-exposed faces every 2-3 summers.

Seems straightforward, right?

So is changing the oil on your car, but very few people have the time or are willing to get their hands dirty. The same goes for Cedar.

Here are some factors to consider before attempting DIY maintenance.

1. Convenience

We have a customer in Northland who is 83 years old and had previously maintained the Cedar on his family home for decades – and did a great job of it. Now that he can’t get up the ladder like he used to, he came to us for help.

Anybody can learn how to maintain their own Cedar, but not everybody has the inclination. Maintaining Cedar is physically demanding, often working at heights, using bulky equipment, in a wet and mucky environment.

Hiring a professional means you don’t have to worry about anything. They will bring all their own equipment, have experience working at heights and clean up after themselves, leaving nothing but a beautifully maintained house.

2. Property Access

Accessing the different areas of your house can be tricky, and potentially dangerous.

Even on a flat property, there are always parts of a house that are difficult to reach. The job gets even more complicated if the ground is uneven.

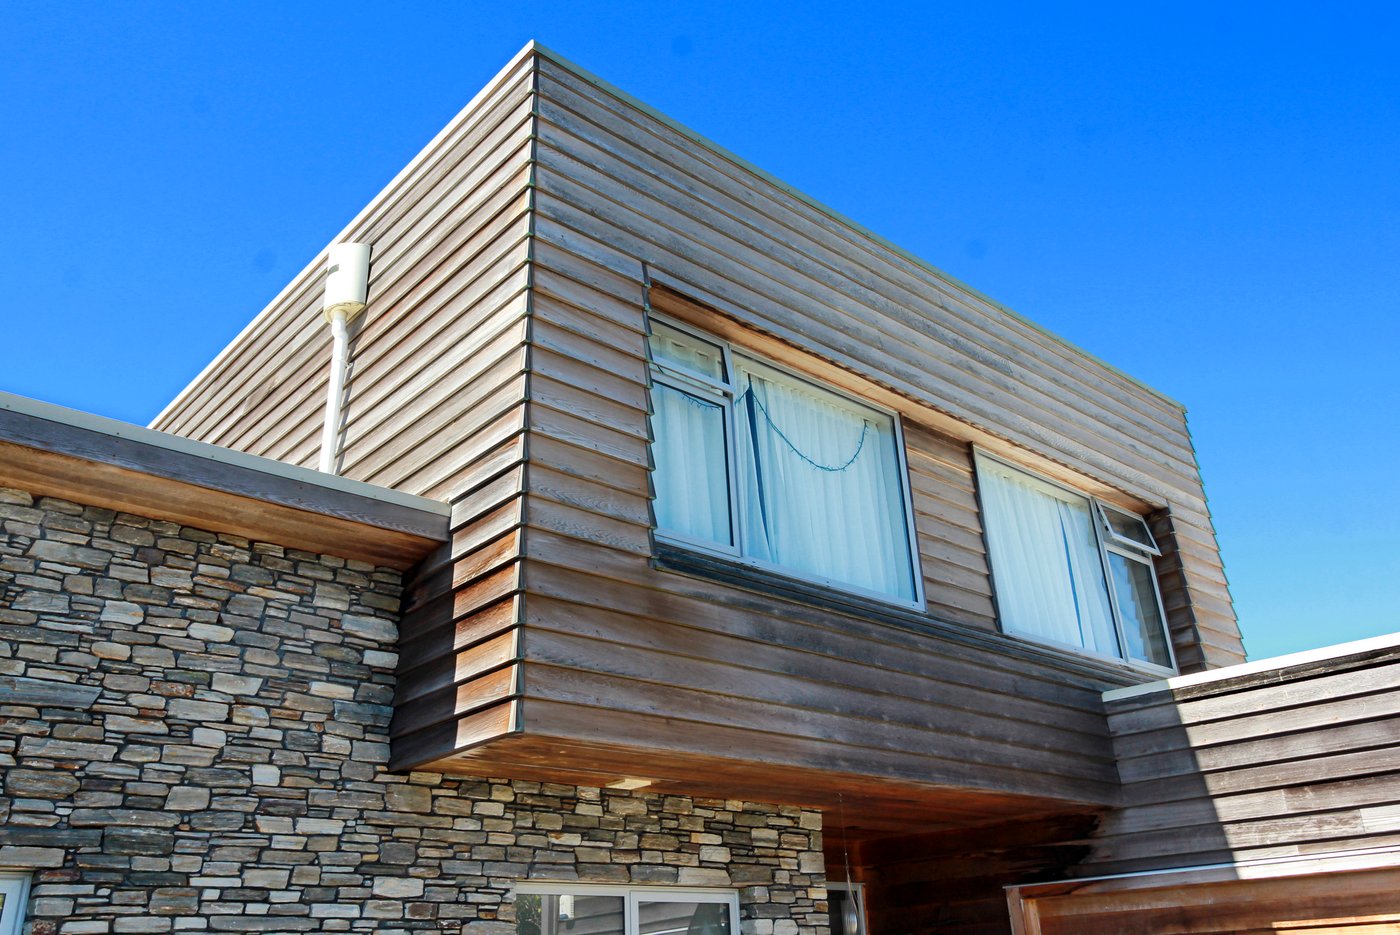
Double story house can be quite daunting. Some houses require scaffolding, but most houses can be accessed with a ladder.

If you are not comfortable working on a ladder, or the ground around your house is uneven, it is usually safer to hire a professional who is experienced working at heights.

If your house does require scaffolding, a professional Cedar maintenance company will often have their own scaffolding and manage the whole process, saving you time, headaches and money.

3. Risk of Damaging the Cedar

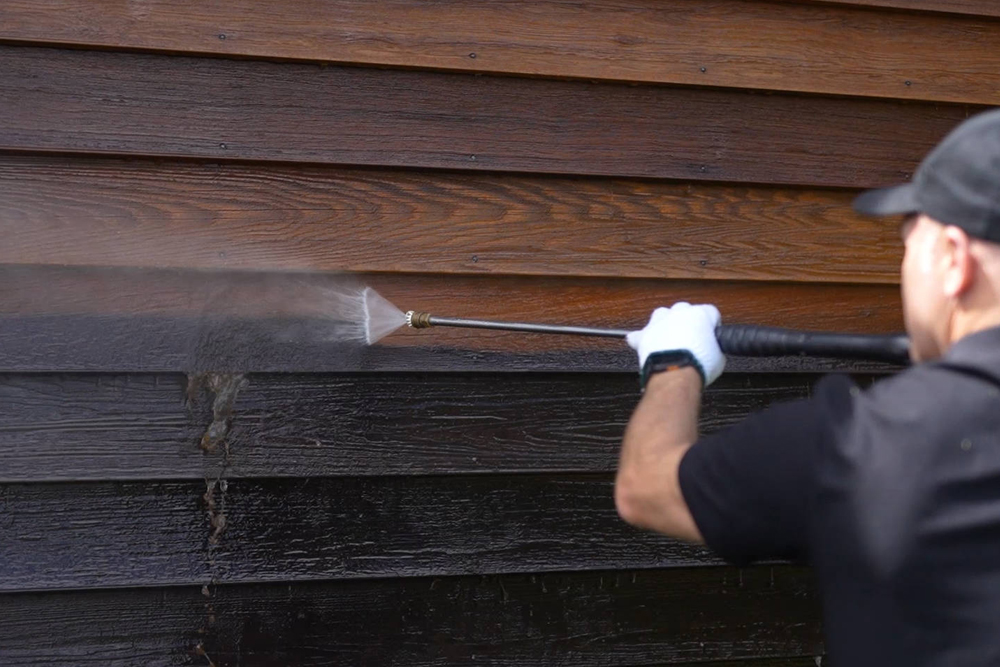
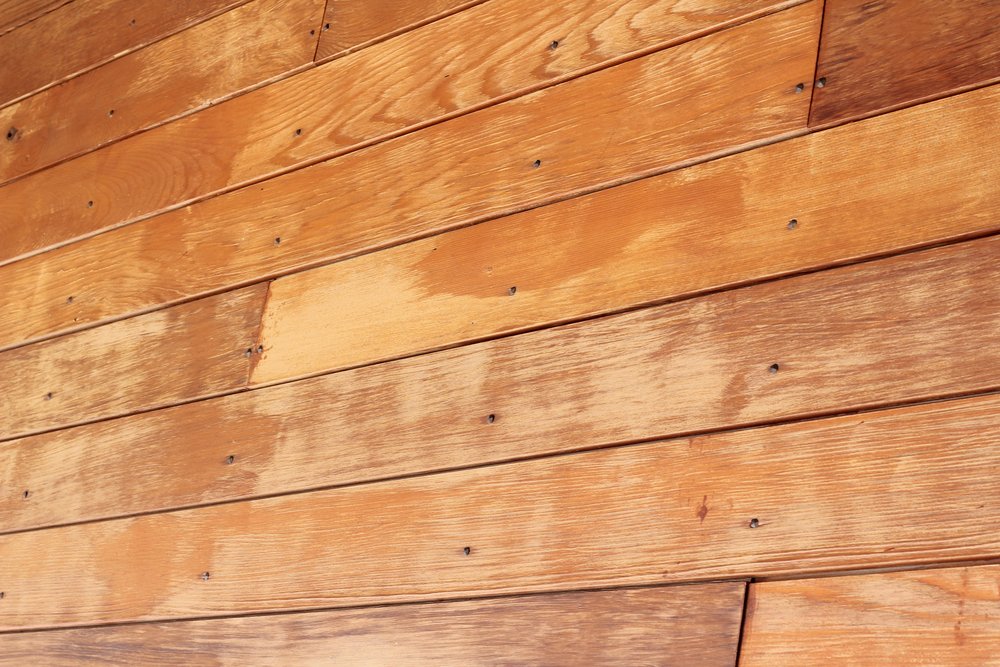
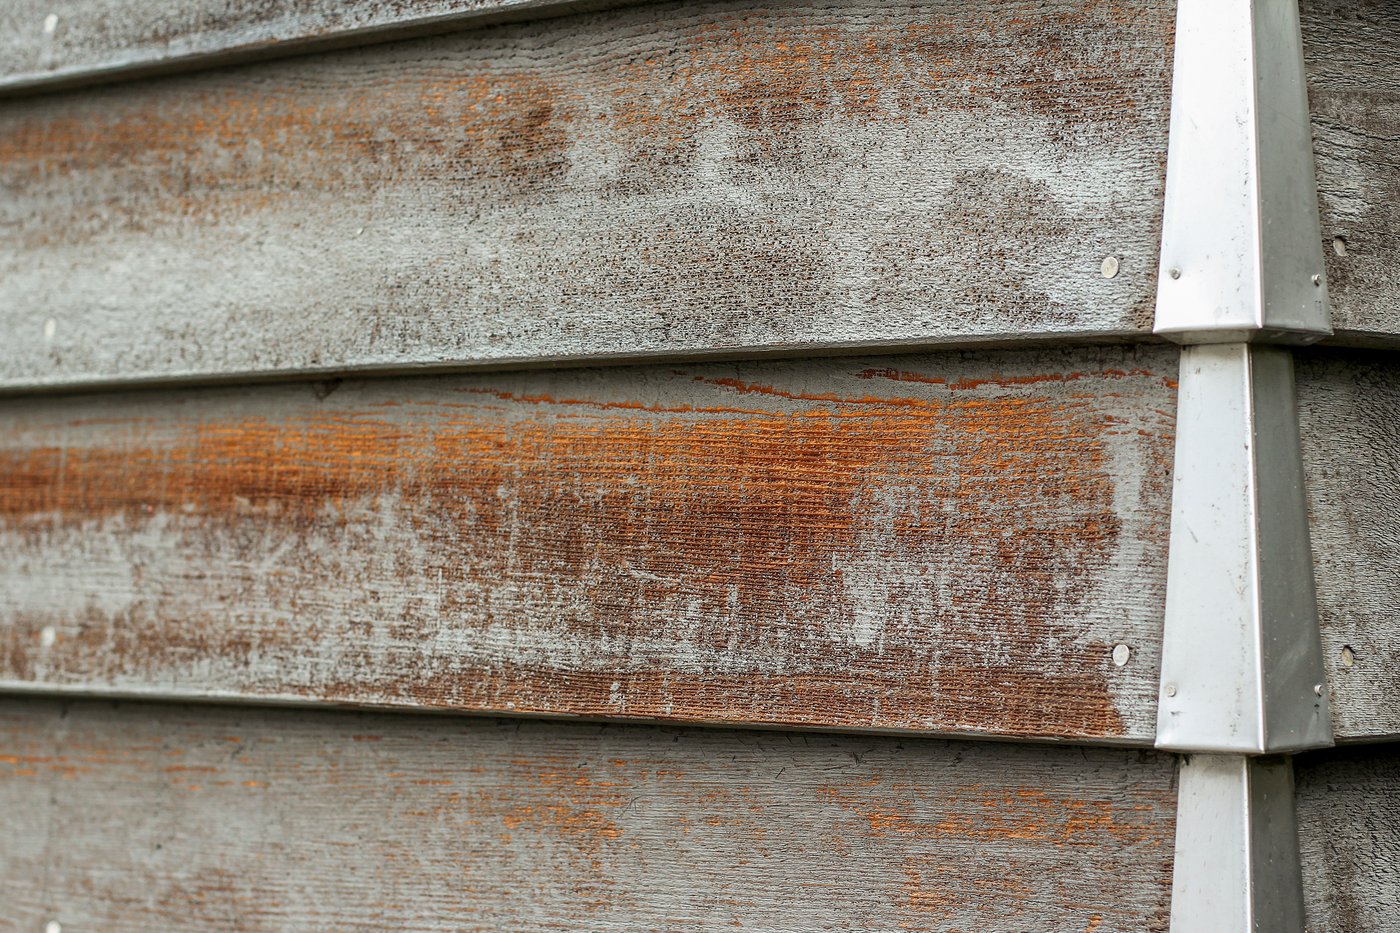
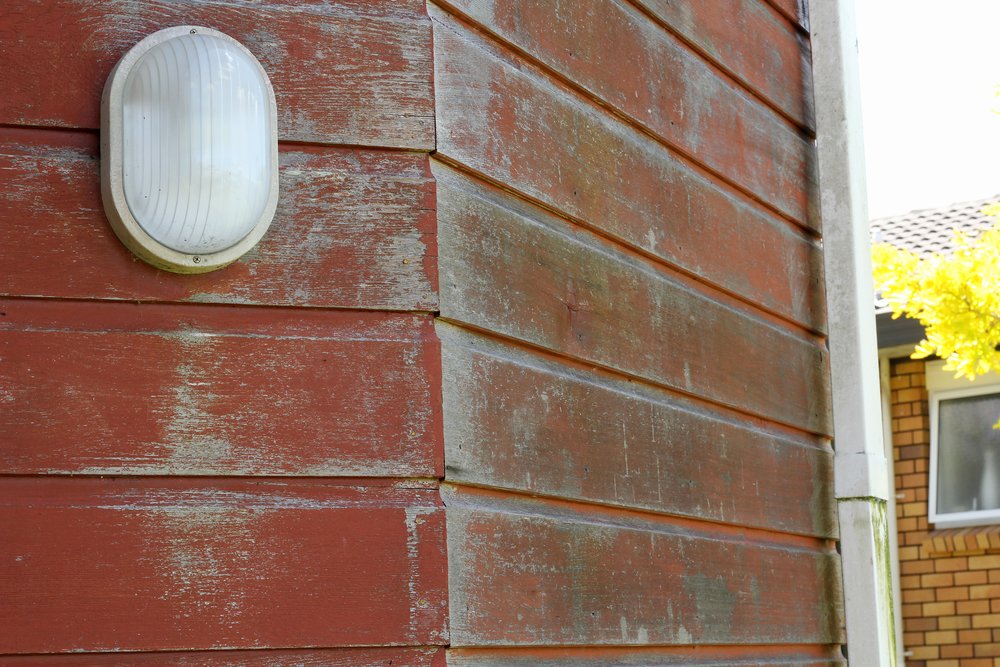
The surface of a Cedar weatherboard can be easily damaged. The water blaster should be set at a low pressure and moved across the boards in a steady motion without pausing.

Water blasting at a high pressure can strip away too much of the soft tissue in the timber, leaving it streaky and unsightly.

This is often when we get called, only now the customer is paying for remedial work to restore the damage rather than just maintenance.

Your home is usually your most valuable investment. By hiring a professional, you are removing the risk of damaging the timber and ultimately, adding value to your investment.

4. Preparing the Cedar for application

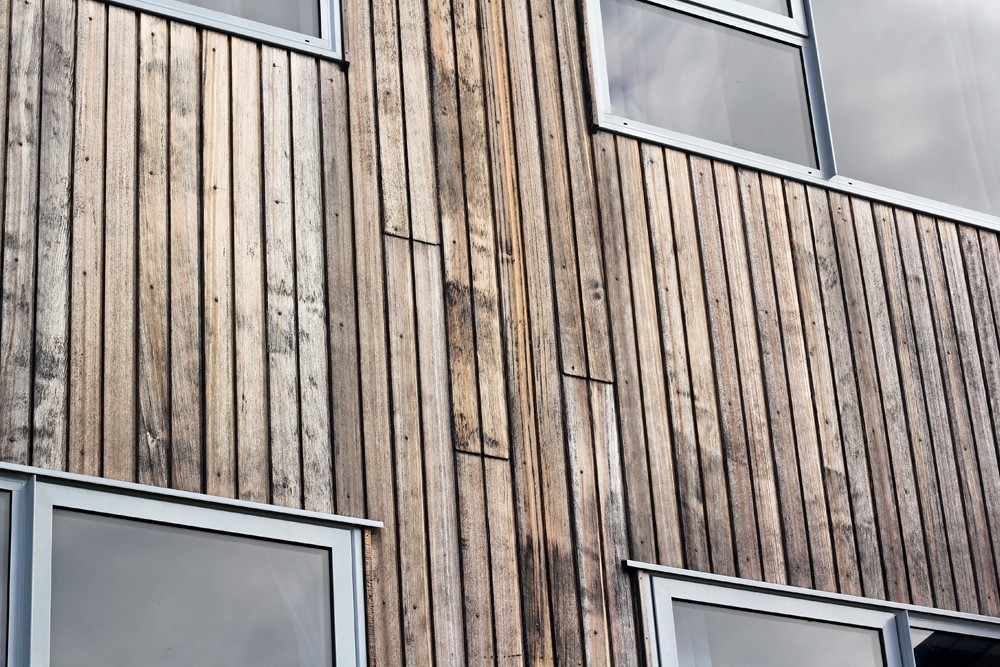
Cleaning and preparing the Cedar is the most important part of getting a satisfactory finish.

People can be so scared of damaging the timber, that they use a water pressure that is too low or don’t scrub sufficiently to properly clean the Cedar.

If you do not remove all the built-up organic matter, whatever you put on the surface will then be compromised.

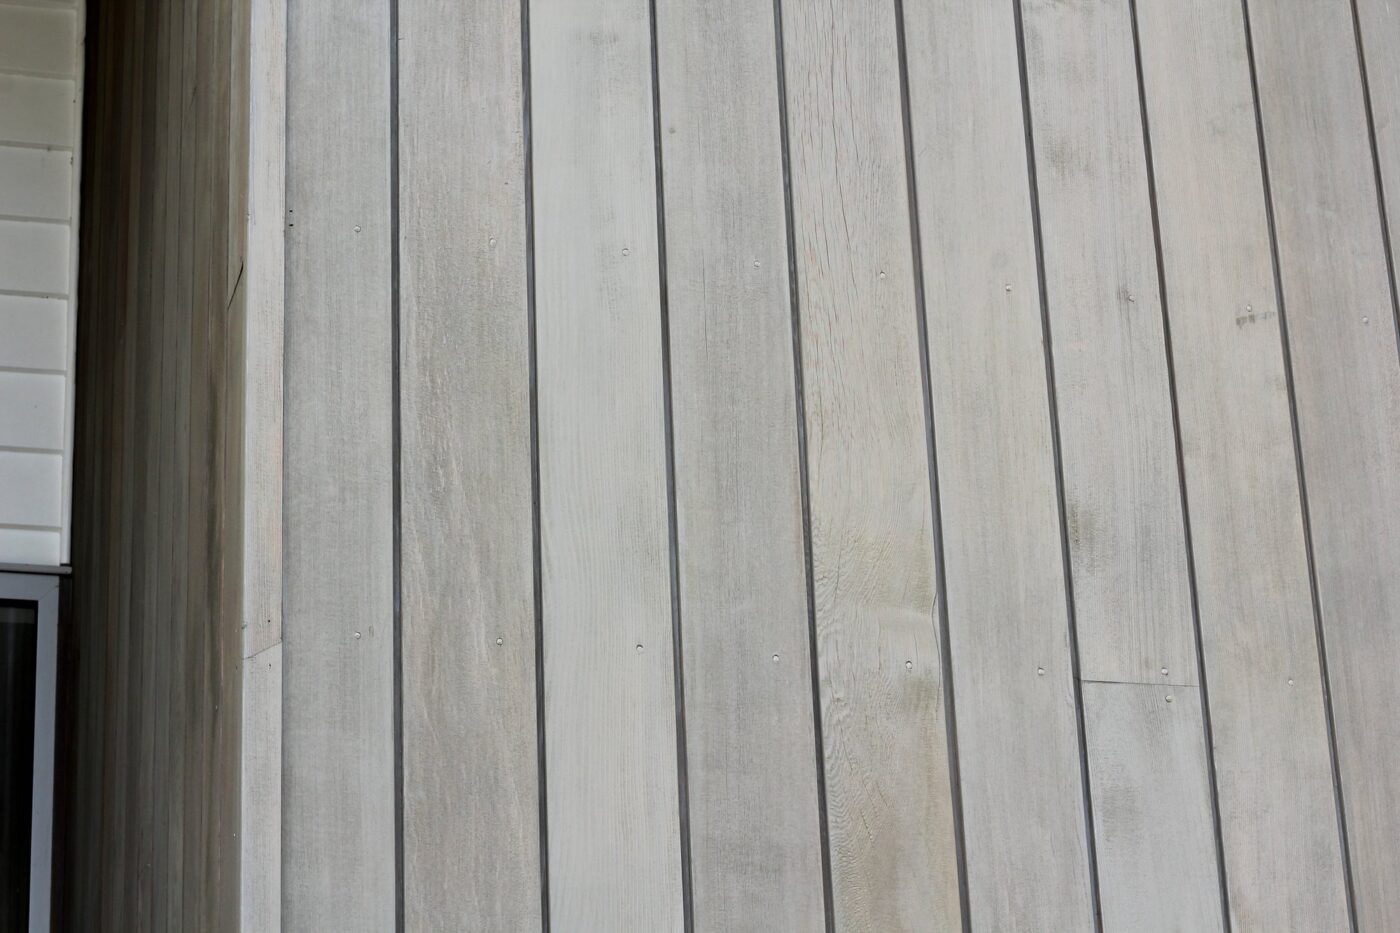
To prepare your Cedar with a water blaster, make sure you wash it at the right pressure, or scrub the boards with an appropriate brush, making sure the boards are free of any timber fibres, oxidised tint, dirt, mould, lichen and moss.

Once all that is gone, you need to make sure any stain on the boards is evenly removed. You don’t want the boards under the soffit left a different colour.

5. Consistent application of the product

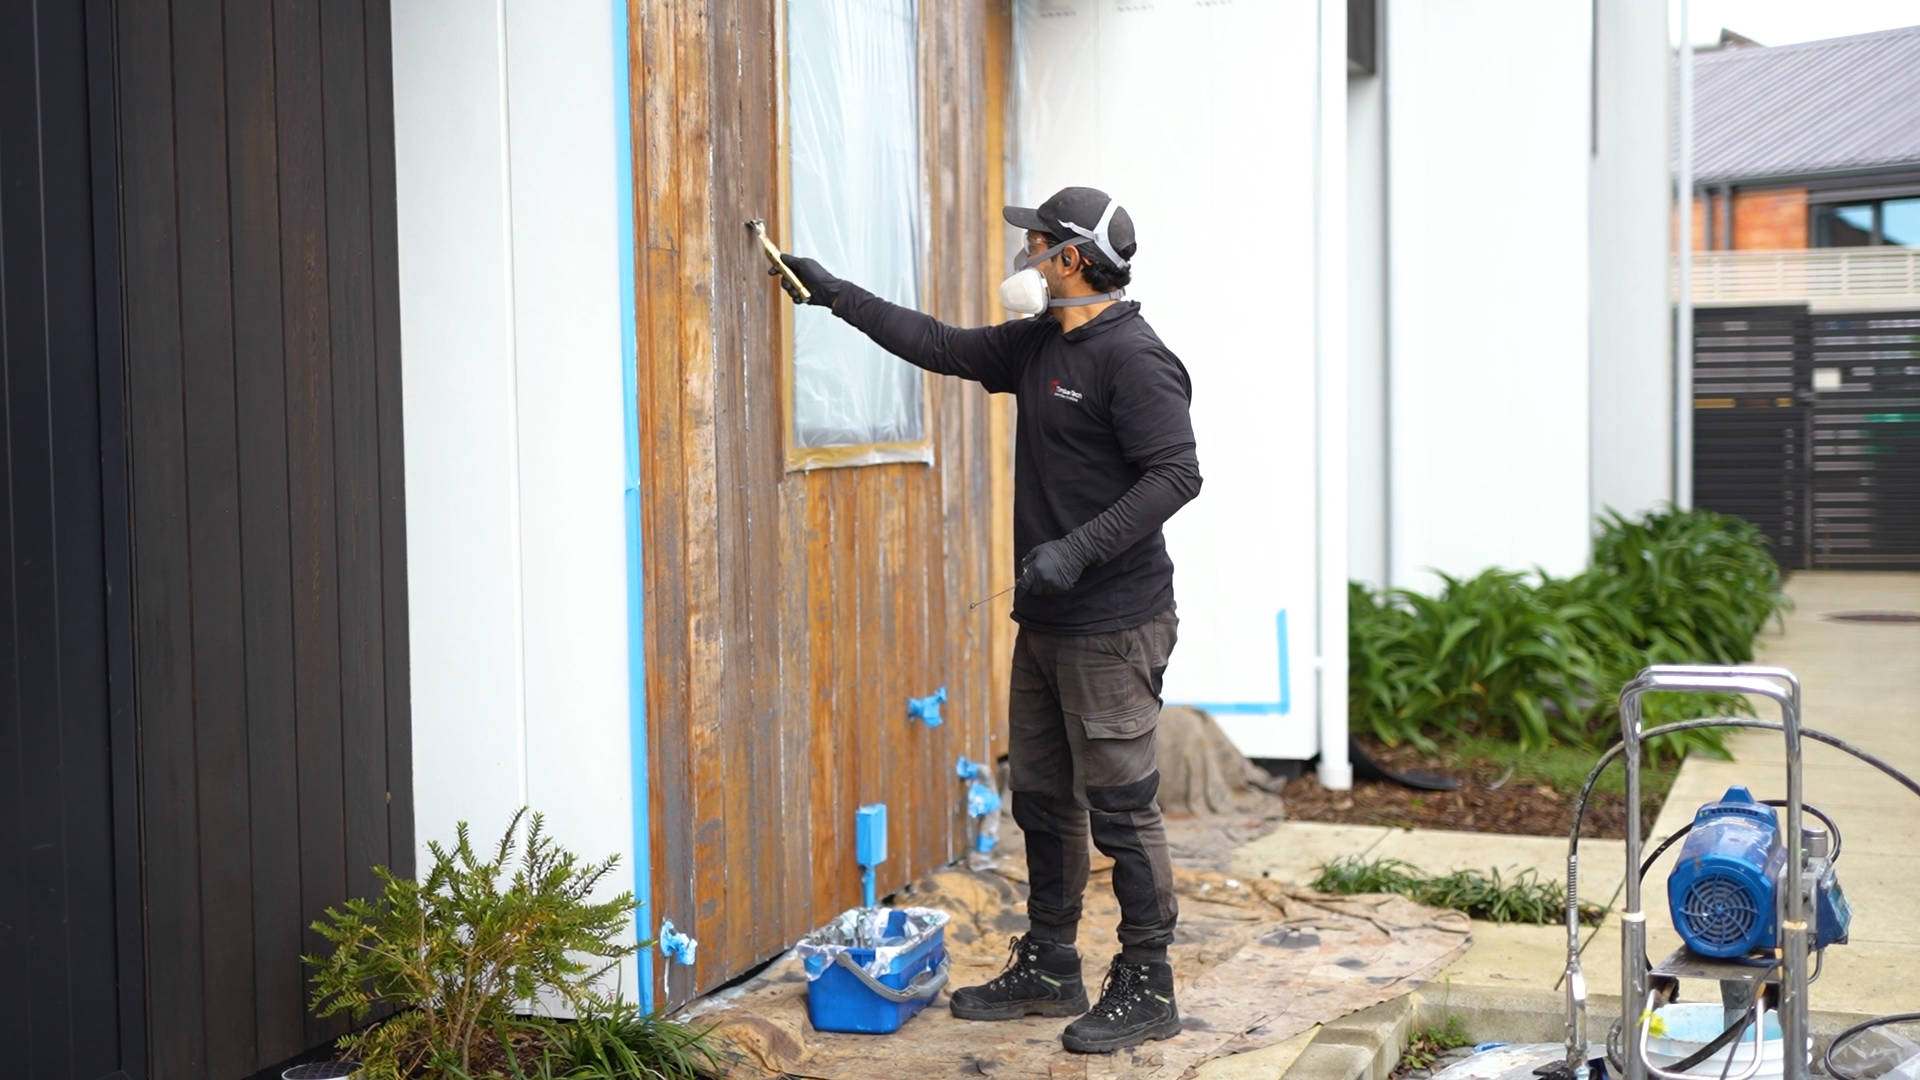
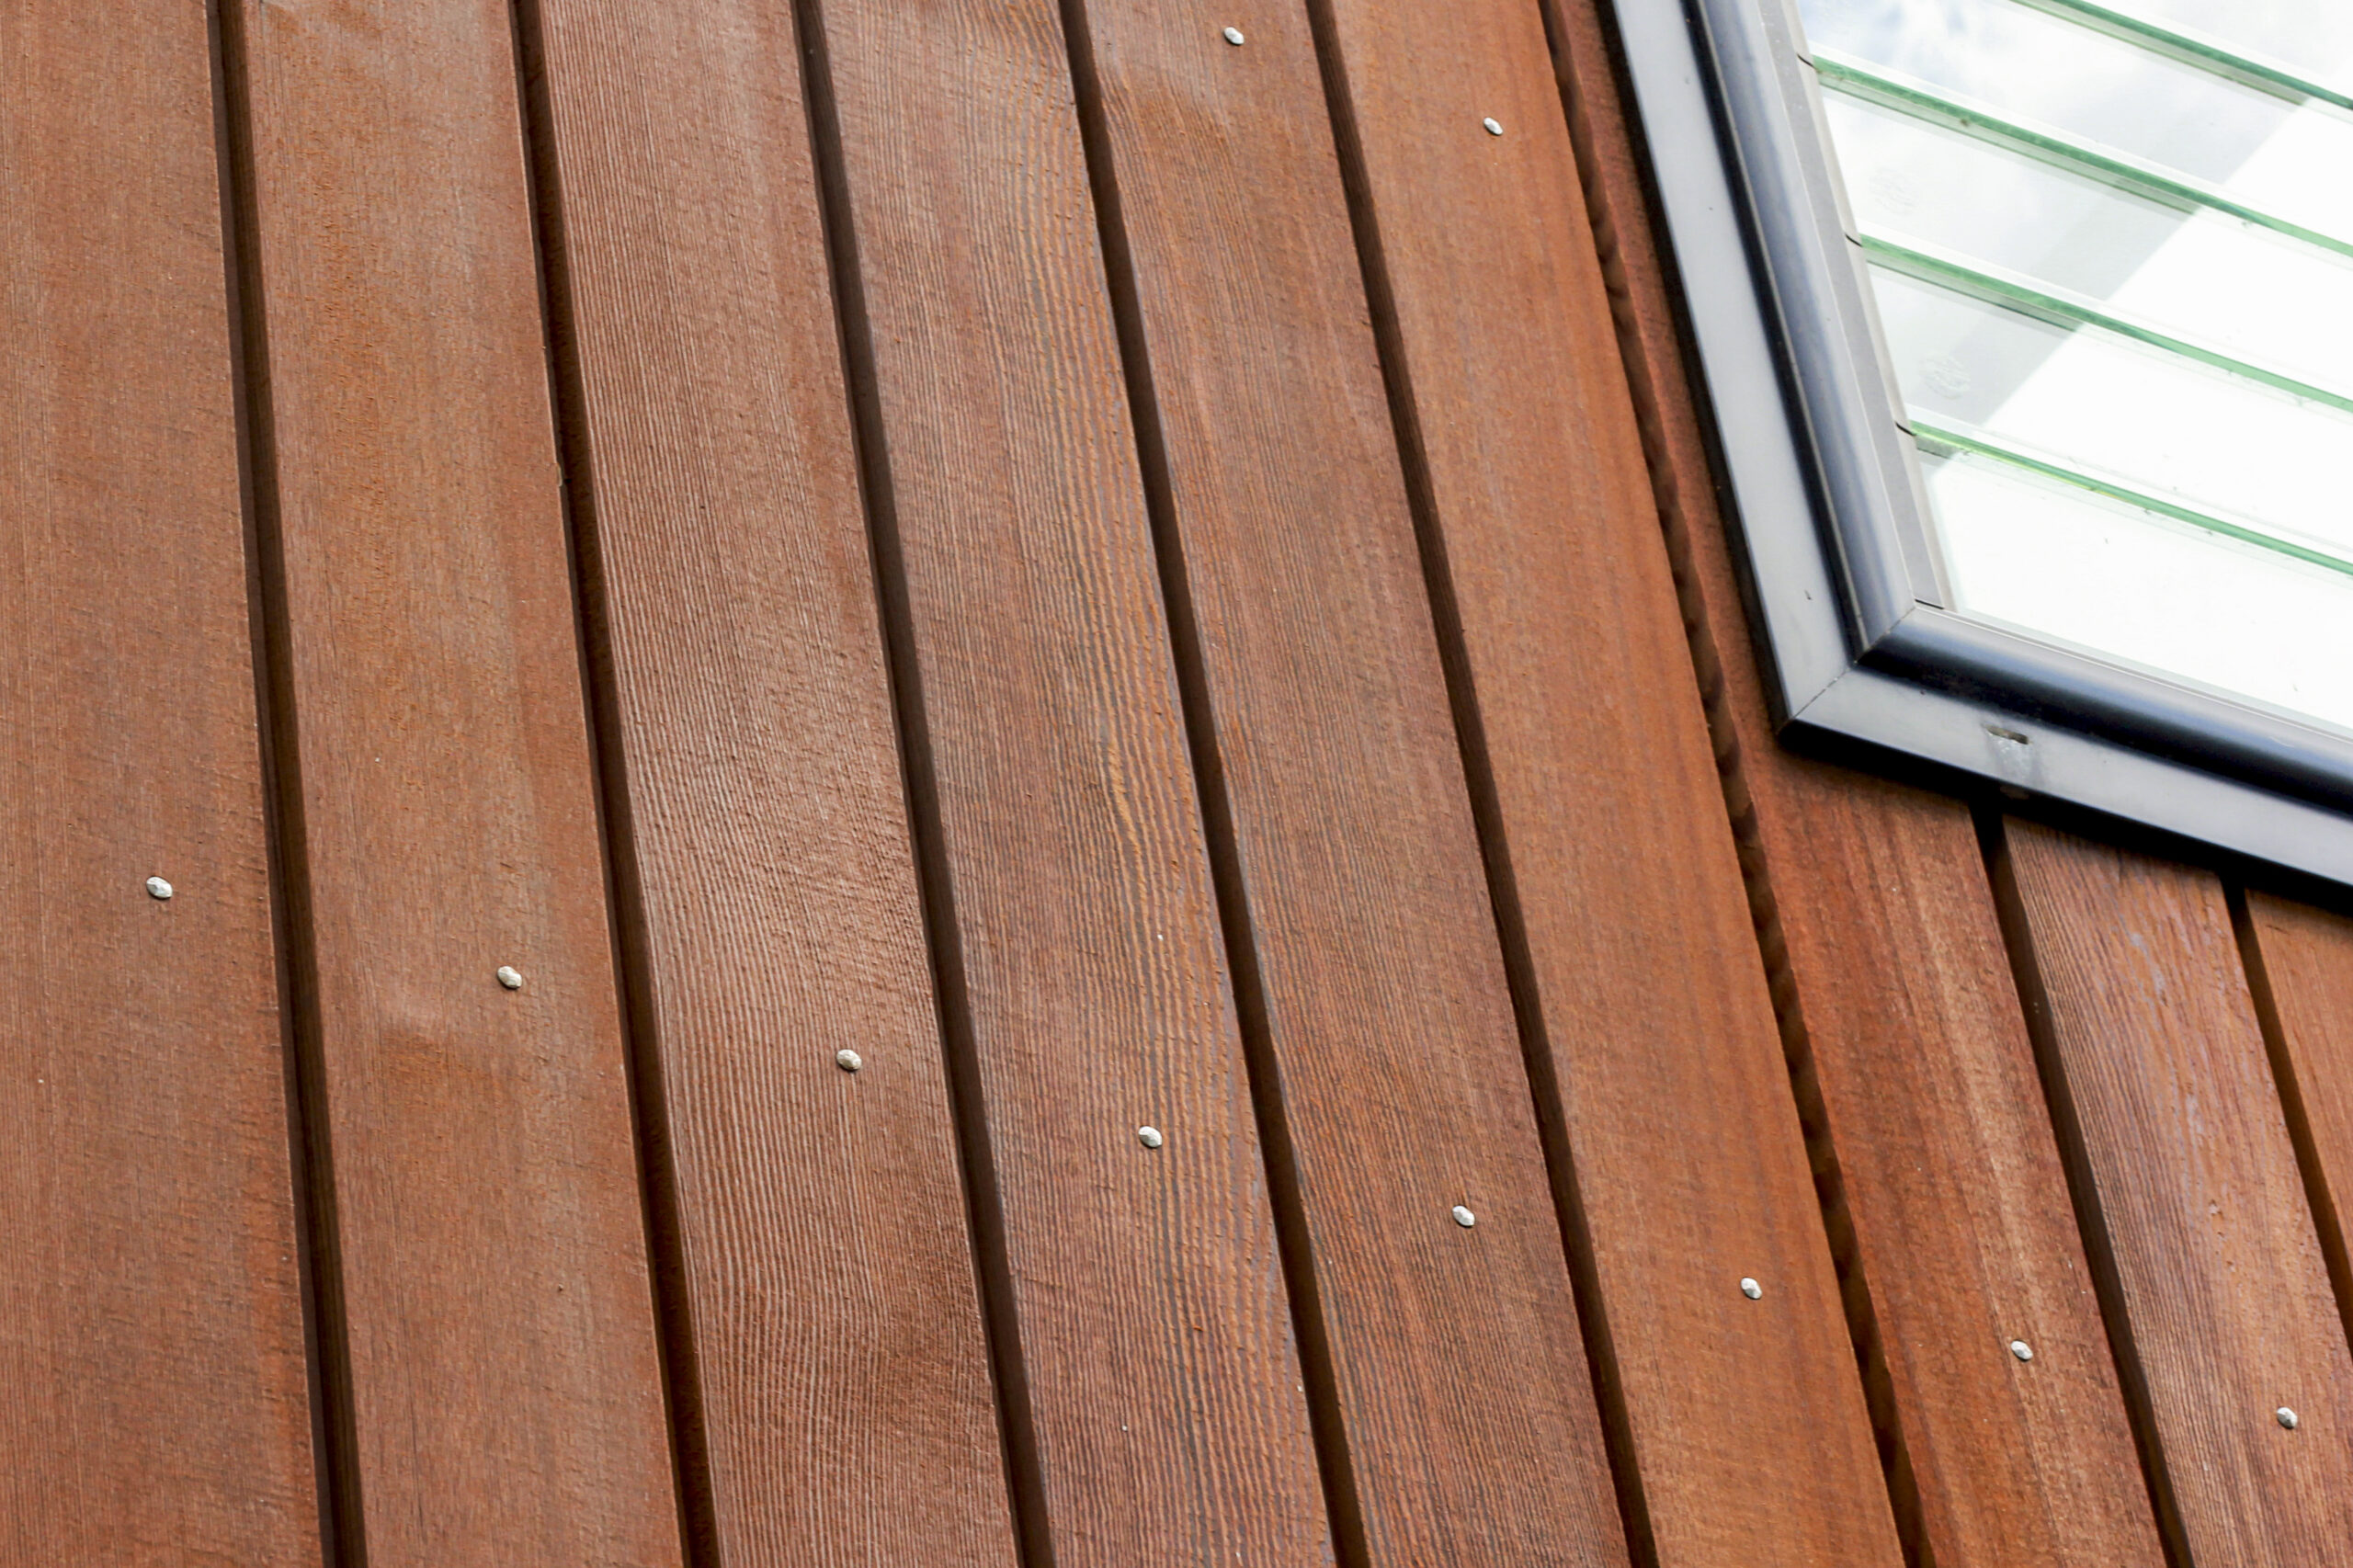
Applying a stain is simple, you move the brush from one side to the other keeping an even coverage and a wet edge.

But getting an even finish across the boards takes time and practice. If the stain dries before you finish, there will be lines in it.

We have also seen DIY oiling attempts that only go 3/4 of the way up the wall because they couldn’t reach any higher, or thought the Cedar was protected by the soffits of the house.

Trying to blend that in after the event is very difficult and always ends up costing more in the long run.

Thinking Twice About DIY?

Anyone can learn how to maintain their Cedar, but it probably looks easier than it is and is fraught with little problems that when added together, become bigger issues.

If you require expert advice, call us on 0800 298 298. Our friendly team is always ready to help.

Read More Articles

17 Feb 2026
We regularly see the results of both proactive care and long-term neglect. While Cedar is incredibly resilient, there is a definitive tipping point where a simple maintenance coat turns into an expensive restoration - or worse, a total reclad.

We understand the temptation to “wait just one more year” before investing in Cedar maintenance. Whether it’s budget-related or just a busy schedule, many homeowners try to push the limits of their cladding.

We regularly see the results of both proactive care and long-term neglect. While Cedar is incredibly resilient, there is a definitive tipping point where a simple maintenance coat turns into an expensive restoration – or worse, a total reclad.

Here is a breakdown of the Cedar timeline and how to know if you’ve gone too far.

The Three-Summer Rule

We recommend having the sun-exposed faces of your Cedar recoated every 2-3 summers.

The “danger zone” usually begins after the third summer. However, not all sides of your house age at the same rate.

North-Facing (the sunny side):

After three summers of UV exposure, maintenance is officially overdue. You’ll notice the oil’s tint beginning to discolour and areas of bare timber becoming exposed.

Without oil, the Cedar loses its ability to repel water. It absorbs moisture during rain and then gets baked dry by the sun. This rapid swelling and shrinking is what starts the deterioration process.

South-Facing (the sheltered side):

You can often get away with three summers or longer here, but you aren’t out of the woods. While UV isn’t the enemy, dampness is.

High-quality Cedar oils contain fungicides that prevent organic growth. As the oil dries out, these fungicides disappear and you’ll see mould and lichen developing.

The Downward Spiral: 4 to 6 Years

If you push past the four-year mark without treatment, the life begins to leave the boards.

Around the 4-year mark, you will likely see mould developing on sheltered, damp faces. On the sunny side, the boards will begin to warp or crack as they lose their internal moisture.

At 5–6 years, maintenance now becomes urgent. At this stage, the weaker parts of the Cedar boards (the thinner overlap points) will start to bend and cup. Gaps will appear between boards, which can lead to serious waterproofing issues for your home’s structure.

Can Your Cedar Be Saved?

The good news is that in most cases, Cedar can be saved – but it comes at a cost.

If you’ve waited 5 or 6 years, a standard house wash and recoat often won’t cut it. Restoration at this stage requires a deep chemical clean to strip back dead fibres and mould, followed by multiple applications of oil to quench the thirsty timber.

The hard truth is that while re-oiling helps return flexibility to the wood and releases surface tension, it cannot un-warp a board completely.

Once a board has significantly cupped, the damage is largely irreparable. You can halt the process and protect the wood from further degradation, but you cannot return the board to its original, flat state.

Factors That Speed Up the Clock

The “three-summer rule” is a guide, but your specific environment might move the needle:

  • Foliage: Trees or bushes touching the Cedar trap moisture and cause mould.
  • Dirt & Splashback: Proximity to garden beds or dirt can lead to ground-level rot.
  • Micro-climates: Coastal salt spray or high-humidity bush settings can accelerate the breakdown

Regularly washing your house will often remove these contaminants and should be part of your regular maintenance plan.

Regardless, the longer you wait, the more life you are taking out of the boards. Delaying maintenance might save a bit of money this year, but it effectively shortens the total lifespan of your home’s cladding.

On a sunny face, you aren’t just skipping a service, you’re allowing permanent damage to the surface of the Cedar that can’t be undone later.

Final thoughts…

If in doubt, you always ask us to pop around for a free Cedar assessment. Very often it’s only the sun exposed faces that need maintaining, and it doesn’t cost as much as people might think.

15 Nov 2025
Yes, transitioning Cedar from stain to oil is possible, but it's not a process to be undertaken lightly. There can also be 3-9 month transition period where the Cedar will have a shiny-flat-shiny-flat appearance. However, the end result is Cedar that looks stunning and is protected against the UV rays.

Yes, transitioning Cedar from stain to oil is possible, but it’s not a process to be undertaken lightly. Removing stain requires a chemical stripper to remove the broken-down stain, and perhaps even some sanding to remove any stubborn remnants.

There can also be a 3-9 month transition period where the Cedar will have a shiny-flat-shiny-flat (or “patchy”) appearance. However, the end result is Cedar that looks stunning and is protected against the UV rays.

How Stained Cedar Ends Up Looking Unsightly

Treating Cedar with stain isn’t usually an informed choice by the homeowner.

Often, the previous owner has done a quick fix and used stain to make the Cedar look pretty before selling, or the current homeowner has stained over a poorly prepared stain without stripping back the boards.

Stains are translucent, so even though they have some opacity, you can still see through them and unless the preparation is done well, stains don’t hide imperfections.

Eventually the stain will delaminate in the harsh UV, giving a camouflaged look with light and dark shades that are often patchy and uneven.

Why Transition From Stain to Oil?

No matter how much stain you put on the surface of the timber, 5-10 years of sun exposure on a northern face will deplete the natural oils of the Cedar and cause the boards to dry out, cup, then ultimately split.

This doesn’t just look bad, it threatens the integrity of your home to withstand the elements and if the damage continues, you may need to replace the cladding altogether.

Img 9433 Cc2

Unlike stain, oil soaks into the pores of the timber leaving only a thin film on the surface, so it does not break down or flake off. The oil then replaces the natural oils depleted by the sun and protects the timber against surface tension and cracks.

Oil is also easier to maintain and as you only need to recoat exposed faces every 2-3 summers, the maintenance will be more cost-effective over the long term.

The Transition Process from Stain to Oil

First, we do a site visit to look at the current state of the boards. 

In the best-case scenario, the weatherboards will have had an even exposure to the sun. We then use a stripper to lift the broken-down stain, followed by a deep clean to remove anything which is loose.  

The heavy wash will give us a good look at the condition of the boards below. If there is any stain remaining on the surface, we might need to sand or strip the boards back to their virgin state before applying the oil. 

If the boards have received partial shade cover, such as nearby trees or soffits that have only protected the upper areas, they need to be stripped. You can’t just oil over the top and hope that it’s going to match the weatherboards below.  

This adds a lot of cost to the process and if the homeowner isn’t willing to spend that much money, we may recommend applying another coat of stain to provide at least some protection against UV and keep the house looking tidy. 

Be Prepared for the Patchy Look

One of the biggest downsides of moving from stain to oil is a 3-9 month transition period where your Cedar will have a shiny-flat-shiny-flat (or “patchy”) look.

This happens when oil is applied to any surface that still has stain remnants. The oil cannot soak through the non-porous stain, so it sits around the surface area where the oil has soaked in, giving the shiny-flat-shiny-flat look.

cedar-stain-to-oil-before-1 cedar-stain-to-oil-after-1

In the sunlight, the shiny-flat-shiny-flat look is not pretty. However, this effect is only temporary and eventually the oil will soak in and delaminate any remaining stain.

After 3-9 months, we come back and give the boards another deep clean, sand back any remaining stain and apply another coat of oil. 9-12 months later we repeat the same process.

After 12-24 months the transition will be complete and the Cedar will move into a regular maintenance schedule, with sun exposed areas being treated every 2-3 summers.

What Costs Are Involved?

Cost is the final hurdle for many Cedar homeowners. Stripping off stain is an expensive process and if your current home is not your forever home, the costs might be prohibitive.

However, if you are planning to stay in your current home for the foreseeable future, the costs become an investment that will pay for itself. Over time, oil is much easier to apply than stain, provides superior protection against the elements and increases the lifespan of your Cedar.

In broad terms, it comes down to this: do you want to spend the extra 10k to remove the stain and give yourself an easy to maintain finish, or deduct the 10k from the cost of replacing the cladding in the not-to-distant future?

By investing in the health of your Cedar now, you will save money on long-term maintenance, and your cladding will look amazing.

Get An Expert Opinion!

As you can see, there are a lot of variables when considering the transition from stain to oil.

For a Free Cedar Assessment, get in touch by calling 0800 298 298.

There is no obligation and our goal is always to look after the best interests of our customers over the lifecycle of their homes.

11 Sep 2025
Cedar needs to be recoated every 2-3 summers to protect the timber from New Zealand's harsh UV rays. Knowing what signs to look for will help you stay on top of maintenance before small issues turn into larger, more expensive problems.

Cedar needs to be recoated every 2-3 summers to protect the timber from New Zealand’s harsh UV rays.

By applying an oil or a stain, the boards are protected by a coating that takes the brunt of the UV rays, but over time, it will break down and needs to be reapplied.

Knowing what signs to look for will help you stay on top of maintenance before small issues turn into larger, more expensive problems.

1. Discolouration

Discoloration is often the first sign that your cedar needs attention. It happens when the UV rays begin to break down the existing coating, allowing the natural colour of the timber to come through.

A generously applied oil will fill the pores of the Cedar and leave a protective tint on the surface. This dual action helps the wood resist moisture and absorbs the worst of the sun’s rays.

With oil, you can tell if the Cedar is dry by spraying water onto the surface. If the water beads off, the boards still have a reservoir of oil. If the water soaks in, you probably need to recoat.

Stains work similarly, creating a barrier that shields the timber. Over time, the stain will oxidise and erode by design – this means it’s doing its job by absorbing the UV damage – resulting in a patchy, uneven appearance with lighter and darker areas.

2. Fading or silvering

Silvering is caused by exposure to UV rays, which fray and loosen the top cells of the Cedar and cause the surface to become bleached.

While some people prefer this aged appearance, it can be a problem in warm, damp climates. The roughened surface of the wood can trap moisture, dirt, and bacteria, causing the Cedar to turn black.

If you like the silvered look, you can get protective oils with a silver tint that will give you the aesthetic you want while still protecting your Cedar from the sun.

Img 2759 Before Img 2759 After

3. Patchy or uneven colour

Patchy or uneven colour on your Cedar can be a sign of a few things. The previous coating might have been applied unevenly, or it could be breaking down faster in some areas than others for a variety of reasons.

A well-maintained Cedar home should have a consistent colour across all its walls. If your home hasn’t been maintained in quite some time, the faces of the house that gets more direct sun exposure will fade faster than the shaded faces.

Reapplying an oil or stain not only enhances the colour but also helps replenish the wood’s natural oils and fortify its anti-fungal properties, restoring its vibrant, like-new appearance.

cedar-stain-to-oil-before-1 cedar-stain-to-oil-after-1

4. Mould and lichen forming

Mould and lichen often grow on the damper areas of your house away from the sun. Mould can appear on the surface coating or might be ingrained in the timber if it’s been left for a while.

The first signs of mould are small black spores that look like spots or splatters, and as it gets more severe it will get more obvious, turning black, green or red.

Img 2426 Img 5196

Signs of mould and lichen are not always a big concern. Get a professional to look at it, and if you catch it early enough, you might just need a clean without having to recoat the timber.

cedar-restoration-before cedar-restoration-after

5. Cracks, or worse

Look for small cracks appearing, either in the coating or the boards themselves. Those little cracks are allowing moisture to get into the boards and create a toehold for mould, mildew and lichen to get established.

If nails are popping out, or you can see warping, this is a sign that the boards are moving a lot. This usually happens on the north face, or any area that is exposed to the sun and doesn’t have any protection against the wet-dry-wet effect.

Cupped cedar

If your boards are starting to cup, it doesn’t mean the boards are beyond repair. Often the structural integrity of the boards is still good, we just need to clean them up and replace the oil to reduce the surface tension and repel water.

Final thoughts…

Knowing the signs that your Cedar needs attention helps you make an informed decision about when to invest in its health.

If you’re unsure, it’s always best to have a professional take a look.

We offer a free, onsite Cedar Assessment across Auckland and Northland. One of our Cedar experts will provide a genuine assessment of your timber and offer advice to keep your Cedar protected and looking beautiful for years to come.

Read More Articles

Showing 1 - 10 of 17

Subscribe

Sign up to our quarterly newsletter for all the latest Cedar tips and expert advice.