The Difference Between Tinted Oil and Stain – And Why it Matters

The Difference Between Tinted Oil and Stain – And Why it Matters

15 Oct 2024
Tinted Oil Vs Stain

Tinted oils and stains are two very different products – each with unique compositions, application requirements, and long-term maintenance needs – but the names are often used interchangeably.

Even amongst building professionals, there is a lot of confusion around different Cedar treatments, and which is best for the long-term protection of Cedar in different situations.

In fairness, the difference is not always obvious, and much of the confusion comes from the terminology used by manufacturers in the past.

This article aims to set the record straight, and show why it’s beneficial – both for your Cedar and for your wallet – to know the difference between Cedar treatments.

Let’s start by defining what exactly is an oil and a stain.

What is a Penetrating Oil?

Penetrating oil is designed to migrate into the timber and waterproof it from the inside, protecting against movement from the wetting and drying process, but it offers no UV protection.

We do not recommend using clear oil on Cedar cladding as there is no UV protection.

When a tint is added to a clear oil base, it becomes a tinted oil.

The tinted oil has all the waterproofing benefits of clear oil, but the tint now protects the timber against UV, like a sunblock, and it can be applied with a range of different colours.

What is a Stain?

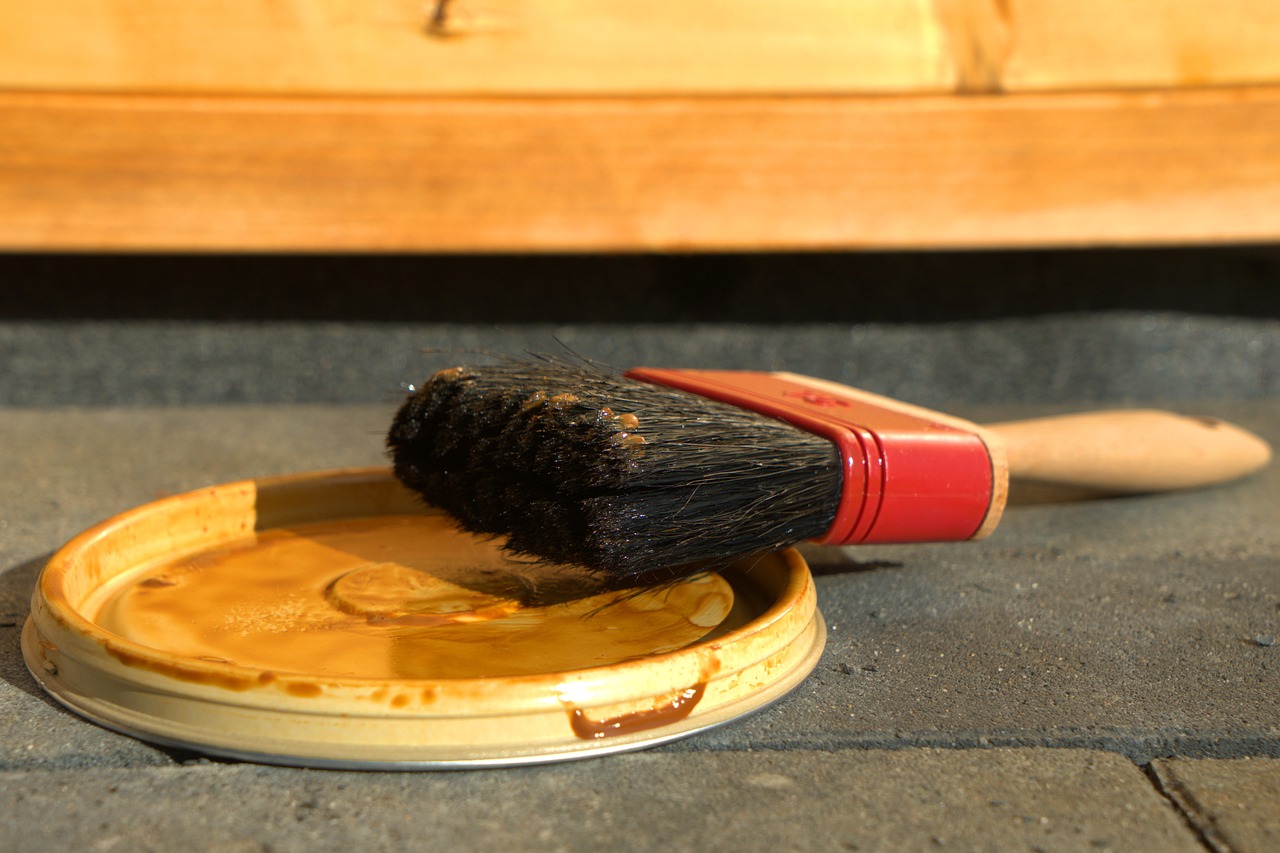
Traditional stains use a solvent to emulsify the oil and are typically a brown-red colour, prevalent on homes built before the 2000s.

Solvent based stains are still available, but they are being phased out in favour of water-borne stains, which are more environmentally friendly, and come in a range of colours.

Water-borne stains emulsify the oil in water. When applied to the surface, the water evaporates leaving behind the oil to migrate, to a degree, into the surface of the timber.

Stains do not penetrate deeply into the timber, unlike oil, and are designed to erode from the surface over time. Once the stain has been broken down by the UV, any remaining stain will need to be washed or sanded away before applying new stain.

Where Does the Confusion Lie?

Stains and tinted oils are the most common source of confusion when talking with Cedar homeowners.

People think of a stain as something they brush on and the stain then soaks into the timber. This is true, but a stain will only soak into the timber marginally compared to a penetrating oil.

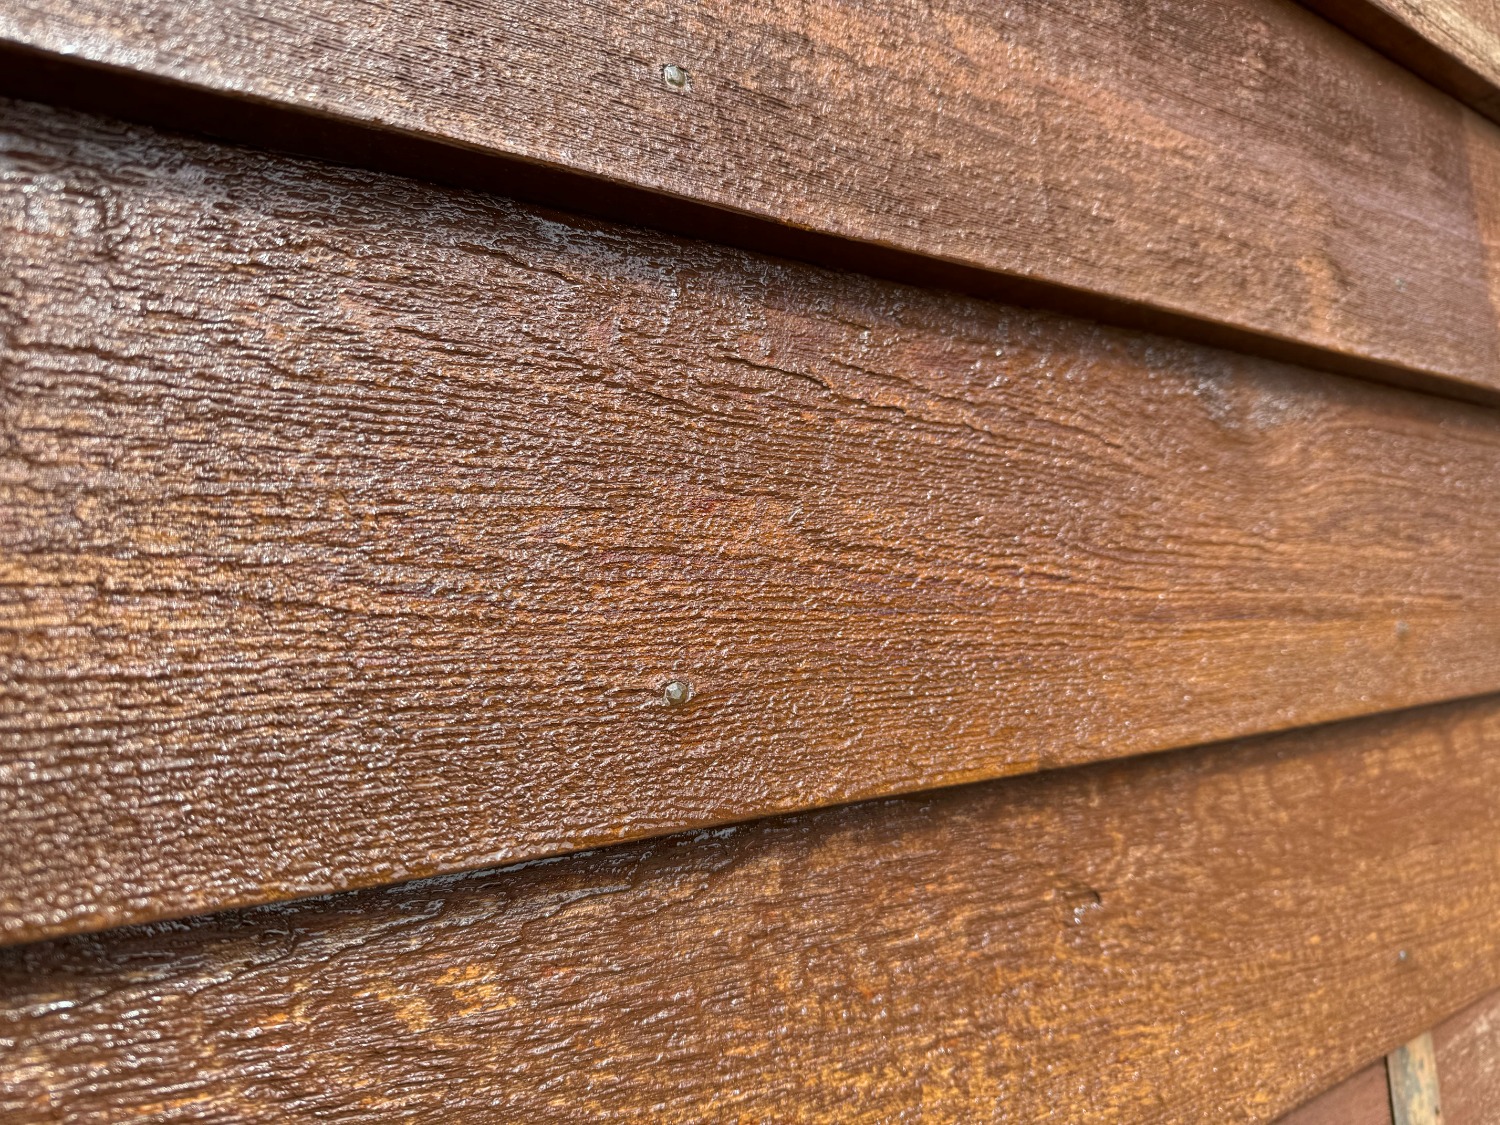
If you pour tinted oil onto a white sheet, it’s going to change the colour of the sheet without changing the texture, essentially staining the fabric.

If you do the same with a traditional stain, which is actually like a very thin paint, it’s going to leave a coating on the sheet. It will change the colour, but only because there is a coating on the surface. It’s not actually staining the fabric.

By this rationale, a stain is not actually a stain, but it’s been called a stain for so many years that the name has stuck.

This may seem like splitting hairs, but knowing which product is right for your Cedar has a significant impact on how your Cedar needs to be maintained.

Why Does This Matter

If you know what treatment is on your Cedar, you can formulate the right maintenance strategy for your home – and potentially save yourself money, and heartache.

Here are a few practical examples:

  • Existing Cedar Homes

If you already have a Cedar home, this means you can use the same treatment as before for the best colour matching and application; while avoiding generic products that do not perform as well, or incompatible treatments, such as applying a water-borne stain over an oil.
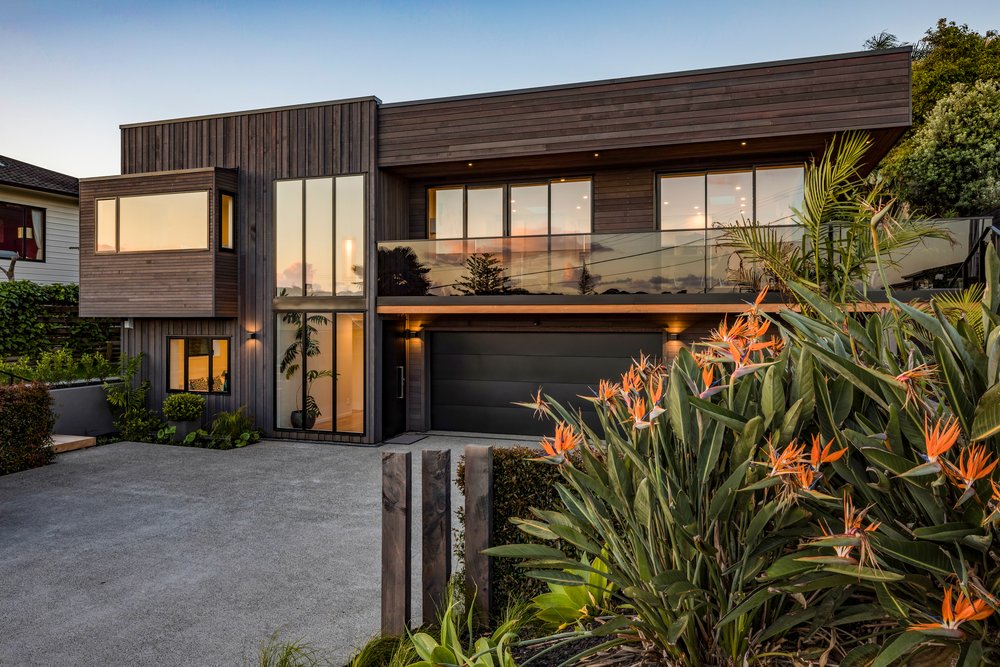
  • New Cedar Homes

If you are building or buying a new Cedar home, a stain is often applied as it requires little upkeep for the first 5-10 years, but eventually the sun will dry out the timber and you might have to use a Cedar professional for maintenance or remedial work.

  • Cost and Upkeep

Different treatments have different costs. Oil migrates deep into the timber, but doesn’t last on the surface as long as a stain and needs more regular upkeep. Stain lasts longer, but once it erodes, it needs to be removed evenly before recoating, or you end up with an uneven finish.
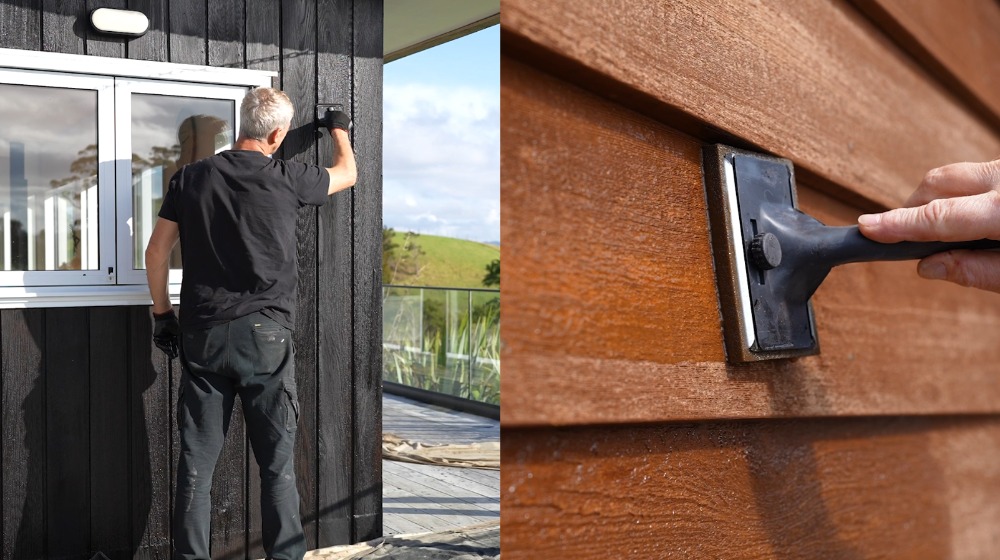
  • Cedar Orientation

Areas in the shade require less maintenance than sun-exposed areas, making stain more suitable in some circumstances. And if you have an area of Cedar up high, the cost of scaffolding might be prohibitive for regular application of oil and a stain might make more sense.

All these potential complications can be eased by knowing what treatment has been used on your Cedar, and what treatment is best for different situations.

Final Thoughts

We are not saying that one product is better than the other, but by understanding what treatment is on your Cedar, you can make better decisions about how it needs to be protected.

If you are unsure, get in touch with our team and a Cedar expert will come out to your house to assess your cladding.

Read More Articles

17 Oct 2023
Many Cedar homes that were built before the 2000s have a distinctive red colour than now looks dated. At the time, the red/brown tint was all that was available, but now we have access to a wide range of tinted oils and stains.

Most Cedar homeowner aren’t aware that they can change the colour of their Cedar. It usually comes about in our initial conversation with new customers who have just bought their home and want a more contemporary look.

Many Cedar homes that were built before the 2000s have a distinctive red colour than now looks dated.

At the time, the red/brown tint was all that was available, but now we have access to a wide range of tinted oils and stains.

What colours we recommend depends on the unique circumstances of each house: the existing colour of the Cedar, levels of UV exposure, whether the Cedar is treated with an oil or a stain, and when the Cedar was last maintained.

Before talking colours, it’s useful to understand how Cedar works in relation to oils and stains.

How Cedar Works

Raw Cedar can be a myriad of colours, anything from light pine to mahogany red.

There is a lot of red Cedar around. If you cut it in half, the inside is a deep red colour. Add oil to that and the red pops out, making it a difficult base colour to compete with. But more on that later.

Once the Cedar has been used in construction, an oil or stain is applied to protect it from the elements and give a cosmetic finish.

A tint is a pigment added to an oil or stain. This is like how pigment is added to paint. To create a pastel colour, you start with a white base, add the pastel pigment and blend it together to get the final colour.

It’s the same principal for stains and oils.

Assessing Your Colour Options

The more drastic the change of colour, the more difficult the process will be.

If you have a natural Cedar colour, which is less red and more of a brownish hue, it can be covered with a dark brown or black quite easily.

If you have deeper colours such as dark red, changing the colour becomes more difficult.

For a lighter or muted finish, you would need to scrub off some of the deep red. If you are going for a brown or black finish, you need to put on more of the next coat to hide the red that is underneath.

Changing from dark to light will also be more expensive, as the initial colour will need to be stripped back and is a much more intensive process.

Changing Colour with Oils

When an oil has already been applied, the tint will often need to be stripped from the surface using a degreaser. Because oils are translucent, they work with the colour underneath, which is generally the red Cedar.

If you don’t use a degreaser, you are working with the already pigmented Cedar and no matter how many coats you put on, it won’t make a difference.

The extent of this process depends on how much UV the treatment has been exposed to.

If the oil has been exposed for 4 or 5 summers, the tint will have oxidised and broken down, and will most likely come off with a heavy wash. If it’s only been on for 1 or 2 summers, chances are the sun hasn’t broken it down and it will need a degreaser.

If there are parts of your house that are protected from the UV, such as under soffits, we treat those areas separately to achieve an even finish.

Changing Colour with Stains

The underlying principle behind changing the colour on an oil or a stain is basically the same: you first need to remove as much of the original finish as possible to create the best results.

If any of the original colour remains, the oil or stain highlights whatever is left on the board.

Stain is opaquer than oil and hides a lot more. If you are going from light brown to dark brown, or red to dark brown, you can probably get away with a standard wash and 2-3 coats of stain. For more drastic colour changes, you will need to use a paint stripper.

Modern paint strippers are less potent than in the past and are made from organic compounds that are brushed on the surface, then scraped off and put in the rubbish bin.

Want a Modern Look for Your Home?

As you can see, there are a lot of different factors that need to be considered when looking to change the colour of your home.

To learn about your options, give us a call on 0800 298 298. One of our Cedar experts will visit your home and assess your timber.

If you want to browse colours, please visit our Colour Range page and look at some swatches.

12 Aug 2023
What debate? Oil is the way to go when it comes to cedar, no contest. While stain only coats the surface of the wood, oil works in partnership with one of cedar’s basic features. You see, cedar is a naturally oil-rich timber itself – it soaks up rejuvenating oil deep into its cells for up to a year after it’s applied.

“Should I use oil or stain on my Cedar?”

This is by far the most common question we get from Cedar homeowners and a source of some debate on the internet.

In our opinion, there is no debate (with a few caveats). For nearly all situations, treat Cedar with a penetrating oil such as Wood-X.

Oil works like moisturiser for Cedar, deeply replenishing the natural oils and keeping the Cedar protected – and looking great – for many years to come.

So, there we have it, debate closed. Oil is the way to go when it comes to Cedar, no contest. But if the answer is so clear cut, where does this debate come from in the first place?

To find out, read the full article, or watch the video below for a quick summary.

With Cedar, Location Is Everything

If we were having this conversation in the northern hemisphere, the answer would be the opposite: use a stain. Stains last longer and you will have a lot less maintenance over the lifetime of the Cedar.

In New Zealand, the situation is very different. We have some of the harshest UV rays in the world which extract the natural oils from the Cedar and dry out the boards. Over time, the boards will cup and eventually crack, leading to a costly replacement of your cladding.

Stains protect the boards from moisture and look great, but unlike penetrating oils, they do not replenish the natural oils extracted by the sun. They are designed to erode over time, often unevenly, and leave the timber unprotected and unsightly.

Caveats For Using Stain on Cedar

While oil is recommended for Cedar in nearly all cases, there are some situations where stain is more suitable.

If the Cedar has considerable shade with little to no UV exposure, using a stain instead of an oil might be appropriate. This is usually when a house is shaded by dense tree cover or has wide soffits, such as villas where the roof extends over the porch.

The soffits stop the weatherboards from being degraded by the sun. These well protected areas can be treated with a stain and will look great forever.

If in doubt, get in touch, we are always happy to give an expert opinion on which treatment is best for any given job.

Comparing Costs Between Cedar Oils and Stains

Over the long term, there isn’t much difference in maintenance cost between oils and stains. The real savings come when looking at the longevity of the Cedar boards over the lifetime of your home.

Stained Cedar will dry out in the sun, causing the boards to cup and warp faster, and increase the likelihood you will need to replace your boards. A costly solution to an avoidable problem!

The difference shows up when we’re preparing Cedar for restoration. Sanding stain may reveal unsuspected insect, sun or moisture damage. With an oil recoat on a well-maintained property, it’s just a gentle clean with a bio-degradable wash, a short drying period and the re-oiling itself.

Have any more oil vs stain questions? Send us a message or use the Live Chat below!

13 Jul 2023
As Cedar ages, we highly recommend transitioning Cedar from stain to a penetrating oil where possible. The simple truth is, no matter how much stain you put on the surface of the timber, 5-10 years of sun exposure on a northern face will deplete the natural oils of the Cedar and cause the boards to dry out, cup, then ultimately split.

As Cedar ages, we highly recommend transitioning Cedar from stain to a penetrating oil where possible.

If you want to know more about the pros and cons of each, please read our article The Cedar Oil vs. Cedar Stain Debate.

The simple truth is, no matter how much stain you put on the surface of the timber, 5-10 years of sun exposure on a northern face will deplete the natural oils of the Cedar and cause the boards to dry out, cup, then ultimately split.

This doesn’t just look bad, it threatens the integrity of your home to withstand the elements and if the damage continues, you may need to replace the cladding altogether.

How Stained Cedar Ends Up Looking Unsightly

Treating aged Cedar with stain isn’t usually an informed choice by the homeowner. Often, the previous owner has done a quick fix and used stain to make the Cedar look pretty before selling, or the current homeowner has stained over a poorly prepared stain without stripping back the boards.

Stains are translucent, so even though they have some opacity, you can still see through them and unless the preparation is done well, stains don’t hide imperfections.

Eventually the stain will delaminate in the harsh UV, giving a camouflaged look with light and dark shades that are often patchy and uneven.

Img 9438 Cc2

The Transition Process from Stain to Oil

First, we will do a site visit to look at the current state of the Cedar boards.

In the best-case scenario, the weatherboards will have had an even exposure to the sun. We then use a strong solution of the oxy cleaner to get in behind any of the oxidised stain which has been broken down by the sun, then use a heavy wash to remove anything which is loose.

The heavy wash will give us a good look at the condition of the boards below. If there is any stain remaining on the surface, we will need to sand or strip the boards back to their virgin state before applying the oil.

Img 9433 Cc2

If the boards have had partial shade cover, such as nearby trees or soffits that have only protected the upper areas, they need to be stripped. You can’t just oil over the top and hope that it’s going to match the weatherboards below.

This adds a lot of cost to the process and if the homeowner isn’t willing to spend that much money, we may recommend applying another coat of stain to provide at least some protection and keep the house looking tidy.

Be Prepared for the Shiny-flat Look

One of the biggest downsides of moving from stain to oil is a 3-9 month transition period where your Cedar will have a shiny-flat-shiny-flat look.

This happens when oil is applied to any surface that still has stain remnants. The oil cannot soak through the stain as it is non-porous, so it sits on top, around the surface area where the oil has soaked in, giving the shiny-flat-shiny-flat look.

cedar-stain-to-oil-before-1 cedar-stain-to-oil-after-1

In the sunlight, the shiny-flat-shiny-flat look is not pretty. However, this effect is only temporary and after 3-9 months the oil eventually soaks in behind the stain and the stain will delaminate further.

After 3-9 months, we will come back and give the boards another heavy wash, sand back any remaining stain and apply another coat of oil. 9-12 months later we repeat the same process. After 12-24 months the process will be complete and the Cedar will move into a regular maintenance schedule, with sun exposed areas being treated every 2-3 summers.

What Costs Are Involved?

Cost is the final hurdle for many Cedar homeowners. Stripping off stain is an expensive process and if your current home is not your forever home, the costs might be prohibitive.

However, if you are planning to stay in your current home for the foreseeable future, the costs become an investment that will pay for itself. Over time, oil is much easier to apply than stain, provides superior protection against the elements and increases the lifespan of your Cedar.

In broad terms, it comes down to this: do you want to spend the extra 10k to remove the stain and give yourself an easy to maintain finish, or deduct the 10k from the cost of replacing the cladding in the not-to-distant future?

By investing in the health of your Cedar now, you will save money on long-term maintenance, and your cladding will look amazing.

Get An Expert Opinion!

As you can see, there are a lot of variables when considering the transition from stain to oil. This article is intended to educate Cedar homeowners on the general process, but nothing compares to having one of our team visit your house and make a professional assessment.

For a free Cedar Assessment, get in touch by calling 0800 298 298. There is no obligation and our goal is always to look after the best interests of our customers over the lifecycle of their homes.

Read More Articles

Showing 1 - 10 of 14

Subscribe

Sign up to our quarterly newsletter for all the latest Cedar tips and expert advice.

Your Free Cedar Diagnosis

TimberTech comes to you, or we review the supplied photos of your Cedar. Next, we provide you with a professional treatment plan.

Let’s get started…