Timbertech Cedar Maintenance

The Tipping Point: How Long Can You Delay Cedar Maintenance?

The Tipping Point: How Long Can You Delay Cedar Maintenance?

17 Feb 2026
Tipping point feature image

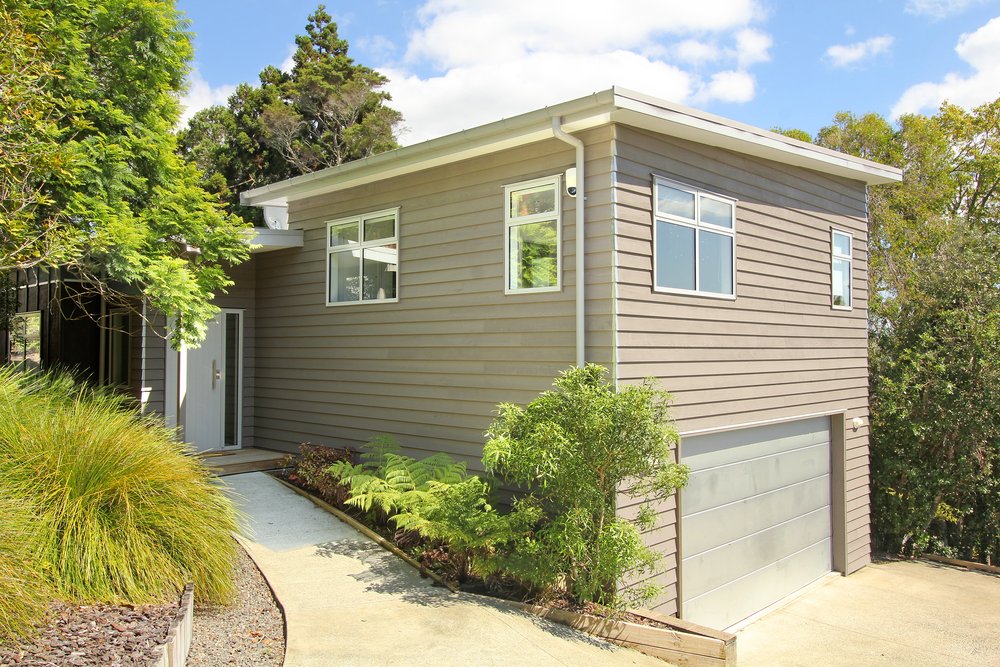
We understand the temptation to “wait just one more year” before investing in Cedar maintenance. Whether it’s budget-related or just a busy schedule, many homeowners try to push the limits of their cladding.

We regularly see the results of both proactive care and long-term neglect. While Cedar is incredibly resilient, there is a definitive tipping point where a simple maintenance coat turns into an expensive restoration – or worse, a total reclad.

Here is a breakdown of the Cedar timeline and how to know if you’ve gone too far.

The Three-Summer Rule

We recommend having the sun-exposed faces of your Cedar recoated every 2-3 summers.

The “danger zone” usually begins after the third summer. However, not all sides of your house age at the same rate.

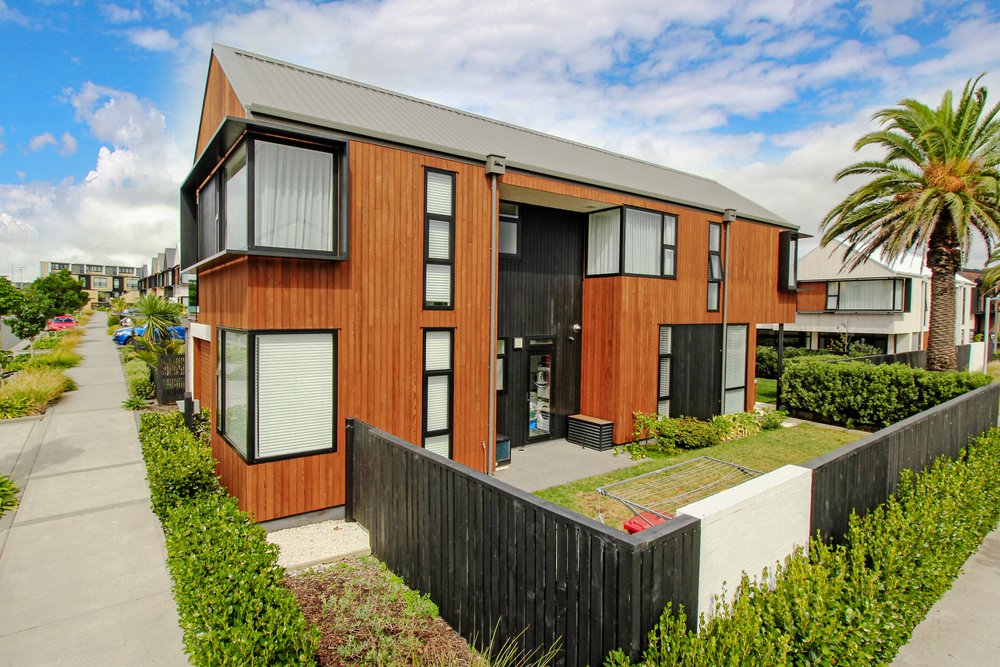
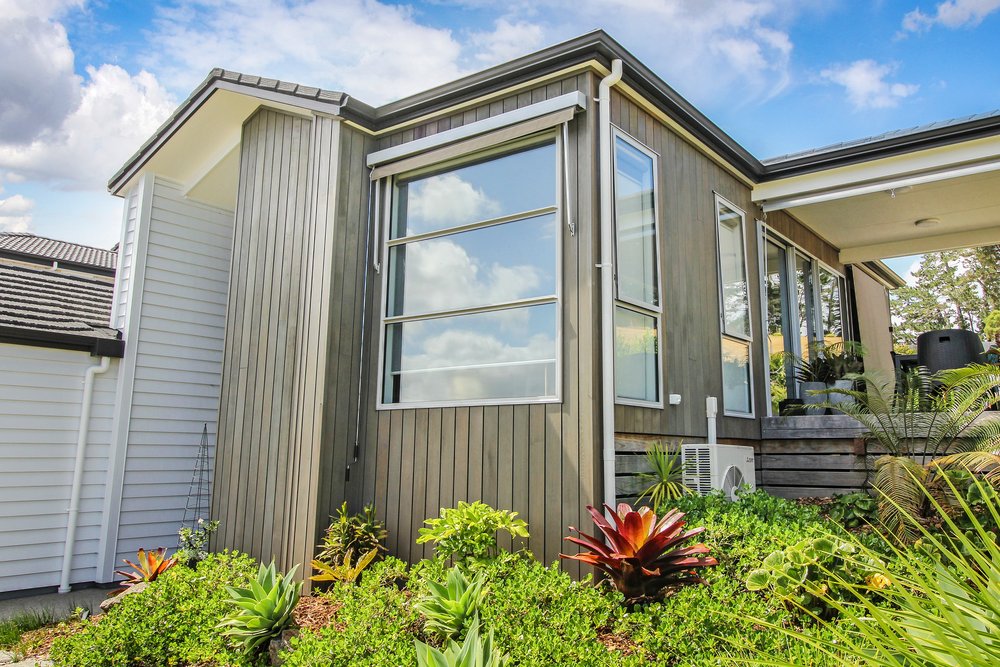
North-Facing (the sunny side):

After three summers of UV exposure, maintenance is officially overdue. You’ll notice the oil’s tint beginning to discolour and areas of bare timber becoming exposed.

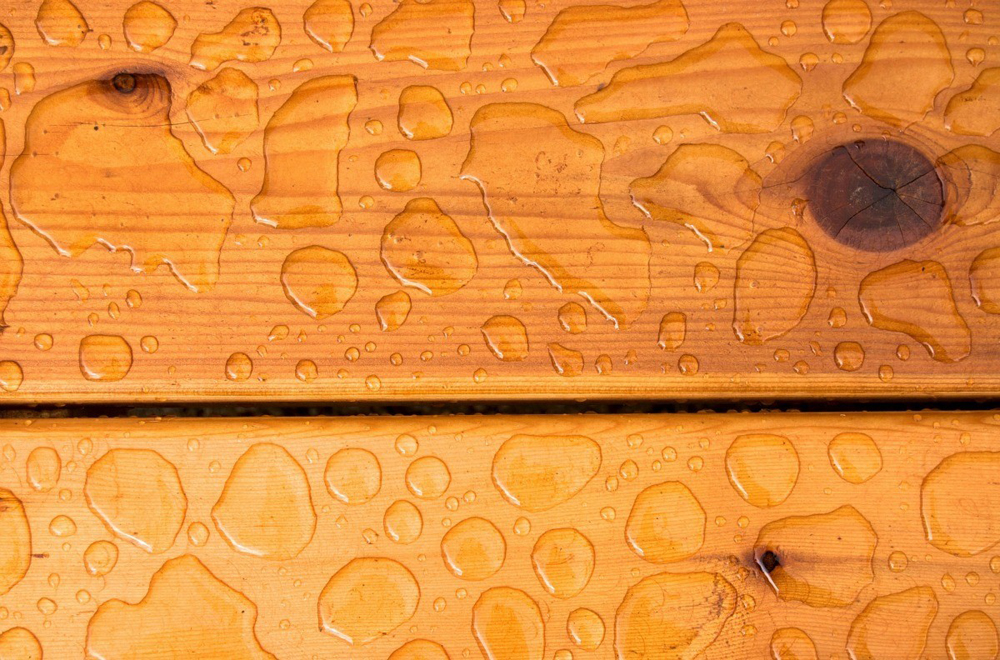
Without oil, the Cedar loses its ability to repel water. It absorbs moisture during rain and then gets baked dry by the sun. This rapid swelling and shrinking is what starts the deterioration process.

South-Facing (the sheltered side):

You can often get away with three summers or longer here, but you aren’t out of the woods. While UV isn’t the enemy, dampness is.

High-quality Cedar oils contain fungicides that prevent organic growth. As the oil dries out, these fungicides disappear and you’ll see mould and lichen developing.

The Downward Spiral: 4 to 6 Years

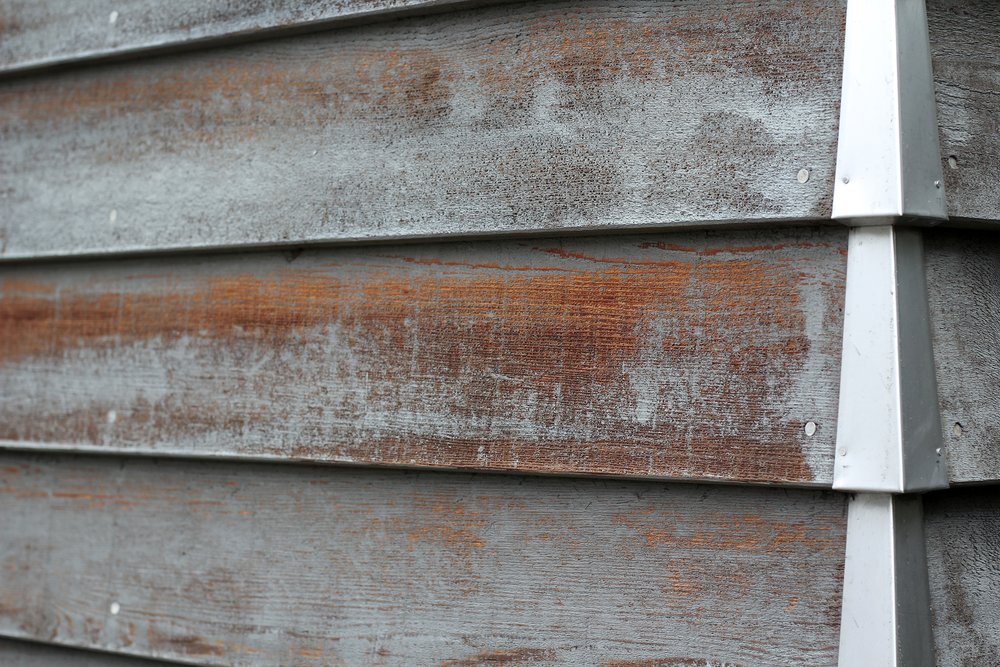
If you push past the four-year mark without treatment, the life begins to leave the boards.

Around the 4-year mark, you will likely see mould developing on sheltered, damp faces. On the sunny side, the boards will begin to warp or crack as they lose their internal moisture.

At 5–6 years, maintenance now becomes urgent. At this stage, the weaker parts of the Cedar boards (the thinner overlap points) will start to bend and cup. Gaps will appear between boards, which can lead to serious waterproofing issues for your home’s structure.

Can Your Cedar Be Saved?

The good news is that in most cases, Cedar can be saved – but it comes at a cost.

If you’ve waited 5 or 6 years, a standard house wash and recoat often won’t cut it. Restoration at this stage requires a deep chemical clean to strip back dead fibres and mould, followed by multiple applications of oil to quench the thirsty timber.

The hard truth is that while re-oiling helps return flexibility to the wood and releases surface tension, it cannot un-warp a board completely.

Once a board has significantly cupped, the damage is largely irreparable. You can halt the process and protect the wood from further degradation, but you cannot return the board to its original, flat state.

Factors That Speed Up the Clock

The “three-summer rule” is a guide, but your specific environment might move the needle:

  • Foliage: Trees or bushes touching the Cedar trap moisture and cause mould.
  • Dirt & Splashback: Proximity to garden beds or dirt can lead to ground-level rot.
  • Micro-climates: Coastal salt spray or high-humidity bush settings can accelerate the breakdown

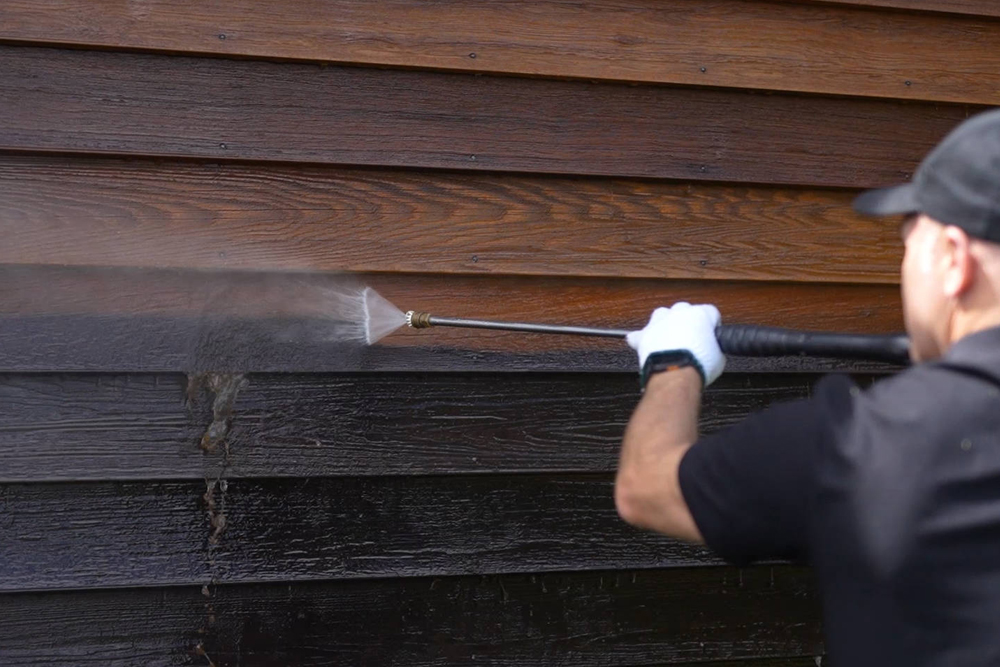
Regularly washing your house will often remove these contaminants and should be part of your regular maintenance plan.

Regardless, the longer you wait, the more life you are taking out of the boards. Delaying maintenance might save a bit of money this year, but it effectively shortens the total lifespan of your home’s cladding.

On a sunny face, you aren’t just skipping a service, you’re allowing permanent damage to the surface of the Cedar that can’t be undone later.

Final thoughts…

If in doubt, you always ask us to pop around for a free Cedar assessment. Very often it’s only the sun exposed faces that need maintaining, and it doesn’t cost as much as people might think.

Read More Articles

14 Jun 2023
Cedar is a miracle timber if ever there was one: durable, long lasting, rot resistant and a superior insulator – warm in winter and cool in summer. Not to mention it looks stunning.

Congratulations on purchasing your newly built Cedar home! 

Cedar is a miracle timber if ever there was one: durable, long lasting, rot resistant and a superior insulator – warm in winter and cool in summer. Not to mention it looks stunning. 

But like any outdoor timber, Cedar will require maintenance to stay in optimal condition.  

New Zealand’s UV rays are some of the harshest in the world and they will eventually dry out the Cedar, leading to fine cracks and a roughening of the surface. This can commonly be seen in Cedar houses that have been left to “silver off”. 

By starting Cedar maintenance early, you can get ahead of costly maintenance further down the line and keep your cladding looking just as beautiful as the day you moved in. 

When To Start Cedar Maintenance

We recommend starting Cedar maintenance after two summers. 

At this point, you may be wondering why we are talking about maintenance for a house that has just been built two years ago? Fair question! 

While fresh Cedar boards do have a reservoir of natural oils that will keep them protected for longer, the boards have now been exposed to the sun for two summers and the natural oils are already being depleted. 

It’s also worth noting that although you just recently moved, the Cedar may have been installed up to 3-6 months before that, so this process is well underway. 

What Does Cedar Maintenance Involve?

For most new Cedar homes, maintenance consists of a soft wash and a recoat of sun exposed areas. 

Our soft wash is an oxy-wash solution that removes any built-up organic matter – dust, pollen and spores – and leaves the Cedar fresh and vibrant. 

Applying a recoat of oil will replenish the Cedar’s natural oils, fortify existing anti-fungal properties and enhance the colour tone, retaining the vibrant look of freshly installed Cedar. 

After the initial treatment, sun exposed areas need to be maintained every 2-3 summers. The rest of the house may not need any maintenance for 5-7 years, apart from a light wash to remove built-up organic matter. 

How Much Does Cedar Maintenance Cost?

This depends on the house size, ease of access and if scaffolding is required, but as a rough guide, the initial treatment of a single-story house with good access can cost anywhere between $4-5k.  

A larger house with multiple stories can cost anywhere between $8-9k, plus you may need to include the cost of scaffolding on top of that. 

However, after the initial treatment of the whole house, the cost of regular maintenance drops by 40-50% as only the sun exposed areas need maintaining. 

If you have bought a Cedar house in a new development, chances are you are in the same maintenance schedule as the houses around you. By pooling together with your neighbours, we can often spread fixed costs (such as a cherry picker) across the all the involved parties. 

Protecting Your Investment

A new house is an investment, possibly the most expensive investment you will ever make.  

By regularly maintaining your Cedar, you are protecting the long-term value of your property and investing money now to get a higher resale value if you decide to sell. 

Regular maintenance is also more cost effective than undertaking restoration just before you are ready to sell – and you will get to enjoy the beautiful look of freshly maintained Cedar while you are still actually living there! 

15 Apr 2023
You might be surprised that there’s no ‘best time’ for treating Cedar and maintenance can be done throughout the year, across all seasons, given there is enough time for the oil to penetrate the timber, or the stain to cure. The real question isn’t which season is best for maintaining Cedar, but which conditions are optimal for the Cedar maintenance process.

You might be surprised that there’s no ‘best time’ for treating Cedar and maintenance can be done throughout the year, across all seasons, given there is enough time for the oil to penetrate the timber, or the stain to cure. 

We usually get asked this question during winter, when the weather outside is either rainy, cold, blowing a gale – or sometimes all three at once! 

In fact, winter is an excellent time for Cedar maintenance. Your cladding has been knocked about by the summer sun and needs nourishment, relief and protection. 

The real question isn’t which season is best for maintaining Cedar, but which conditions are optimal for the Cedar maintenance process. 

To find out more, read the full article, or watch the video below for a quick summary.

Optimal Conditions for Cedar Maintenance

To successfully apply oil or stain to Cedar, the boards need to be dry, with no threat of imminent rain. It’s that simple. 

When most homeowners think of maintaining the outside of their house, they think of paint and how long it takes to dry. Oil and stains do not work like paint and are quick drying.  

On a hot summer’s day, we can stain the side of a house and gently waterblast it 20 minutes later and the stain won’t move. 

Oils are similarly robust. On average you want to give oil a couple of hours to soak in. Once absorbed into the timber, the oil is resistant to any incoming rain and is in no danger of getting washed away or having the finish ruined. 

The Best Plan is Planning Ahead

If last summer is any indication, heavy rain can strike at any time, as can long dry stretches.  

Given our changing weather patterns, there really isn’t an ideal time to maintain Cedar and the best course of action is to get your Cedar regularly maintained, following our standard advice. 

“To protect Cedar from the harsh NZ sun and keep it looking beautiful year-round, sun exposed areas should be treated at least once every 2-3 years.” 

So don’t let winter deter you from getting your Cedar maintained. Our Cedar Technicians are experts in their field and know how to work around the seasons, even if there are four of them in one day! 

14 Mar 2023
Many Cedar homeowners fall in love with the Scandinavian silvered look – minimalist, clean, with a silver sheen that accentuates the beauty of the timber and the natural surroundings.

Many Cedar homeowners fall in love with the Scandinavian silvered look – minimalist, clean, with a silver sheen that accentuates the beauty of the timber and the natural surroundings.

But when it comes to achieving this look, there is a common misconception that all you need to do is leave the Cedar and silvering will happen naturally.

Unfortunately, this is not true, at least in the New Zealand climate, and timber that is left to silver will eventually turn unsightly.

In this article we will cover what silvering is, how you can silver your Cedar safely while still protecting the timber, and some DIY tips for maintaining the silver look of your Cedar until you are ready to oil.

To find out more, read the full article, or watch the video below for a quick summary.

Is Silvering Bad for Cedar? 

Without taking the location and climate into consideration, silvering itself is not bad for the timber. Silvering is caused by exposure to UV rays, which fray and loosen the top cells of the Cedar and cause the surface to become bleached.

silvered-cedar

In colder climates this isn’t a problem as the lower temperatures kill off the bacteria, retaining the beautiful, silvered look. But in a warm and wet climate such as ours, bacteria and mould will get caught in the roughened surface, and quickly turn the Cedar black.

Even if the mould and bacteria are removed, the natural silvering effect will often look patchy and uneven, detracting from the natural beauty of the timber.

Silvering Cedar the Right Way

So, is there any way to have the silver look you love, while still protecting your cladding? The answer is a resounding “Yes!”

Wood-X is a deep penetrating wood oil developed with Resene. It comes in a range of exciting colours – from rich reds and bush greens to a daring indigo blue – and a whole range of wood-protecting silvers. Applying a silver-tinted oil will protect your timber from the harsh UV rays, allow it to silver more quickly and give a more consistent silver look.

After applying the silver-tinted oil, you will need to follow a regular maintenance schedule to keep your Cedar looking its best. We recommend a soft wash every year, followed by recoating exposed areas every 2-3 summers.

DIY Silvering Maintenance

If you are not ready to oil your cladding quite just yet, a more affordable solution is to spray your house with a slow-acting mould and fungal killer such as Wet and Forget. This will remove the organic bacteria from the surface, but it will not replenish the natural oils of the Cedar or protect it against splitting and cupping in the future.

If you do not plan on oiling or staining your house, another option is to leave the silvering on as it provides natural protection to the layer below it. You can then use a slow-acting mould and fungal killer to keep it looking clean. The downside to this approach is that the timber will eventually look aged and tired.

Get Professional Advice You Can Trust

Ultimately, the best approach for protecting your cladding AND getting the silvered look is to oil your Cedar with a silver tinted oil. If you are unsure about the best approach and would like to talk with an expert, call us on 0800 298 298.

There is no obligation and our goal is always to look after the best interests of our customers over the lifecycle of their homes.

We love Cedar and are always happy to help!

Read More Articles

Showing 1 - 10 of 17

Subscribe

Sign up to our quarterly newsletter for all the latest Cedar tips and expert advice.