Mark has been in the business for over 30 years and has seen a lot of Cedar products come and go. The products recommended here are based on his personal experience maintaining thousands of Cedar homes across the country.
These are the products we actively use today, or have used in the past, and all have been tried and tested across a range of locations and conditions.
If the product you are considering isn’t mentioned below, that doesn’t mean it’s unsuitable, only that we don’t have enough experience with the product to recommend it either way.
Always follow the manufacturers guidelines and choose the best Cedar product for your specific circumstances.
Lastly, if your Cedar has already been treated with a specific product and is still in good condition, it’s a good rule of thumb to use the same product for the best colour matching and application. If the product is starting to fail, look at the best solution for the timber regardless of what was used previously.
Best Cedar Cleaning Products
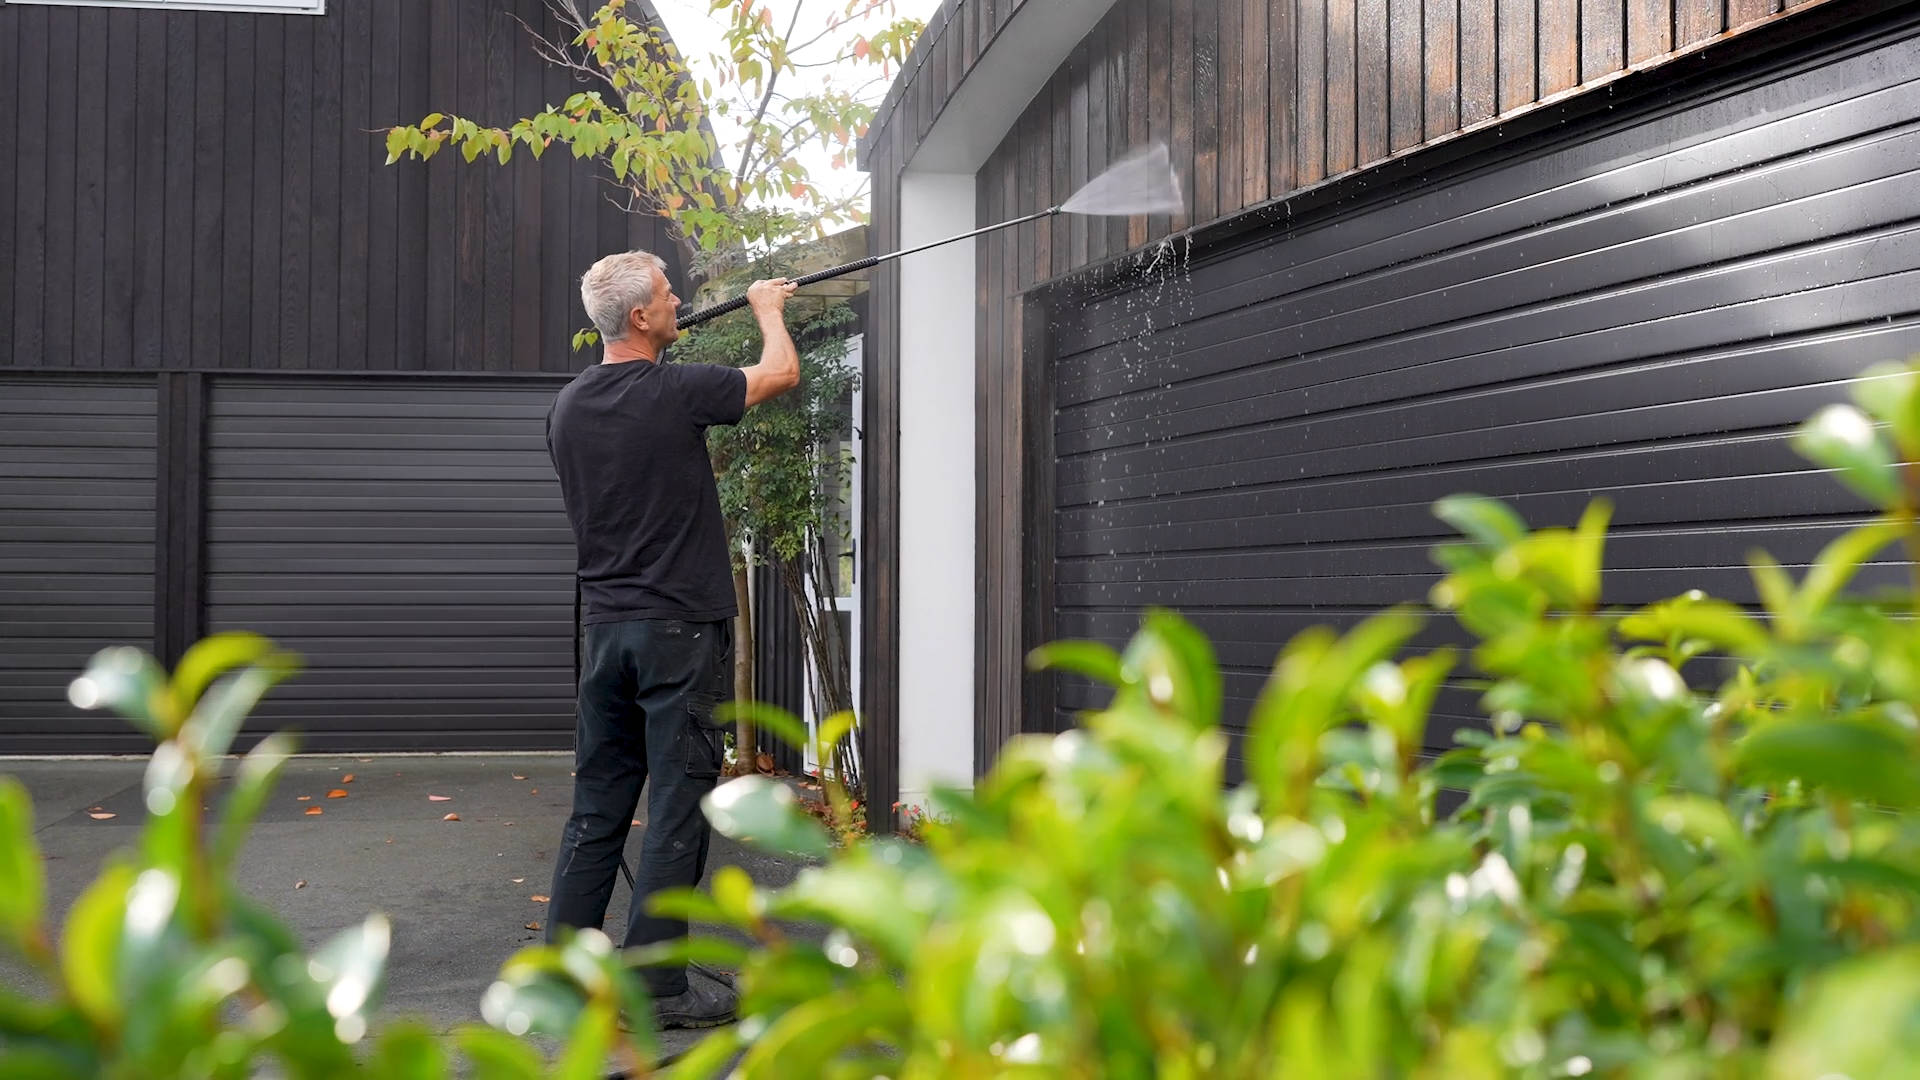
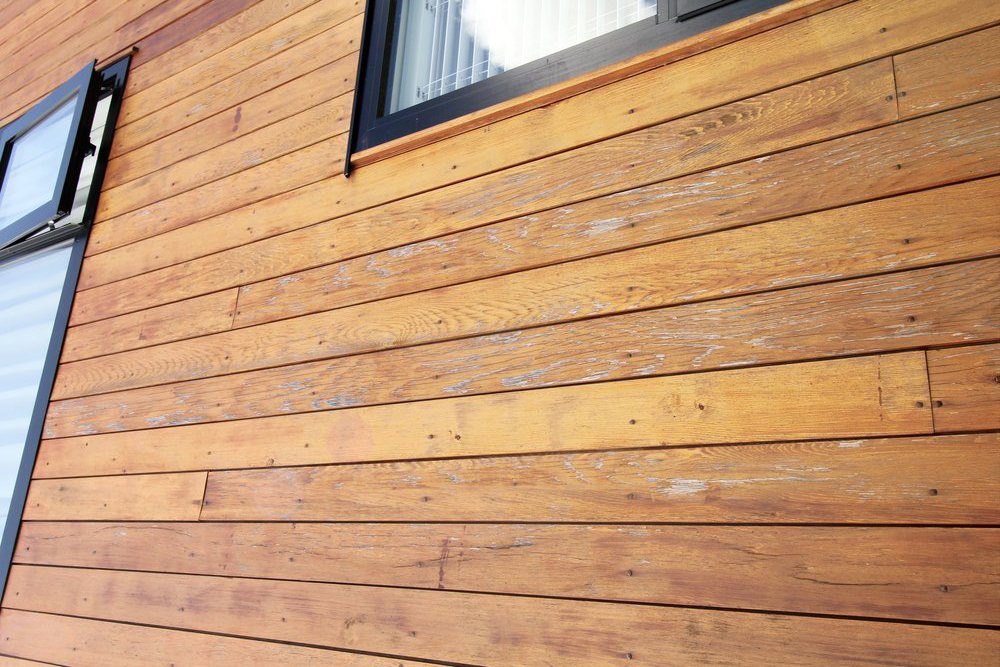
Preparing Cedar before applying an oil or stain is the key to achieving a smooth and consistent finish.
Over time, organic matter such as dust, moss and lichen will build up on the Cedar. As oils and stains are semi-transparent/translucent, any product or organic matter left on the surface will show up and look unsightly.
Which cleaning product you use depends on the current state of your Cedar.
- Hit The Deck
Cedar that has no oil or stain on the surface will only require a gentle wash using an oxy cleaner or percarbonate solution to kill off any built-up organic matter. Hit The Deck by Wet & Forget works very well and doesn’t contain any bleaches or chlorine.
- Dryden LiquidTimberClean
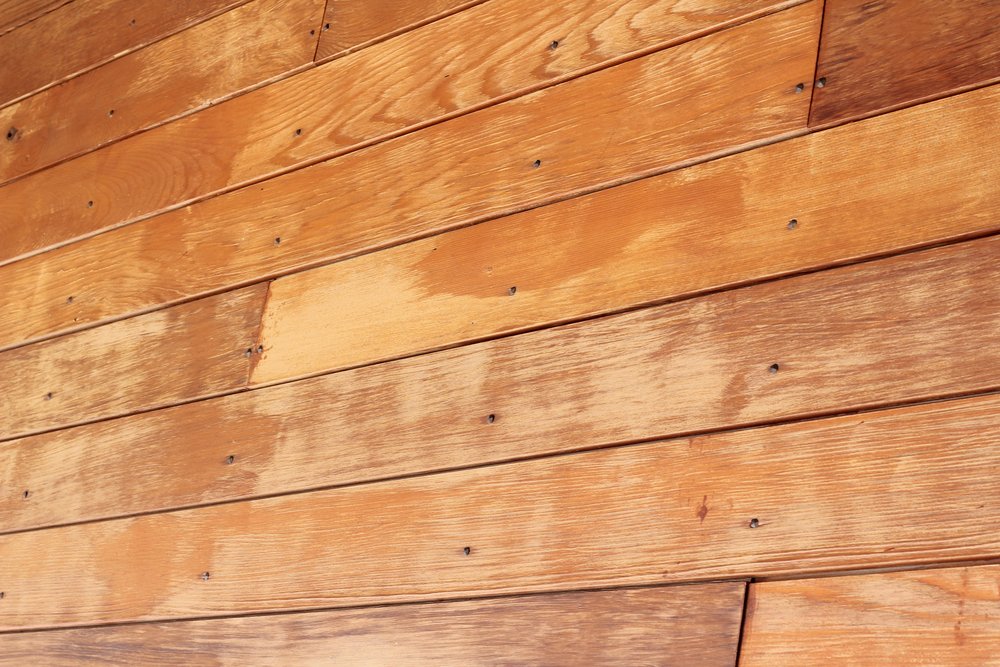
If your Cedar has been affected by the sun and started to age, you may need to brighten it back up. Dryden LiquidTimberClean is an oxalic acid-based cleaner that is effective at lightening stains and brightening timber. Be careful using this product around windows and joinery as it can tarnish the surface if not rinsed properly.
- Resene Timber and Deck Wash
For general cleaning, Resene Timber and Deck Wash is very effective for cleaning hardwood and softwood timber surfaces. This wash only has a small amount of bleach and is effective at killing off anything organic. An excellent product, we use it all the time.
- And avoid…
We do not recommend any products that contain a heavy solution of sodium hypochlorite, commonly known as bleach. This often comes with the benefits of “spray and walk away” or “done in 30 seconds”. It will certainly clean the Cedar and kill off anything that’s on the surface, but it can damage the cellular structure of the timber.
Quick Note About Stains
Stains are like white paint. You can buy white paint from 20 different paint manufacturers and each one will tell you why theirs is the best.
Which stain you use is much less important than when and where you use it.
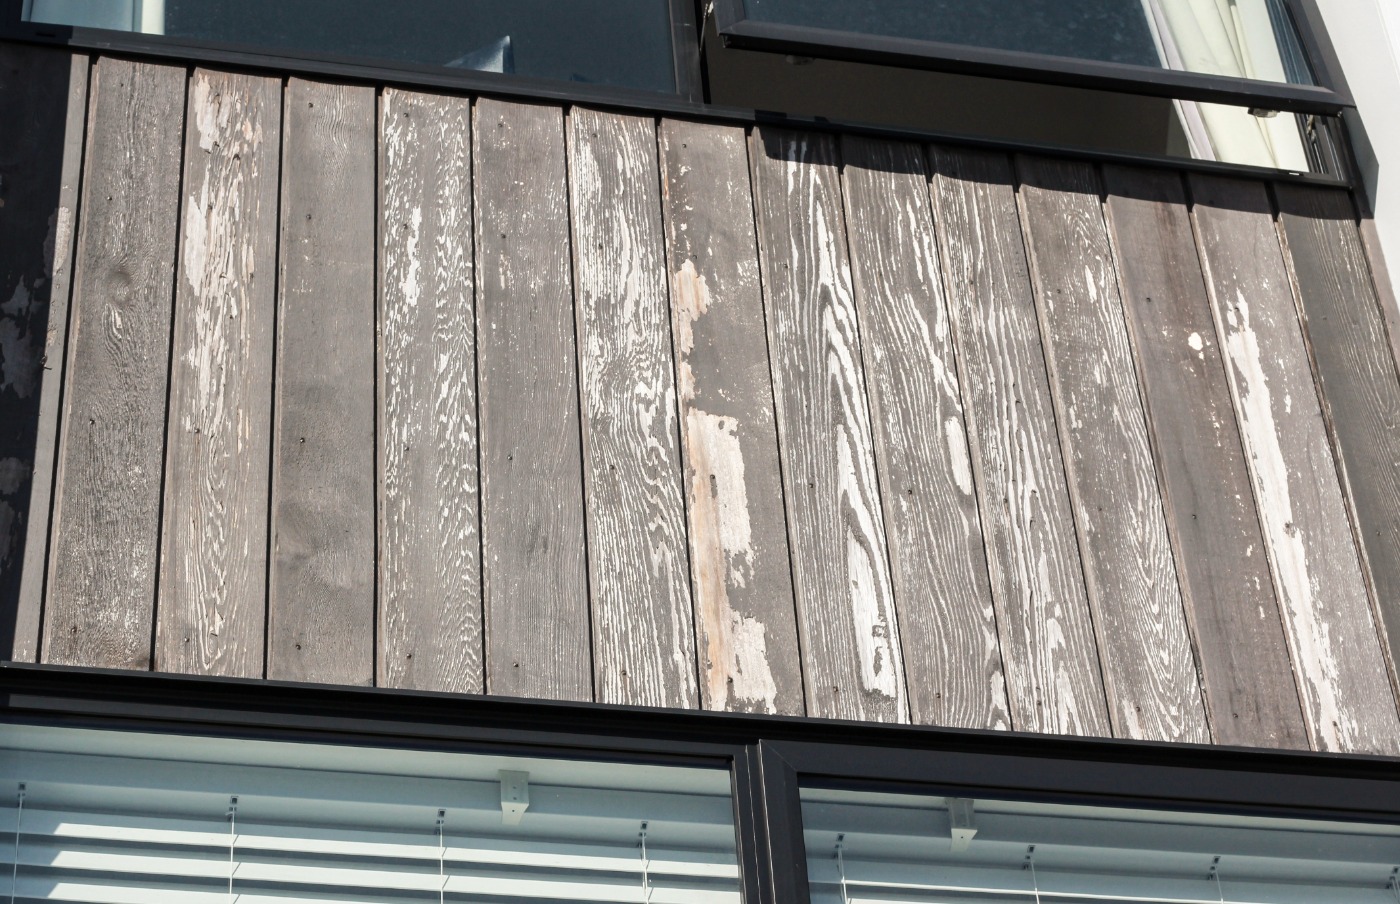
Stains perform best out of the harsh UV, on areas sheltered by trees and other buildings, south-facing, or under soffits.
If used on areas exposed to the sun, they will eventually break down. If a stain cracks, water will get in behind and delaminate the stain, lifting it from the surface.
When stains fail, it takes a lot of work to make the stained surface look good, even more than with oil. Just remember, when choosing your coating, the sun will ALWAYS win. Make sure the stain is out of the sun, and you should be fine.
Best Cedar Stains
- Resene Woodsman Waterborne Oil Stain
Resene Woodsman Waterborne Oil Stain is our stain of choice. This stain is a penetrating water-borne wood oil stain that is designed to erode, rather than form a film on the surface, which is what you want. As the stain is very thin, it gives a chance for the oil to get into the timber. This stain has been around for 15+ years and we have a lot of confidence in the product.
- Cabbots stain
Cabbots stain, by Dulux, is another product we regularly use. Cabbots is an excellent stain, with the slight reservation that this is a film-forming product, and it can get brittle if over applied.
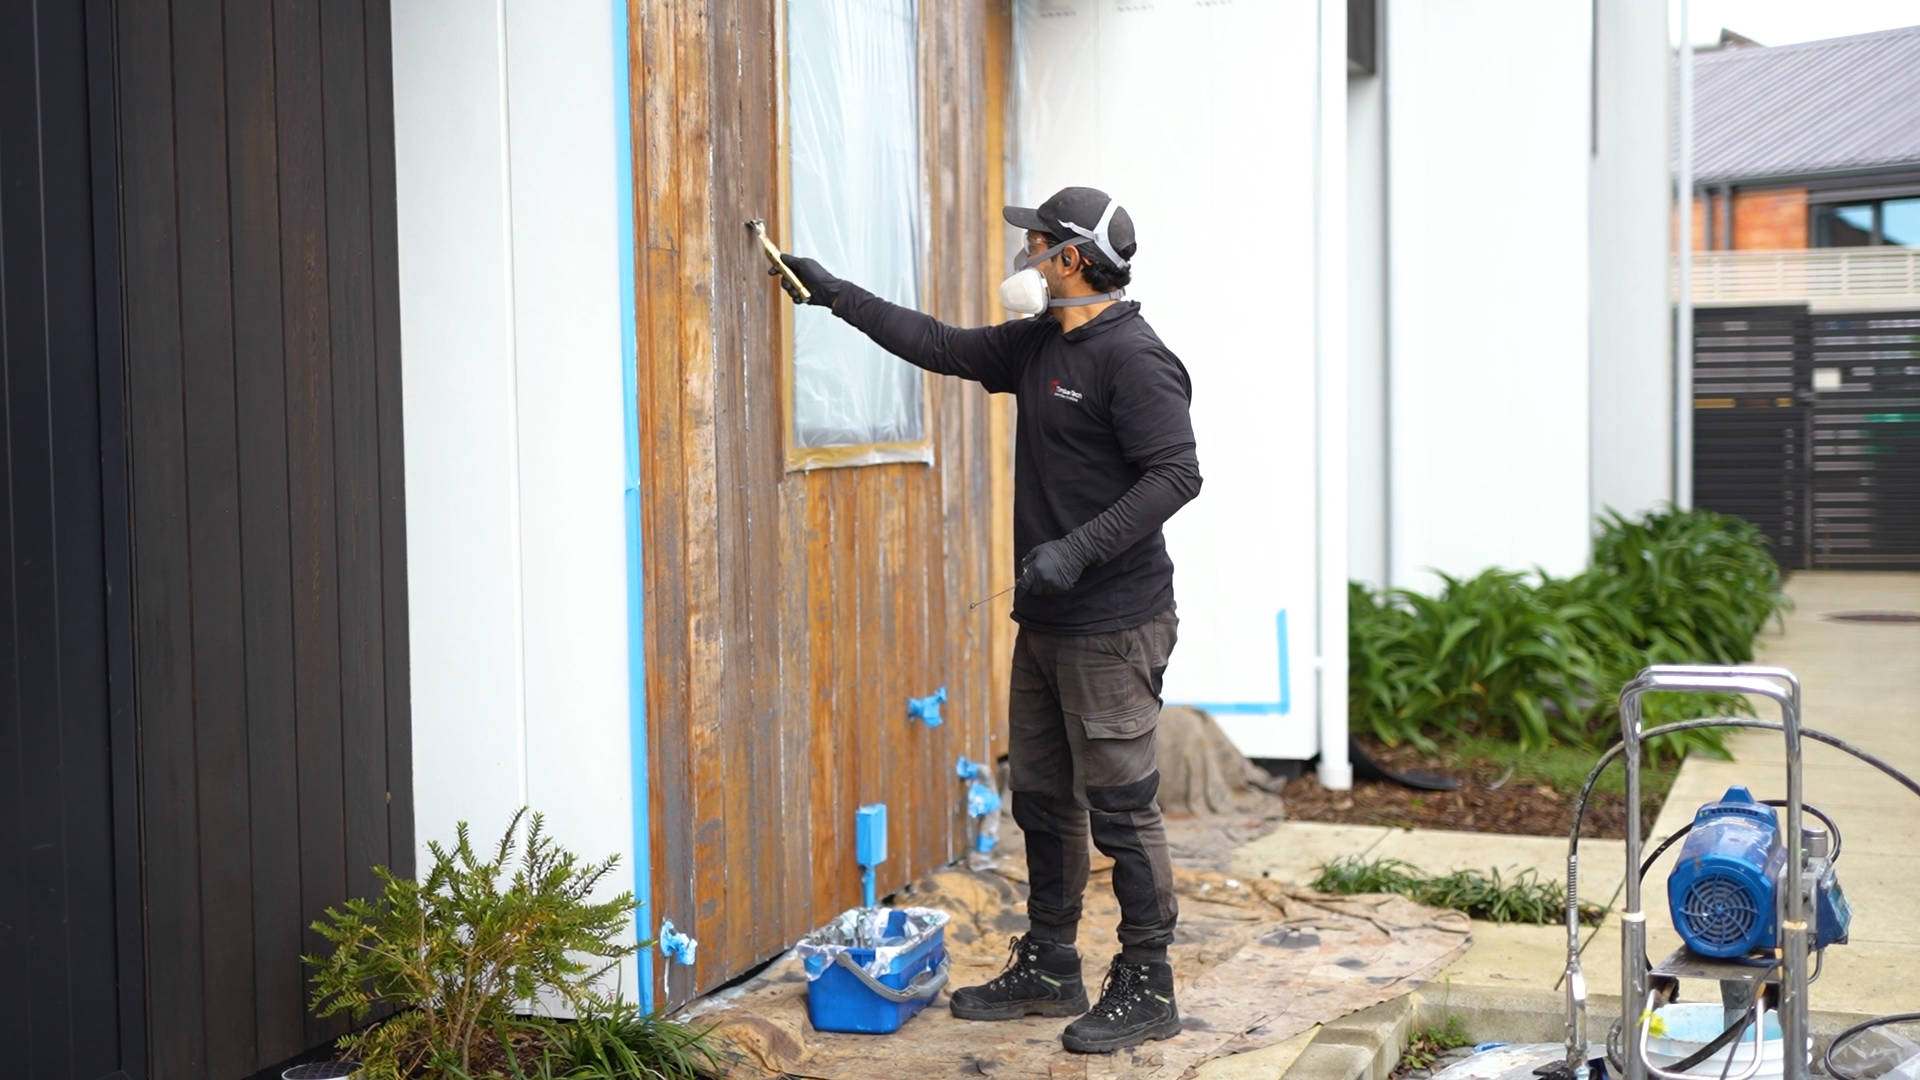
- Coating Remover Sea to Sky by Resene
If you need to remove a previous stain before application, use a coating remover that uses organic or citrus based compounds. Avoid methylene chloride products, which are very aggressive.
Coating Remover Sea to Sky by Resene is an organic stripping compound that contains no harsh chemicals, and is very effective at removing paints, coatings and residues.
- Be careful, it’s a messy job…
Mask or cover the areas adjacent to the areas you are working on and make sure you get all the product out of the timber. Use a water blaster at the correct pressure to remove any latent product sitting on the timber’s surface.
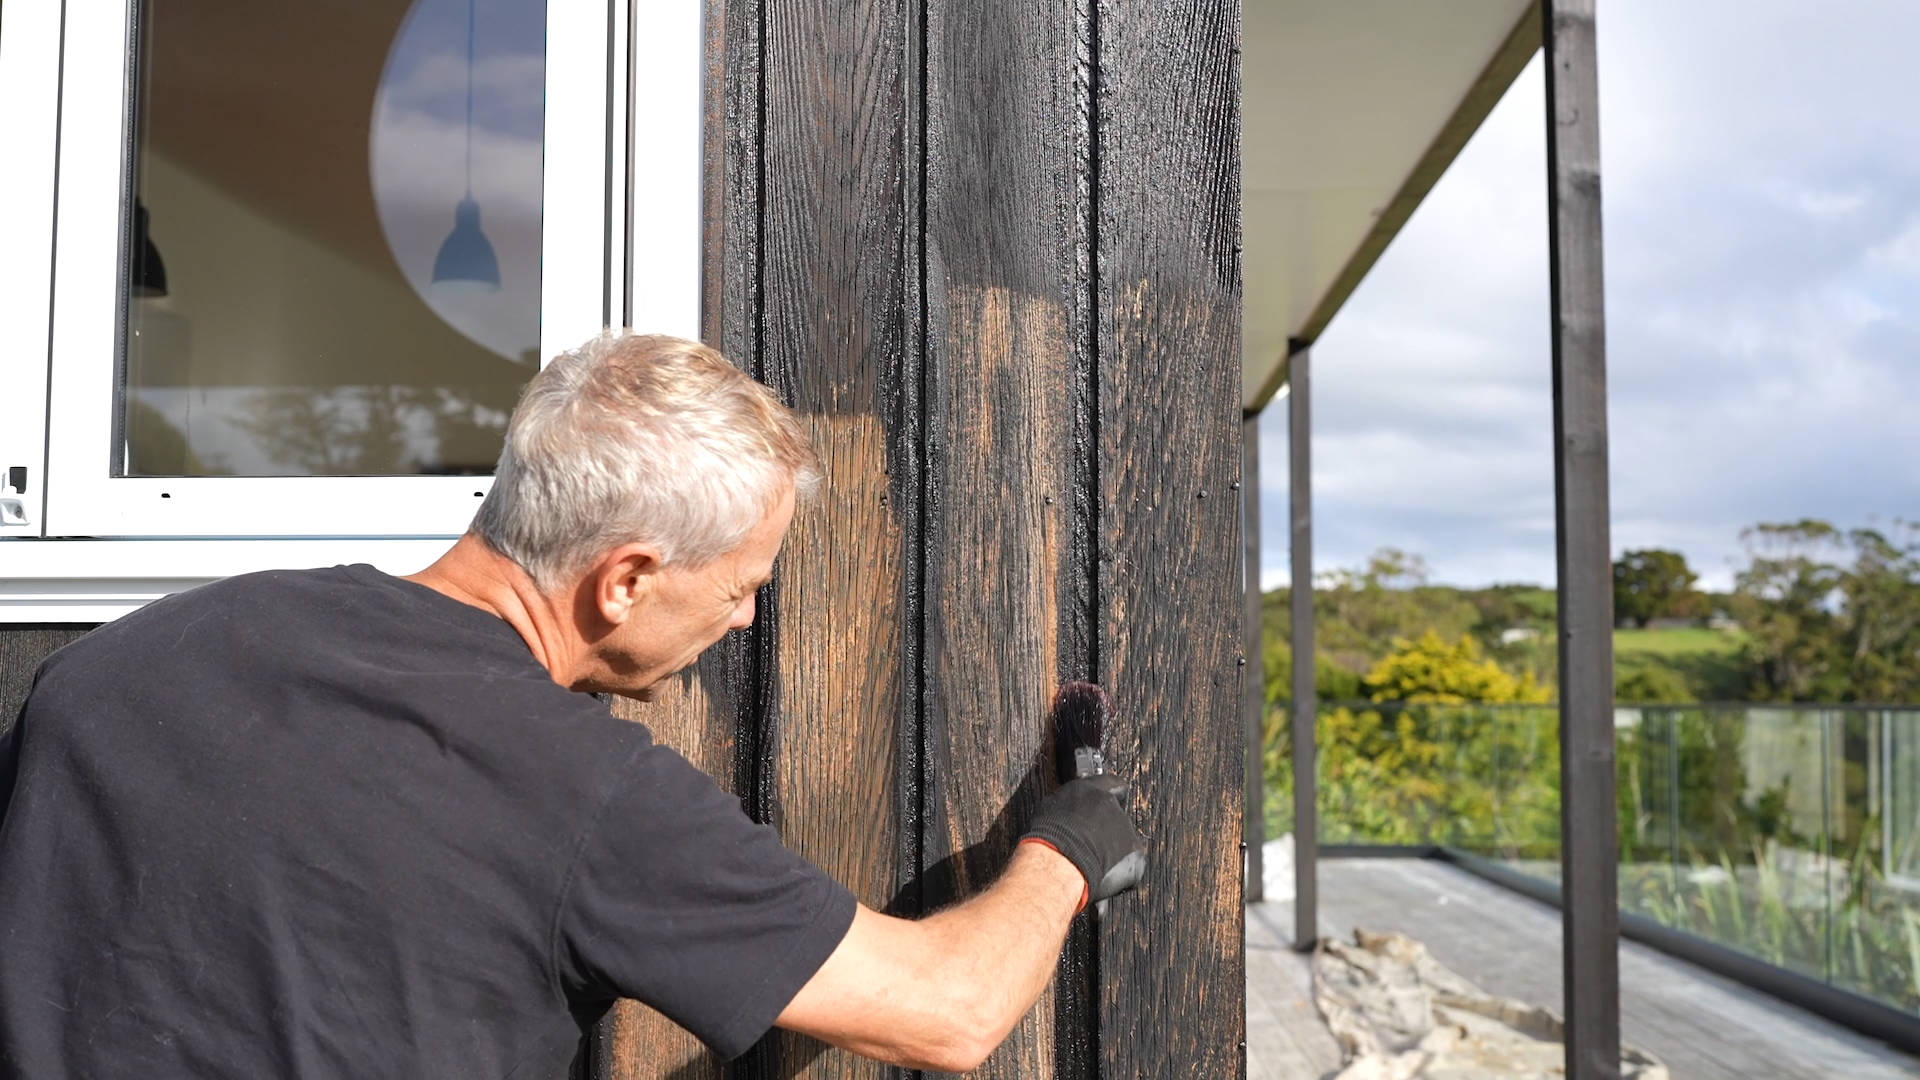
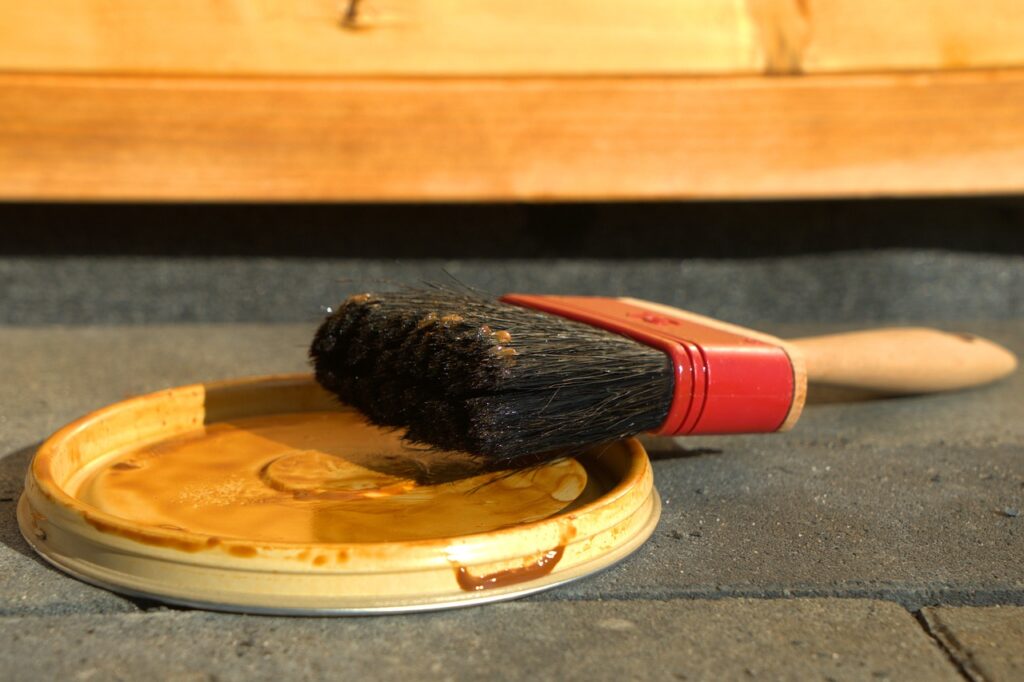
Quick Note About Oils
Unlike stains, not all oils are made equally. As oil is the base ingredient in these products, the quality of the oil can affect the speed of penetration and dry to touch time, and the final look and feel.
Choose an oil from a reputable manufacturer that has been formulated for the specific conditions in New Zealand.
Other factors to consider include the biocide package (to keep away nasties), available colour range and the degree of transparency. depending on how much you want the Cedar to come through.
All that said, it’s always better to apply oil to your Cedar than not. You are looking to protect the surface of the timber from the harsh sun, and anything is better than nothing.
Best Cedar Oils
There are 3 different products we can recommend. Before getting to our top pick, we need to cover a little history to better understand the evolution of Cedar oil products.
- CD50
CD50 (now known as CUTEK Extreme CD50) is the original Cedar oil and has been around for 40 or 50 years. The product has since been bought by an Australian company and reformulated for the Australian market. We don’t use this product much as the alternatives listed below are better suited for New Zealand conditions. Regardless, this is a quality penetrating oil with a long and storied history.
- Dryden WoodOil
Dryden WoodOil is owned by Dulux and specially designed for our conditions. 20 years ago, CD50 was sold off and the manufacturers reformulated Dryden WoodOil from the old CD50 chemical makeup. Dryden WoodOil is water-repellent, non-filming, and a true migrating oil that gets deep into the timber. We regularly use this product and can recommend it without hesitation.
- Wood-X
Wood-X is our top pick and the oil we recommend for most of our customers. Wood-X is made by Resene and specifically formulated for New Zealand conditions. Wood-X is a non-film forming, viscous mineral oil that is designed to penetrate exterior hardwood timbers and improve dimensional stability.
Wood-X also has an excellent biocide package, high quality and proven tints (colour tones), and uses high grade oil content that speeds its penetration and ‘dry to touch’ time.
Full disclosure: TimberTech helped to develop Wood-X and Mark has a small shareholding in the business. We are proud of our association with Wood-X and wouldn’t recommend it if it wasn’t the absolute best product for our customers.
Need Help or Advice?
If you have any questions about the products we covered, please get in touch with our team. We are more than happy to give advice and point you in the right direction.