
Timbertech Cedar Maintenance

The Right Way to Wash Cedar (And What Not to Do)

The Right Way to Wash Cedar (And What Not to Do)

26 Aug 2026
The right way to wash cedar 8 (Large)

A regular wash is one of the simplest, cheapest things you can do to extend the life of your Cedar. It’s also one of the most misunderstood, with homeowners either avoiding it altogether or approaching it the wrong way. 

Done properly, washing protects your coating, keeps mould at bay, and pushes out the time between recoats. Here’s how to get it right, and when it’s worth calling in the professionals. 

How Often Should You Wash? 

If your Cedar isn’t due for a recoat, a light wash once a year is the general rule. It’s what we recommend to our own maintenance clients, and we’ll often suggest it ourselves when we check in on a property a year after coating. 

Your environment matters too. Damp, bush-covered sections are more prone to mould, and coastal homes build up salt on the boards. Both benefit from washing more than once a year.

Cedar can be left for up to 4-6 weeks between washing and coating, at no detriment to the timber. If surface dust or pollen has landed on the Cedar in the interim, just brush it off before applying the coating.

Wash or Recoat? How to Tell 

Look at the coating, not just what’s sitting on top of it. 

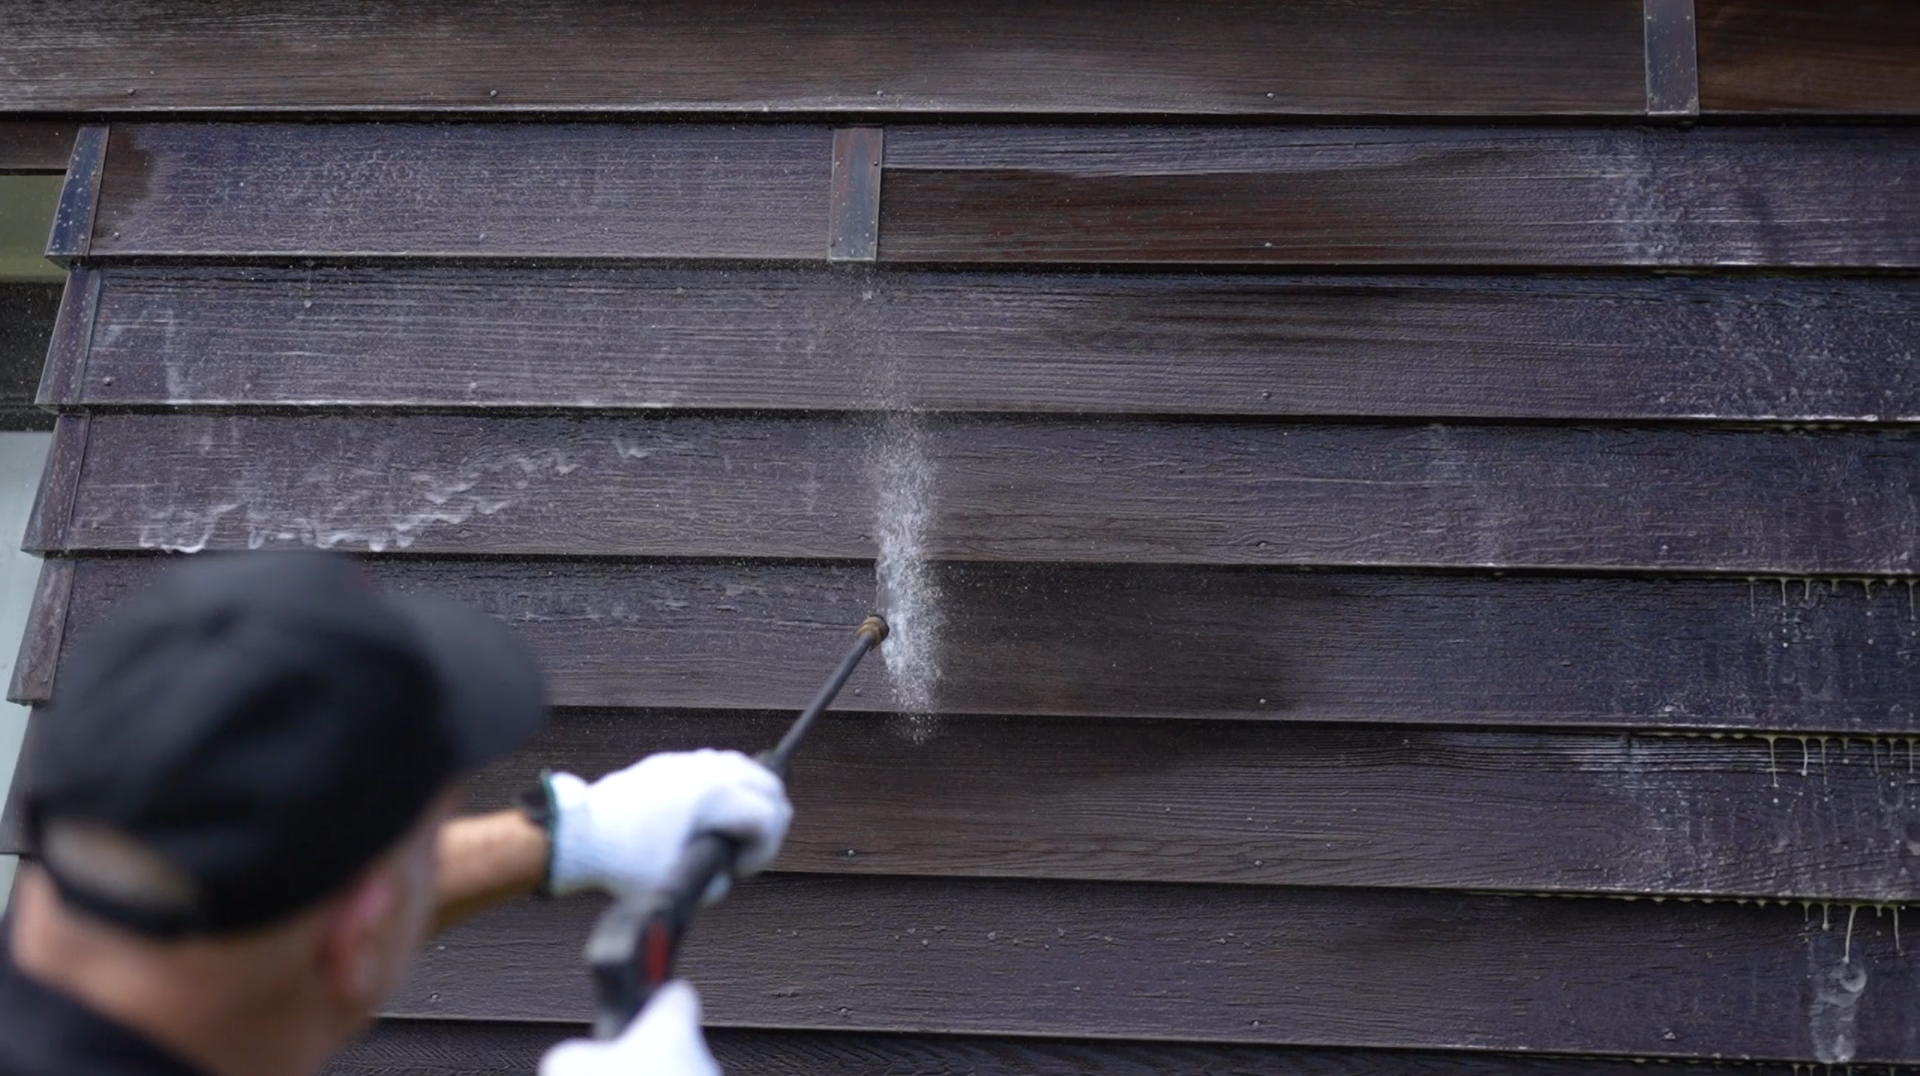
Grime or early mould on top of an intact coating? Just wash it. Getting that build-up off stops it eating into the coating and helps it last longer. 
 

The right way to wash cedar 1 (Large)


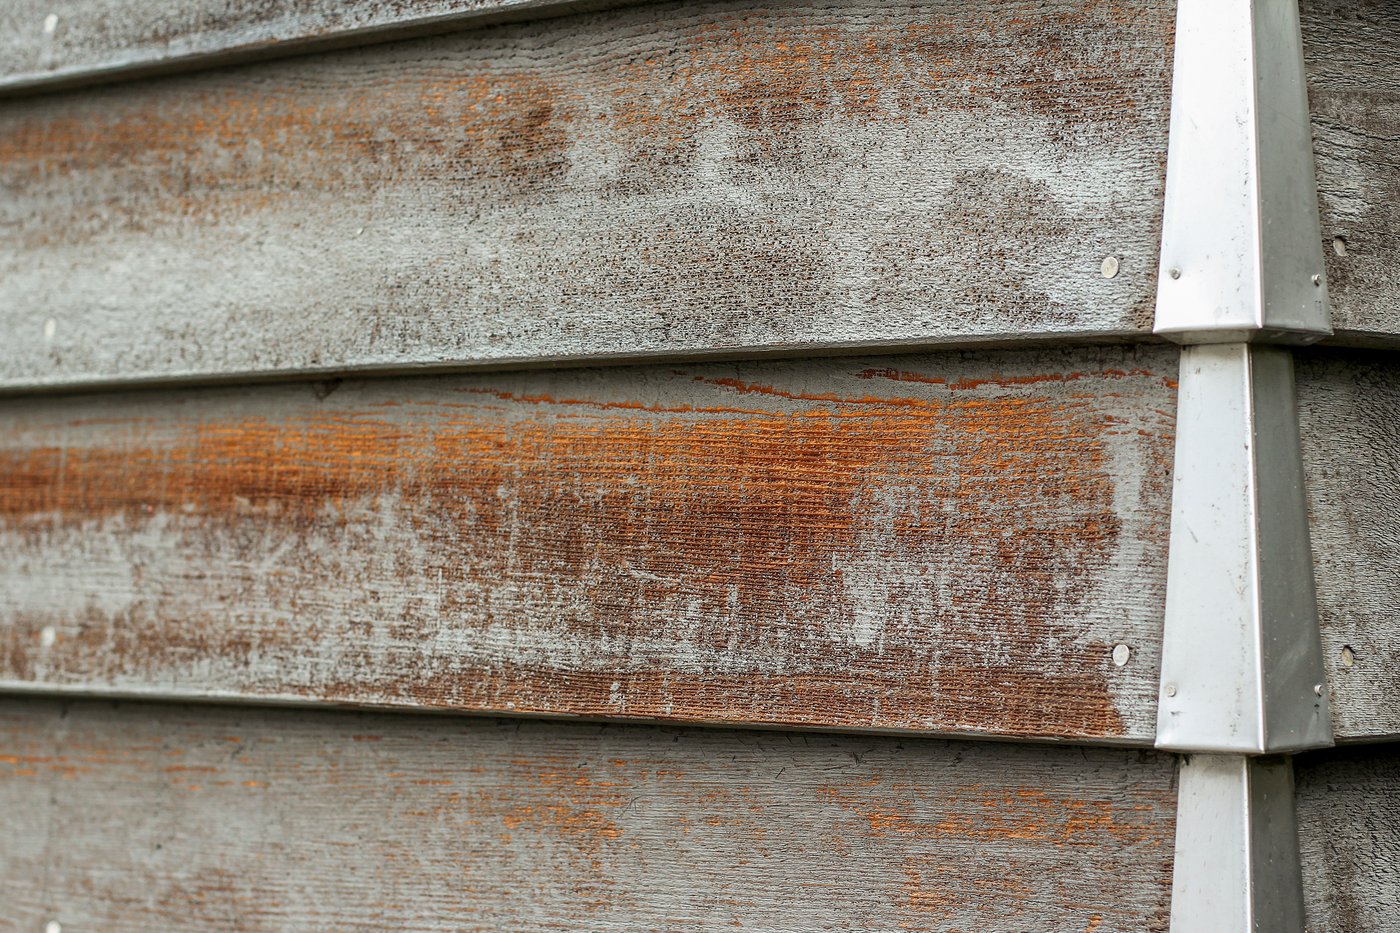
Bare patches, or the coating looking worn and discoloured through to the timber? That’s exposed timber, and a wash alone won’t fix it. You’re looking at a recoat. 

There’s no real situation where we’d tell you not to wash your Cedar. Even freshly coated boards can usually handle a wash within a month, once the oil has soaked in and the surface has dried. The real risk isn’t timing, it’s technique. 

Light Wash vs Deep Clean 

Not every wash needs the same amount of pressure. If the coating is in reasonable shape, a light wash paired with a recoat is usually enough. Where it’s broken down badly, or you’re dealing with bare, patchy timber, it needs a heavier wash to properly prepare the boards for coating.

Knowing which one a property needs takes experience, and it’s something we assess on site every time.  

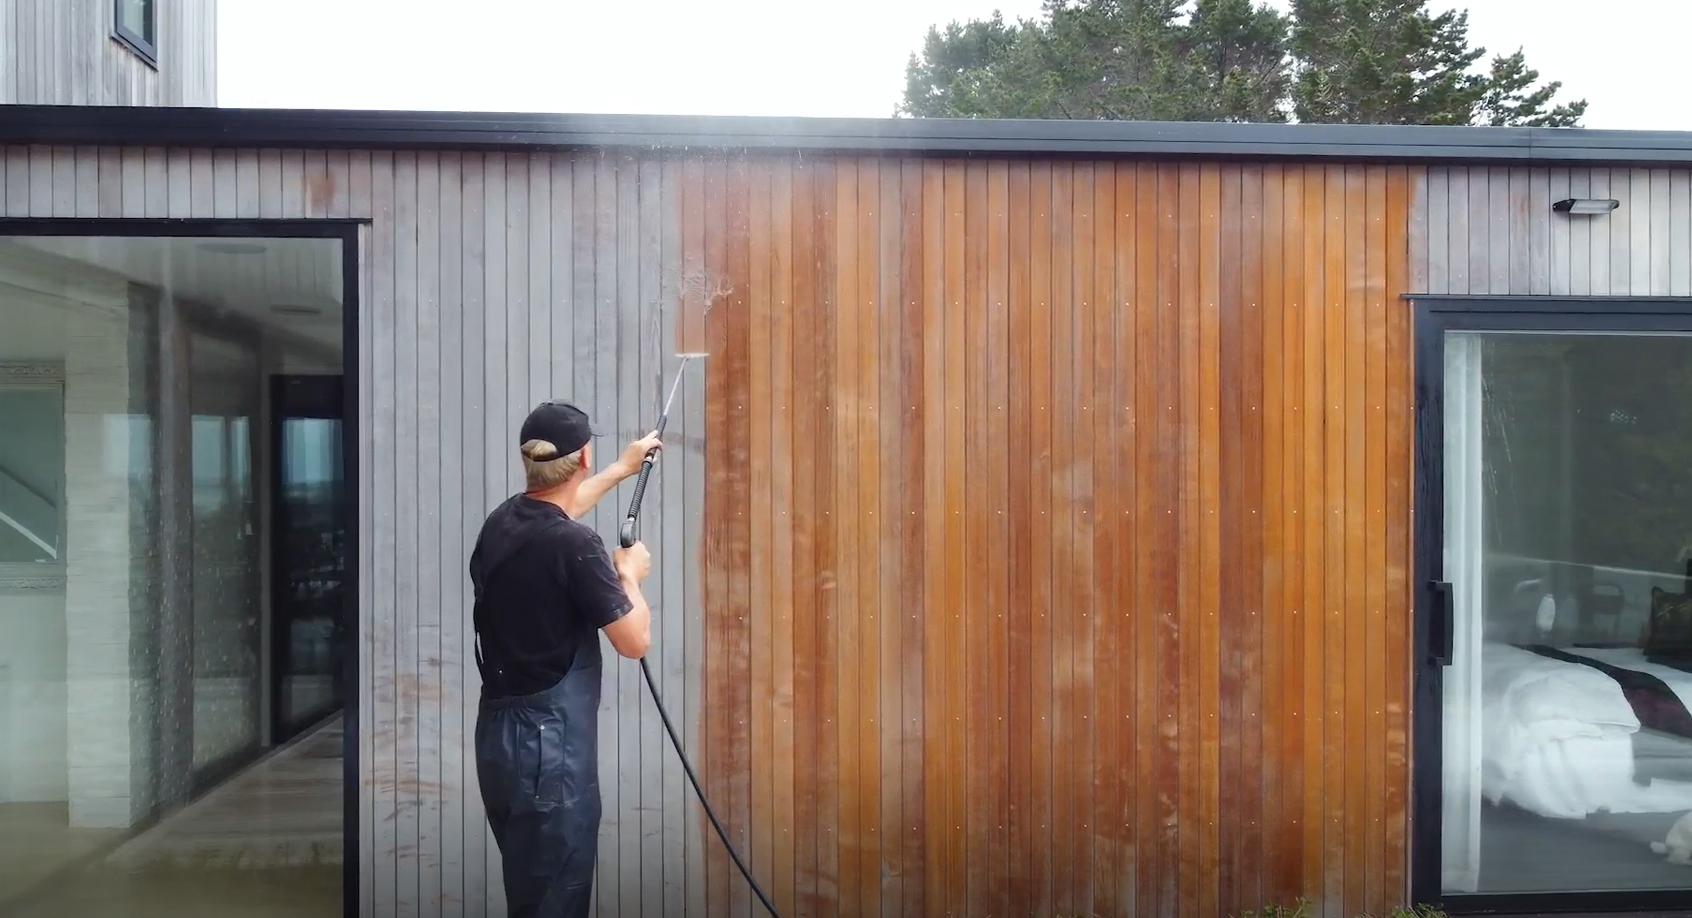
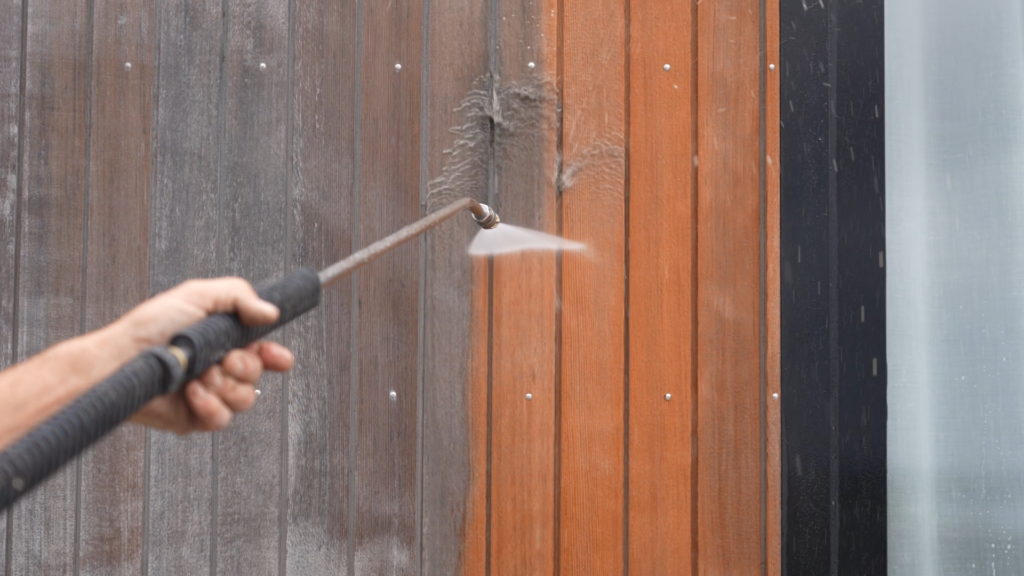
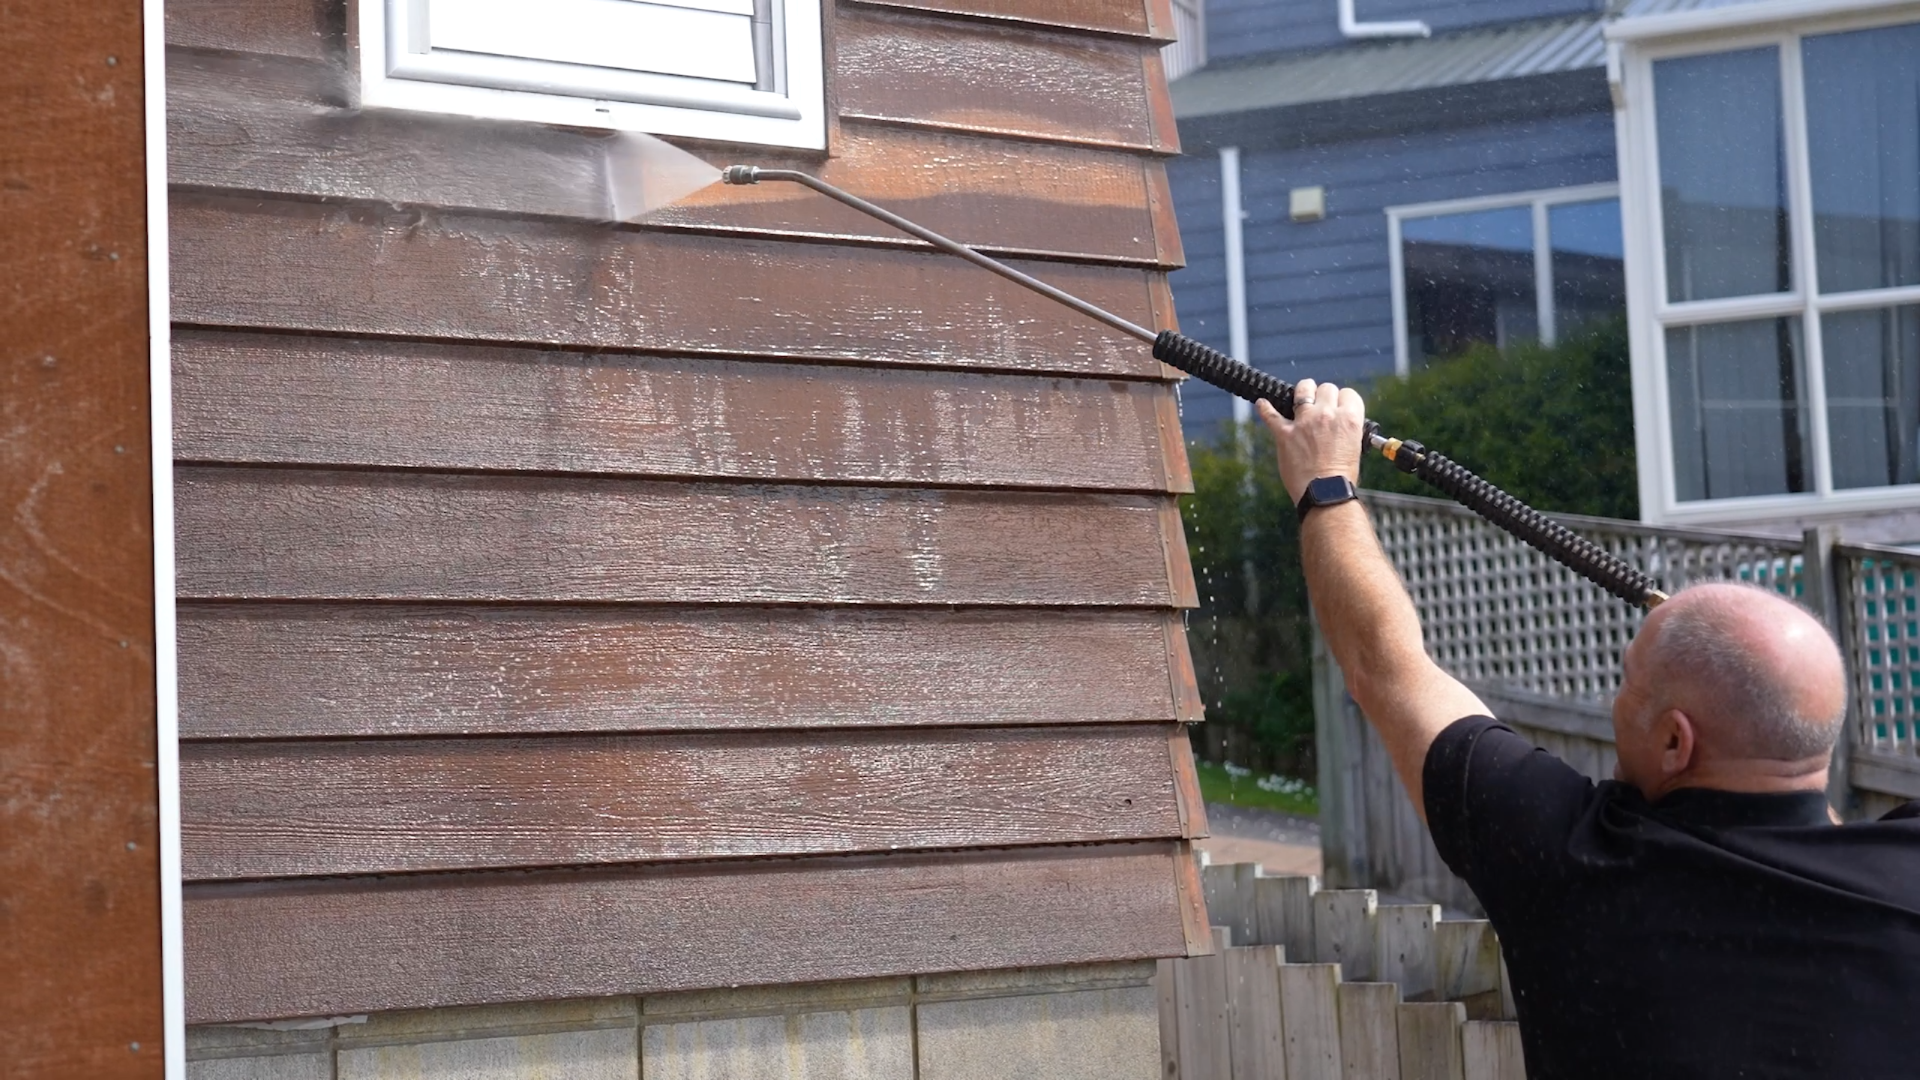
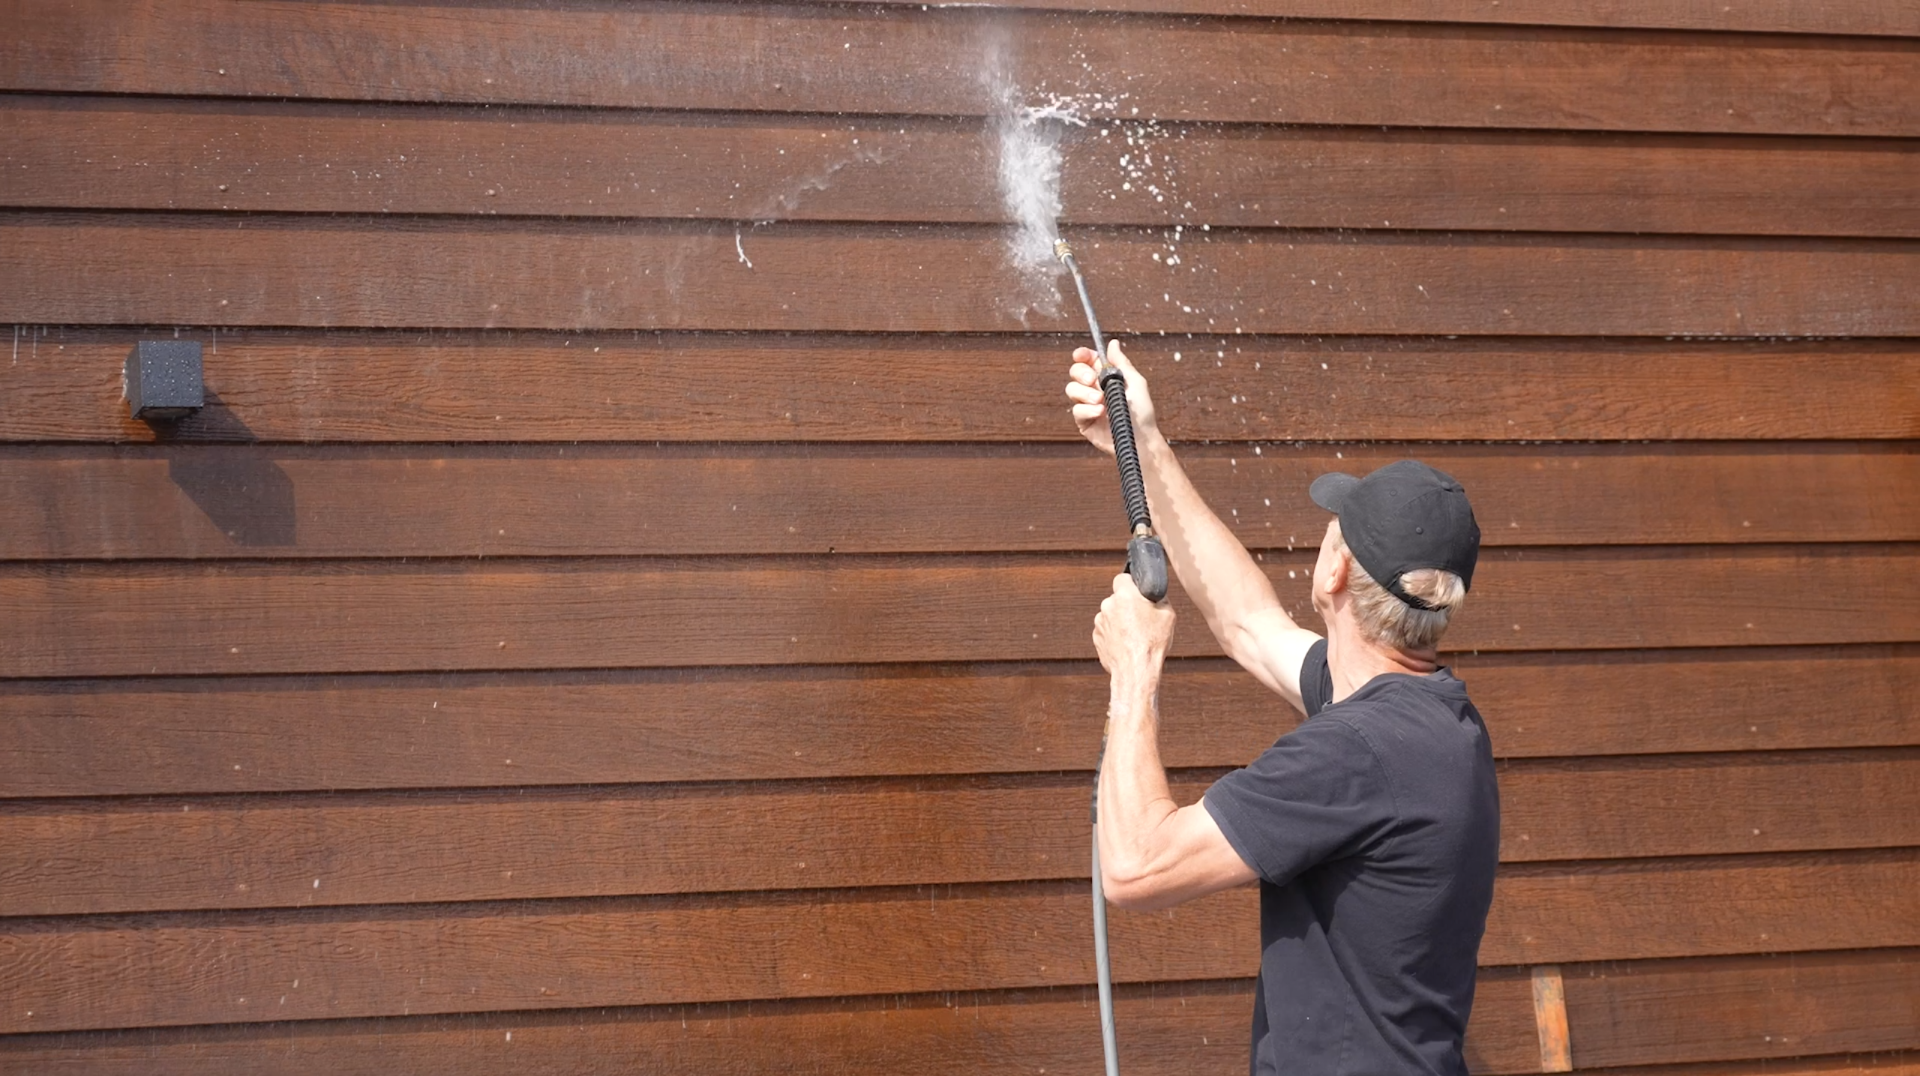
We do wash using low pressure water blasters, but the machine is the smallest part of the job. Our machines run at around 2,000 to 2,500 PSI, but by the time the water reaches the boards, from roughly a foot away and through a wide fan nozzle, the pressure hitting the timber is nowhere near that number. 
 

The right way to wash cedar 6 (Large)

The Technique That Keeps Cedar Safe 

Cedar is soft, and it can be damaged by water pressure in the wrong hands. We train our technicians specifically in how to wash Cedar, and that training is a big part of what sets us apart from a general house washing company. 

Three things matter most: 

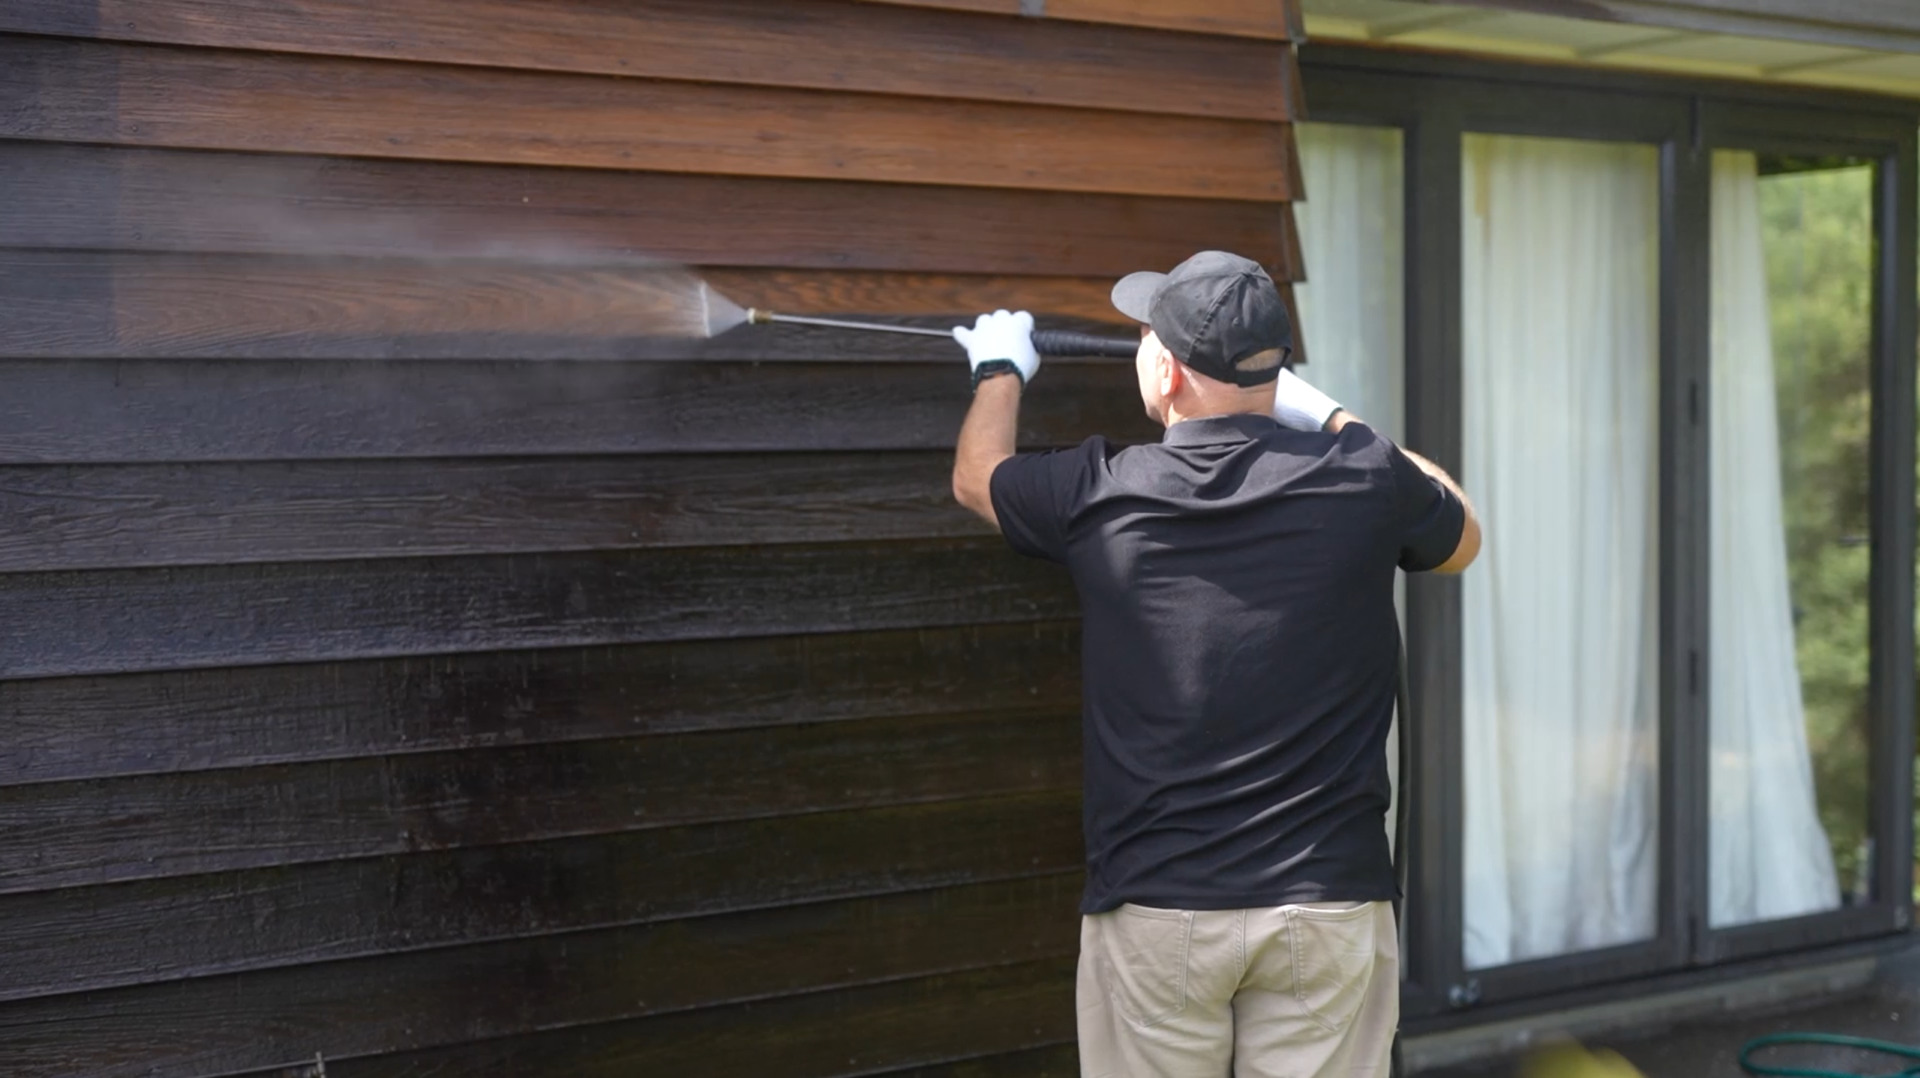
  • A wide fan. We wash with roughly a 25-degree fan tip, spreading the pressure out rather than concentrating it on one spot. 
  • The right distance. Keep the spray about a board’s width from the surface, then adjust closer or further depending on how much clean the area needs. 
  • Never stop and go back. This is the biggest mistake people make. Pause mid-pass and go back over a spot, and you’ll leave a stop mark that’s hard to remove. Keep moving instead, fanning out at each end of your pass.
The right way to wash cedar 3 (Large)


General upkeep and recoat prep also call for different approaches. For upkeep, you just want dirt and mould off the surface, without touching the coating underneath. For recoat prep, you can afford to take more of the old, oxidised tint off, since it’s all getting covered again.  

Mixing the two up is where homeowners run into trouble: wash too close or too hard on boards that don’t need recoating, and you can strip enough tint to expose bare timber, creating a job that didn’t need to exist.

What We Use as a Surfactant 

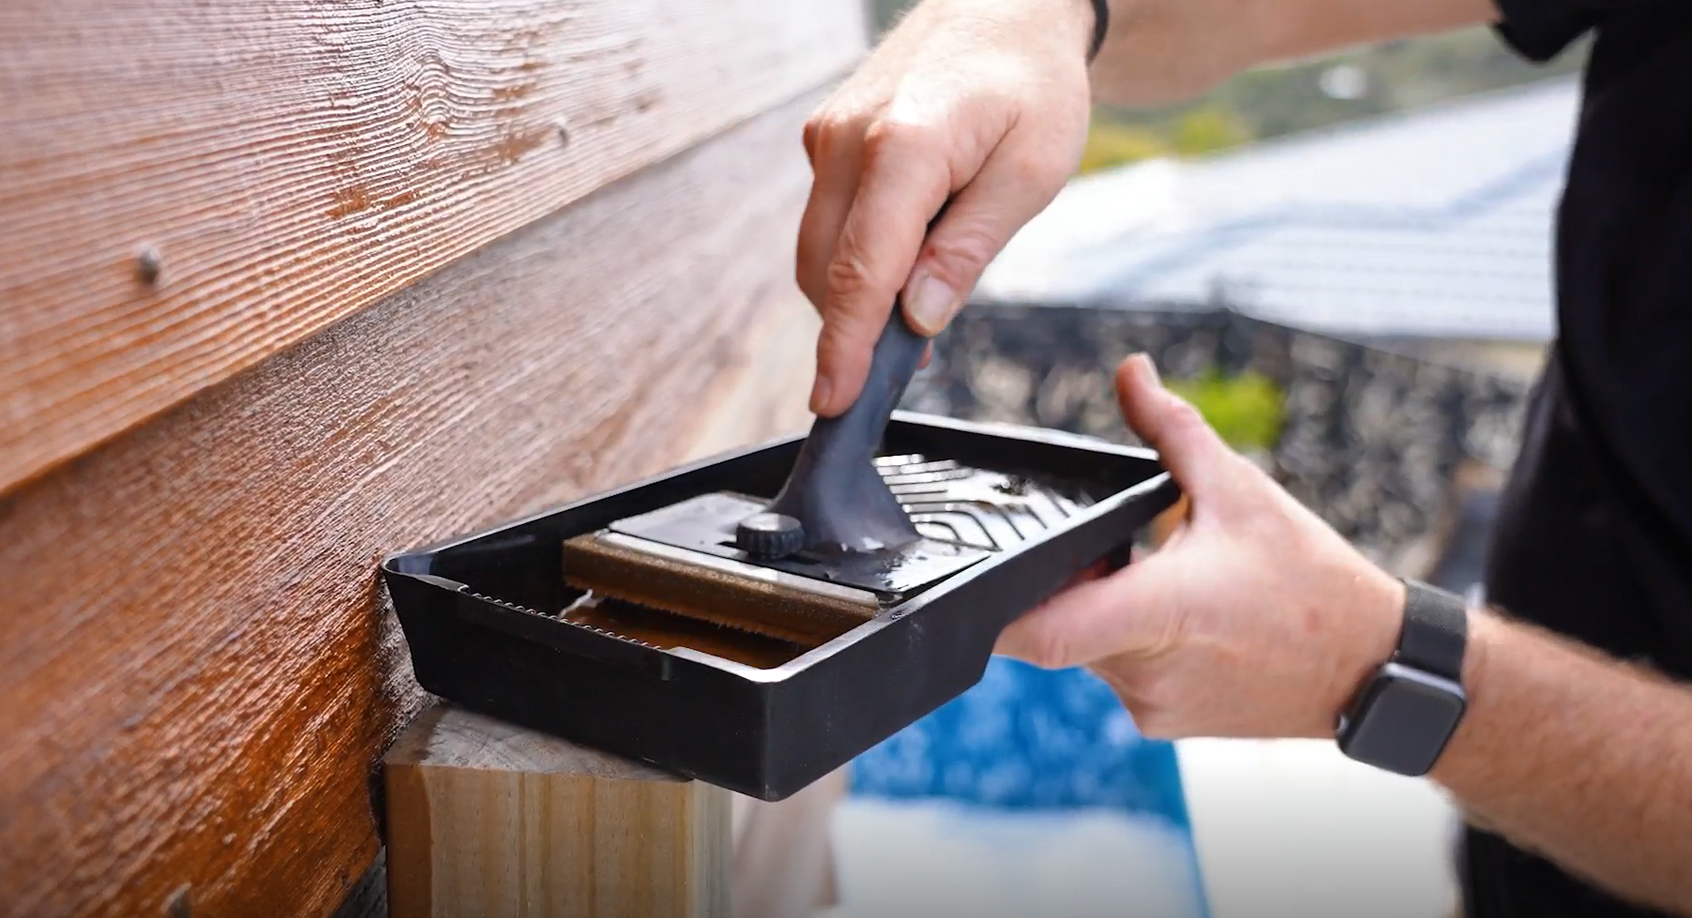
Before washing, we apply a surfactant, a biodegradable detergent mixed with water, sprayed onto the boards. It’s safe around plants and won’t damage windows, decks or joinery, so we don’t usually need to take any special precautions. 

The one exception: on tank water properties, we isolate the water supply or disconnect the downpipes before washing above the roofline, so nothing runs into the drinking water. 

We leave the surfactant on for three to five minutes minimum, ideally still wet when we come to wash it off, mixing it stronger for particularly dirty properties.  

Once washed, the timber needs to dry completely before oiling. Cedar is light and dries fast, sometimes within an hour or two on a sunny north face. We generally wash one day and coat the next, though same-day turnarounds aren’t unusual in summer. 

What Incorrect Washing Looks Like 

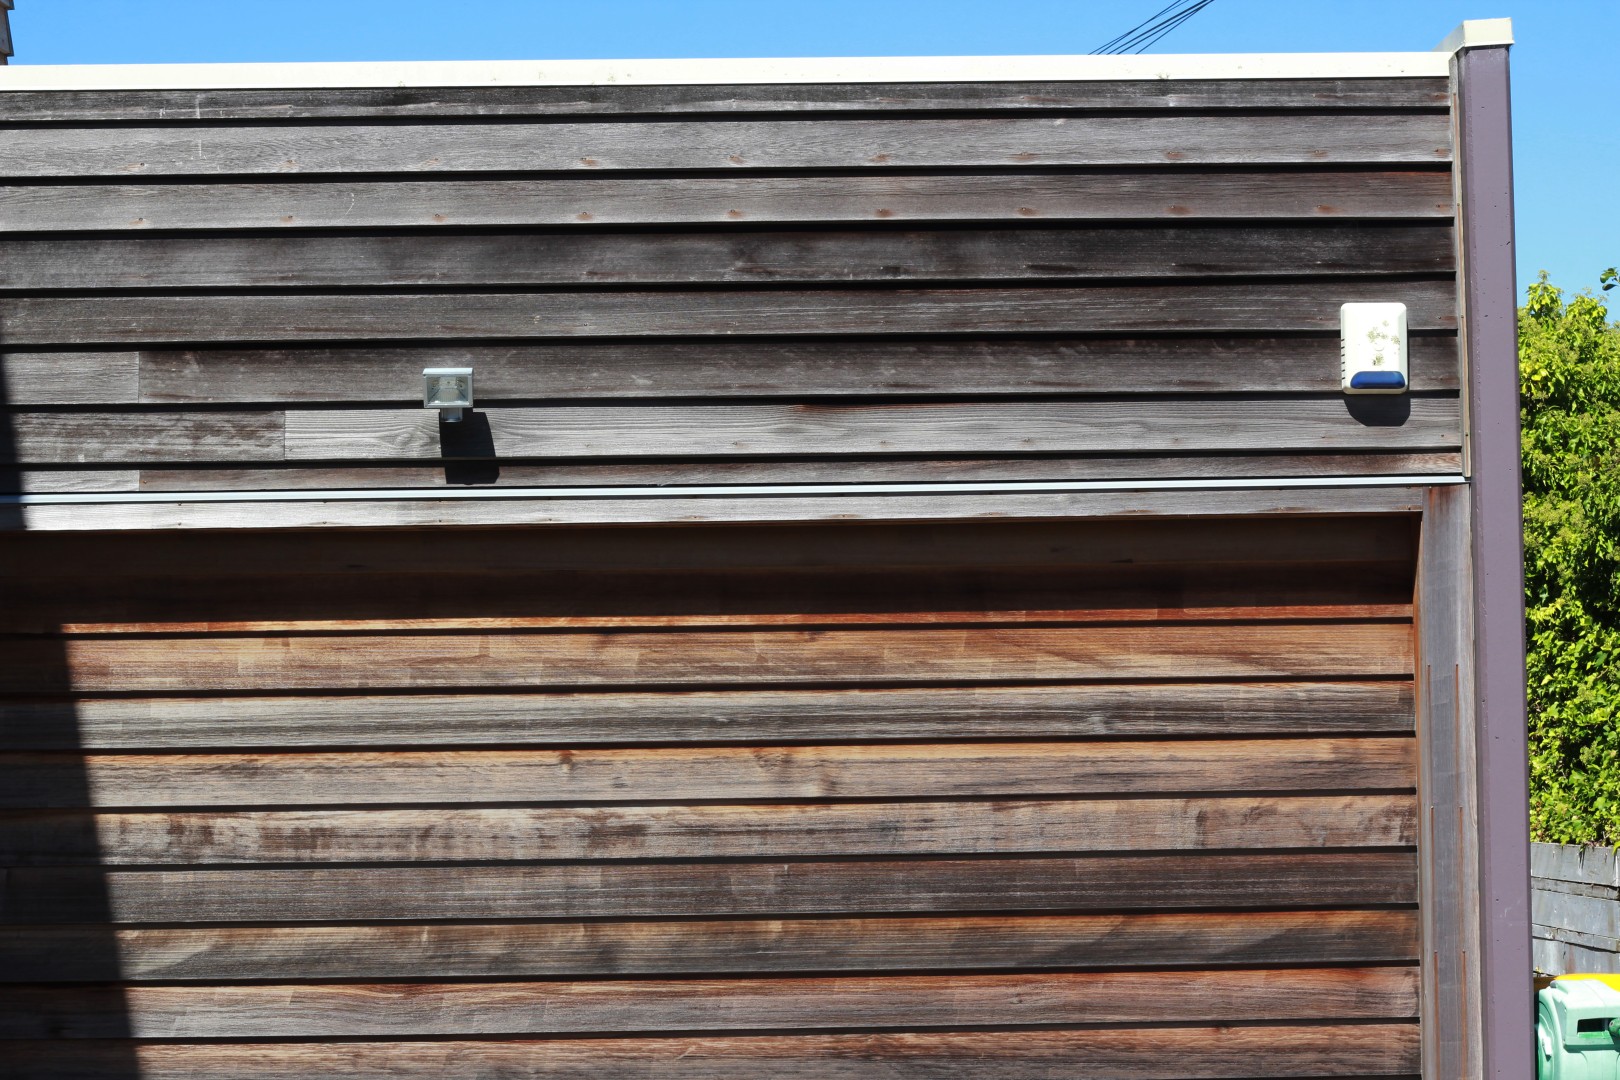
At the mild end, poor preparation means not enough of the old coating has come off for a fresh coat to bond properly. At the more serious end, you get actual gouges or scarring in the timber, or the stop marks mentioned above. 
 

IMG 8809 (Large)


Some of this can be fixed. Badly scored timber usually can’t be. Sanding it back just leaves a fainter impression of the same mark, since you’re left with a flat board and an indentation in it.
 

This is why we’re cautious about recommending homeowners attempt heavier prep washes themselves, even though a light annual rinse is well within most people’s ability. 

Should You Wash It Yourself? 

If you’re comfortable doing it, an annual clean is a job you can happily take on yourself. 

Before a recoat, we’d always recommend a specialist. Preparing Cedar properly is a different skill set to a standard house wash, and it’s exactly what we specialise in. General house washing companies tend to steer clear of Cedar for this reason. 

Final Thoughts 
The right way to wash cedar 4 (Large)


A regular wash does more than keep your Cedar looking tidy. On shaded, damp faces where mould takes hold, it protects the coating underneath and helps it last as long as possible.  

Sun-exposed north faces are a different story. They take the brunt of New Zealand’s UV and need recoating every 2-3 summers regardless of how well they’re washed, since it’s the sun doing the damage there, not the dirt. 

Not sure whether your Cedar needs a wash or something more? Our Free Cedar Assessment will give you a clear, honest answer either way.

Does Your Cedar Need Help?

Our Free Cedar Assessment will assess the health of your timber and give expert advise on how to keep it looking beautiful for years to come.

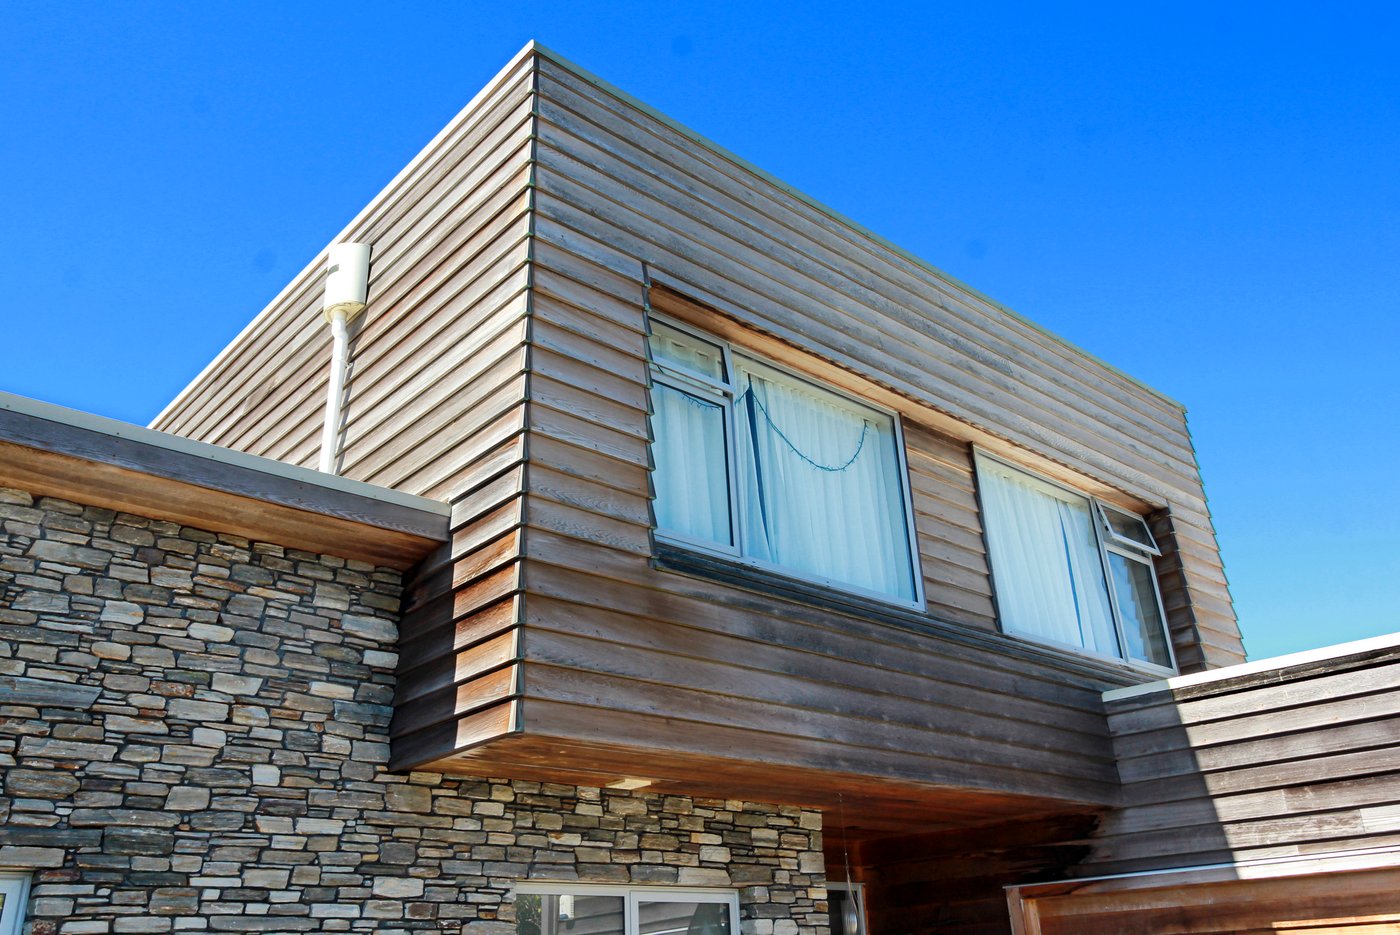
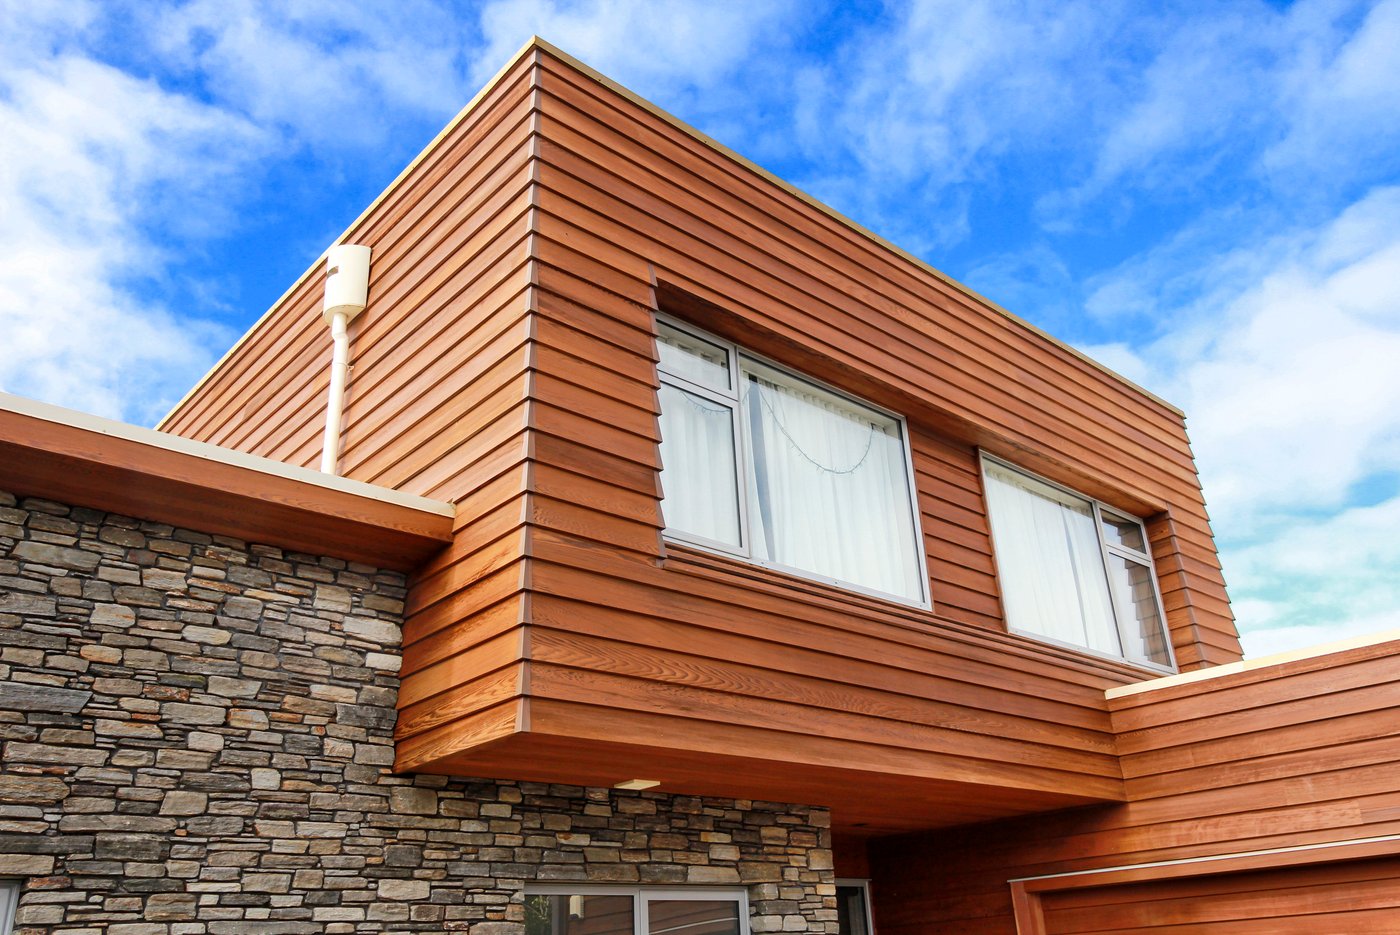
Cedar stain to oil after

Read More Articles

11 Sep 2025
Cedar needs to be recoated every 2-3 summers to protect the timber from New Zealand's harsh UV rays. Knowing what signs to look for will help you stay on top of maintenance before small issues turn into larger, more expensive problems.

Cedar needs to be recoated every 2-3 summers to protect the timber from New Zealand’s harsh UV rays.

By applying an oil or a stain, the boards are protected by a coating that takes the brunt of the UV rays, but over time, it will break down and needs to be reapplied.

Knowing what signs to look for will help you stay on top of maintenance before small issues turn into larger, more expensive problems.

1. Discolouration

Discoloration is often the first sign that your cedar needs attention. It happens when the UV rays begin to break down the existing coating, allowing the natural colour of the timber to come through.

A generously applied oil will fill the pores of the Cedar and leave a protective tint on the surface. This dual action helps the wood resist moisture and absorbs the worst of the sun’s rays.

With oil, you can tell if the Cedar is dry by spraying water onto the surface. If the water beads off, the boards still have a reservoir of oil. If the water soaks in, you probably need to recoat.

Stains work similarly, creating a barrier that shields the timber. Over time, the stain will oxidise and erode by design – this means it’s doing its job by absorbing the UV damage – resulting in a patchy, uneven appearance with lighter and darker areas.

2. Fading or silvering

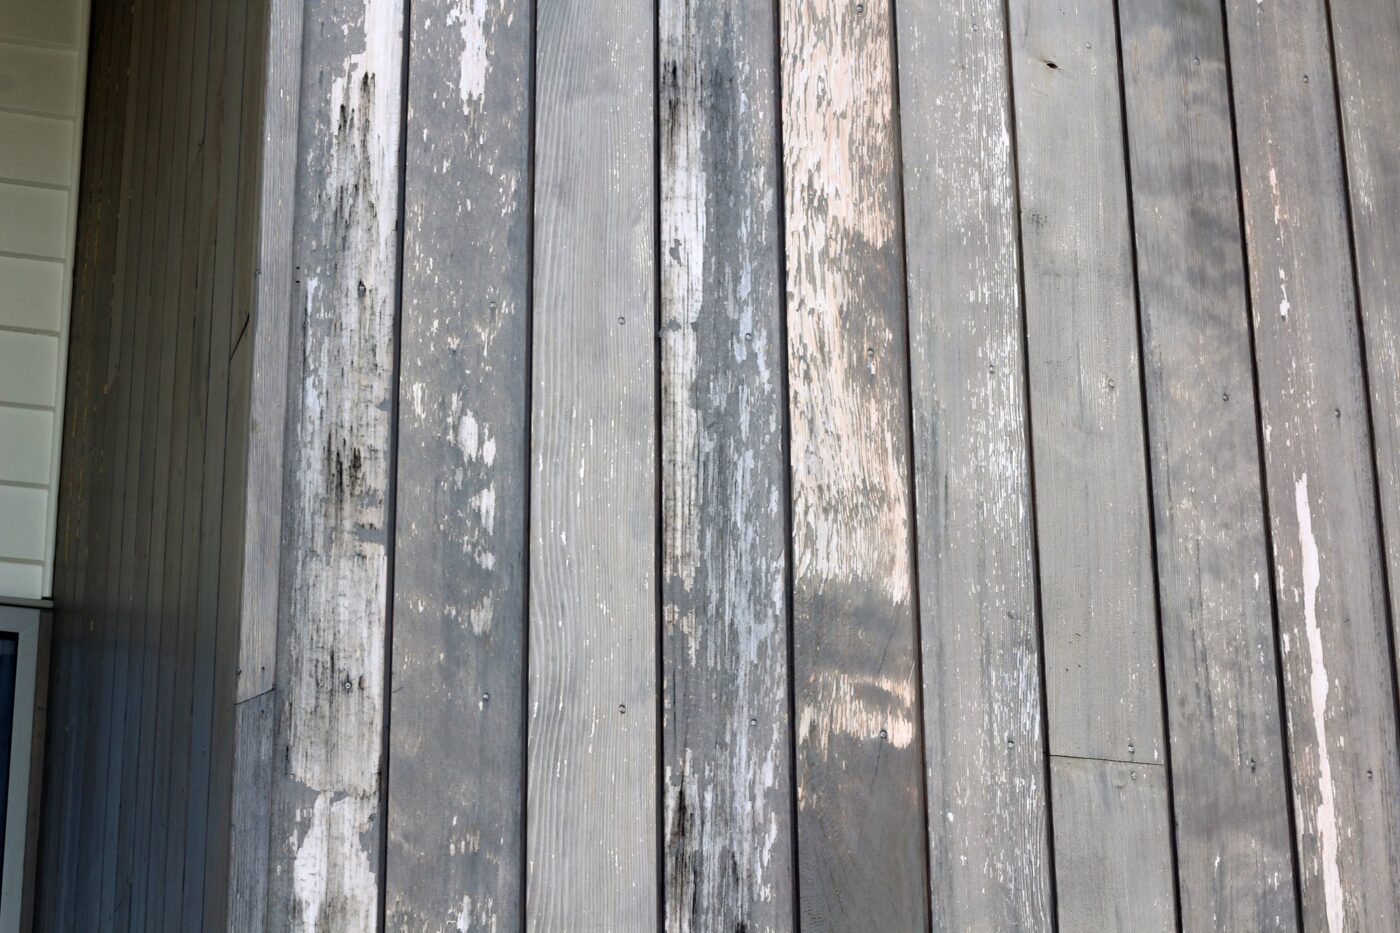
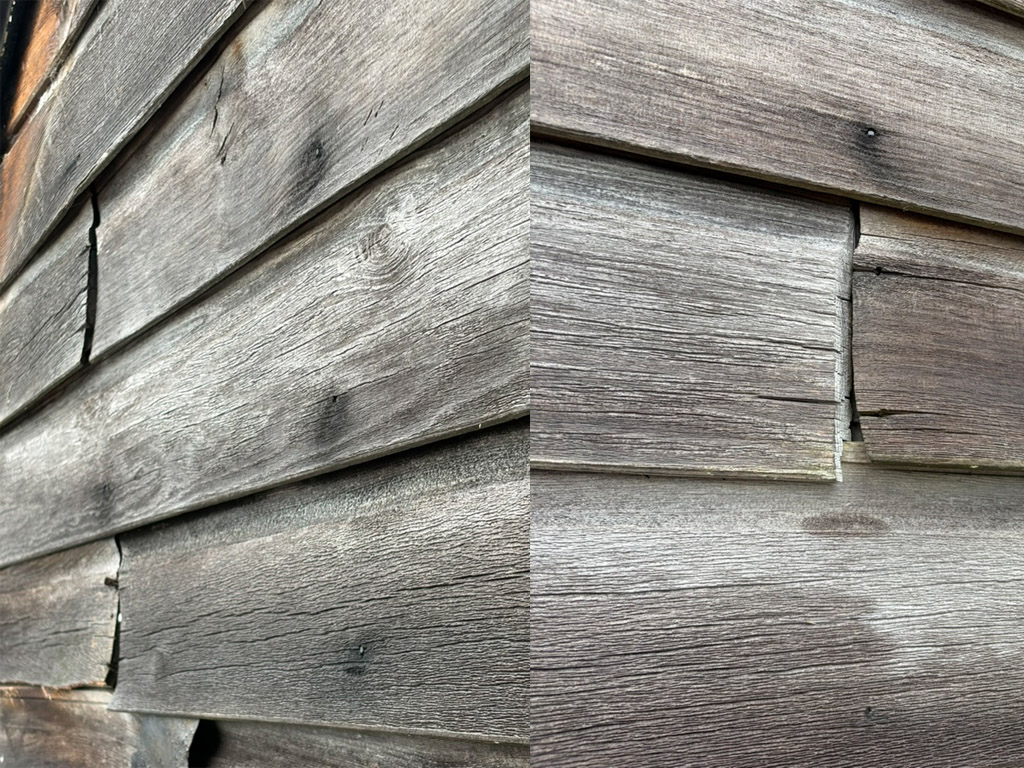
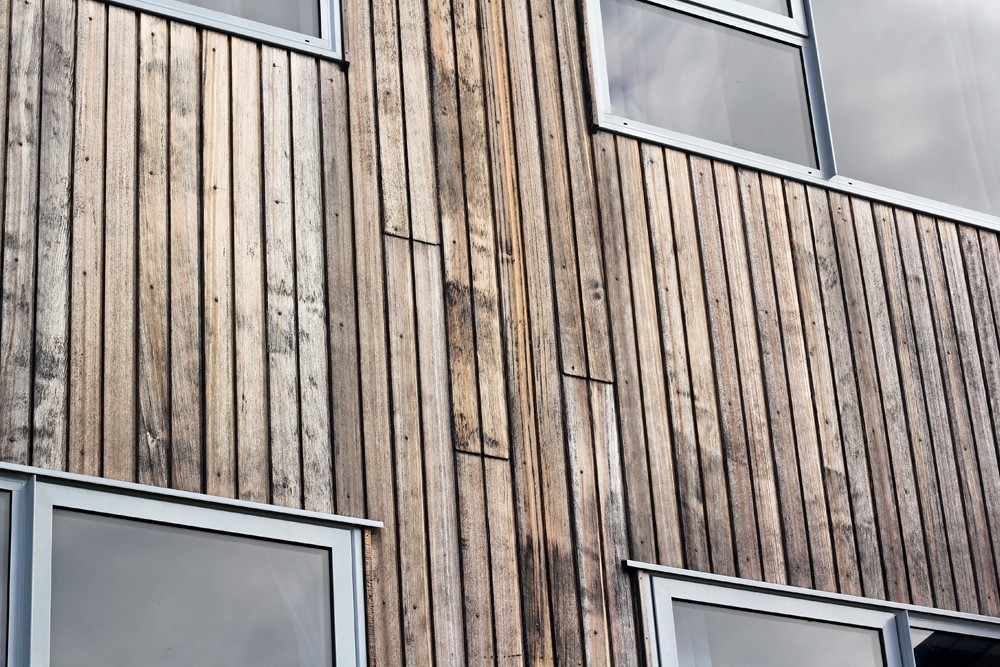
Silvering is caused by exposure to UV rays, which fray and loosen the top cells of the Cedar and cause the surface to become bleached.

While some people prefer this aged appearance, it can be a problem in warm, damp climates. The roughened surface of the wood can trap moisture, dirt, and bacteria, causing the Cedar to turn black.

If you like the silvered look, you can get protective oils with a silver tint that will give you the aesthetic you want while still protecting your Cedar from the sun.

Img 2759 Before Img 2759 After

3. Patchy or uneven colour

Patchy or uneven colour on your Cedar can be a sign of a few things. The previous coating might have been applied unevenly, or it could be breaking down faster in some areas than others for a variety of reasons.

A well-maintained Cedar home should have a consistent colour across all its walls. If your home hasn’t been maintained in quite some time, the faces of the house that gets more direct sun exposure will fade faster than the shaded faces.

Reapplying an oil or stain not only enhances the colour but also helps replenish the wood’s natural oils and fortify its anti-fungal properties, restoring its vibrant, like-new appearance.

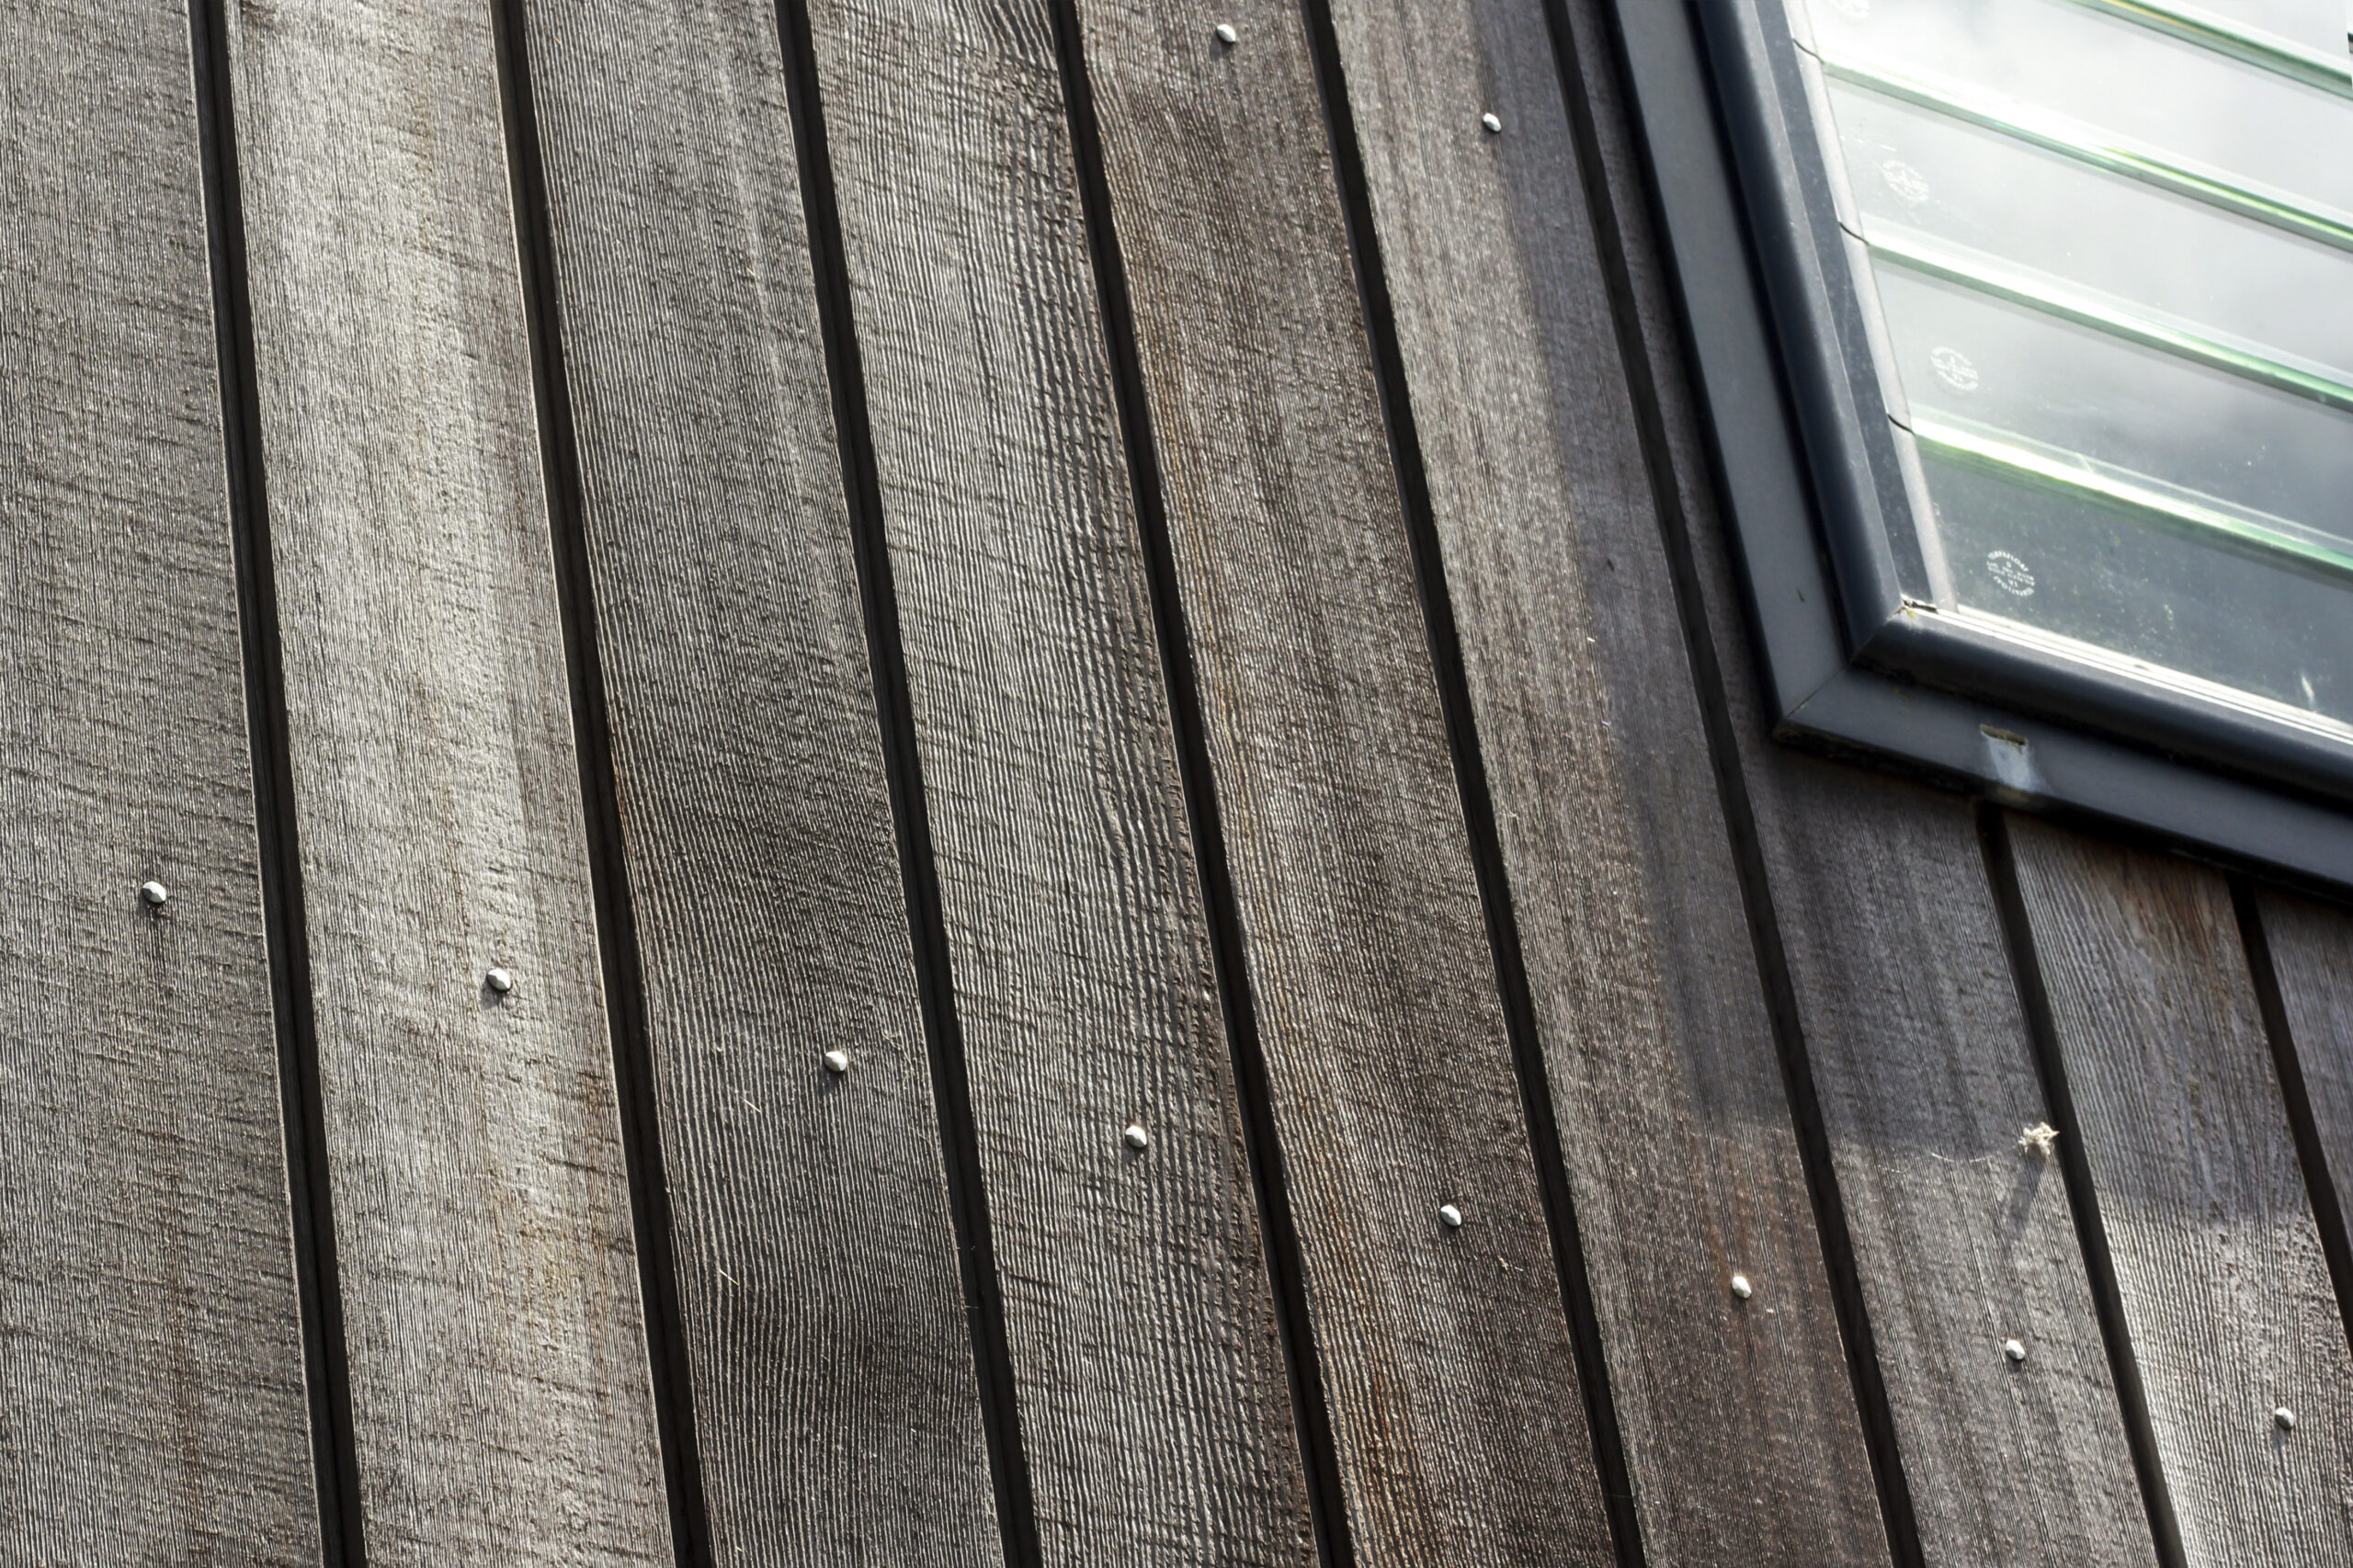
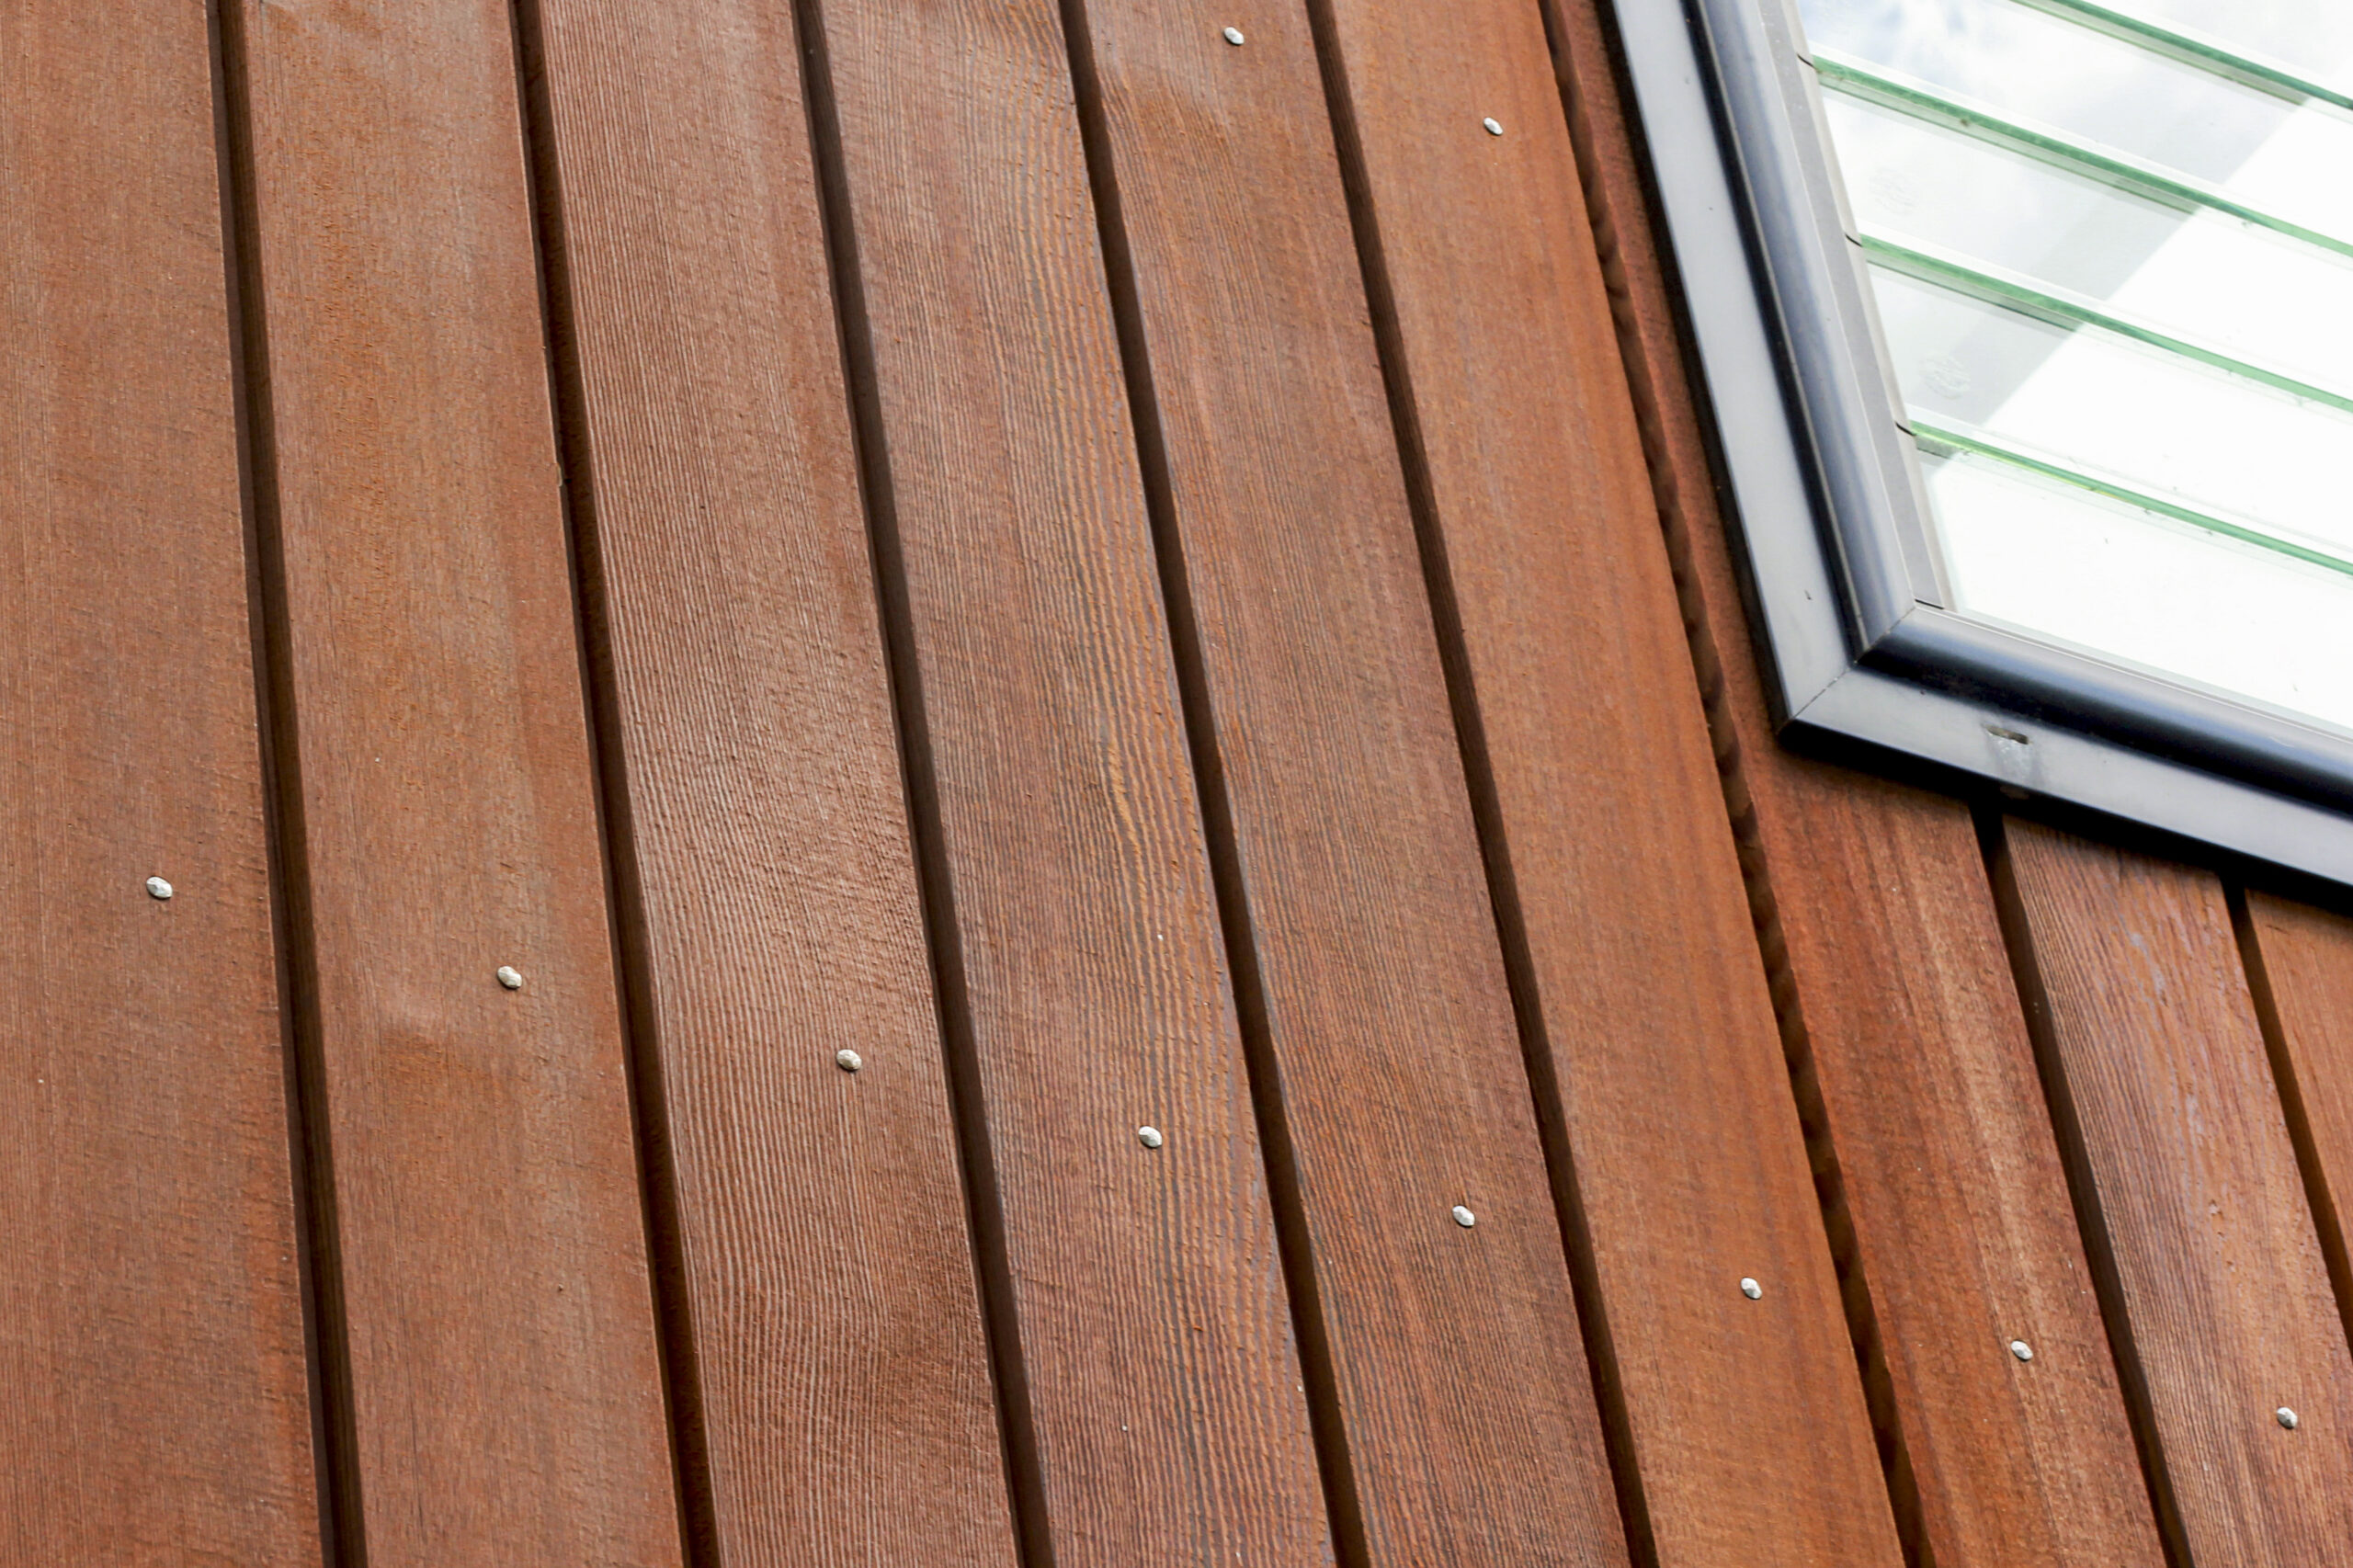
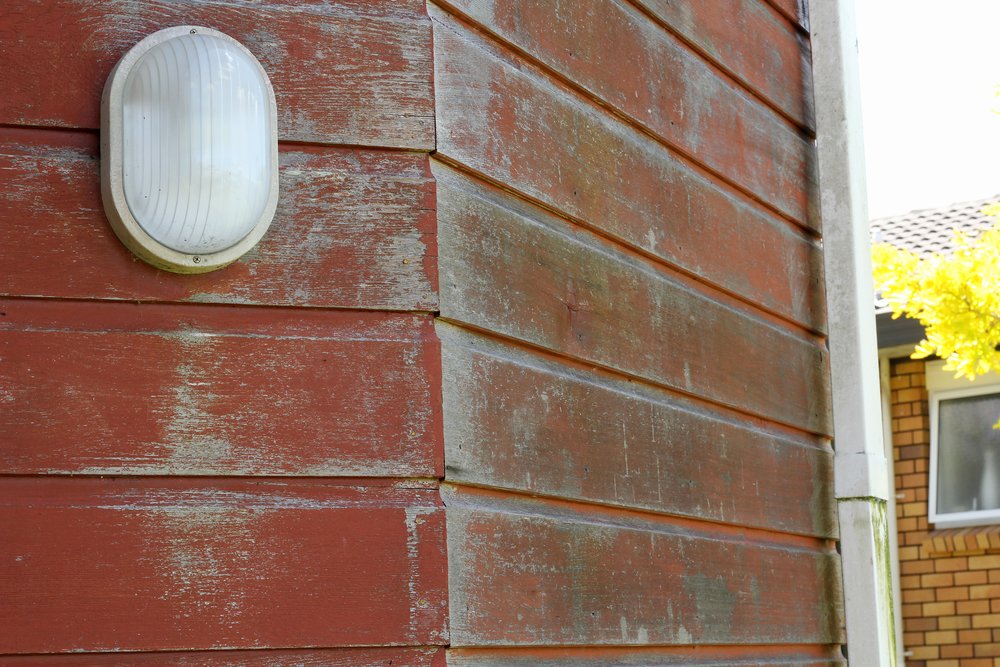
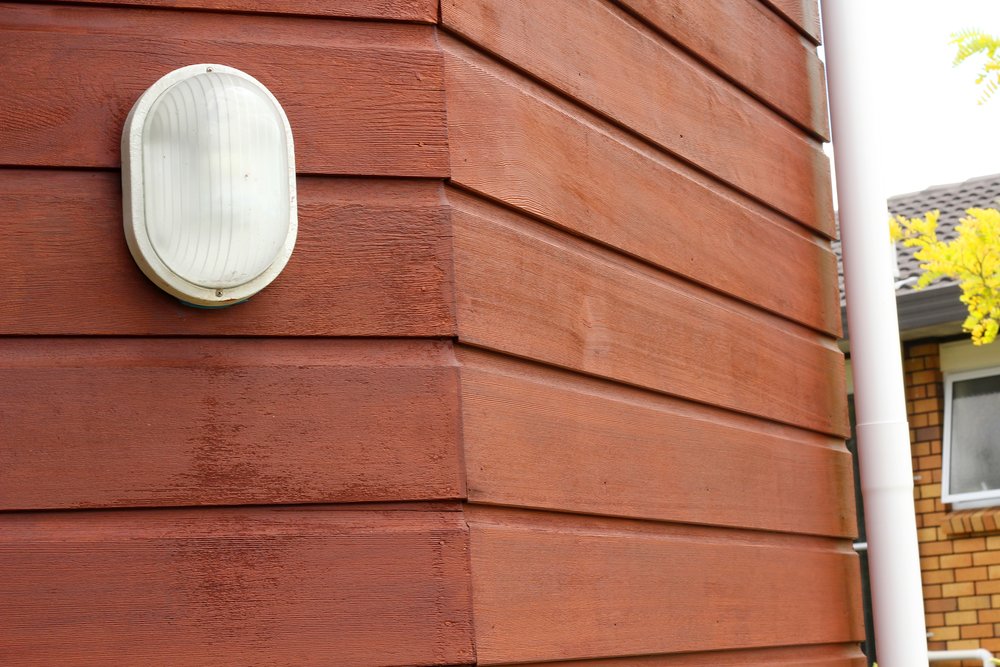
cedar-stain-to-oil-before-1 cedar-stain-to-oil-after-1

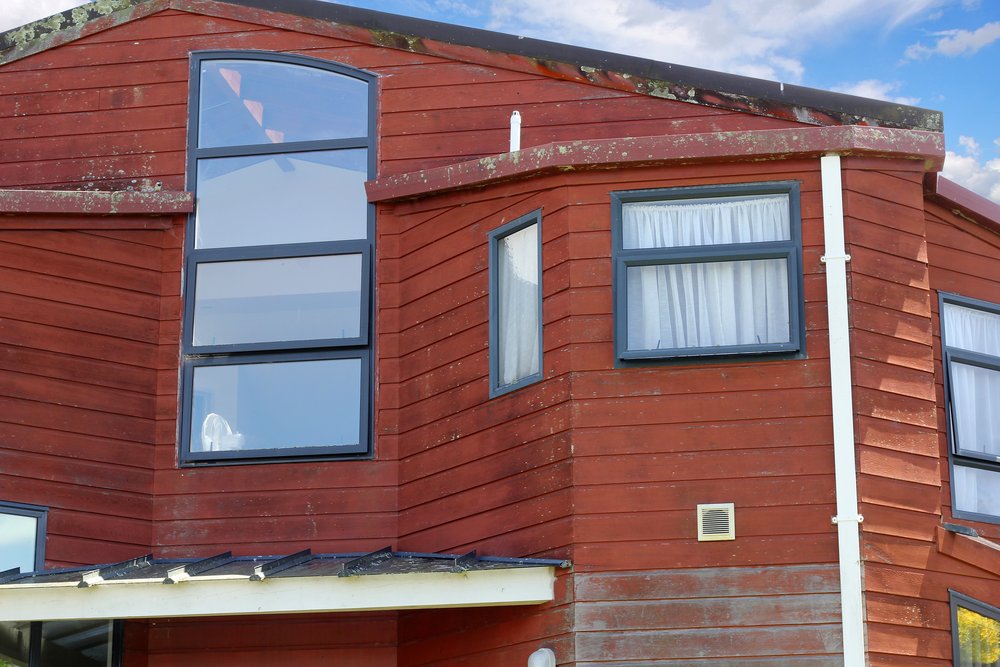
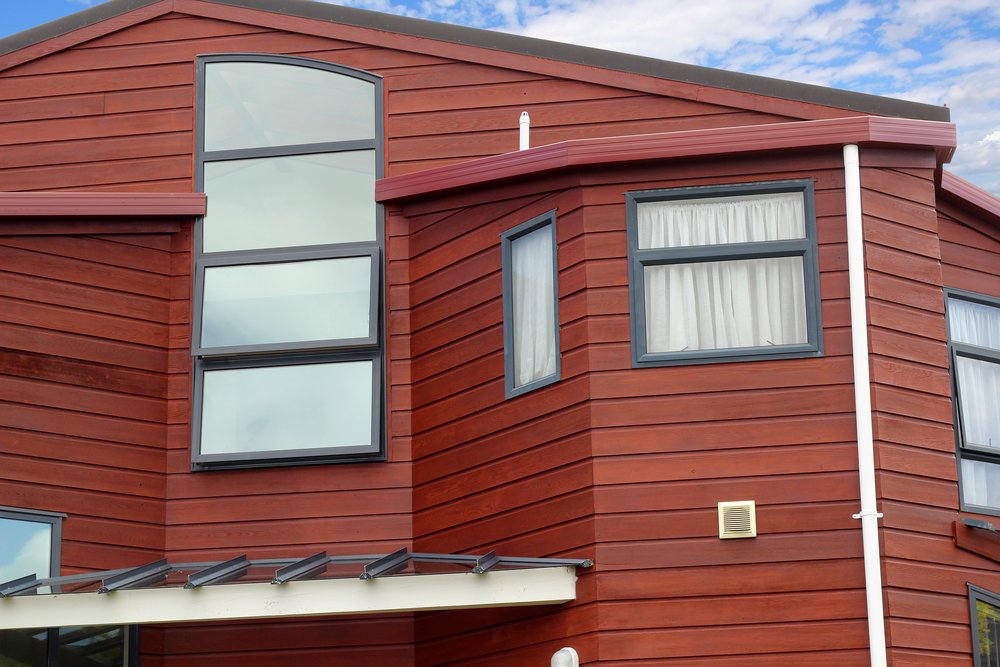
4. Mould and lichen forming

Mould and lichen often grow on the damper areas of your house away from the sun. Mould can appear on the surface coating or might be ingrained in the timber if it’s been left for a while.

The first signs of mould are small black spores that look like spots or splatters, and as it gets more severe it will get more obvious, turning black, green or red.

Img 2426 Img 5196

Signs of mould and lichen are not always a big concern. Get a professional to look at it, and if you catch it early enough, you might just need a clean without having to recoat the timber.

cedar-restoration-before cedar-restoration-after

5. Cracks, or worse

Look for small cracks appearing, either in the coating or the boards themselves. Those little cracks are allowing moisture to get into the boards and create a toehold for mould, mildew and lichen to get established.

If nails are popping out, or you can see warping, this is a sign that the boards are moving a lot. This usually happens on the north face, or any area that is exposed to the sun and doesn’t have any protection against the wet-dry-wet effect.

Cupped cedar

If your boards are starting to cup, it doesn’t mean the boards are beyond repair. Often the structural integrity of the boards is still good, we just need to clean them up and replace the oil to reduce the surface tension and repel water.

Final thoughts…

Knowing the signs that your Cedar needs attention helps you make an informed decision about when to invest in its health.

If you’re unsure, it’s always best to have a professional take a look.

We offer a free, onsite Cedar Assessment across Auckland and Northland. One of our Cedar experts will provide a genuine assessment of your timber and offer advice to keep your Cedar protected and looking beautiful for years to come.

4 Jul 2025
Yes, Auckland is a rainy place! But we've been looking after Cedar for 12 months of the year, for over 30 years, and rain isn't as big of a problem as you might think. This comes down to the unique properties of Cedar and how we care for it. But unlike paint, oil and stain do not need to cure and dry. Literally minutes after you put the coating on, it's already protecting the boards against moisture. If the boards are dry, we can coat them. Once we get to the point where the boards are wet and will not dry, we stop. Simple as that.

One of the most common questions we get asked is “Can I get my Cedar maintained in the winter?”

Absolutely! With winter, comes rain…but not as much as you might think.

At the height of the wet season, there are 19.1 rainy days in June and 20 in August. In summer, there are 14.1 rainy days in December and 9.8 days in February. That’s only 6-10 days difference.

Yes, Auckland is a rainy place! But we’ve been looking after Cedar for 12 months of the year, for over 30 years, and rain isn’t as big of a problem as you might think.

This comes down to the unique properties of Cedar and how we care for it.

Oil and Stain Are Not Paint

The statement above may seem obvious, but the idea of paint drying is so fixed in our collective minds that people often make the comparison.

Aside from both being applied to walls, they couldn’t be more different products.

Paint is applied by building a film on the surface of another film, which then must dry and cure.

Stain and oil penetrate into the pores of the Cedar and start providing protection against moisture almost immediately.

You could even spray the boards lightly with a hose 20-30 minutes after application and it would make no difference to the finish.

How Wet is Wet?

Similarly, in most people’s minds, when a board gets wet, it is wet the whole way through. This is only what our eyes are telling us.

In truth, it’s only the surface that gets wet (usually the top 1mm), the rest of the board stays perfectly dry.

To apply a Cedar coating, we only need the surface of the board to dry out. Depending on exposure to the sun, wind and air temperature, this can happen anywhere between 5 – 30 minutes.

You can feel whether Cedar it is dry or not by touching the boards. If the surface is too wet, we simply do not apply the coating.

Mark likes to use the analogy of hanging out washing. If you are happy to put out your washing to dry, you can coat Cedar.

And if a spattering of rain does get onto the surface, the oil or stain is already working to create a barrier against moisture.

What Happens if it Does Rain?

Every morning, the Senior Technicians assigned to the job will look at the weather and work with the Production Manager to make the call. In most cases, the decision has been made the previous day.

Our scheduling team also looks at the weather in advance and plans accordingly. If rainy weather is on the way, they will book in other work such as washing or adapt the scheduled work to the conditions.

If the weather is inclement, the technicians can focus on areas of the house away from the wind and rain.

If the weather is coming from the north, we can coat the areas on the south, or undercover areas.

If rain is truly setting in, we can wash the Cedar in preparation for coating. During periods of persistent rain, there can be a gap of 1-2 weeks between washing and coating, but this could be left up to 6 weeks without any issues.

So, When is the Best Time to Coat?

The answer is always now. If you ask us in 6 weeks or 6 months, the answer will be the same.

We are battling the sun here, and the sun always wins. New Zealand’s harsh UV rays are constantly sucking the natural tannins from the boards and they need to be coated to protect against the wet-dry-wet effect.

If left longer than the recommended 2-3 summers, the surface can begin to roughen and create a toe-hold for mould and lichen, resulting in an unkempt look.

This isn’t scaremongering. If you leave them for another 6 months, the difference is almost indiscernible. But that doesn’t change the fact that there is no “best time” for Cedar maintenance.

The best time is always now. You just need to pick your days.

Final Thoughts

We have been doing this for over 30 years and know our way around a bit of rain.

If the boards are dry, we can coat them. Once we get to the point where the boards are wet and will not dry, we stop. Simple as that.

Don’t let the idea of rain put you off getting your Cedar maintained and protected. Winter is just as good as summer, and autumn is just as good as spring. The sun never stops and neither do we!

13 Mar 2025
Looking after Cedar is often a lot more cost-effective than people assume, and that cost just goes down with regular maintenance.

Time to answer the million-dollar question: how much does it cost to maintain or restore a Cedar home?

Thankfully, the answer is nowhere close to a million dollars! Looking after Cedar is often a lot more cost-effective than people assume, and that cost just goes down with regular maintenance.

Naturally, all homes are different, and no single price will fit the huge variety of Cedar homes across the country. The prices given here are a range, based on Mark’s experience looking after Cedar homes for 30+ years.

To cover the widest range of homes, we have categorised the pricing under 3 different eras, with some variables at the end.

Late 80s to late 90s

Cedar homes from this era are stained in a distinctive shade of reddish brown. There were only two types of stains available, and they were both brown.

To change the colour of the boards will be very costly, as you would need to strip off the stain before applying a new stain or oil. Most people go for a light rinse and a recoat using one of the new waterborne stains.

The boards themselves are often still in great condition. The Cedar from this era was milled from slow growing trees, making the boards denser and more stable.

cedar-restoration-before cedar-restoration-after

Cedar homeowners were also more likely to maintain the Cedar themselves, so the Cedar often has multiple coats of stain that further protect the boards from harmful UV rays.

Standard maintenance, or a combination of maintenance and restoration, will cost between $5.5k – $8.5k for a single-story home, and $8.5k – $10k for a double-story home.

Early 2000s to 2010

Cedar homes from the early 2000s often used Cedar as a feature, installed up high, to enhance the look of weatherboard and solid plaster houses. There are very few houses from this era that are clad entirely from Cedar.

20 years on, most of these houses have had nothing done to them. The culture of maintaining your own Cedar has diminished due to busier lifestyles and more focus on health and safety, resulting in Cedar on sun exposed faces looking shabby and tired.

This scenario usually requires restoration over maintenance. Restoration involves washing the house, removing any organic matter, stripping back any old stain, and then applying a new coat of oil.

The cost of restoration will depend on volume and aspect: how much Cedar was used as a feature and which direction it faces. If it’s northerly facing, you will need to do considerable restoration work. If you have a feature on the south face, it might still be in good condition and only require recoating every 10 years.

If the Cedar can be accessed by ladder or mobile scaffolding, the standard cost of a restoration is between $3.5 – $5.5k. Fixed scaffolding will add considerably more to the cost.

2010 – Present

Since 2010 onwards, Cedar has only grown in popularity. Homes are trending away from brick and tile, towards new townhouse developments, or architecturally designed properties.

Cedar is still a premium building material, but the price has come down in recent years due to faster growing methods and better exchange rates. As a result, we are back to building whole homes in Cedar.

The downside is that the faster growing timber isn’t as dense as the old boards. It’s still an incredibly robust cladding but requires regular maintenance to keep stable. If neglected, the boards will start to cup, and at some point, begin to pull the fixings through the timber.

Single-story Cedar homes cost $6.5k on average for a wash and recoat. Double-story Cedar homes are upwards of $8k – $10k. Large architectural homes are $15k – $20k.

Pricing Variables

  • Fixed scaffolding

Where possible we work from our own mobile scaffold towers and extension ladders, which are safe and fast, and keep costs down. Fixed scaffolding is often required when you go from 2 to 3 stories.

Scaffolding a large house will cost an additional $7.5 to $10k home. Scaffolding a smaller home, but still 2 story with high areas, will be $4k-$5k.

  • Access issues

These are houses that are built on steep hillsides or have very high walls. There will always be additional costs when our team must access hard to reach areas, but it’s not often a huge expense. The areas that need rope and harness are usually limited, and it’s all part and parcel of what we do.

  • Size of the house

The bigger the house, the more time, stain and oil it requires.

Additional stories on top of that will always be more expensive, and when you go from 2 to 3 stories scaffolding is required. If you have 2 stories, but there is very little up top, the extra cost will be minimal.

  • Time passed

If you haven’t maintained your Cedar in the last 3-5 years, it’s going to be very dry and require a lot of product.

  • Restoration vs Maintenance.

If the Cedar has never been touched, the boards will require a deep clean and oil. If they have stain, we need to strip back the broken-down stain. These are two very different treatments, with different costs associated.

Final Thoughts

No two houses are the same. There is a good reason why our team travel out to every house before we send a quote. There are a lot of variables in pricing a quote (and many of them can work in your favour!), so it’s always best to call our team for an onsite assessment.

We never push Cedar maintenance if it’s not needed and prefer to look after the best interests of our customers over the lifecycle of their homes.

Read More Articles

Showing 1 - 10 of 19

Subscribe

Sign up to our quarterly newsletter for all the latest Cedar tips and expert advice.