

Timbertech Cedar Maintenance

The Right Way to Wash Cedar (And What Not to Do)

The Right Way to Wash Cedar (And What Not to Do)

26 Aug 2026
The right way to wash cedar 8 (Large)

A regular wash is one of the simplest, cheapest things you can do to extend the life of your Cedar. It’s also one of the most misunderstood, with homeowners either avoiding it altogether or approaching it the wrong way. 

Done properly, washing protects your coating, keeps mould at bay, and pushes out the time between recoats. Here’s how to get it right, and when it’s worth calling in the professionals. 

How Often Should You Wash? 

If your Cedar isn’t due for a recoat, a light wash once a year is the general rule. It’s what we recommend to our own maintenance clients, and we’ll often suggest it ourselves when we check in on a property a year after coating. 

Your environment matters too. Damp, bush-covered sections are more prone to mould, and coastal homes build up salt on the boards. Both benefit from washing more than once a year.

Cedar can be left for up to 4-6 weeks between washing and coating, at no detriment to the timber. If surface dust or pollen has landed on the Cedar in the interim, just brush it off before applying the coating.

Wash or Recoat? How to Tell 

Look at the coating, not just what’s sitting on top of it. 

Grime or early mould on top of an intact coating? Just wash it. Getting that build-up off stops it eating into the coating and helps it last longer. 
 

The right way to wash cedar 1 (Large)


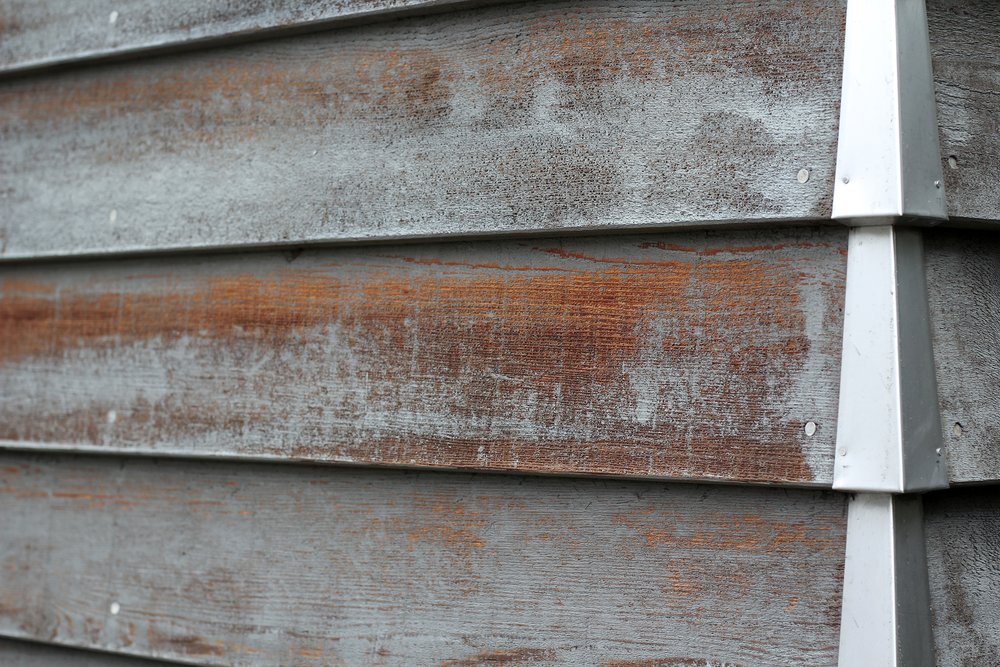
Bare patches, or the coating looking worn and discoloured through to the timber? That’s exposed timber, and a wash alone won’t fix it. You’re looking at a recoat. 

There’s no real situation where we’d tell you not to wash your Cedar. Even freshly coated boards can usually handle a wash within a month, once the oil has soaked in and the surface has dried. The real risk isn’t timing, it’s technique. 

Light Wash vs Deep Clean 

Not every wash needs the same amount of pressure. If the coating is in reasonable shape, a light wash paired with a recoat is usually enough. Where it’s broken down badly, or you’re dealing with bare, patchy timber, it needs a heavier wash to properly prepare the boards for coating.

Knowing which one a property needs takes experience, and it’s something we assess on site every time.  

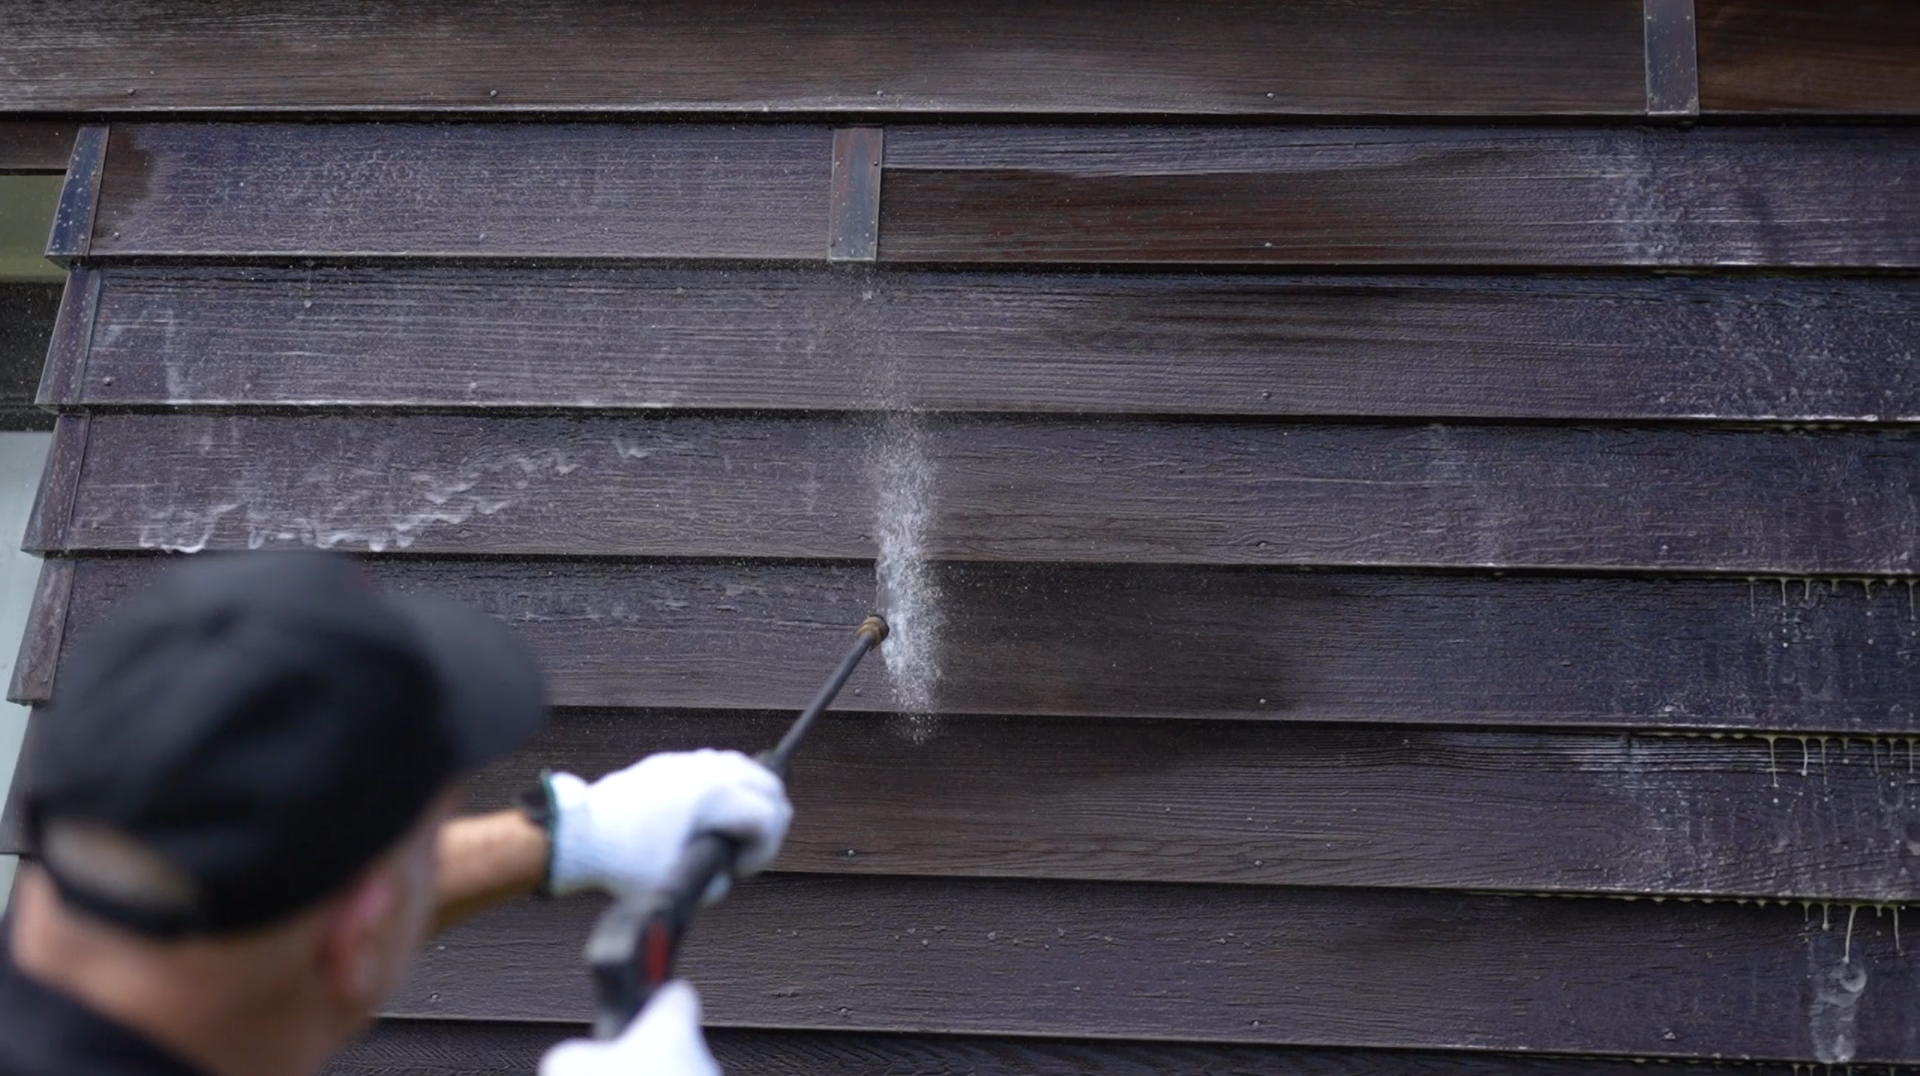
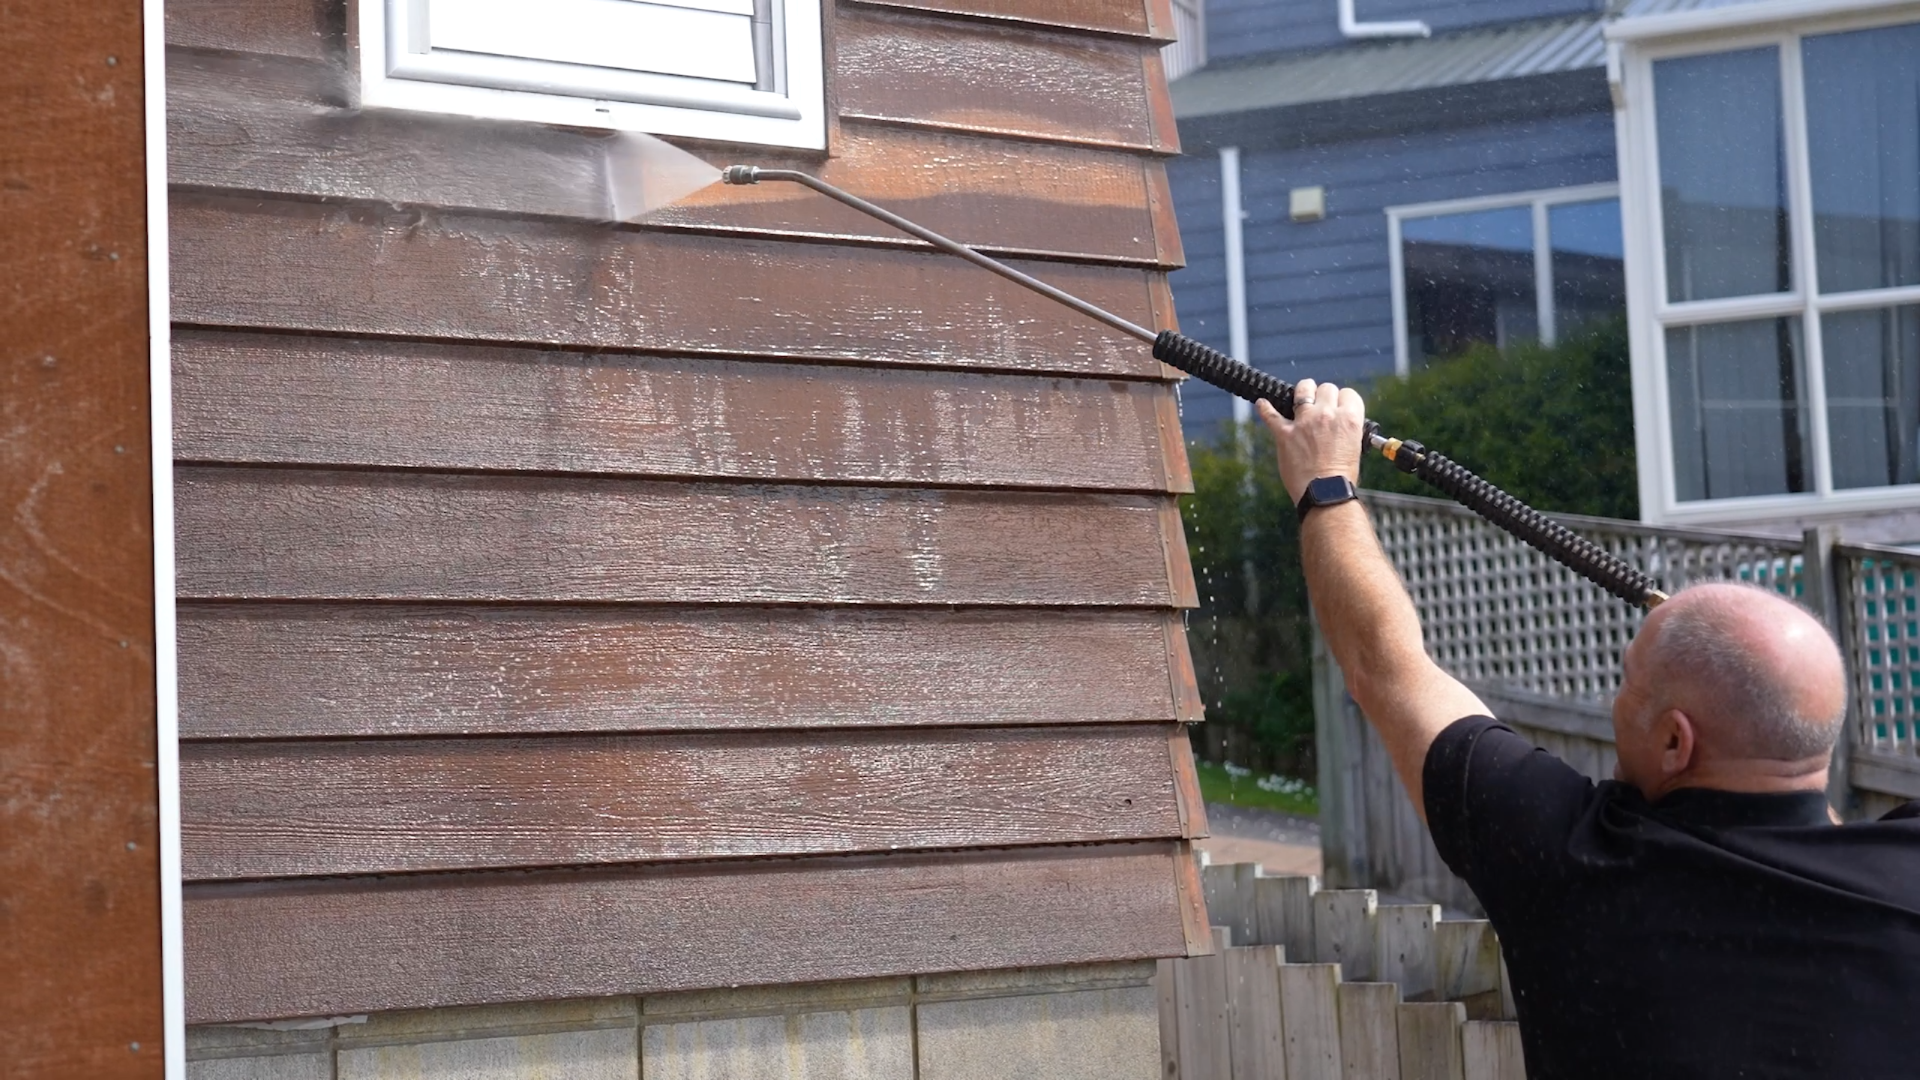
We do wash using low pressure water blasters, but the machine is the smallest part of the job. Our machines run at around 2,000 to 2,500 PSI, but by the time the water reaches the boards, from roughly a foot away and through a wide fan nozzle, the pressure hitting the timber is nowhere near that number. 
 

The right way to wash cedar 6 (Large)

The Technique That Keeps Cedar Safe 

Cedar is soft, and it can be damaged by water pressure in the wrong hands. We train our technicians specifically in how to wash Cedar, and that training is a big part of what sets us apart from a general house washing company. 

Three things matter most: 

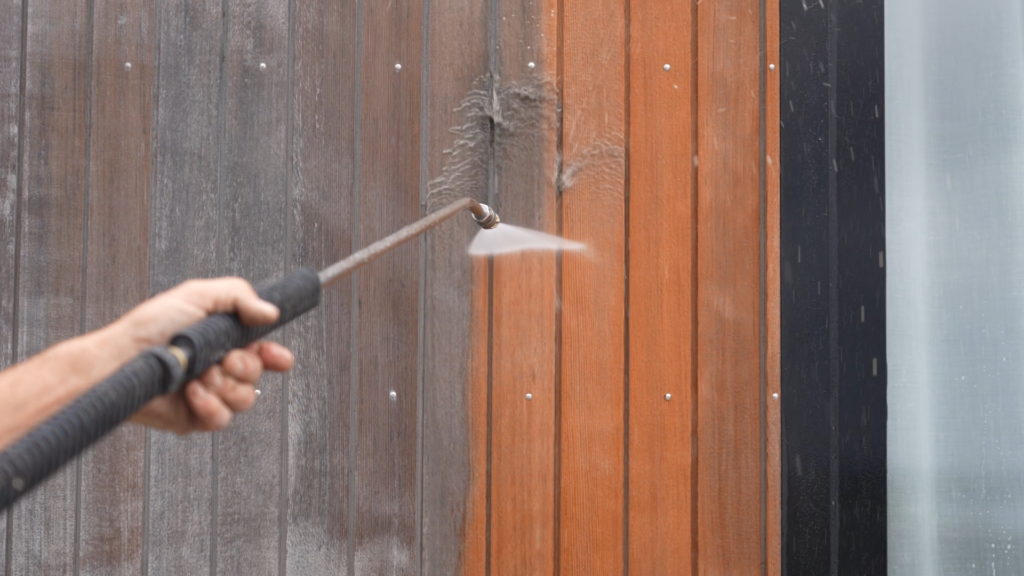
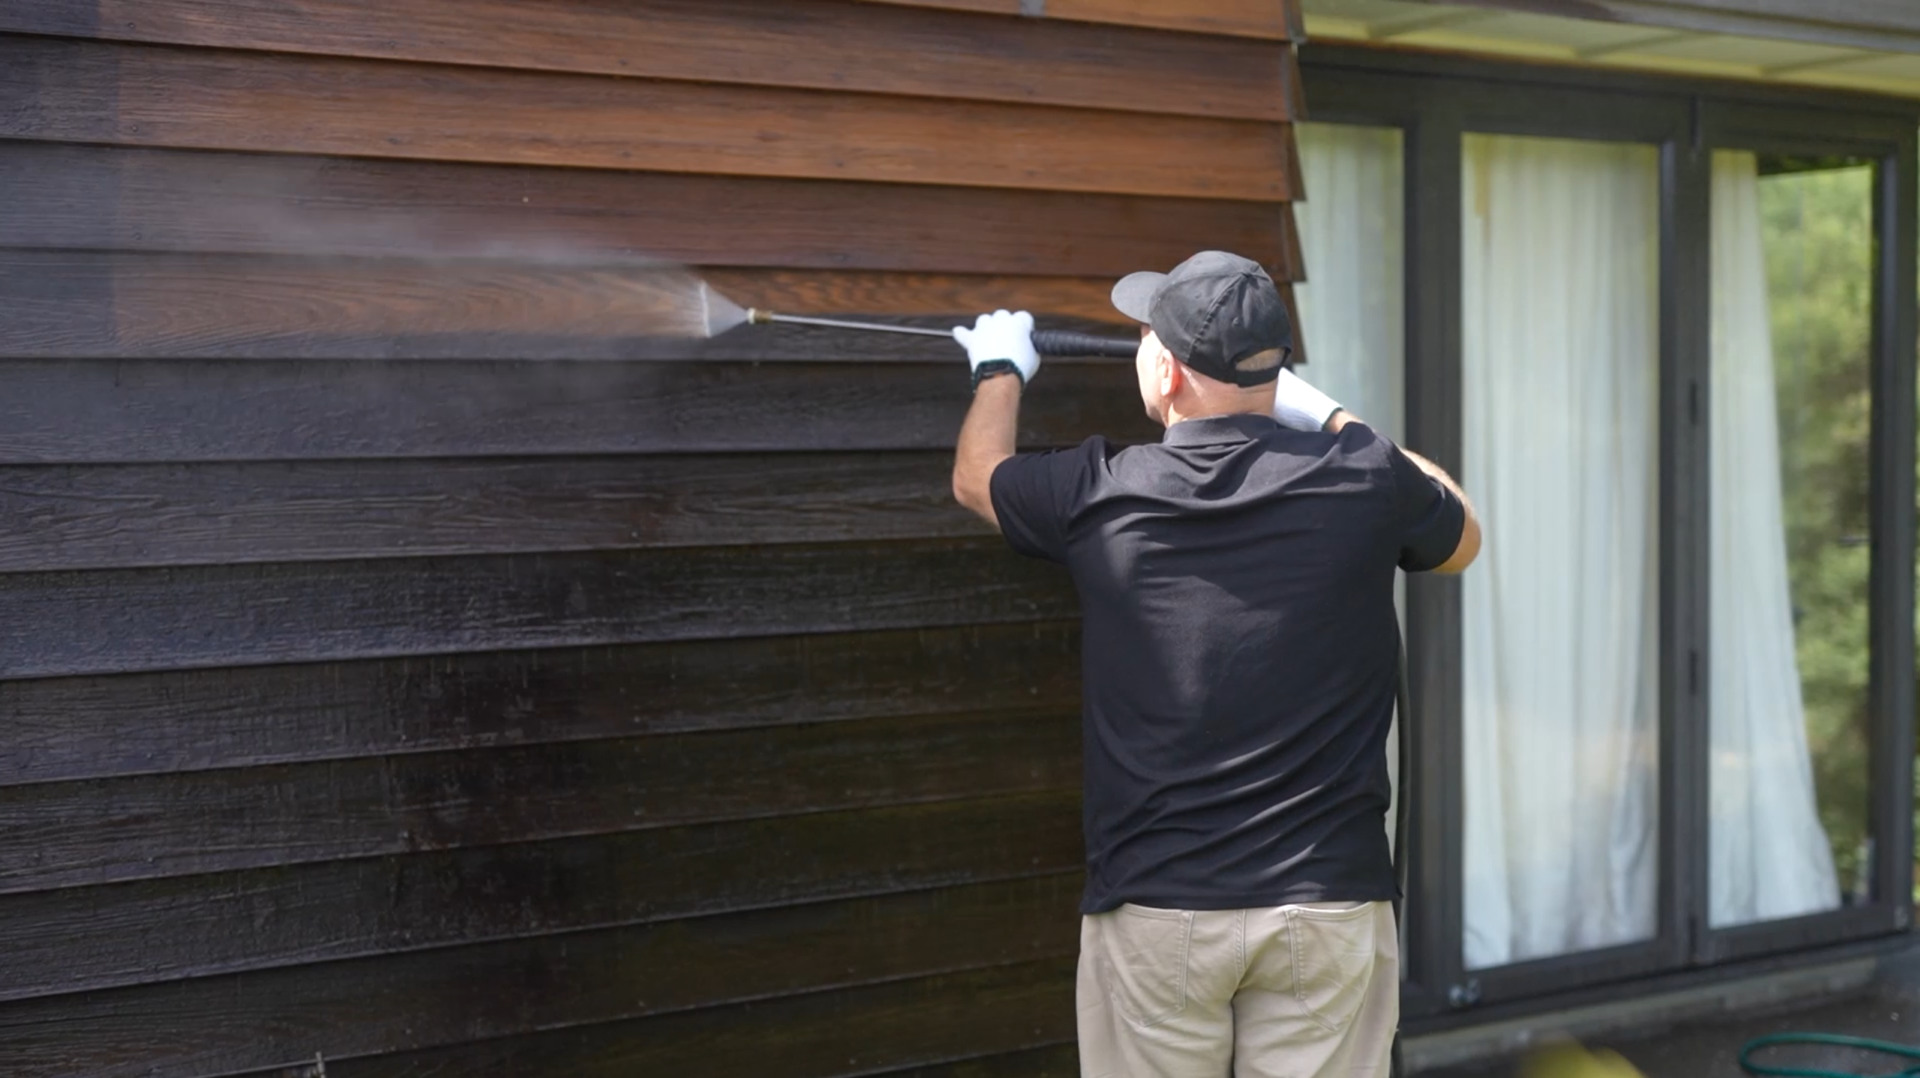
  • A wide fan. We wash with roughly a 25-degree fan tip, spreading the pressure out rather than concentrating it on one spot. 
  • The right distance. Keep the spray about a board’s width from the surface, then adjust closer or further depending on how much clean the area needs. 
  • Never stop and go back. This is the biggest mistake people make. Pause mid-pass and go back over a spot, and you’ll leave a stop mark that’s hard to remove. Keep moving instead, fanning out at each end of your pass.
The right way to wash cedar 3 (Large)


General upkeep and recoat prep also call for different approaches. For upkeep, you just want dirt and mould off the surface, without touching the coating underneath. For recoat prep, you can afford to take more of the old, oxidised tint off, since it’s all getting covered again.  

Mixing the two up is where homeowners run into trouble: wash too close or too hard on boards that don’t need recoating, and you can strip enough tint to expose bare timber, creating a job that didn’t need to exist.

What We Use as a Surfactant 

Before washing, we apply a surfactant, a biodegradable detergent mixed with water, sprayed onto the boards. It’s safe around plants and won’t damage windows, decks or joinery, so we don’t usually need to take any special precautions. 

The one exception: on tank water properties, we isolate the water supply or disconnect the downpipes before washing above the roofline, so nothing runs into the drinking water. 

We leave the surfactant on for three to five minutes minimum, ideally still wet when we come to wash it off, mixing it stronger for particularly dirty properties.  

Once washed, the timber needs to dry completely before oiling. Cedar is light and dries fast, sometimes within an hour or two on a sunny north face. We generally wash one day and coat the next, though same-day turnarounds aren’t unusual in summer. 

What Incorrect Washing Looks Like 

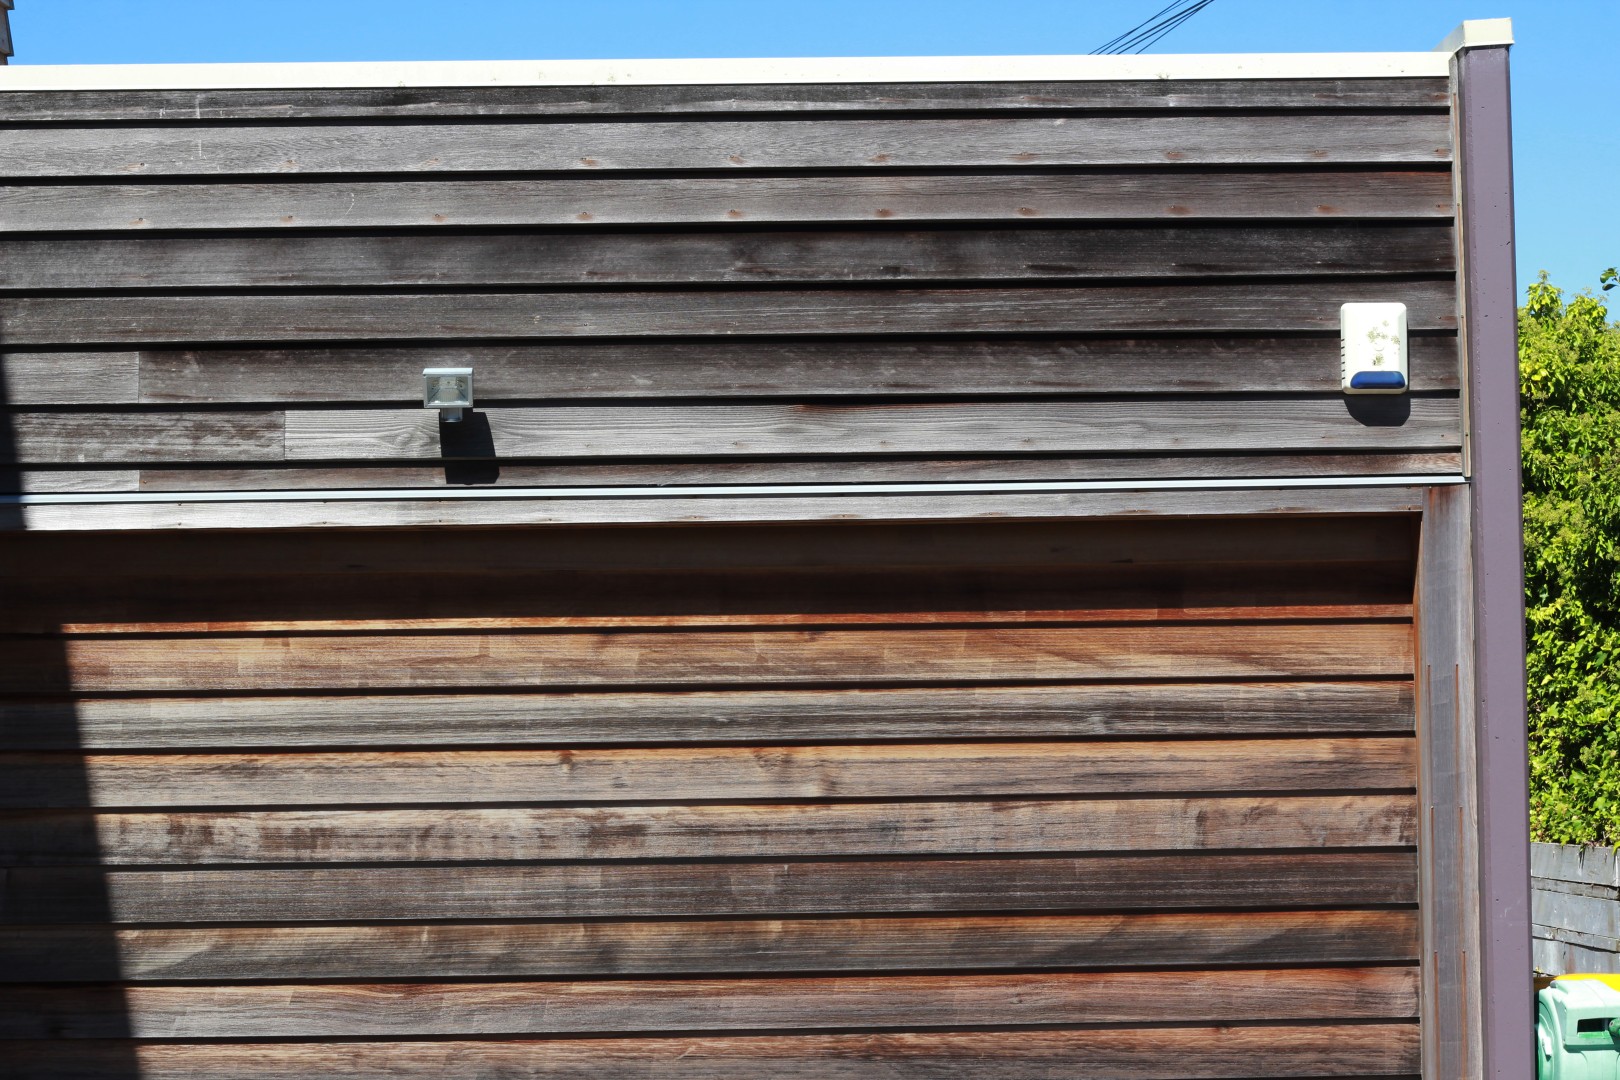
At the mild end, poor preparation means not enough of the old coating has come off for a fresh coat to bond properly. At the more serious end, you get actual gouges or scarring in the timber, or the stop marks mentioned above. 
 

IMG 8809 (Large)


Some of this can be fixed. Badly scored timber usually can’t be. Sanding it back just leaves a fainter impression of the same mark, since you’re left with a flat board and an indentation in it.
 

This is why we’re cautious about recommending homeowners attempt heavier prep washes themselves, even though a light annual rinse is well within most people’s ability. 

Should You Wash It Yourself? 

If you’re comfortable doing it, an annual clean is a job you can happily take on yourself. 

Before a recoat, we’d always recommend a specialist. Preparing Cedar properly is a different skill set to a standard house wash, and it’s exactly what we specialise in. General house washing companies tend to steer clear of Cedar for this reason. 

Final Thoughts 
The right way to wash cedar 4 (Large)


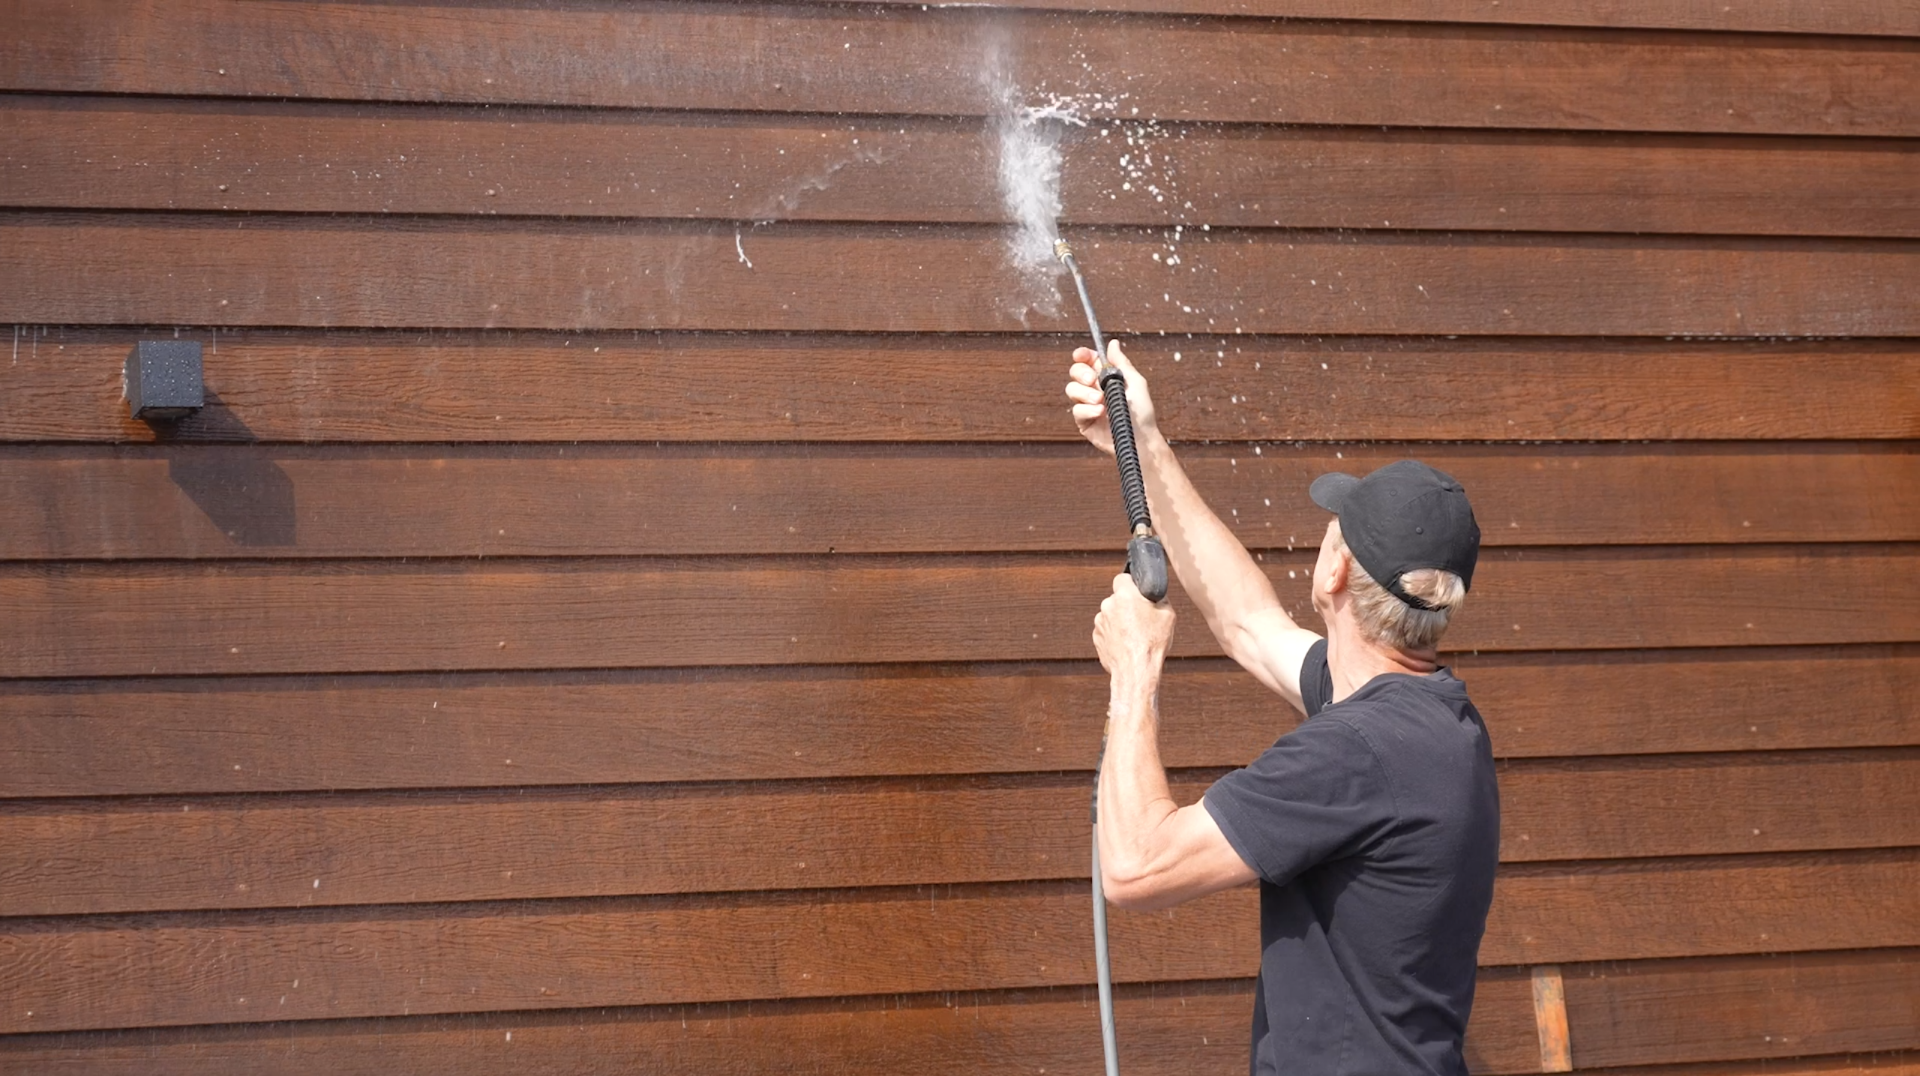
A regular wash does more than keep your Cedar looking tidy. On shaded, damp faces where mould takes hold, it protects the coating underneath and helps it last as long as possible.  

Sun-exposed north faces are a different story. They take the brunt of New Zealand’s UV and need recoating every 2-3 summers regardless of how well they’re washed, since it’s the sun doing the damage there, not the dirt. 

Not sure whether your Cedar needs a wash or something more? Our Free Cedar Assessment will give you a clear, honest answer either way.

Does Your Cedar Need Help?

Our Free Cedar Assessment will assess the health of your timber and give expert advise on how to keep it looking beautiful for years to come.

Cedar stain to oil after

Read More Articles

15 Apr 2023
You might be surprised that there’s no ‘best time’ for treating Cedar and maintenance can be done throughout the year, across all seasons, given there is enough time for the oil to penetrate the timber, or the stain to cure. The real question isn’t which season is best for maintaining Cedar, but which conditions are optimal for the Cedar maintenance process.

You might be surprised that there’s no ‘best time’ for treating Cedar and maintenance can be done throughout the year, across all seasons, given there is enough time for the oil to penetrate the timber, or the stain to cure. 

We usually get asked this question during winter, when the weather outside is either rainy, cold, blowing a gale – or sometimes all three at once! 

In fact, winter is an excellent time for Cedar maintenance. Your cladding has been knocked about by the summer sun and needs nourishment, relief and protection. 

The real question isn’t which season is best for maintaining Cedar, but which conditions are optimal for the Cedar maintenance process. 

To find out more, read the full article, or watch the video below for a quick summary.

Optimal Conditions for Cedar Maintenance

To successfully apply oil or stain to Cedar, the boards need to be dry, with no threat of imminent rain. It’s that simple. 

When most homeowners think of maintaining the outside of their house, they think of paint and how long it takes to dry. Oil and stains do not work like paint and are quick drying.  

On a hot summer’s day, we can stain the side of a house and gently waterblast it 20 minutes later and the stain won’t move. 

Oils are similarly robust. On average you want to give oil a couple of hours to soak in. Once absorbed into the timber, the oil is resistant to any incoming rain and is in no danger of getting washed away or having the finish ruined. 

The Best Plan is Planning Ahead

If last summer is any indication, heavy rain can strike at any time, as can long dry stretches.  

Given our changing weather patterns, there really isn’t an ideal time to maintain Cedar and the best course of action is to get your Cedar regularly maintained, following our standard advice. 

“To protect Cedar from the harsh NZ sun and keep it looking beautiful year-round, sun exposed areas should be treated at least once every 2-3 years.” 

So don’t let winter deter you from getting your Cedar maintained. Our Cedar Technicians are experts in their field and know how to work around the seasons, even if there are four of them in one day! 

14 Mar 2023
Many Cedar homeowners fall in love with the Scandinavian silvered look – minimalist, clean, with a silver sheen that accentuates the beauty of the timber and the natural surroundings.

Many Cedar homeowners fall in love with the Scandinavian silvered look – minimalist, clean, with a silver sheen that accentuates the beauty of the timber and the natural surroundings.

But when it comes to achieving this look, there is a common misconception that all you need to do is leave the Cedar and silvering will happen naturally.

Unfortunately, this is not true, at least in the New Zealand climate, and timber that is left to silver will eventually turn unsightly.

In this article we will cover what silvering is, how you can silver your Cedar safely while still protecting the timber, and some DIY tips for maintaining the silver look of your Cedar until you are ready to oil.

To find out more, read the full article, or watch the video below for a quick summary.

Is Silvering Bad for Cedar? 

Without taking the location and climate into consideration, silvering itself is not bad for the timber. Silvering is caused by exposure to UV rays, which fray and loosen the top cells of the Cedar and cause the surface to become bleached.

silvered-cedar

In colder climates this isn’t a problem as the lower temperatures kill off the bacteria, retaining the beautiful, silvered look. But in a warm and wet climate such as ours, bacteria and mould will get caught in the roughened surface, and quickly turn the Cedar black.

Even if the mould and bacteria are removed, the natural silvering effect will often look patchy and uneven, detracting from the natural beauty of the timber.

Silvering Cedar the Right Way

So, is there any way to have the silver look you love, while still protecting your cladding? The answer is a resounding “Yes!”

Wood-X is a deep penetrating wood oil developed with Resene. It comes in a range of exciting colours – from rich reds and bush greens to a daring indigo blue – and a whole range of wood-protecting silvers. Applying a silver-tinted oil will protect your timber from the harsh UV rays, allow it to silver more quickly and give a more consistent silver look.

After applying the silver-tinted oil, you will need to follow a regular maintenance schedule to keep your Cedar looking its best. We recommend a soft wash every year, followed by recoating exposed areas every 2-3 summers.

DIY Silvering Maintenance

If you are not ready to oil your cladding quite just yet, a more affordable solution is to spray your house with a slow-acting mould and fungal killer such as Wet and Forget. This will remove the organic bacteria from the surface, but it will not replenish the natural oils of the Cedar or protect it against splitting and cupping in the future.

If you do not plan on oiling or staining your house, another option is to leave the silvering on as it provides natural protection to the layer below it. You can then use a slow-acting mould and fungal killer to keep it looking clean. The downside to this approach is that the timber will eventually look aged and tired.

Get Professional Advice You Can Trust

Ultimately, the best approach for protecting your cladding AND getting the silvered look is to oil your Cedar with a silver tinted oil. If you are unsure about the best approach and would like to talk with an expert, call us on 0800 298 298.

There is no obligation and our goal is always to look after the best interests of our customers over the lifecycle of their homes.

We love Cedar and are always happy to help!

15 Feb 2023
The quick answer is: not as often as you might think. On a wall that is not in the intense sunshine, Cedar will practically last forever.

The quick answer is: not as often as you might think. On a wall that is not in the intense sunshine, Cedar will practically last forever.

Apart from being stunning to look at, Cedar is extremely durable, a superior insulator and genius at taking up deep-penetrating oil. Cedar’s worst enemy is not rain, or wind, or city grime; it’s the harsh New Zealand sun. 

Left unprotected, UV rays will eventually dry out the timber, leading to fine cracks and roughening of the surface. This creates a toehold for mould, mildew and lichen to get established and make the timber look unsightly.

Regular oiling will prolong the beautiful look and weather resistance of your Cedar by penetrating deeply through the Cedar’s open cellular structure and replacing the natural oils lost over time.

Keep reading to learn how often you need to maintain your Cedar, or watch the video below for a quick summary.

What Does Regular Maintenance Involve?

For most Cedar homes, regular maintenance will consist of a light rinse once per year at the end of winter, then a recoat of exposed areas every 2-3 summers.

Cladding only needs to be maintained on a face that is exposed to the UV rays. The remaining faces will also benefit from recoating, but this might only be 2 or 3 times over a 15-year period. The treatment that is required is very dependent on the level of UV exposure and other environmental factors.

exposed-cedar

Think of it like washing your car. If you don’t wash your car for 12 months, all the dust, debris and contaminants from the road will stick to the body. It’s the same for your house, but not as easy to spot as houses are usually flat colours compared to a shiny paint job.

How Much Will Regular Maintenance Cost?

It’s a misconception that owning a Cedar home means you will be burdened with expensive maintenance bills. Compared to houses that require regular painting, Cedar works out far more economical.

The cost will depend on the unique requirements of each house. The main factors will be the size of the house, how many stories it has and ease of access. A single-story bungalow with good access might cost $2-3k every 2-3 years. For a multi-level property with difficult access, you might be spending $8k on scaffolding before you even start looking at the timber.

Regardless of the cost, regularly maintaining your Cedar will always be cheaper over the long run than painting, or the worst-case scenario, having to reclad due to the timber cupping and splitting.

Having a regular maintenance plan can help to spread out the cost and give you peace of mind that your investment is protected – and will look beautiful for years to come.

New Builds vs Older Houses

Newly installed Cedar has a reservoir of natural oils and tannins, and it will take longer for the cellular structure to start to move. You may not have to do anything for 5 years, but eventually the Cedar will start to dry out and you will need to slow that process down with regular oiling.

New Cedar will most likely be pre-coated, or coated on-site before it gets installed. There will usually be a booklet that comes with the house telling you how the Cedar has been treated and what kind of maintenance it needs.

For a pre-existing Cedar home, the new homeowner will need to ask the previous owners what kind of maintenance plan they had in place, or what products they have used in the past. If the Cedar has been stained and the stain is in good condition, then it requires a light rinse every year and a recoat every 2-3 years, depending on the level of UV exposure.

If you are unsure about the status of your Cedar, one of our team can come around and advise you on what treatment it has received in the past, and what is required to maintain the Cedar over the lifetime of the house.

Make Your Cedar Look New Again

TimberTech are NZ’s #1 choice for Cedar protection, maintenance and restoration. Our unrivalled expertise and craftsmanship have been developed and proven over 20 years throughout New Zealand.

We will diagnose your Cedar and put together a 10-year maintenance plan, customised to your unique situation, with a maintenance schedule and a full breakdown of all the costs. There is no obligation and our goal is always to look after the best interests of our customers over the lifecycle of their homes.

To find out more, call us on 0800 298 298.

Read More Articles

Showing 1 - 10 of 19

Subscribe

Sign up to our quarterly newsletter for all the latest Cedar tips and expert advice.