
New Owners, New Cedar: A Gulf Harbour Restoration

New Owners, New Cedar: A Gulf Harbour Restoration

Matakatia feature image 1000x667

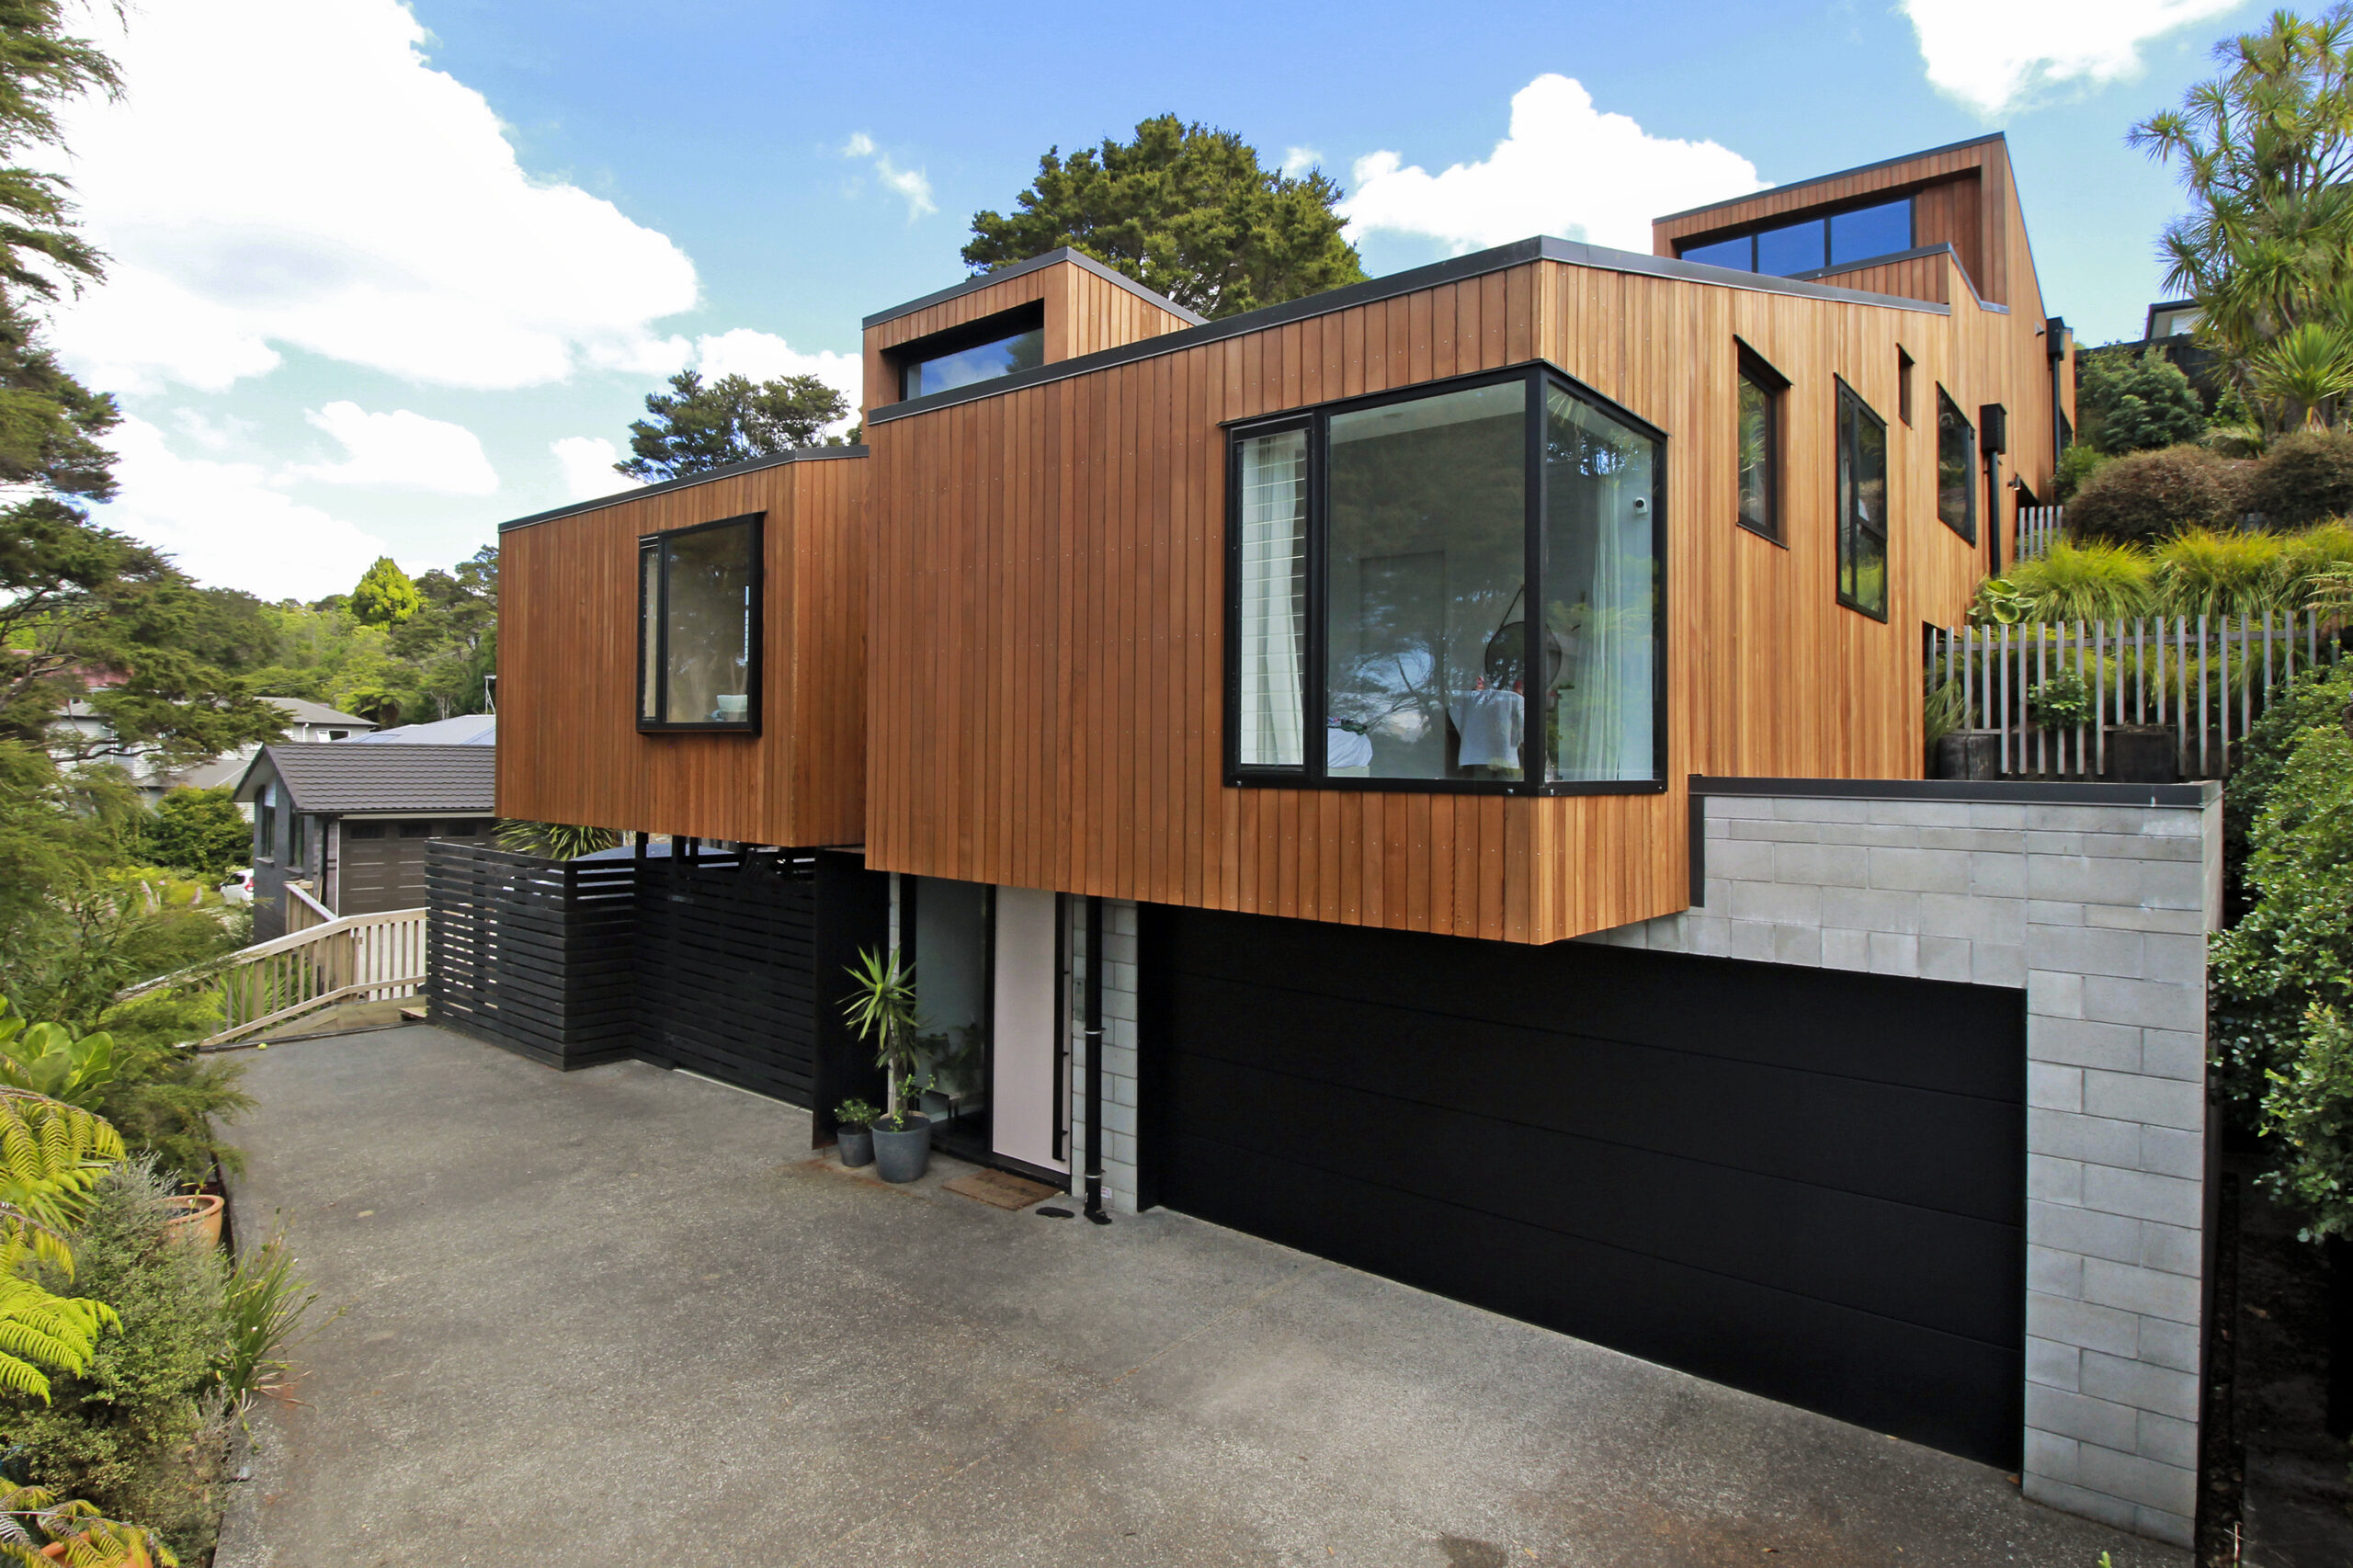
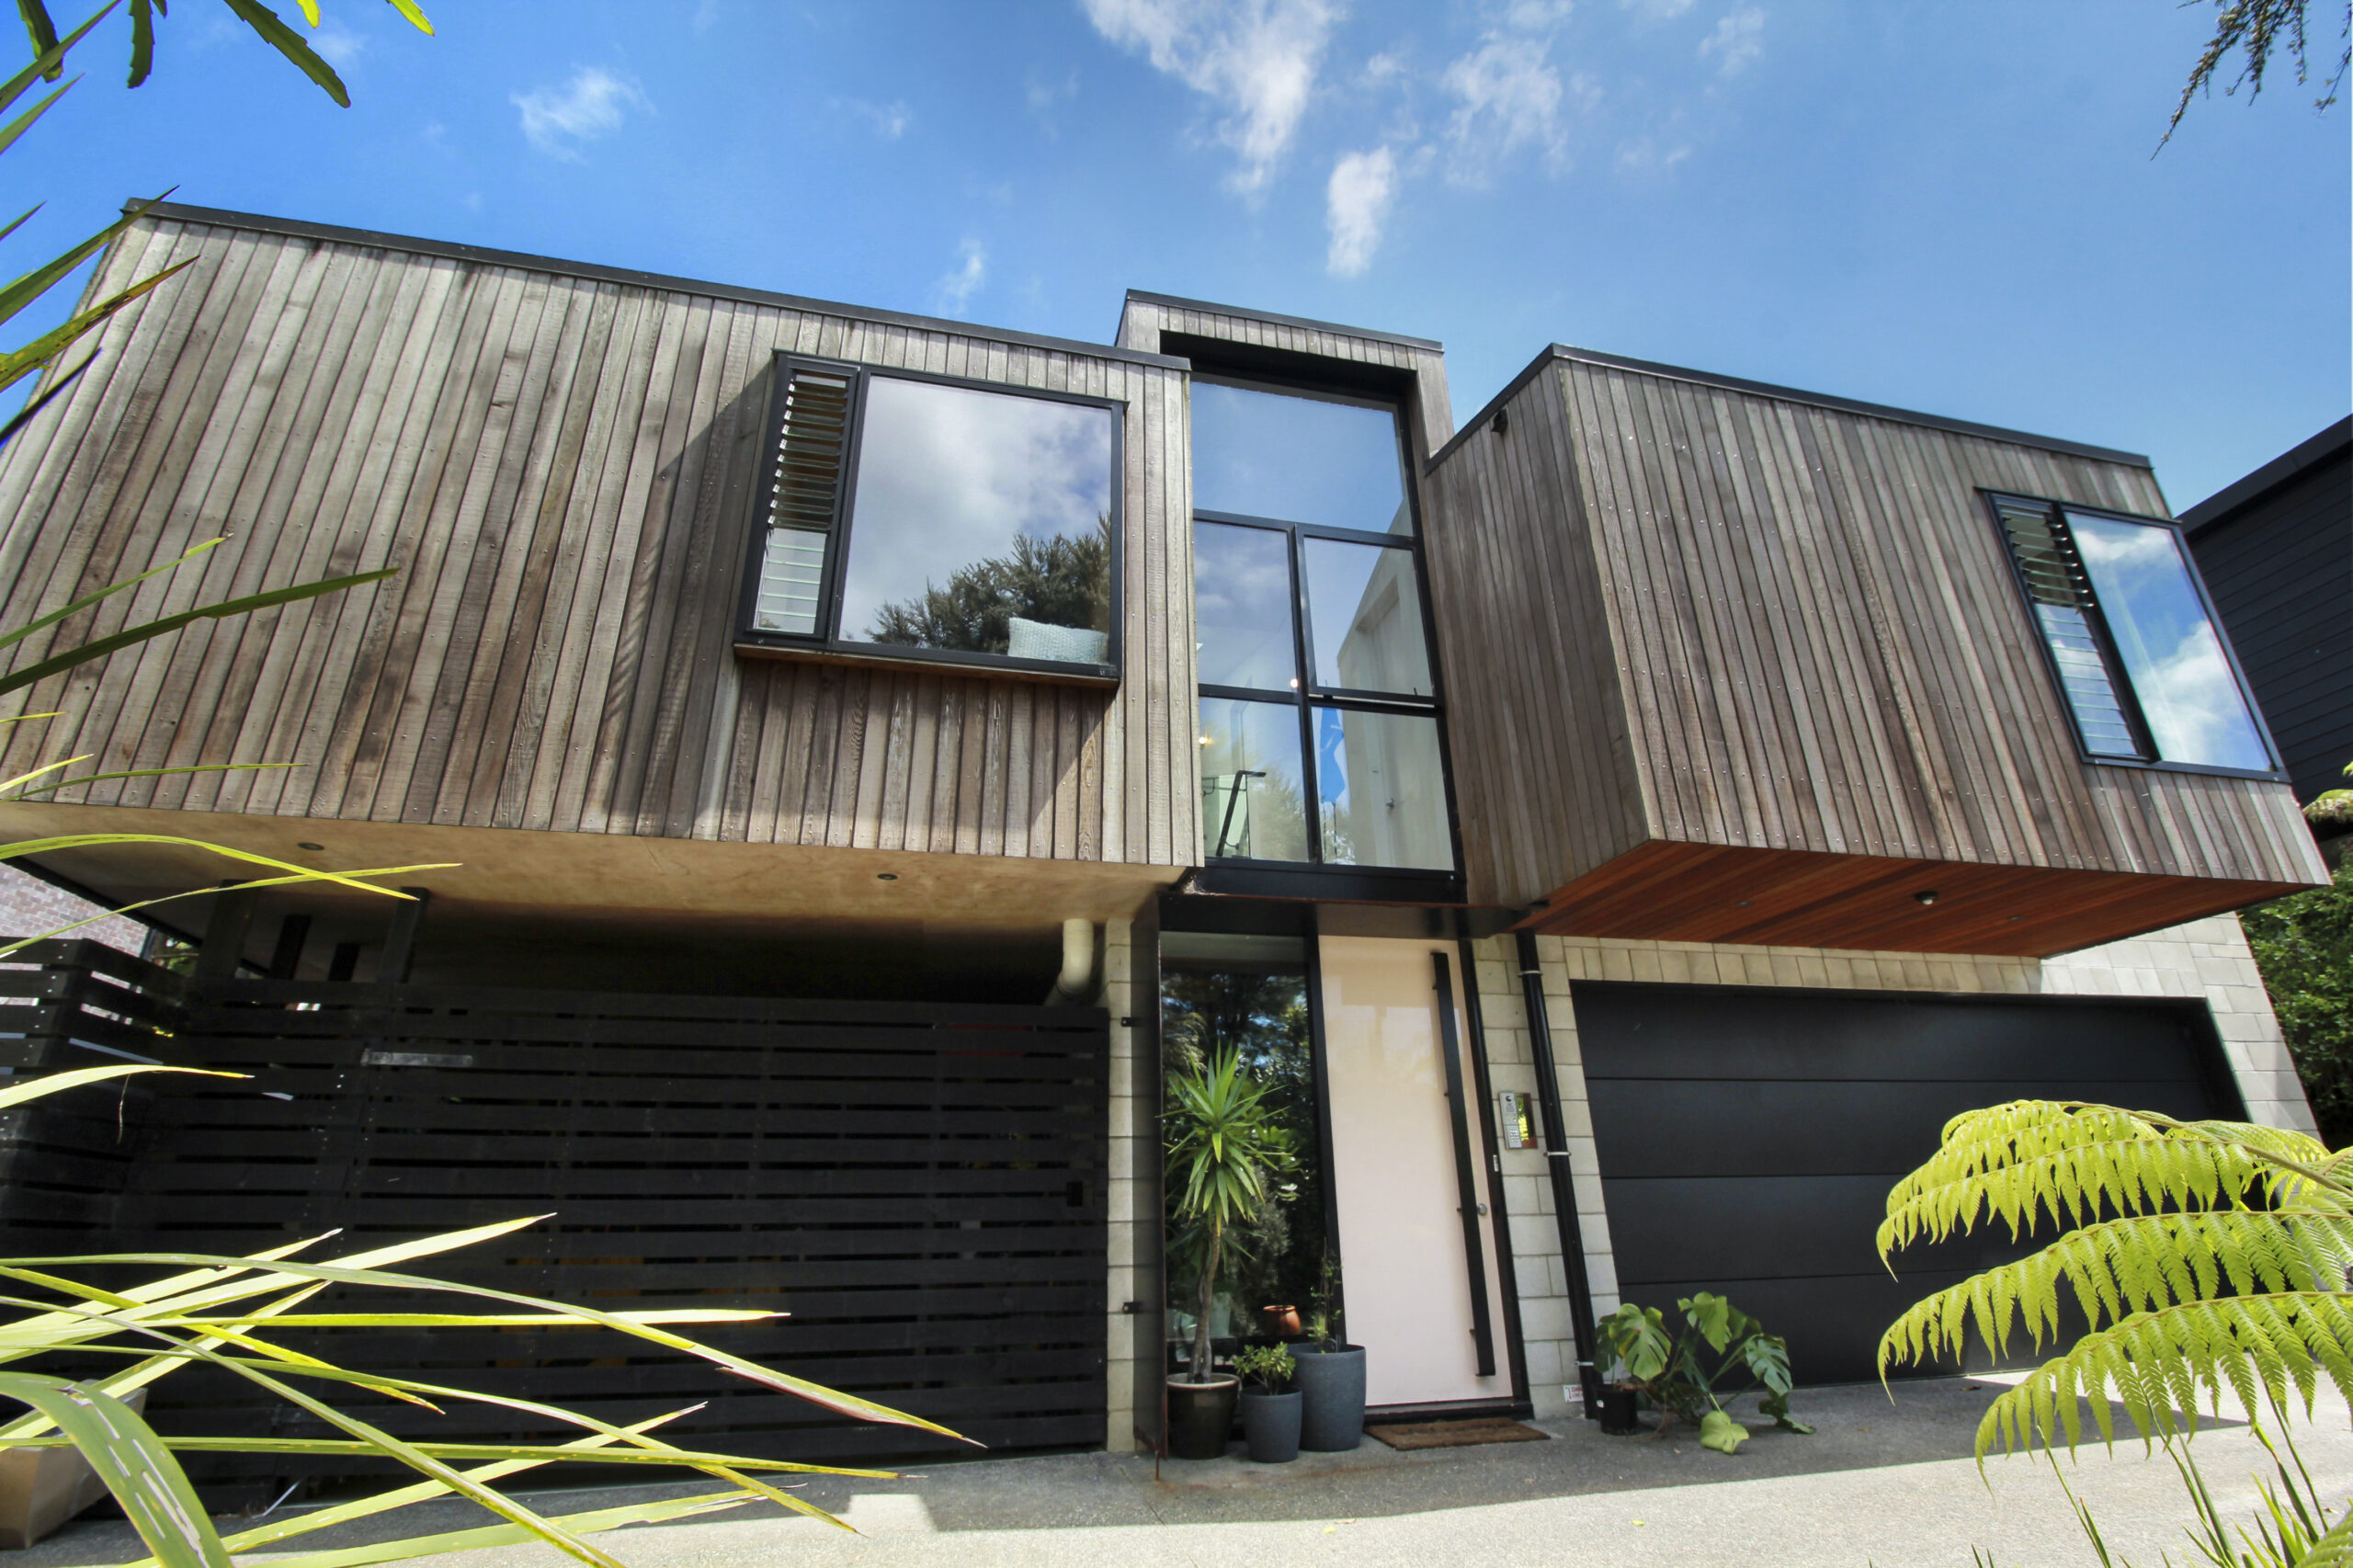
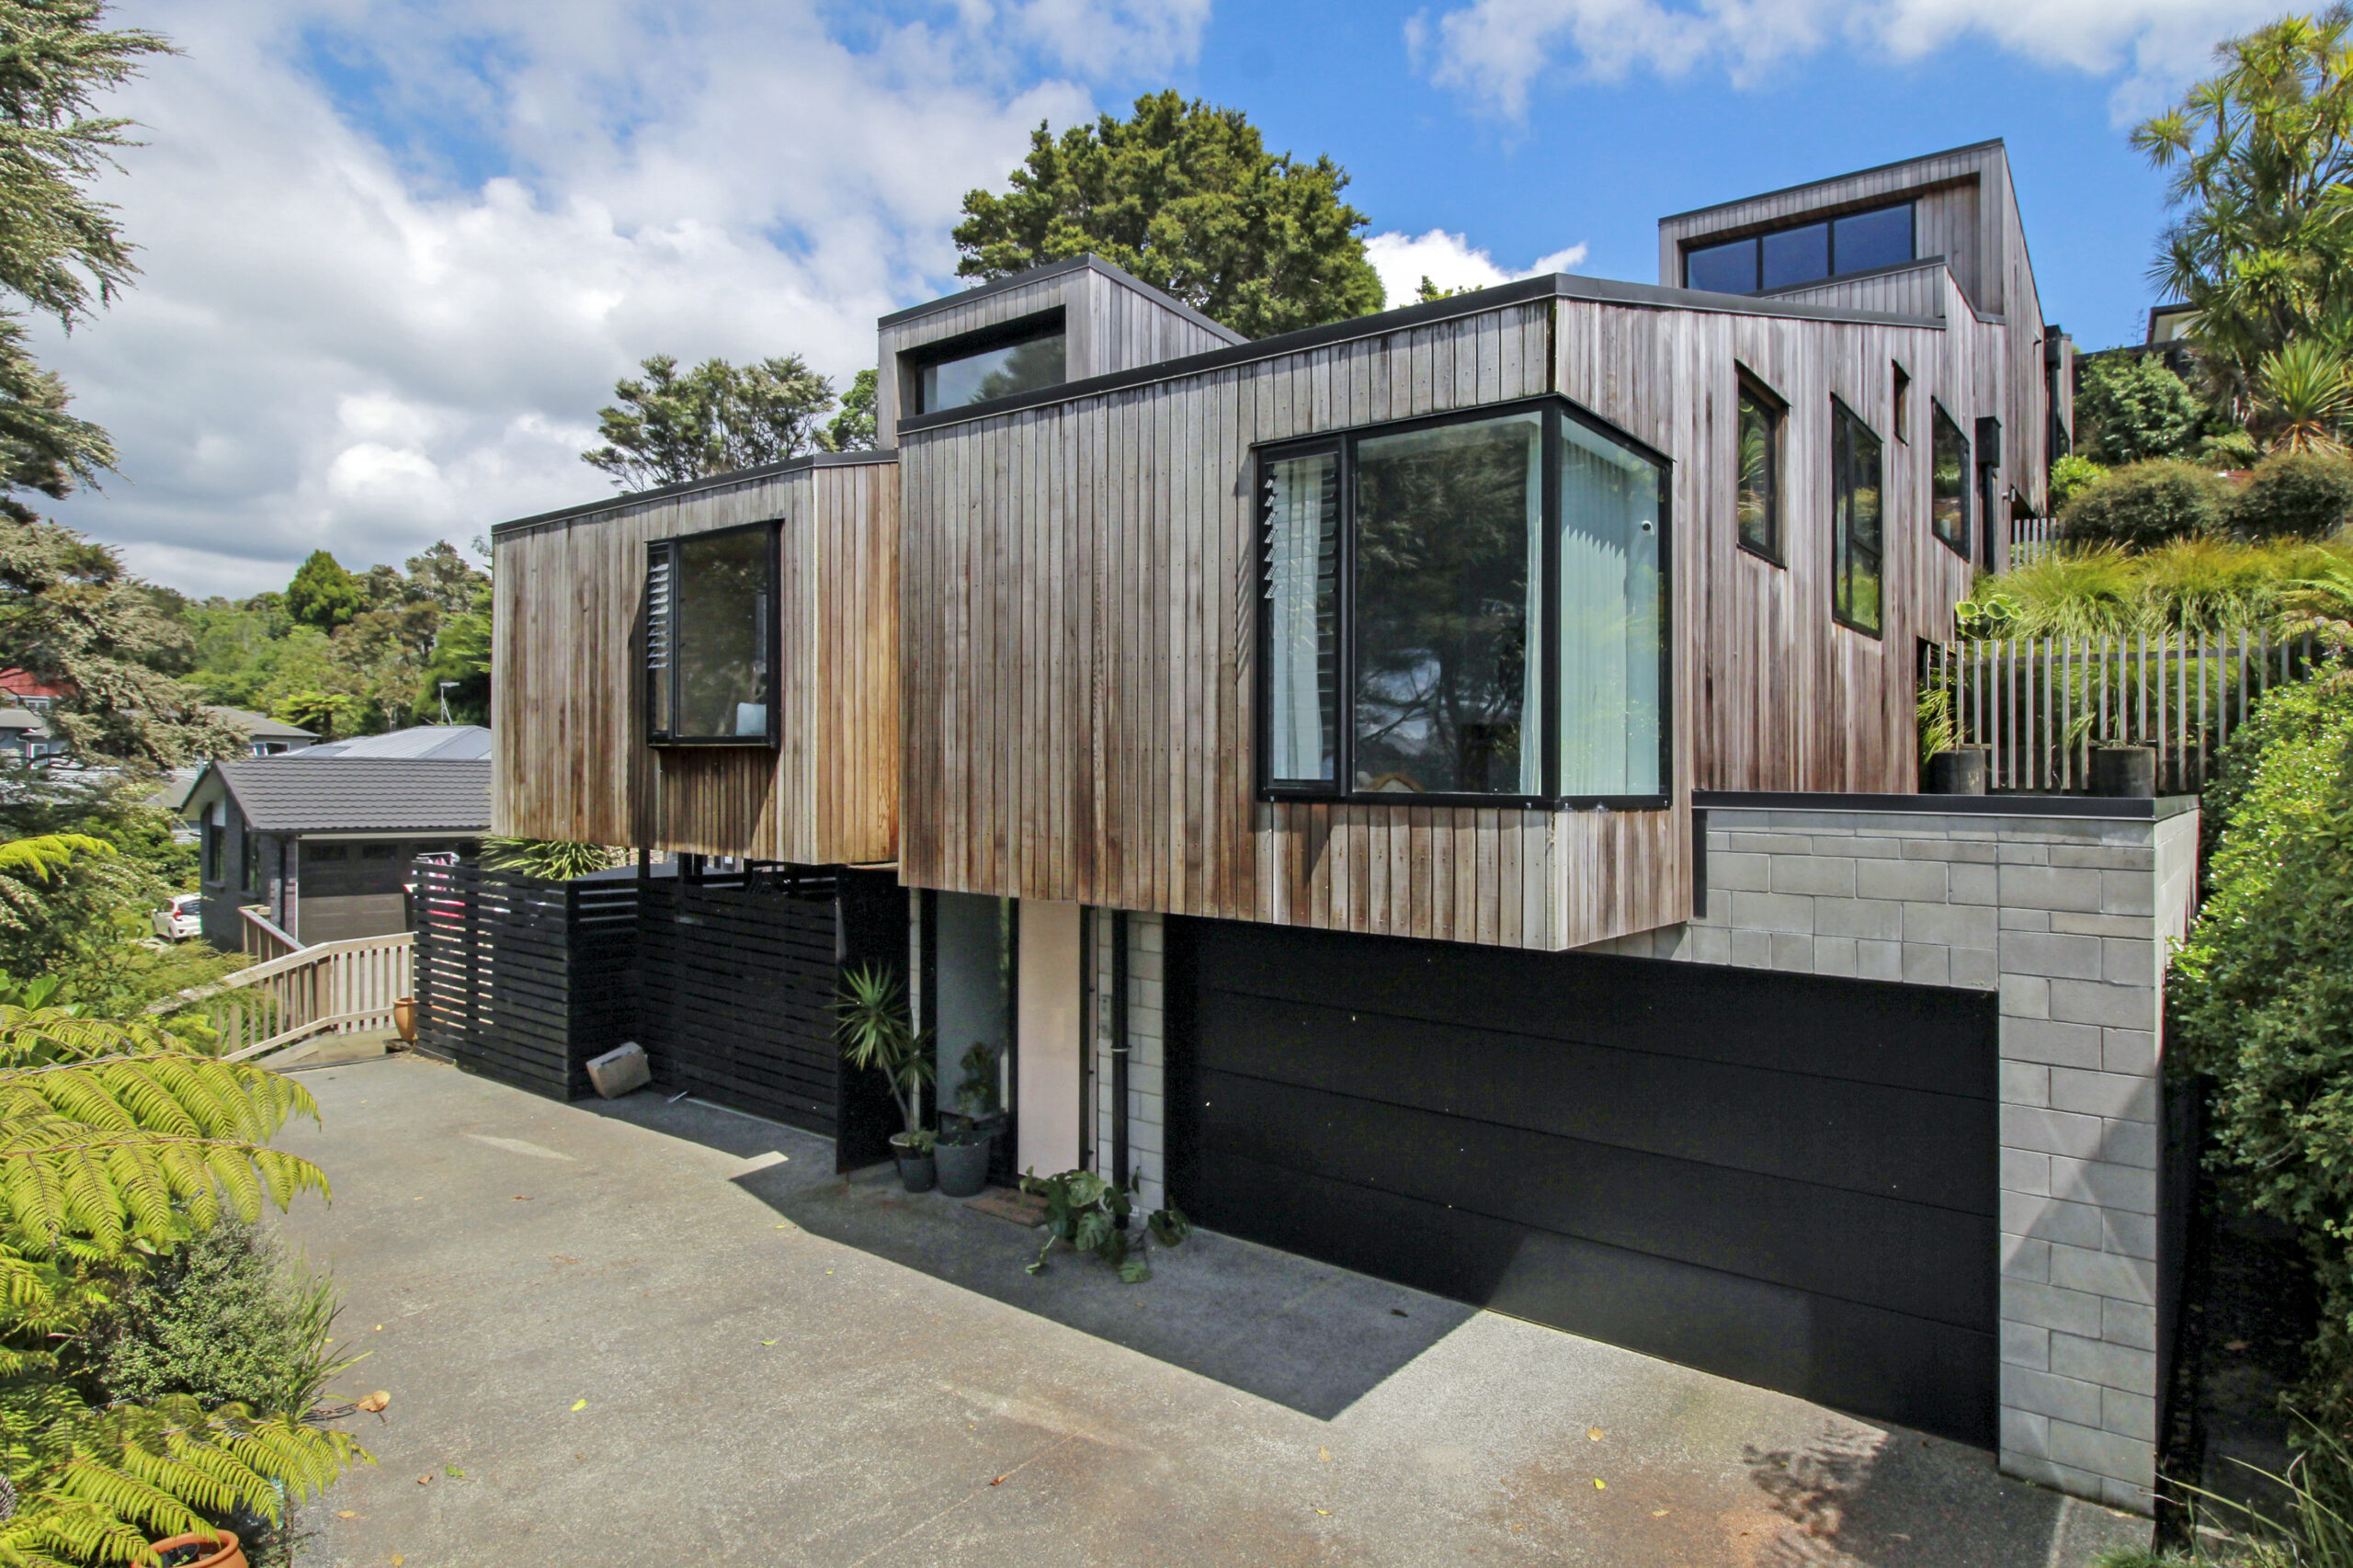
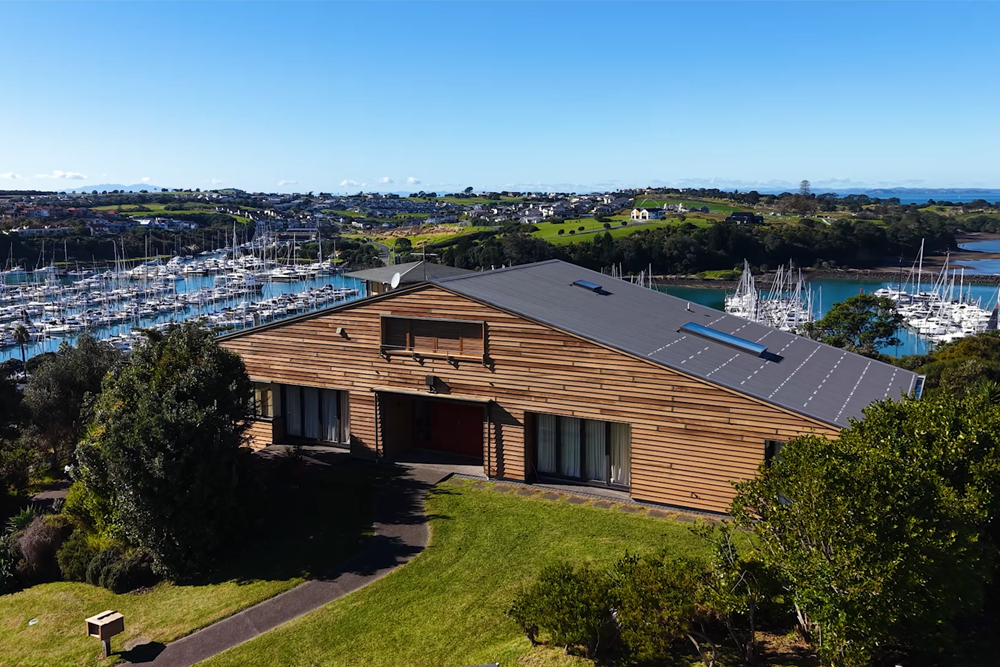
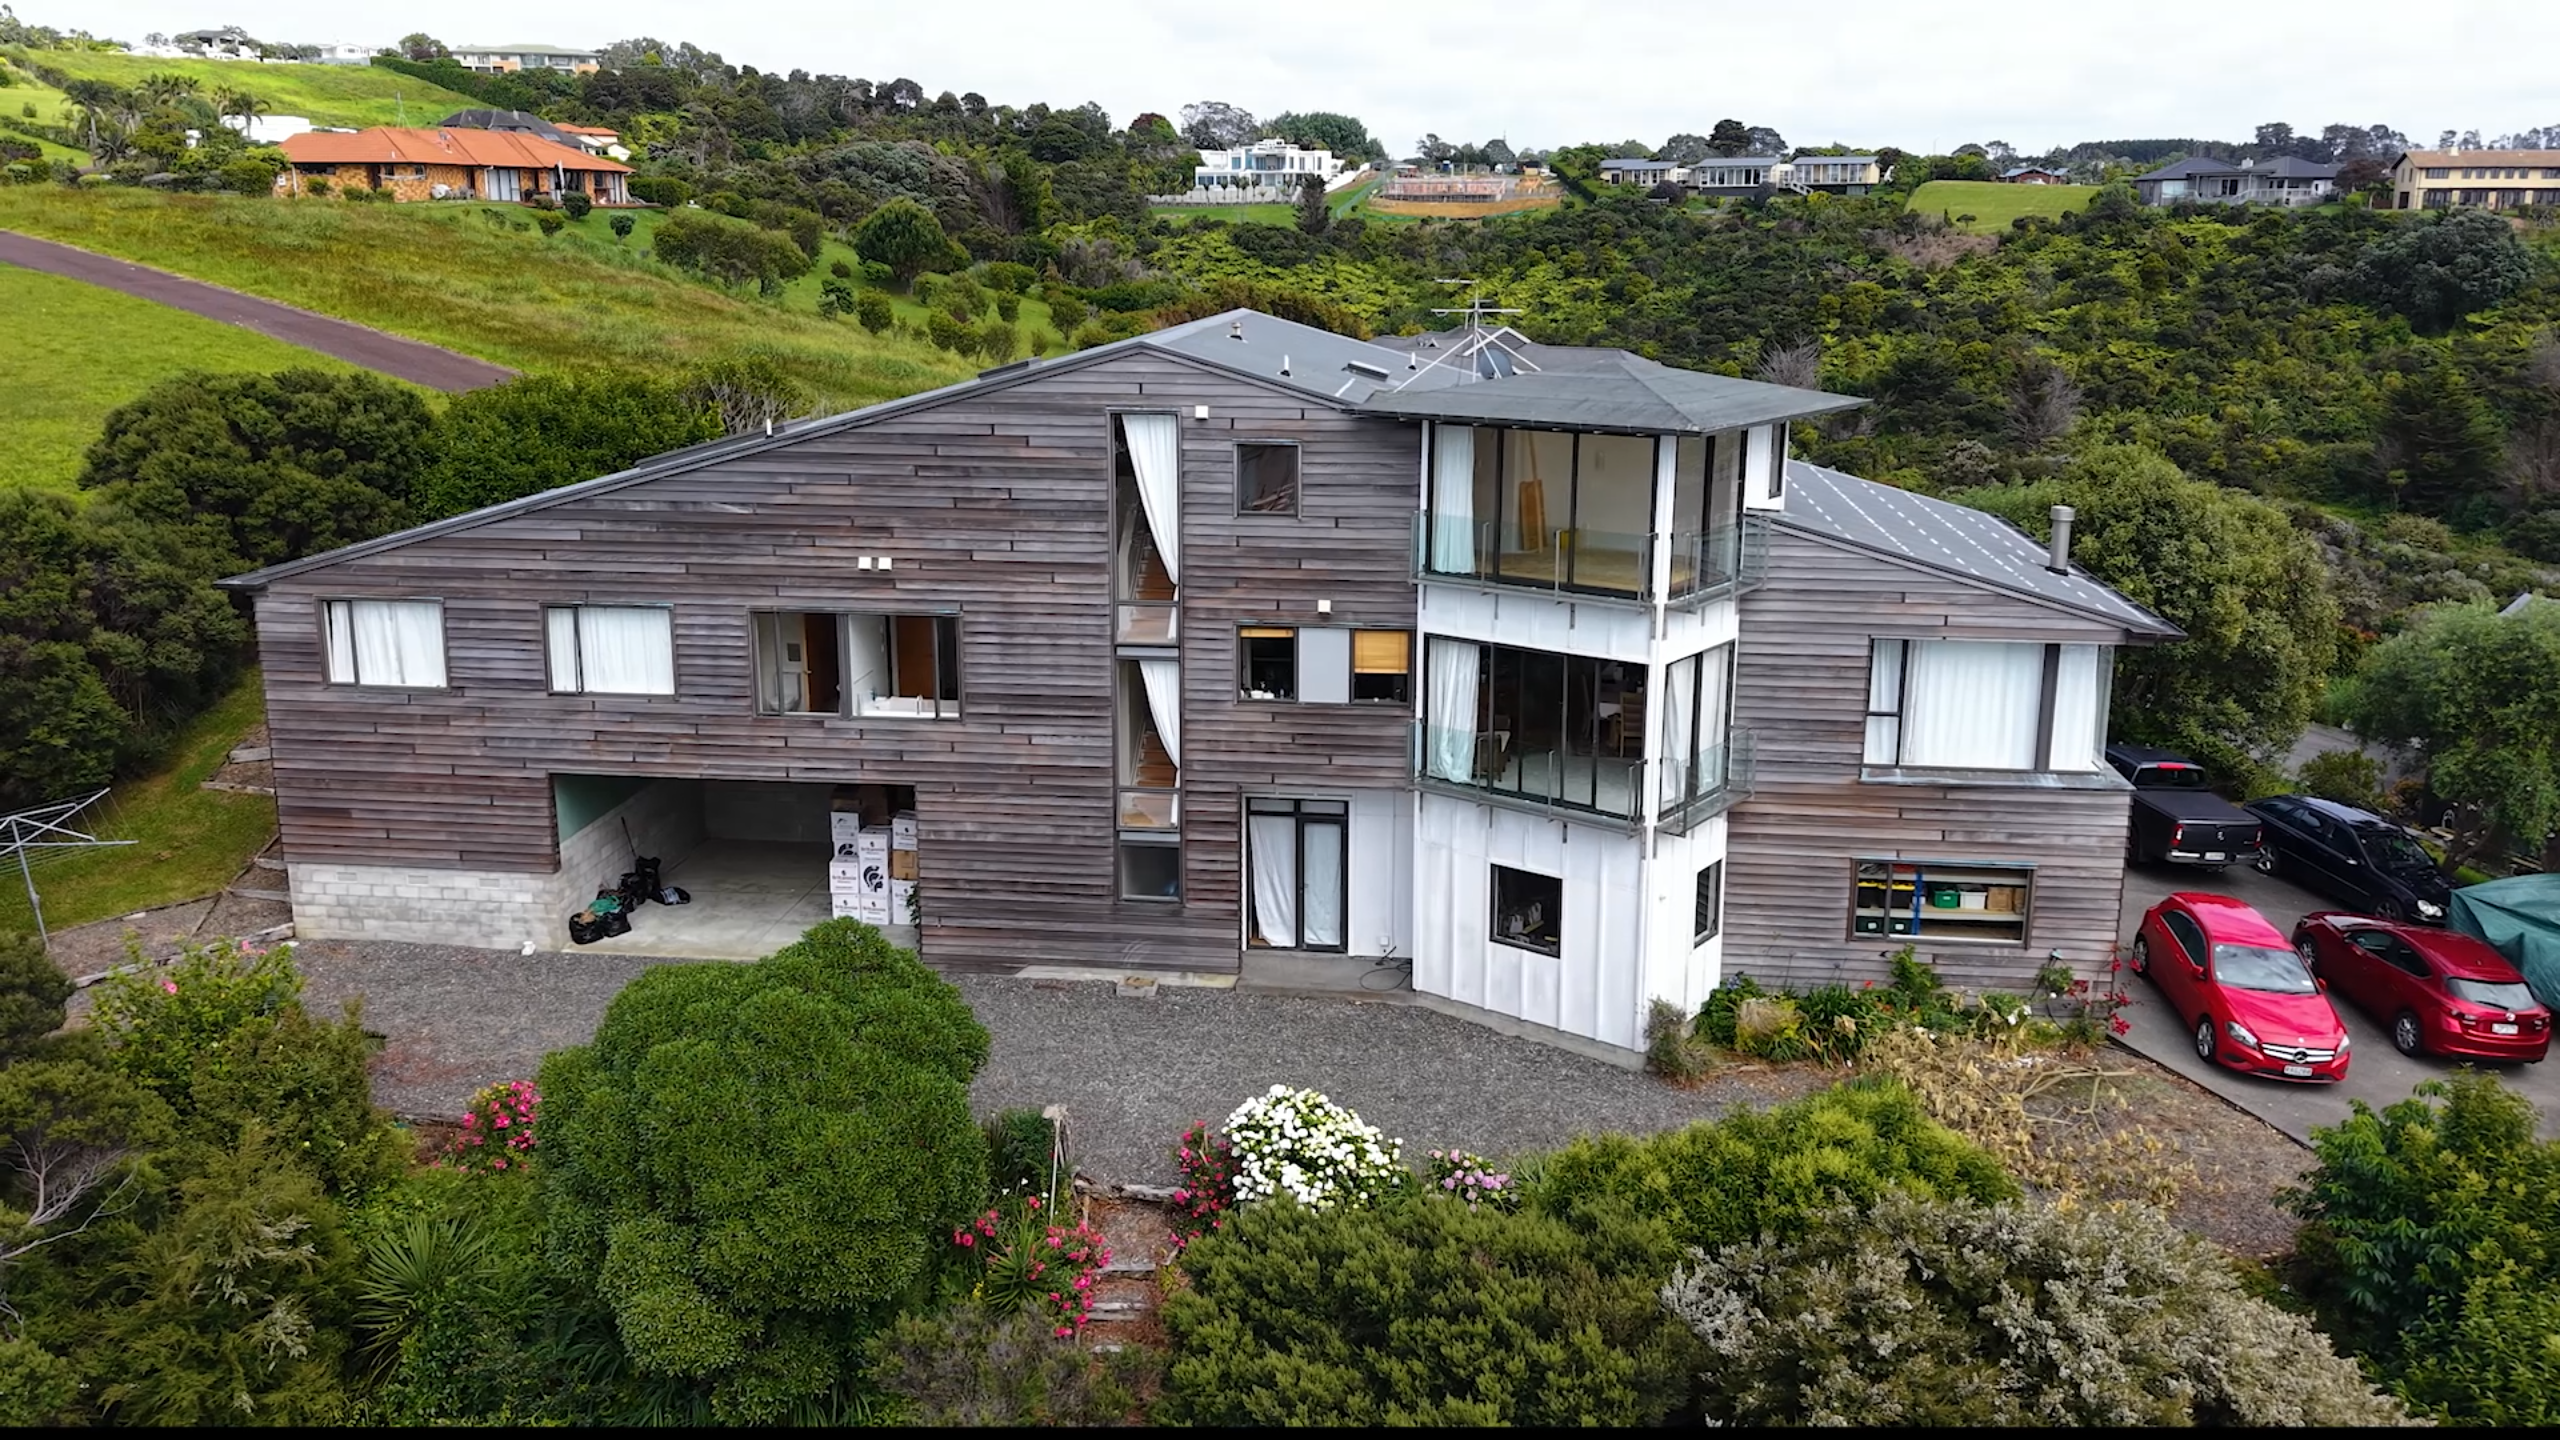
This architecturally designed home sits high above Gulf Harbour Marina, positioned to make the most of the water views below. The Cedar cladding wraps around three storeys on the north face, stepping down to a single storey on the more sheltered south side. 

The new owners had bought the property only a year or so before contacting us, with restoring the Cedar always part of the plan. They weren’t sure if the timber could be saved or if it would need replacing altogether, so they wanted to speak with people who knew Cedar before deciding either way.  

We were happy to have that conversation, and even happier with what we found. 

Maintenance Timeline

TimberTech was first contacted on the 3rd of October, 2025.  

  • 6th October, 2025 – Cedar Assessment completed. 
  • 7th October, 2025 – Quote sent. 
  • 2nd December, 2025 – Job started.  
  • 22nd December, 2025 – Job completed. 

The job took roughly three weeks from start to finish, with delays caused by rain and by the access equipment being unusable in high wind. 

Cedar Assessment

The Cedar hadn’t been treated for at least ten years. It had likely been oiled at some point in the past, but there was no evidence of stain having ever been used, no patchiness or uneven colour of the kind you’d expect to see in sheltered areas if a stain had broken down. 

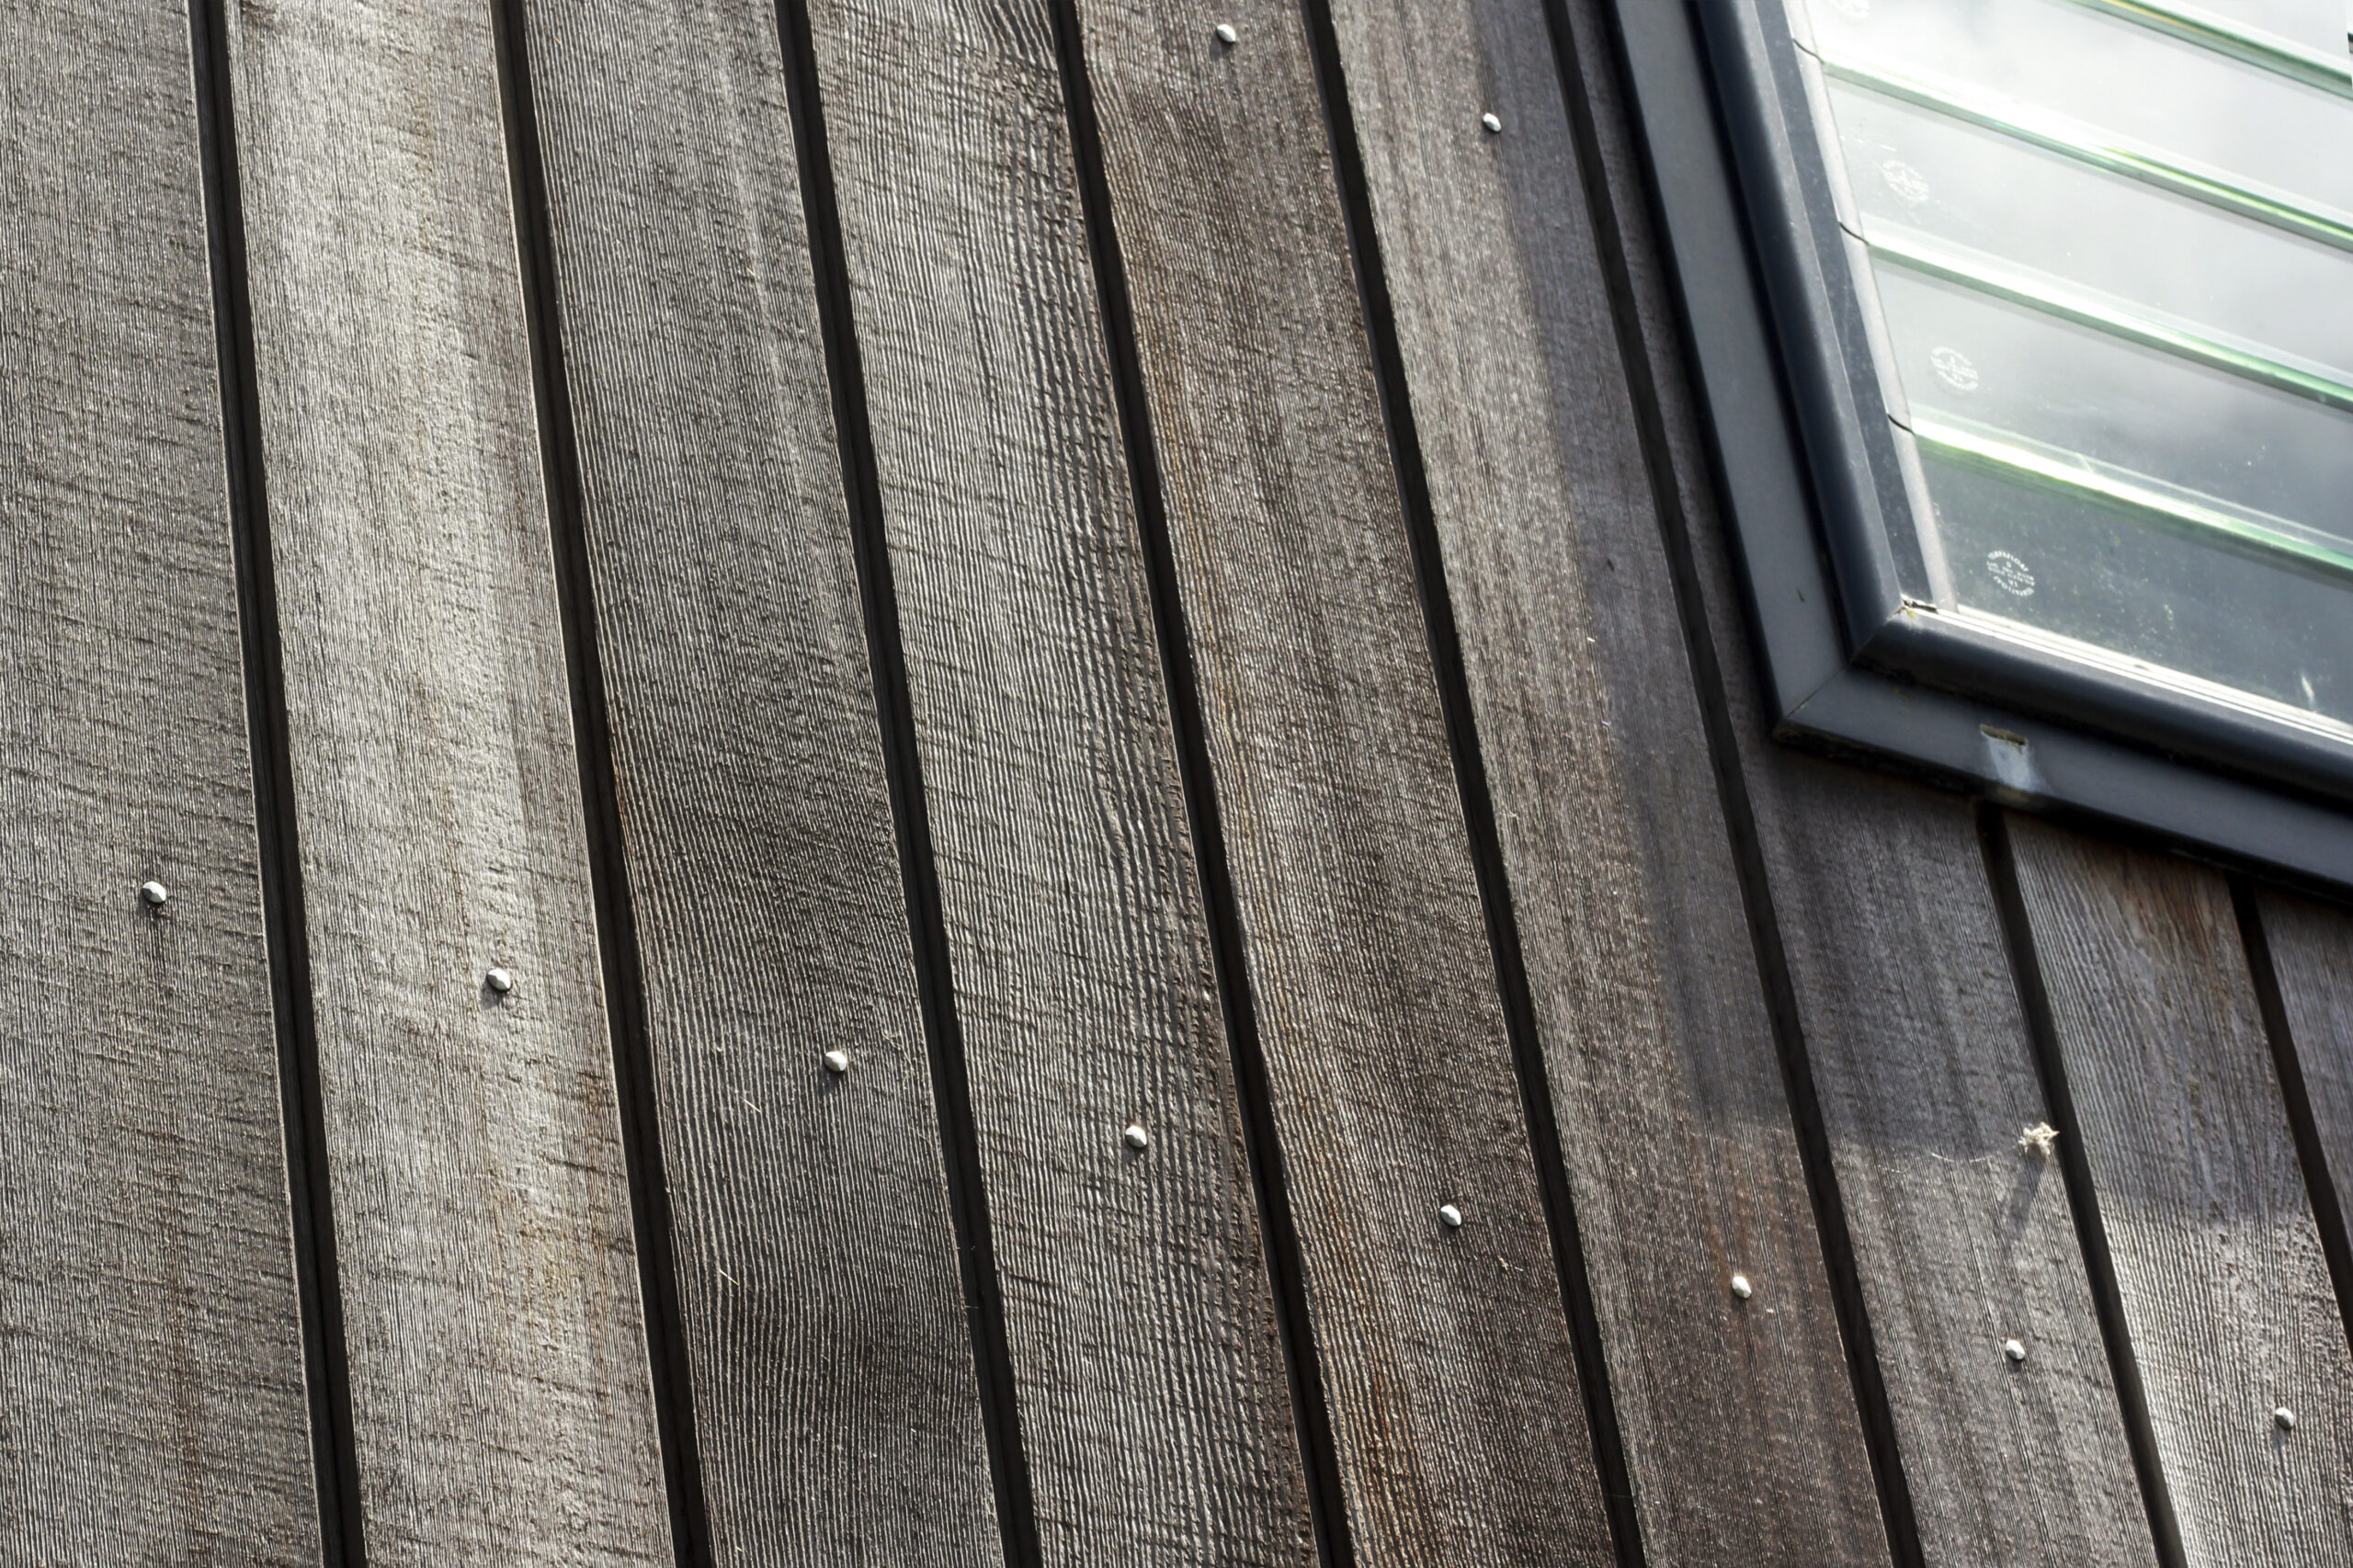
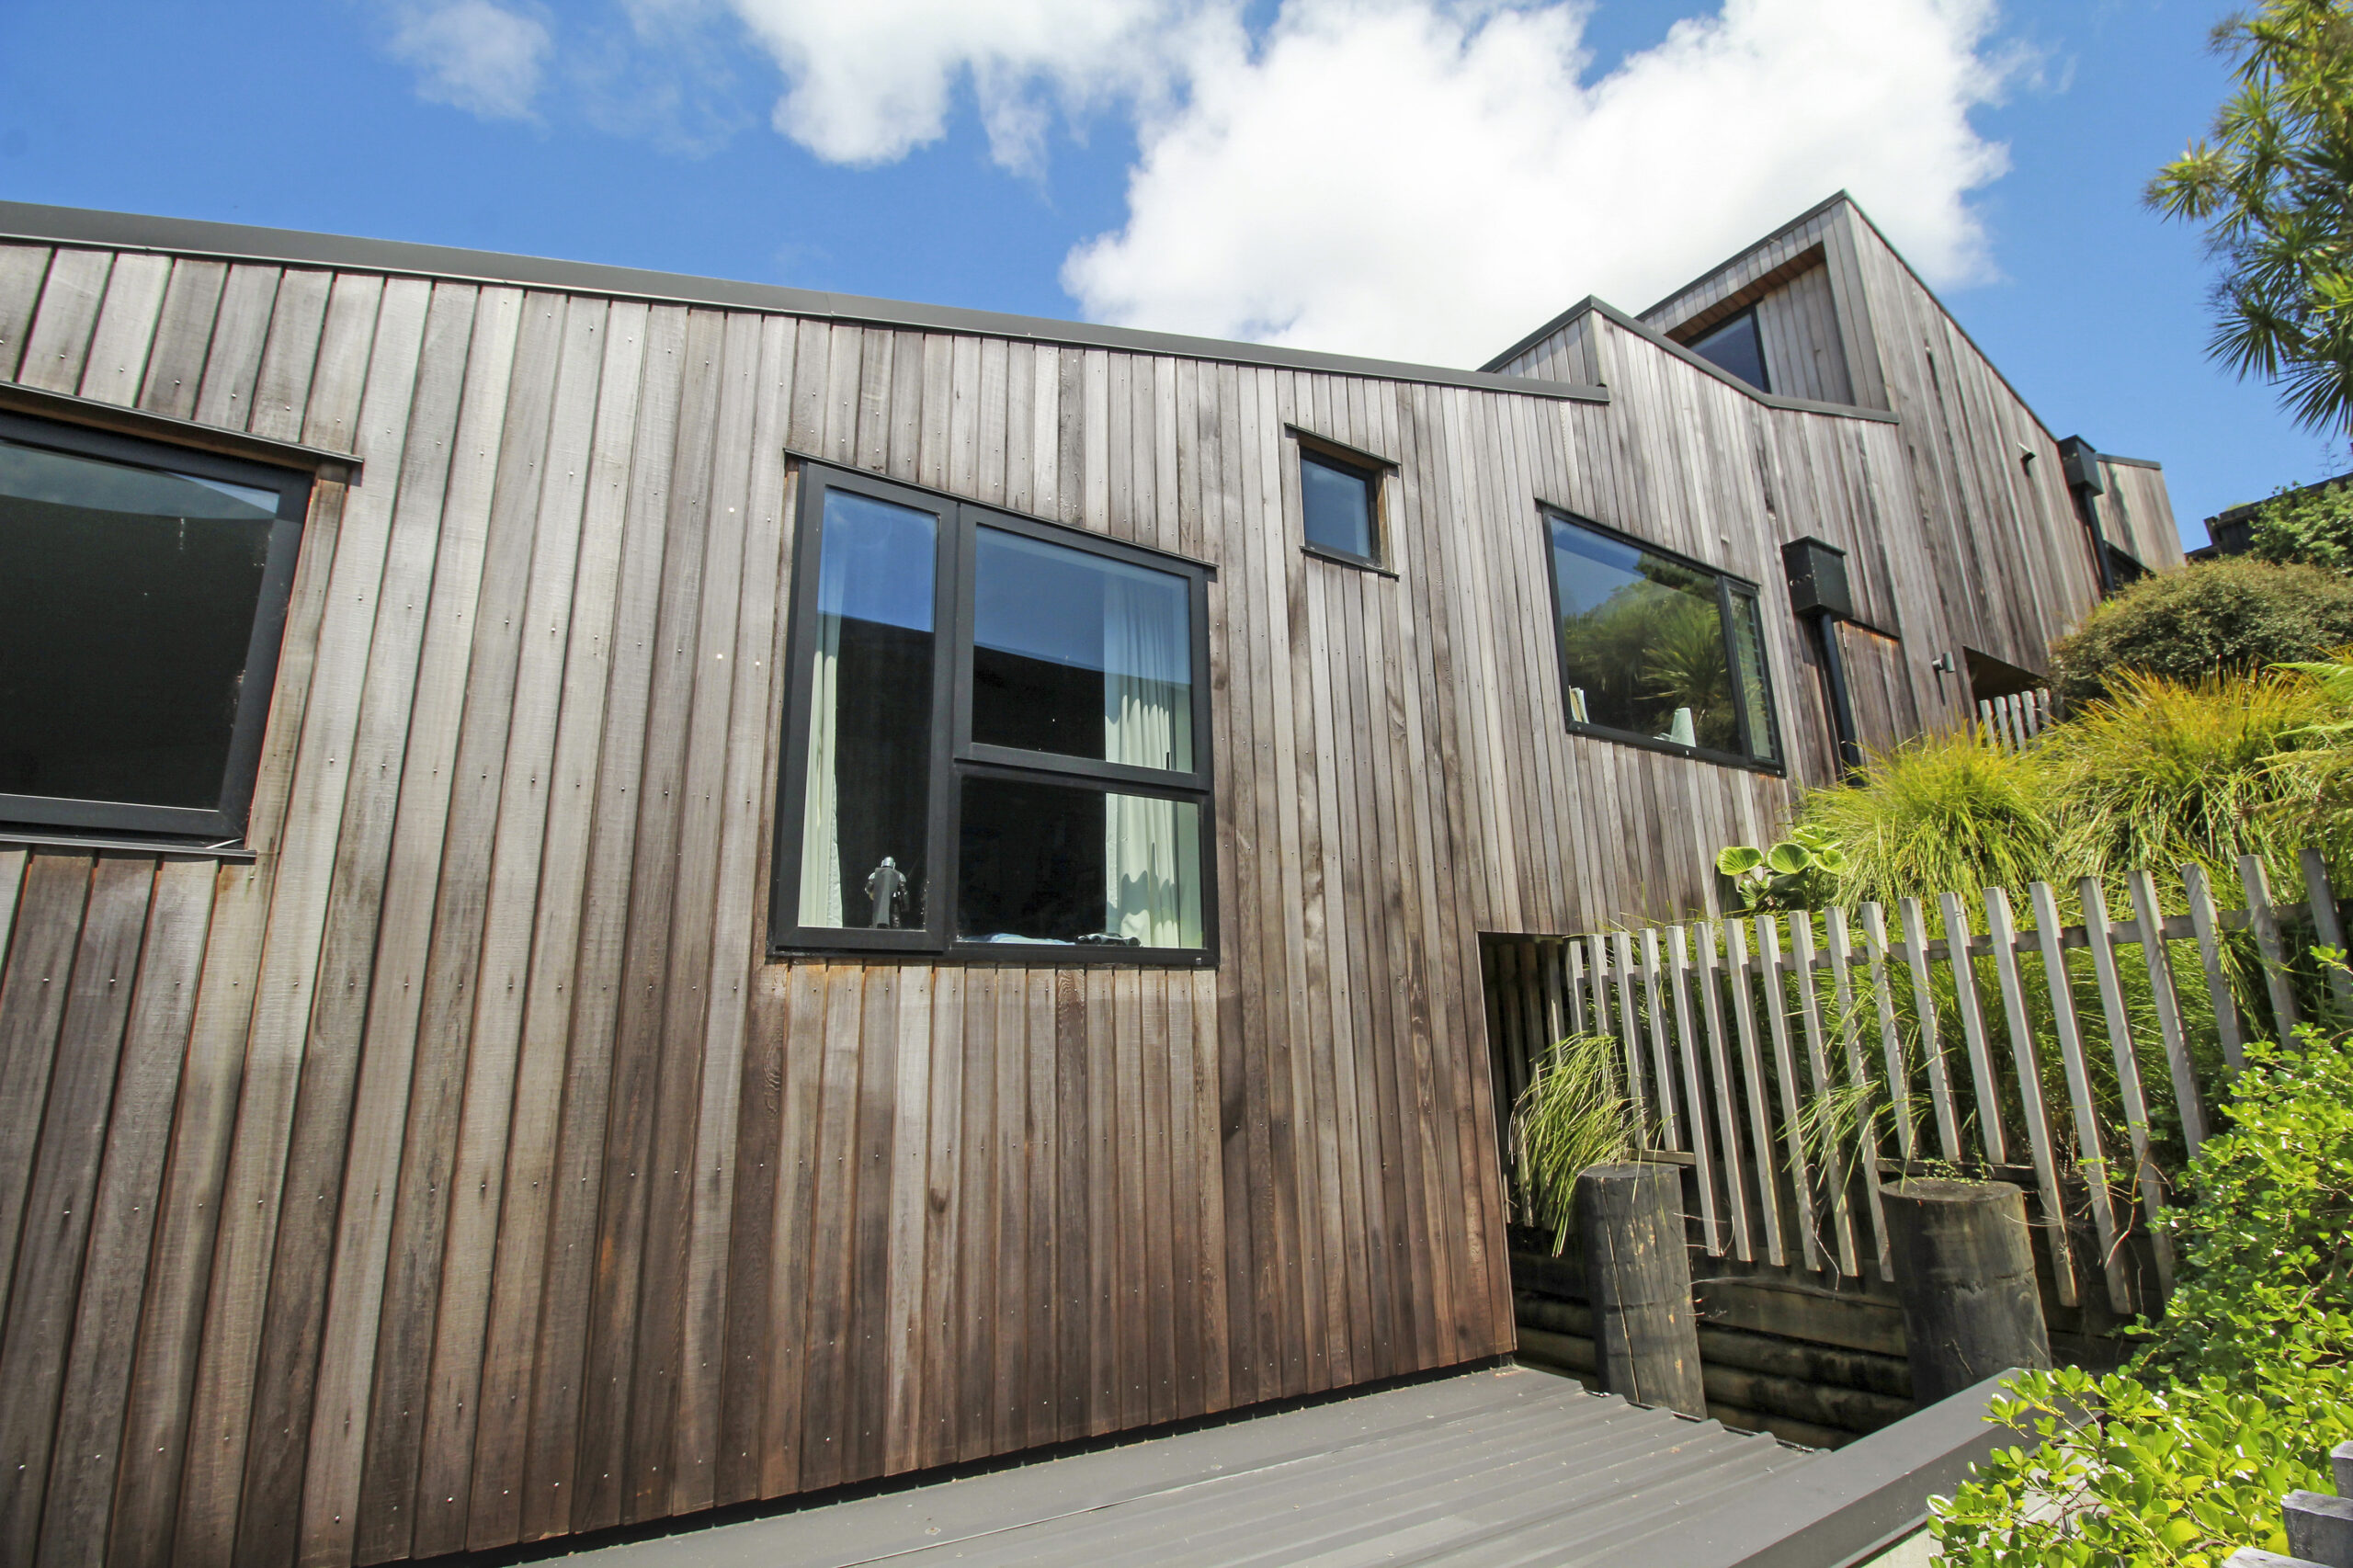
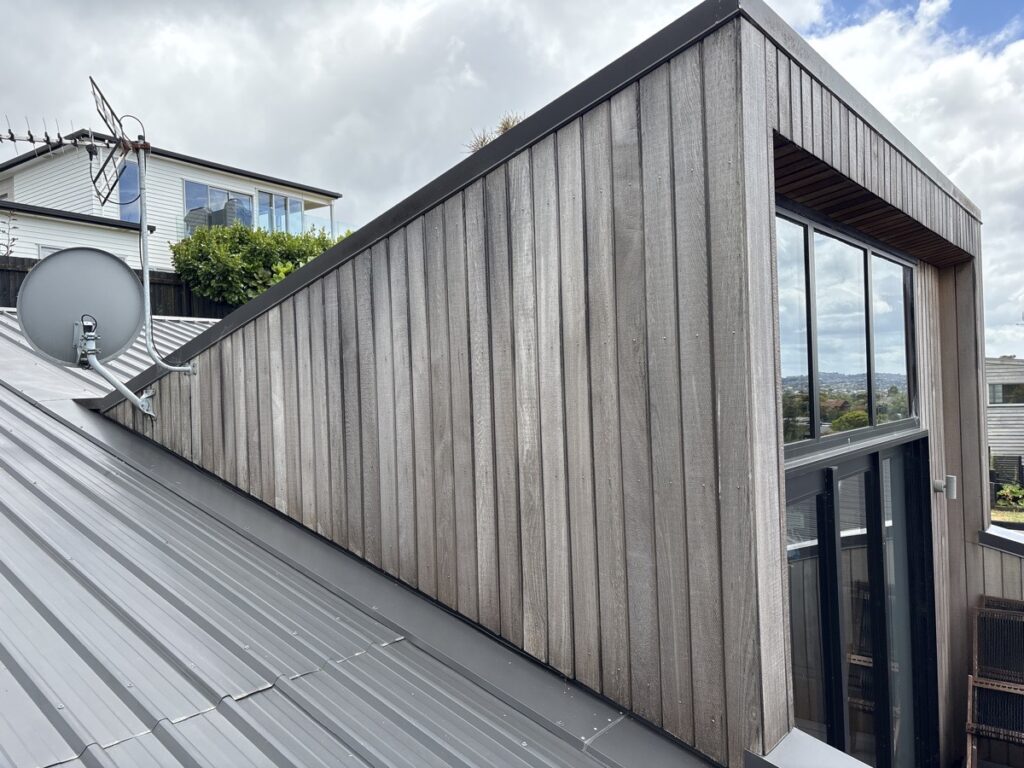
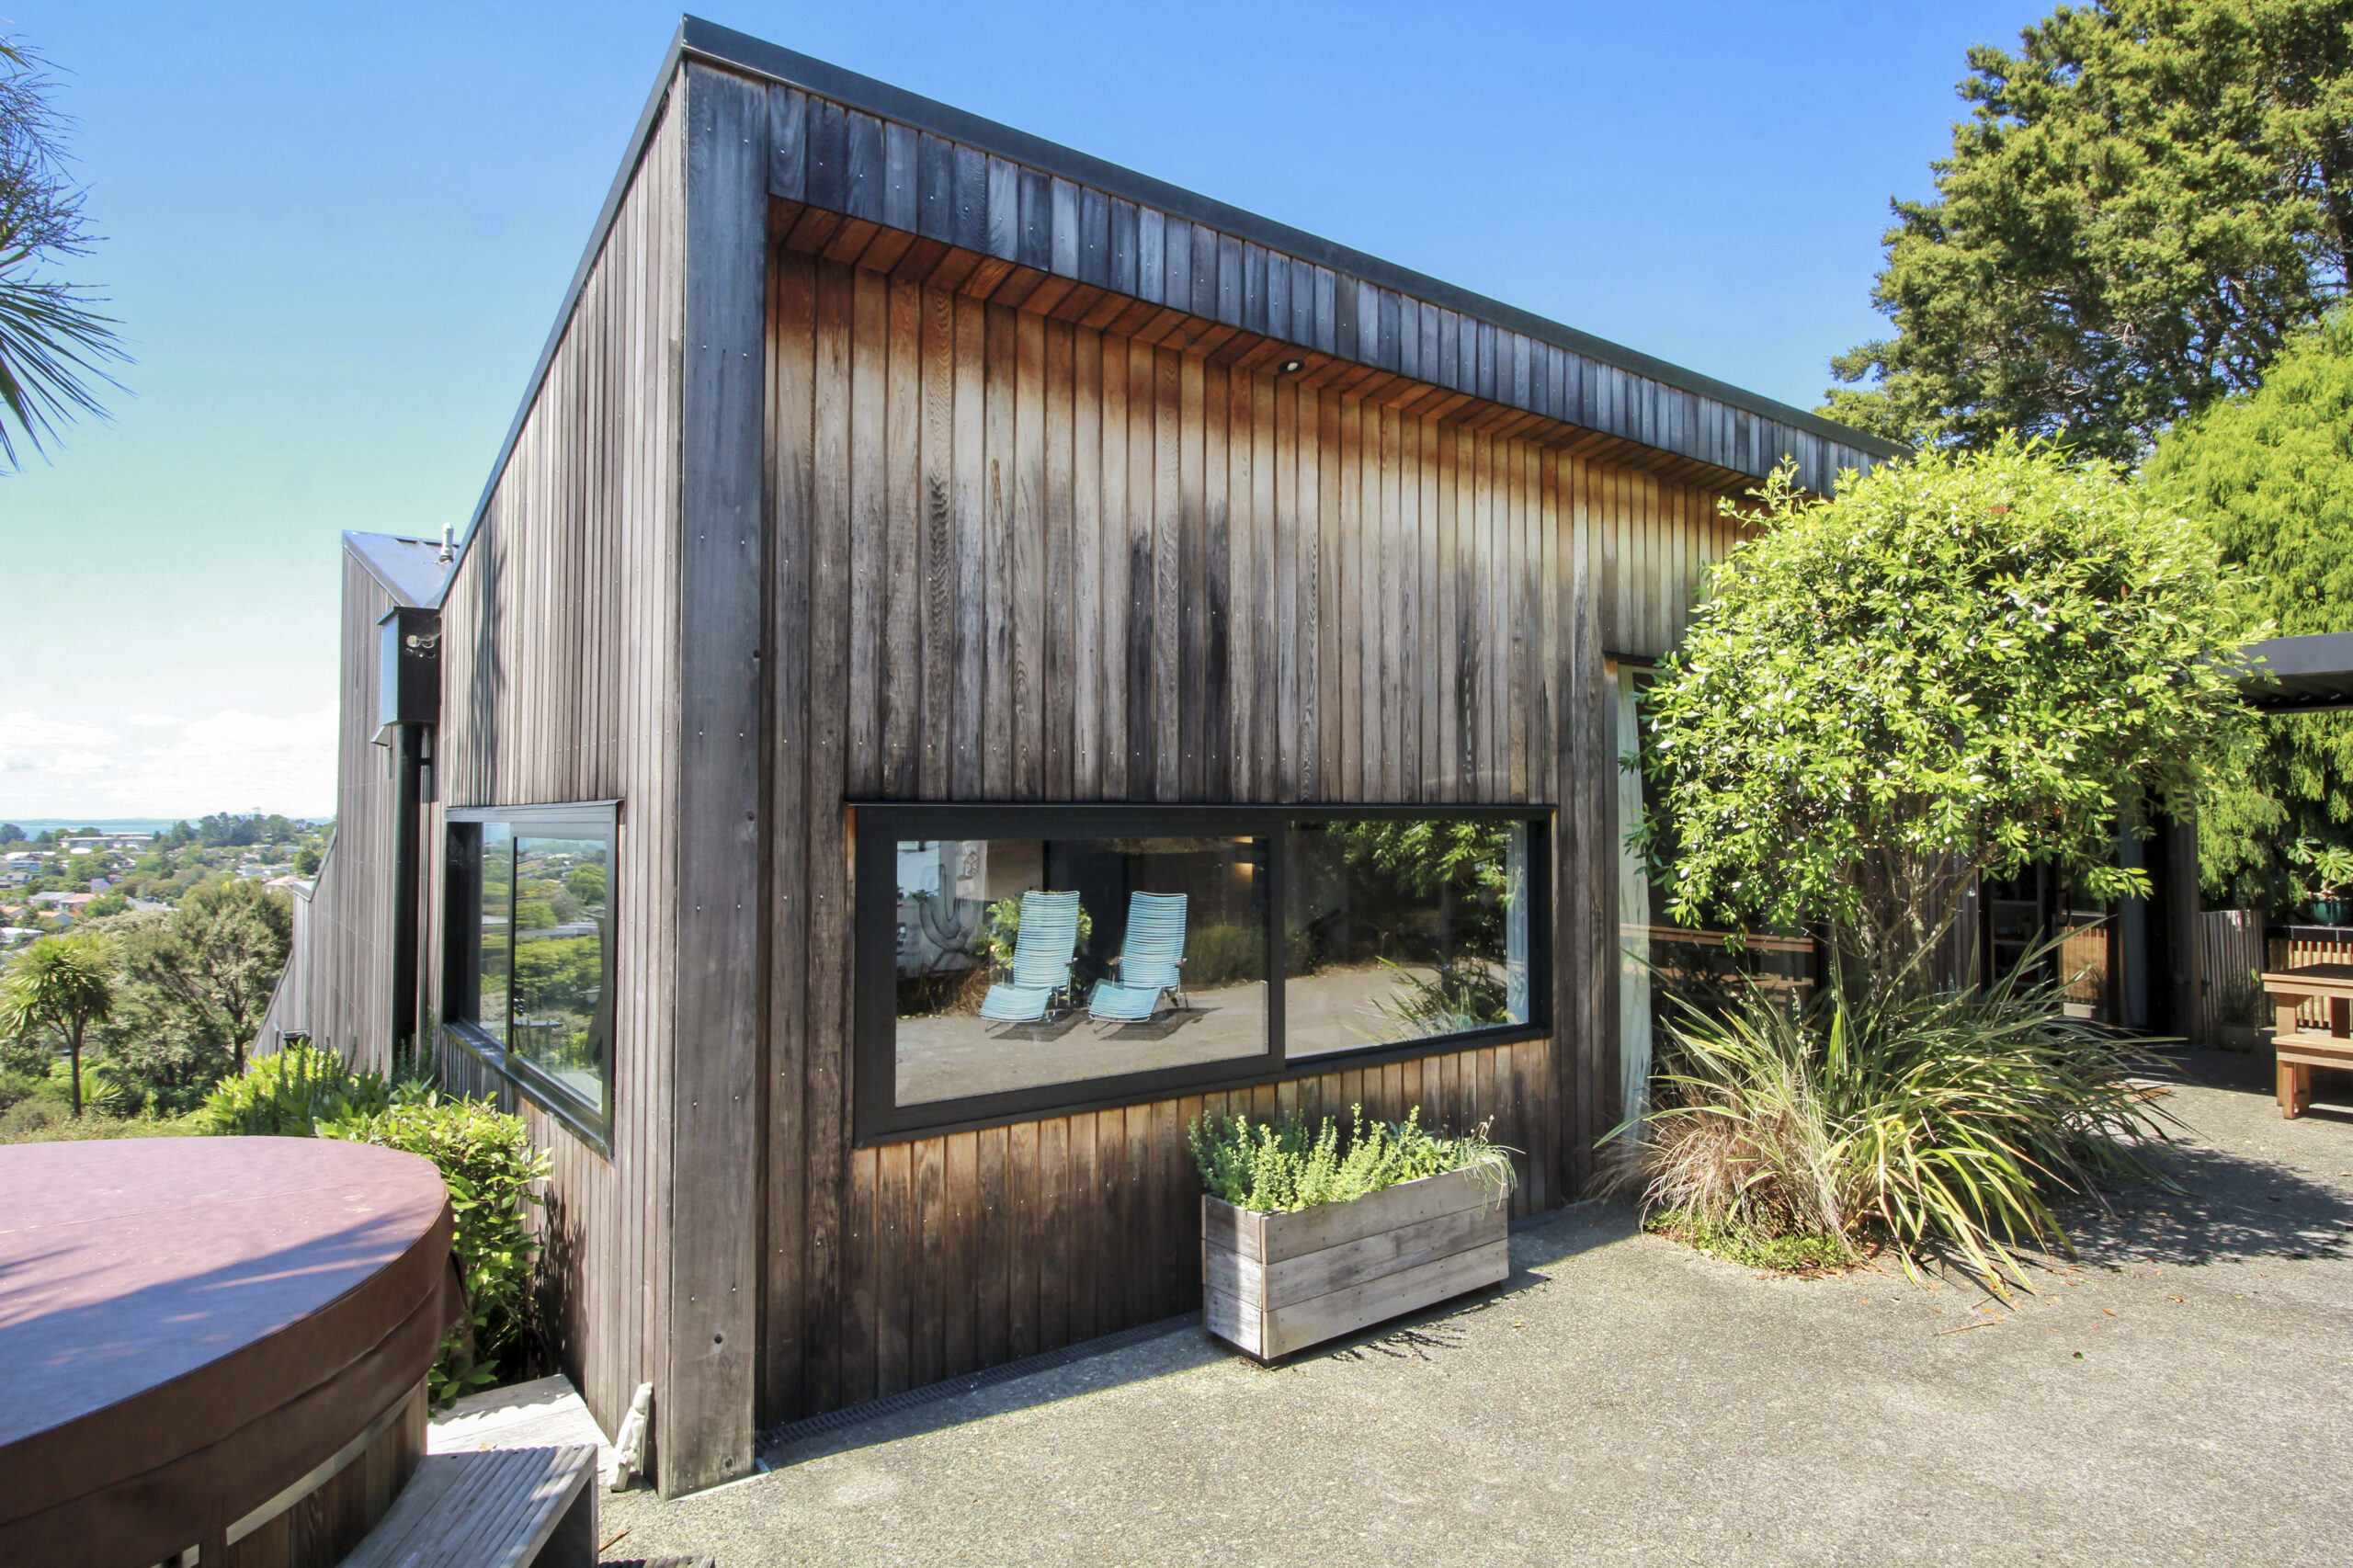
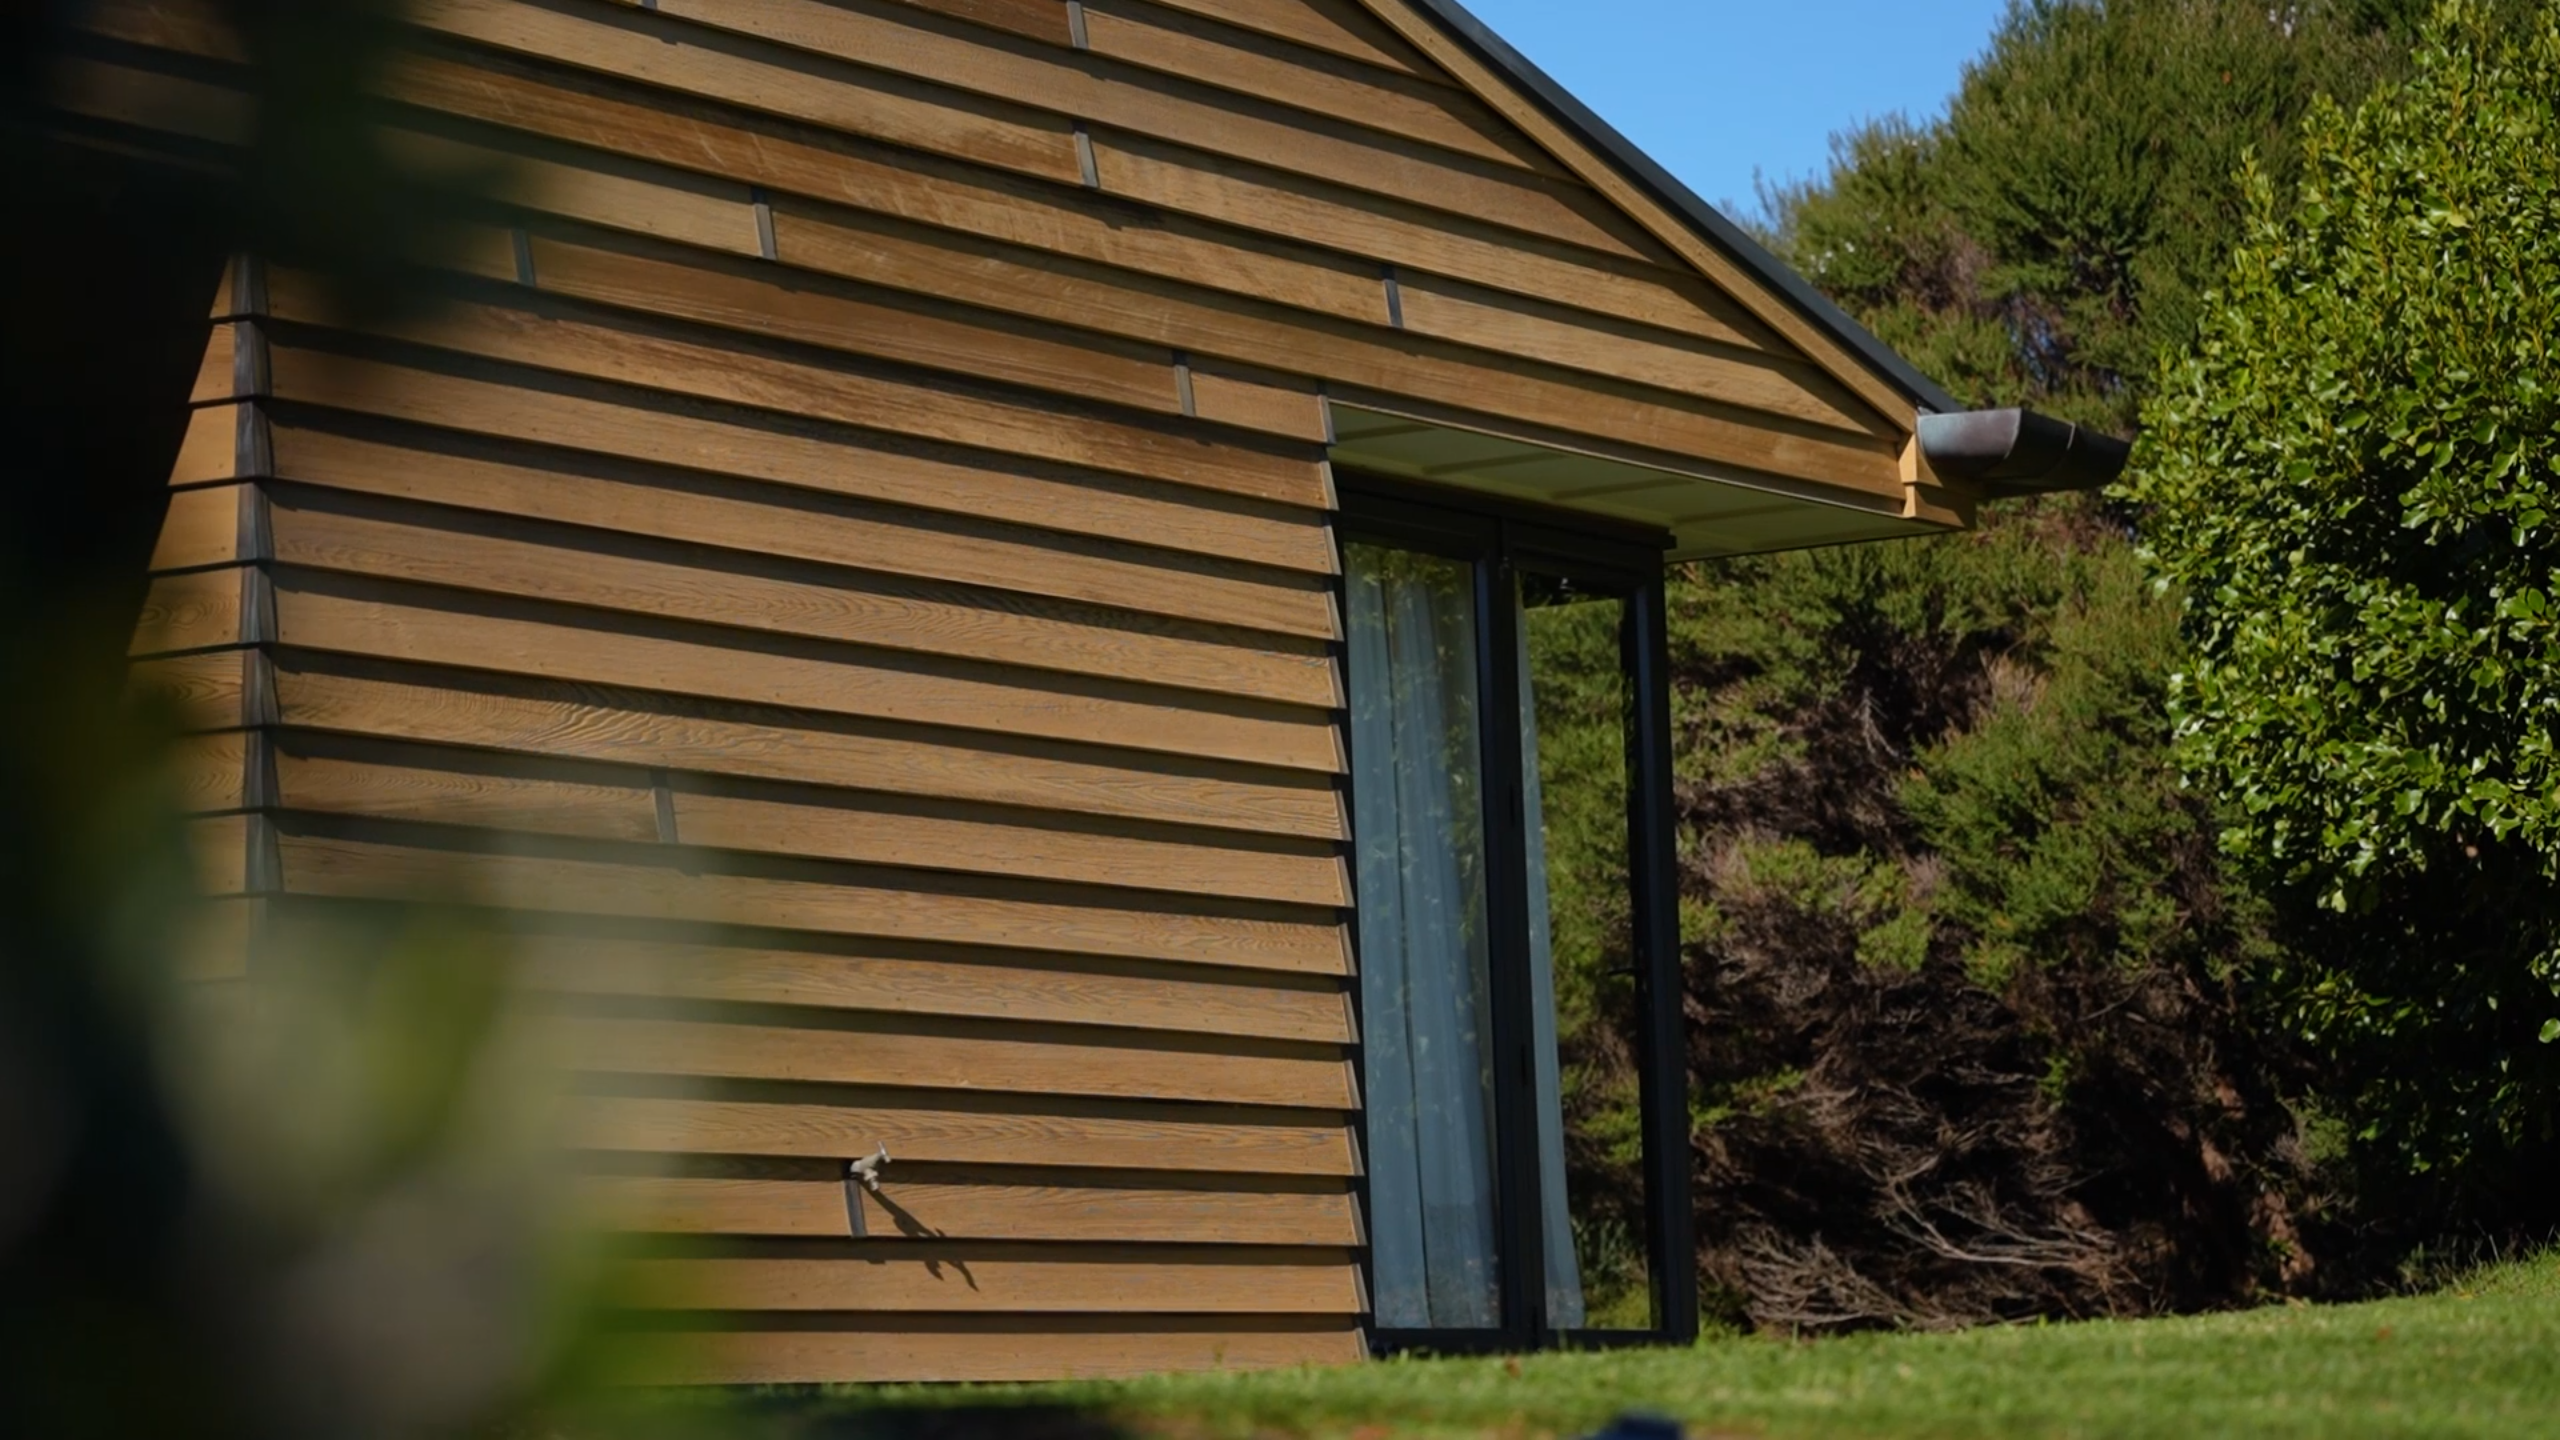
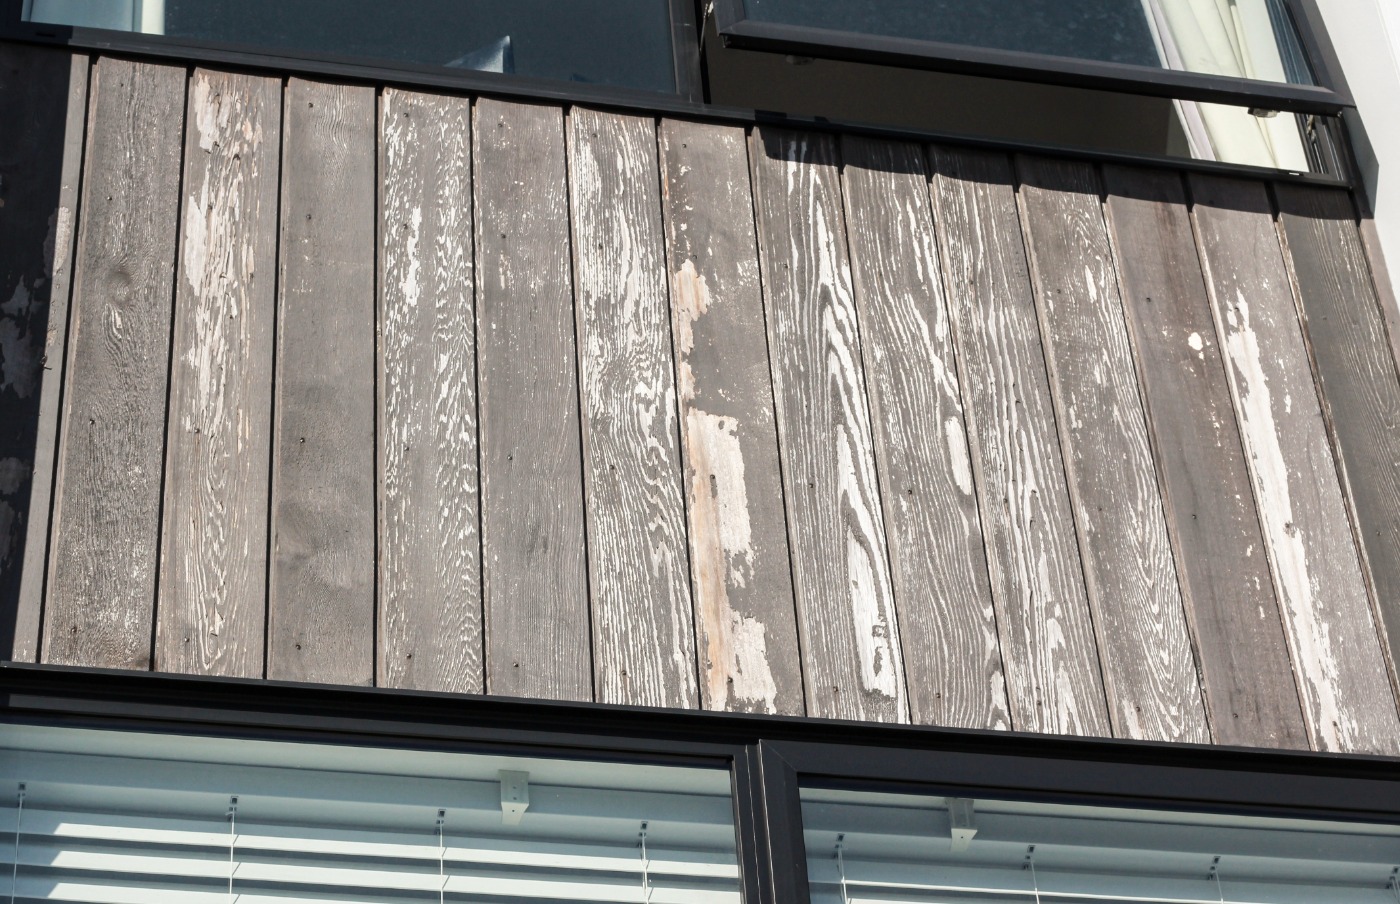
By the time we arrived, the boards were grey, silvered and very dry, particularly on the exposed faces. There was some minor cupping starting to show, though nothing at an advanced stage yet. 
silvered-cedar-boards

The good news was the quality of the timber itself. These were thick boards with very few knots, a good grade of Cedar that holds up well even after years without maintenance. 

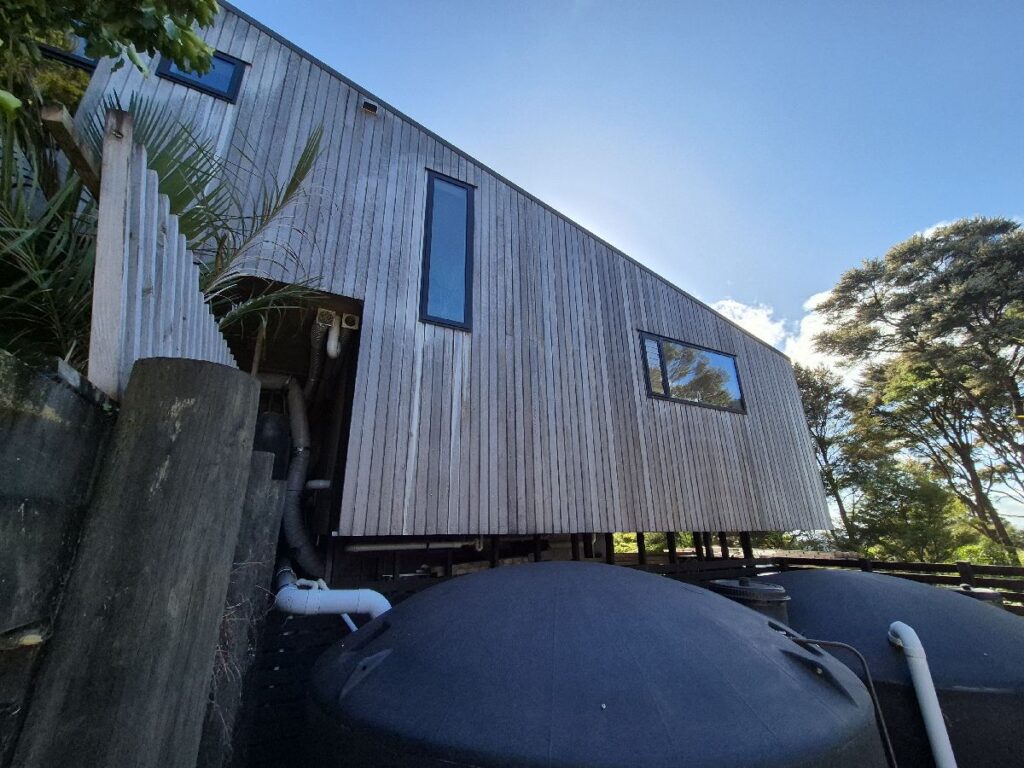
The north face had taken the worst of it, closely followed by the west. The east side was dry and clearly needed treatment, but hadn’t cupped or ridged the way the north and west had. The south face, the smallest and most sheltered side of the house, was flatter again, though it still needed the same care. 
Given how thirsty the boards were, our recommendation was a deep clean followed by oil, with two coats applied in the same visit. That’s not our usual approach. Normally one application is enough to saturate the boards, but it was obvious early on that this Cedar could take more, so we applied a second coat while the crew was still on site to get as much oil into the timber as possible. 

Cedar Maintenance Process

The deep clean followed our standard process: a surfactant applied to lift the built-up organic matter, then we use a waterblaster at low pressure to wash it off without damaging the surface of the boards.
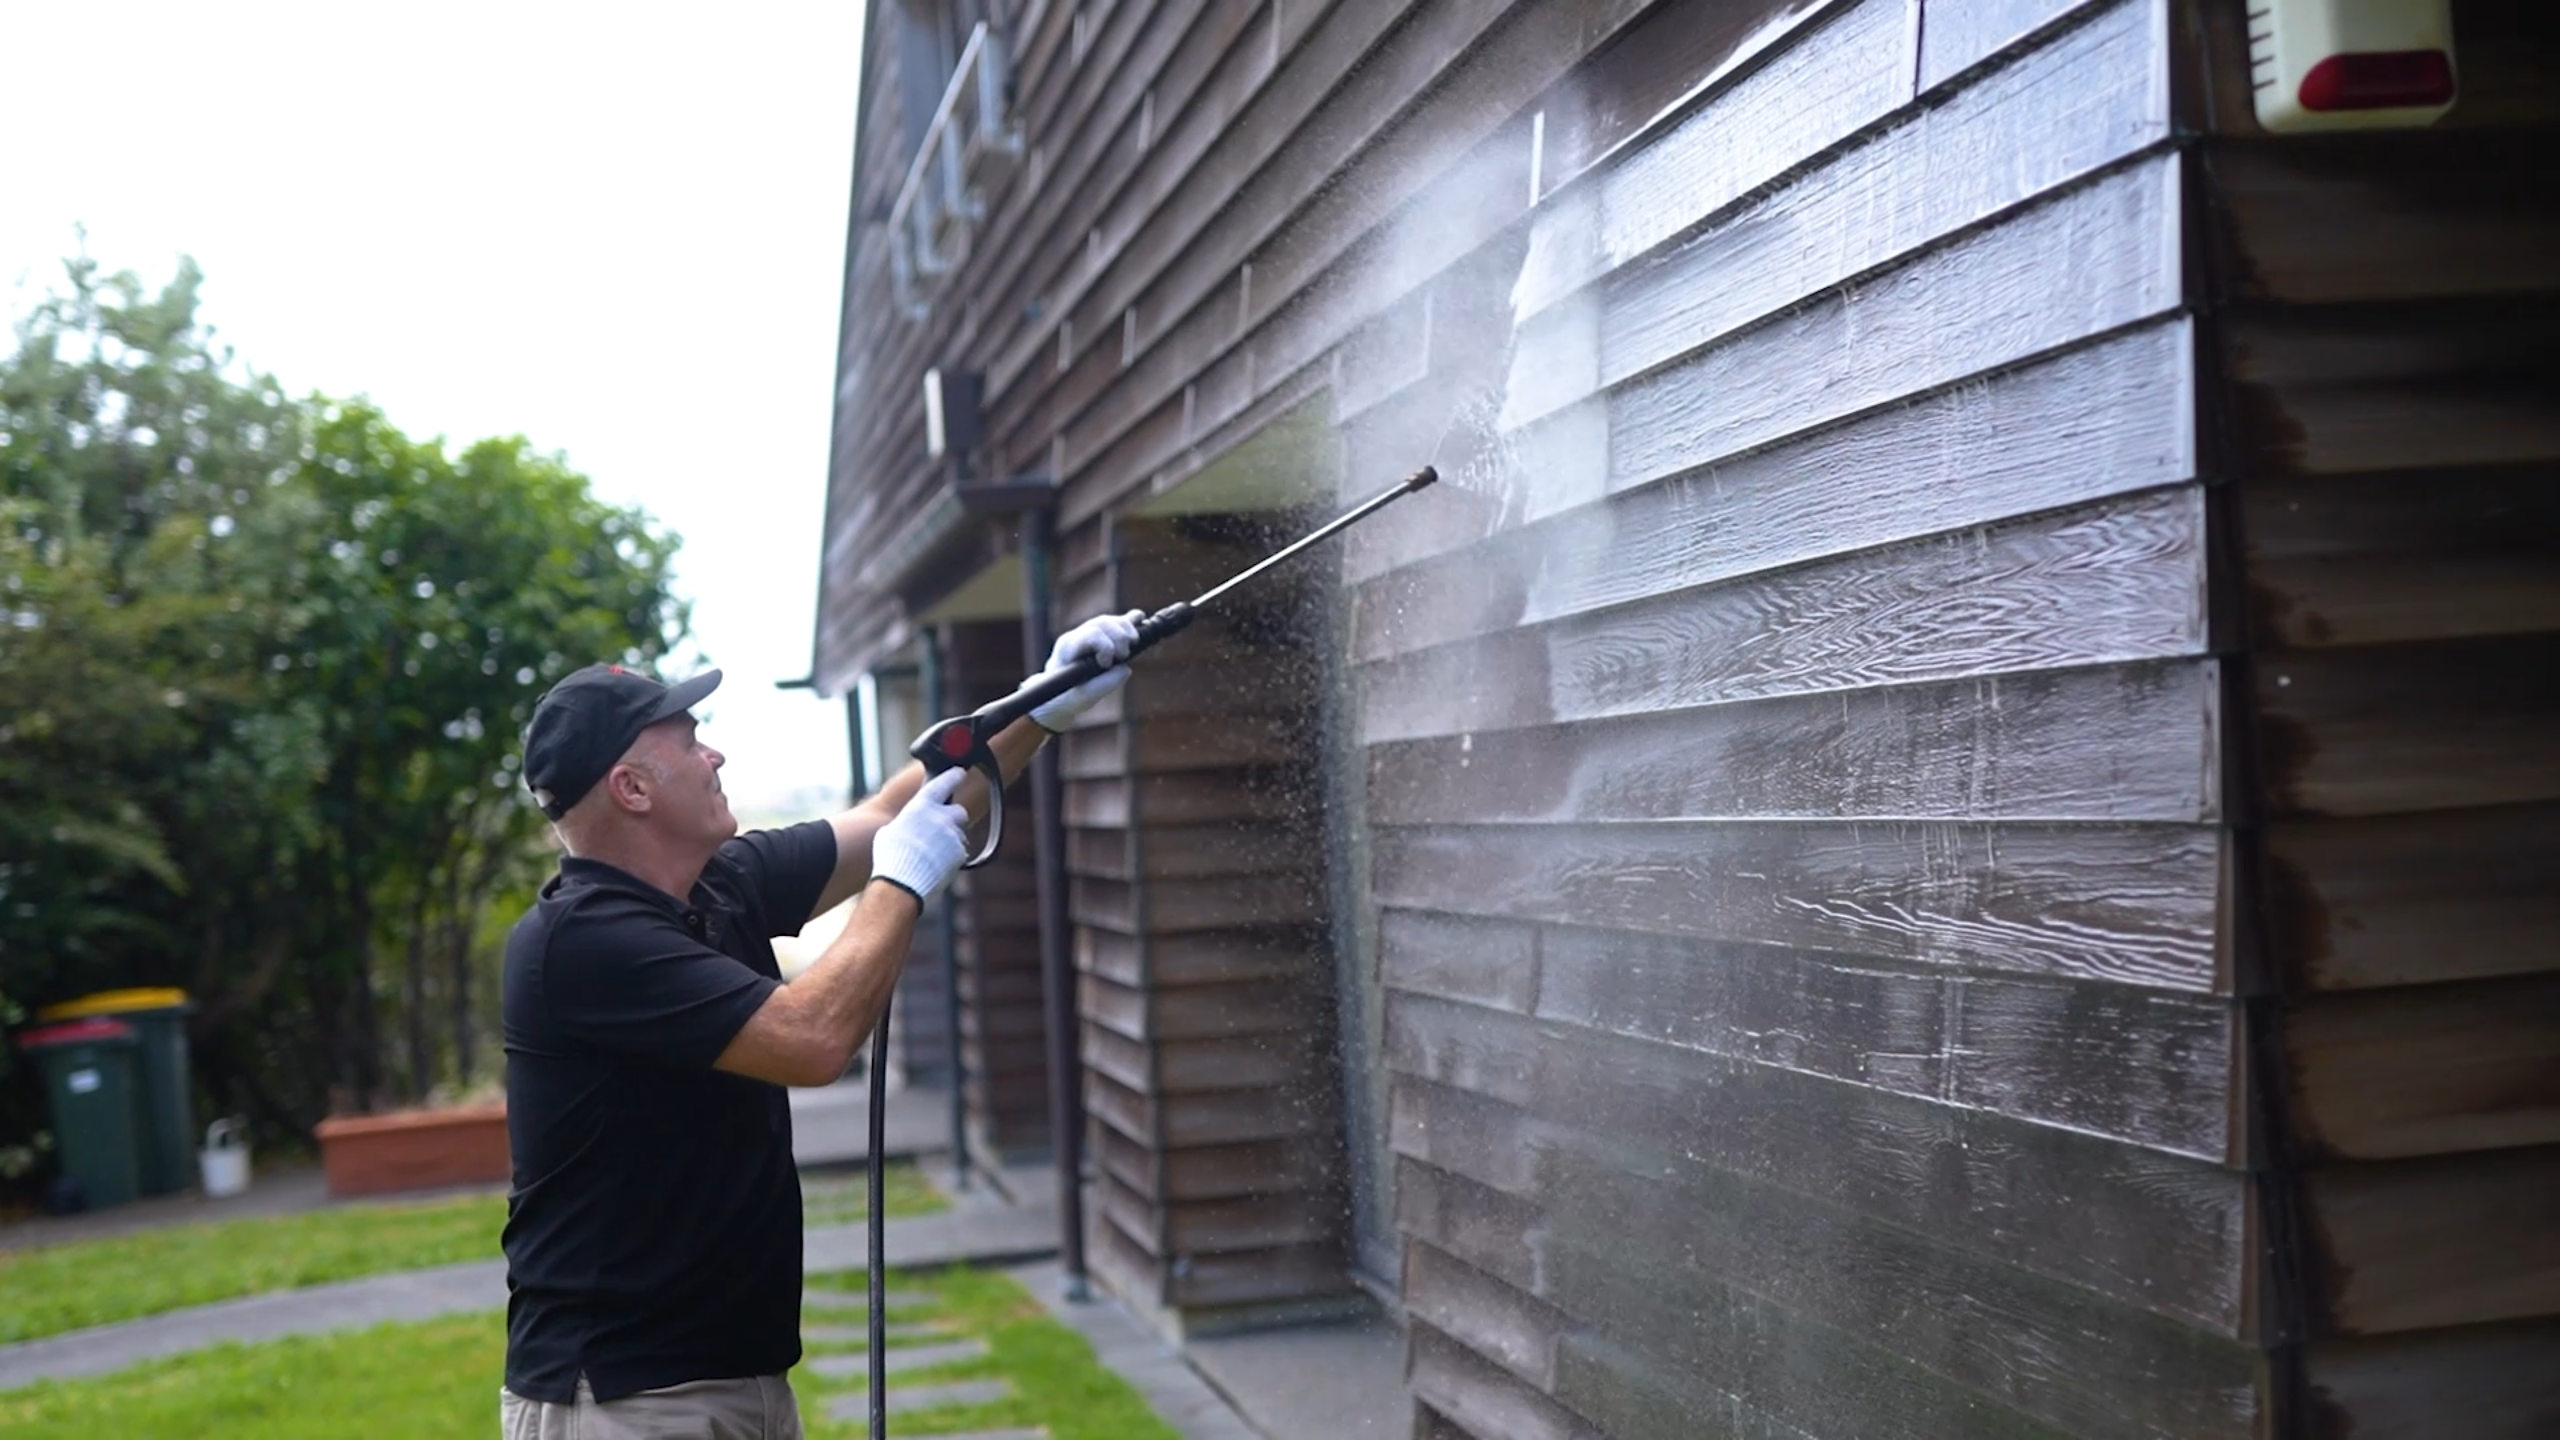
waterblasting-cedar

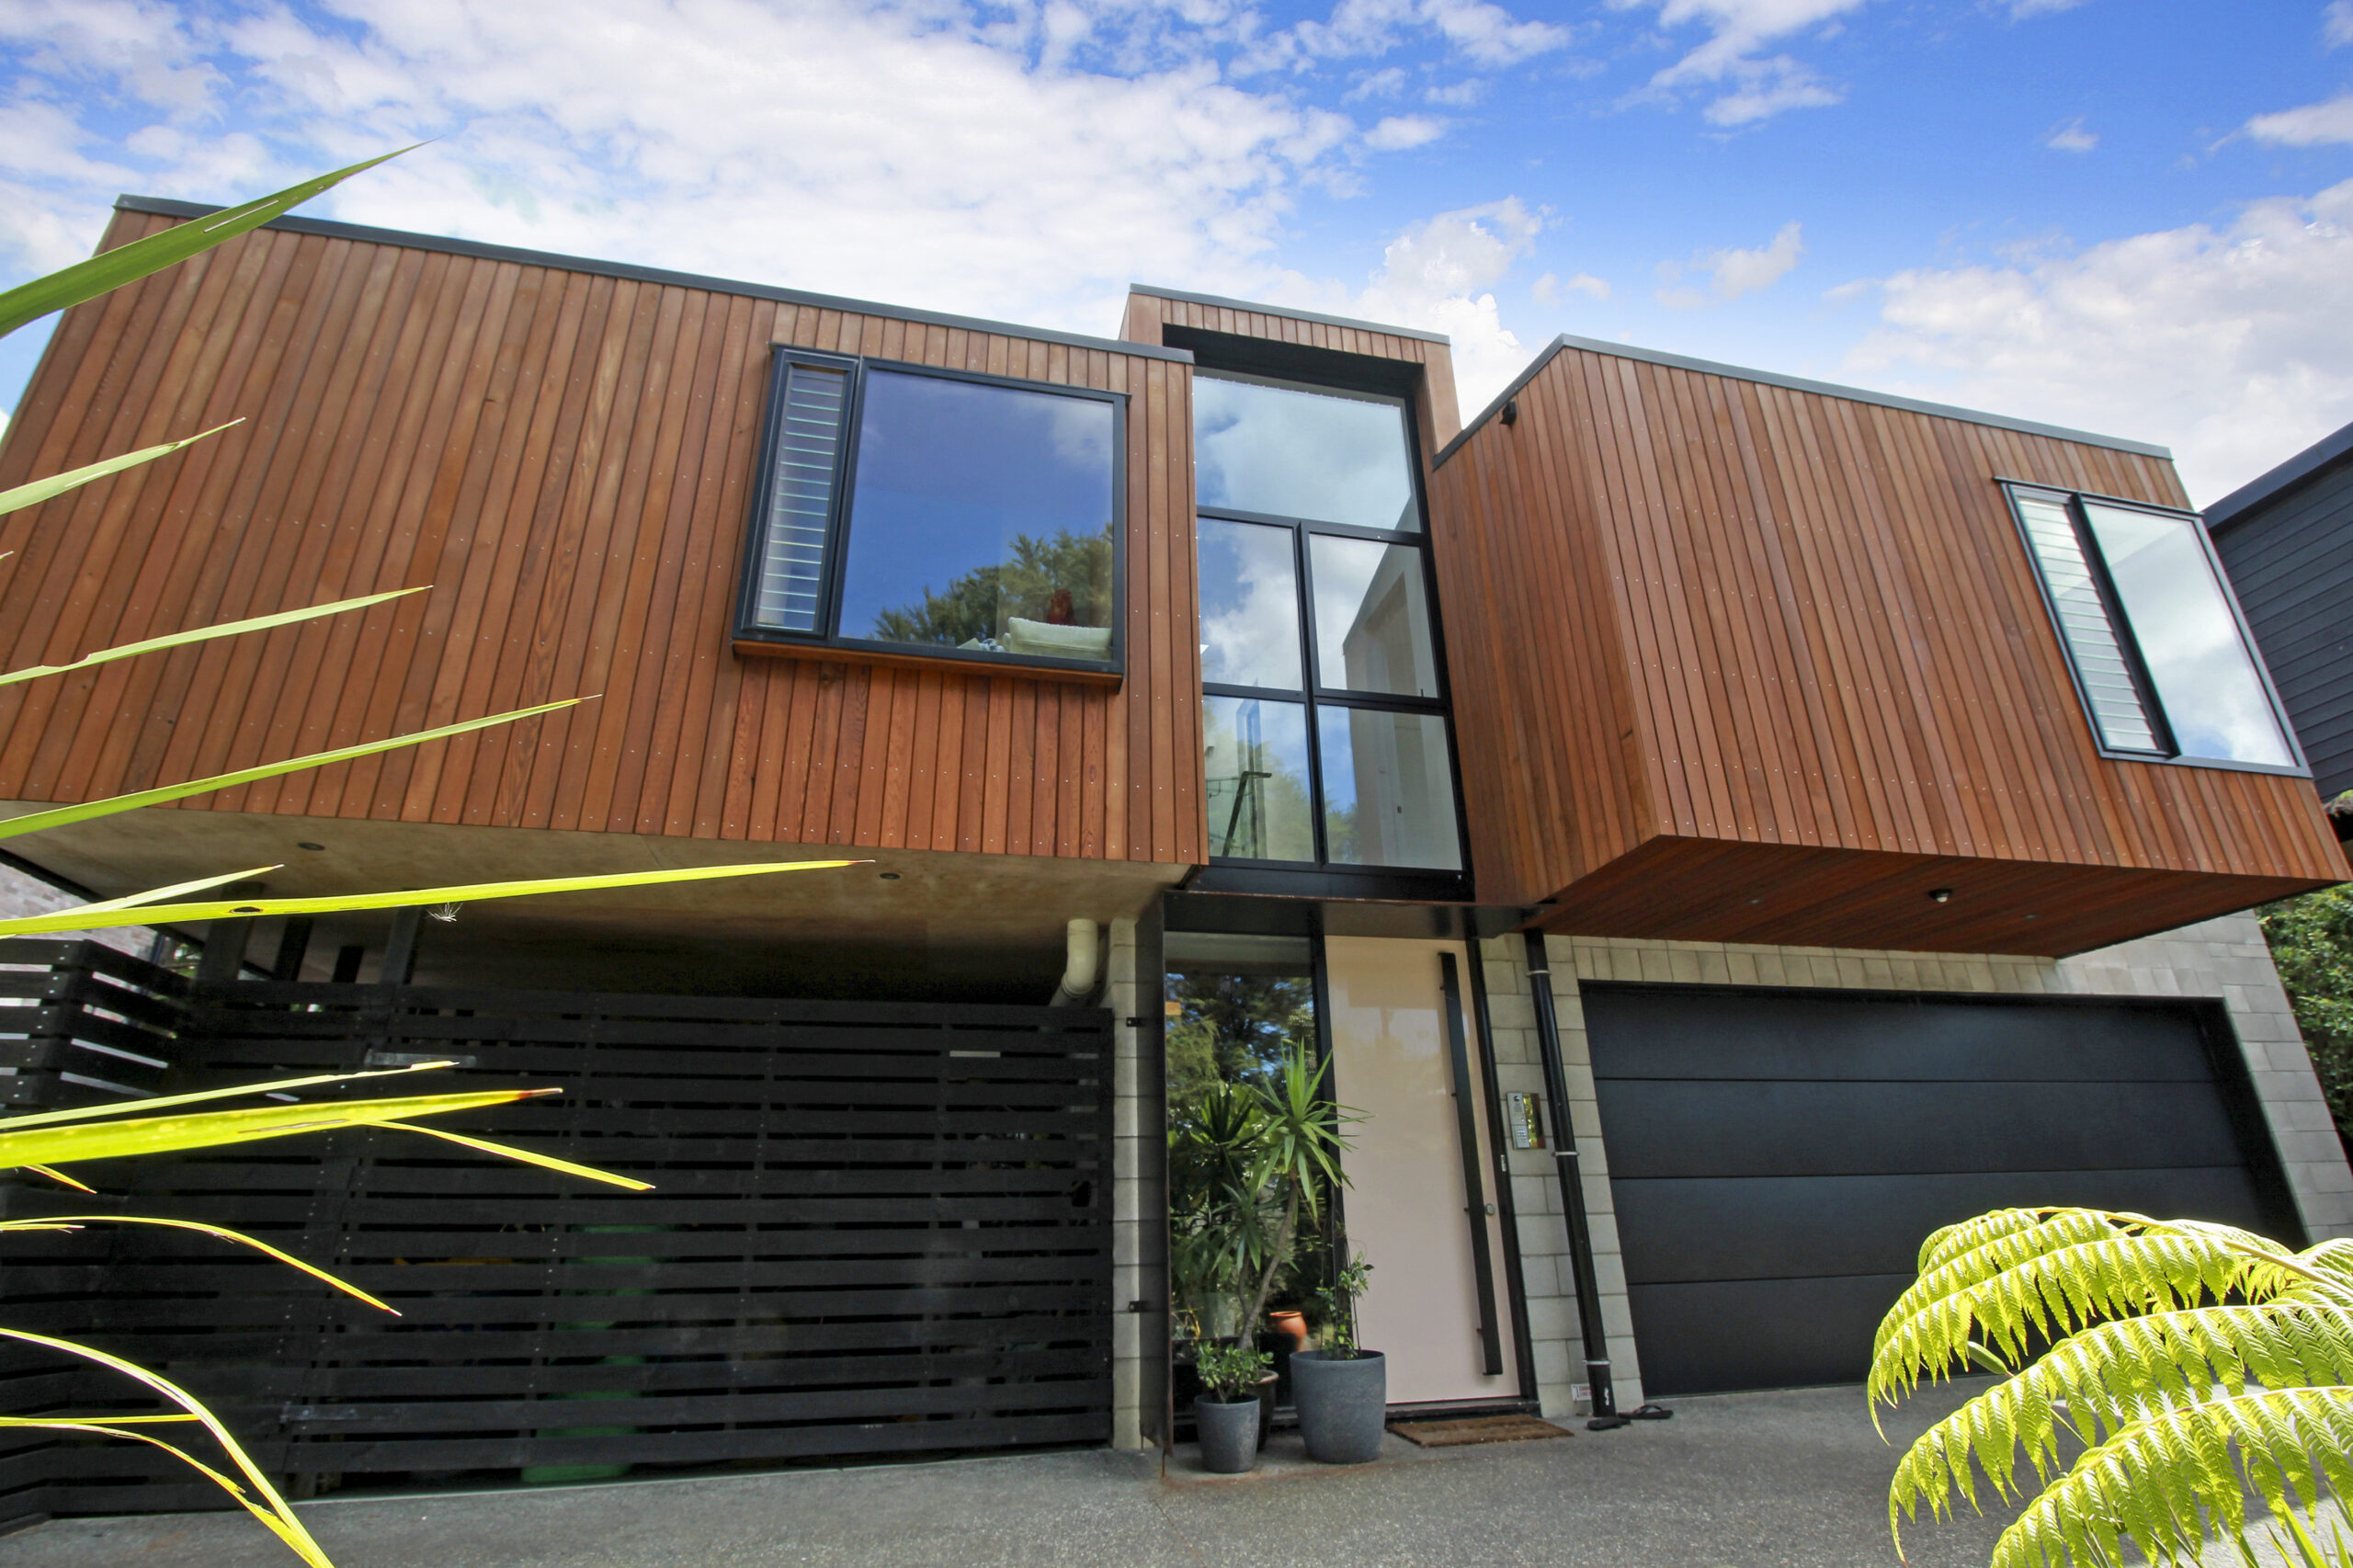
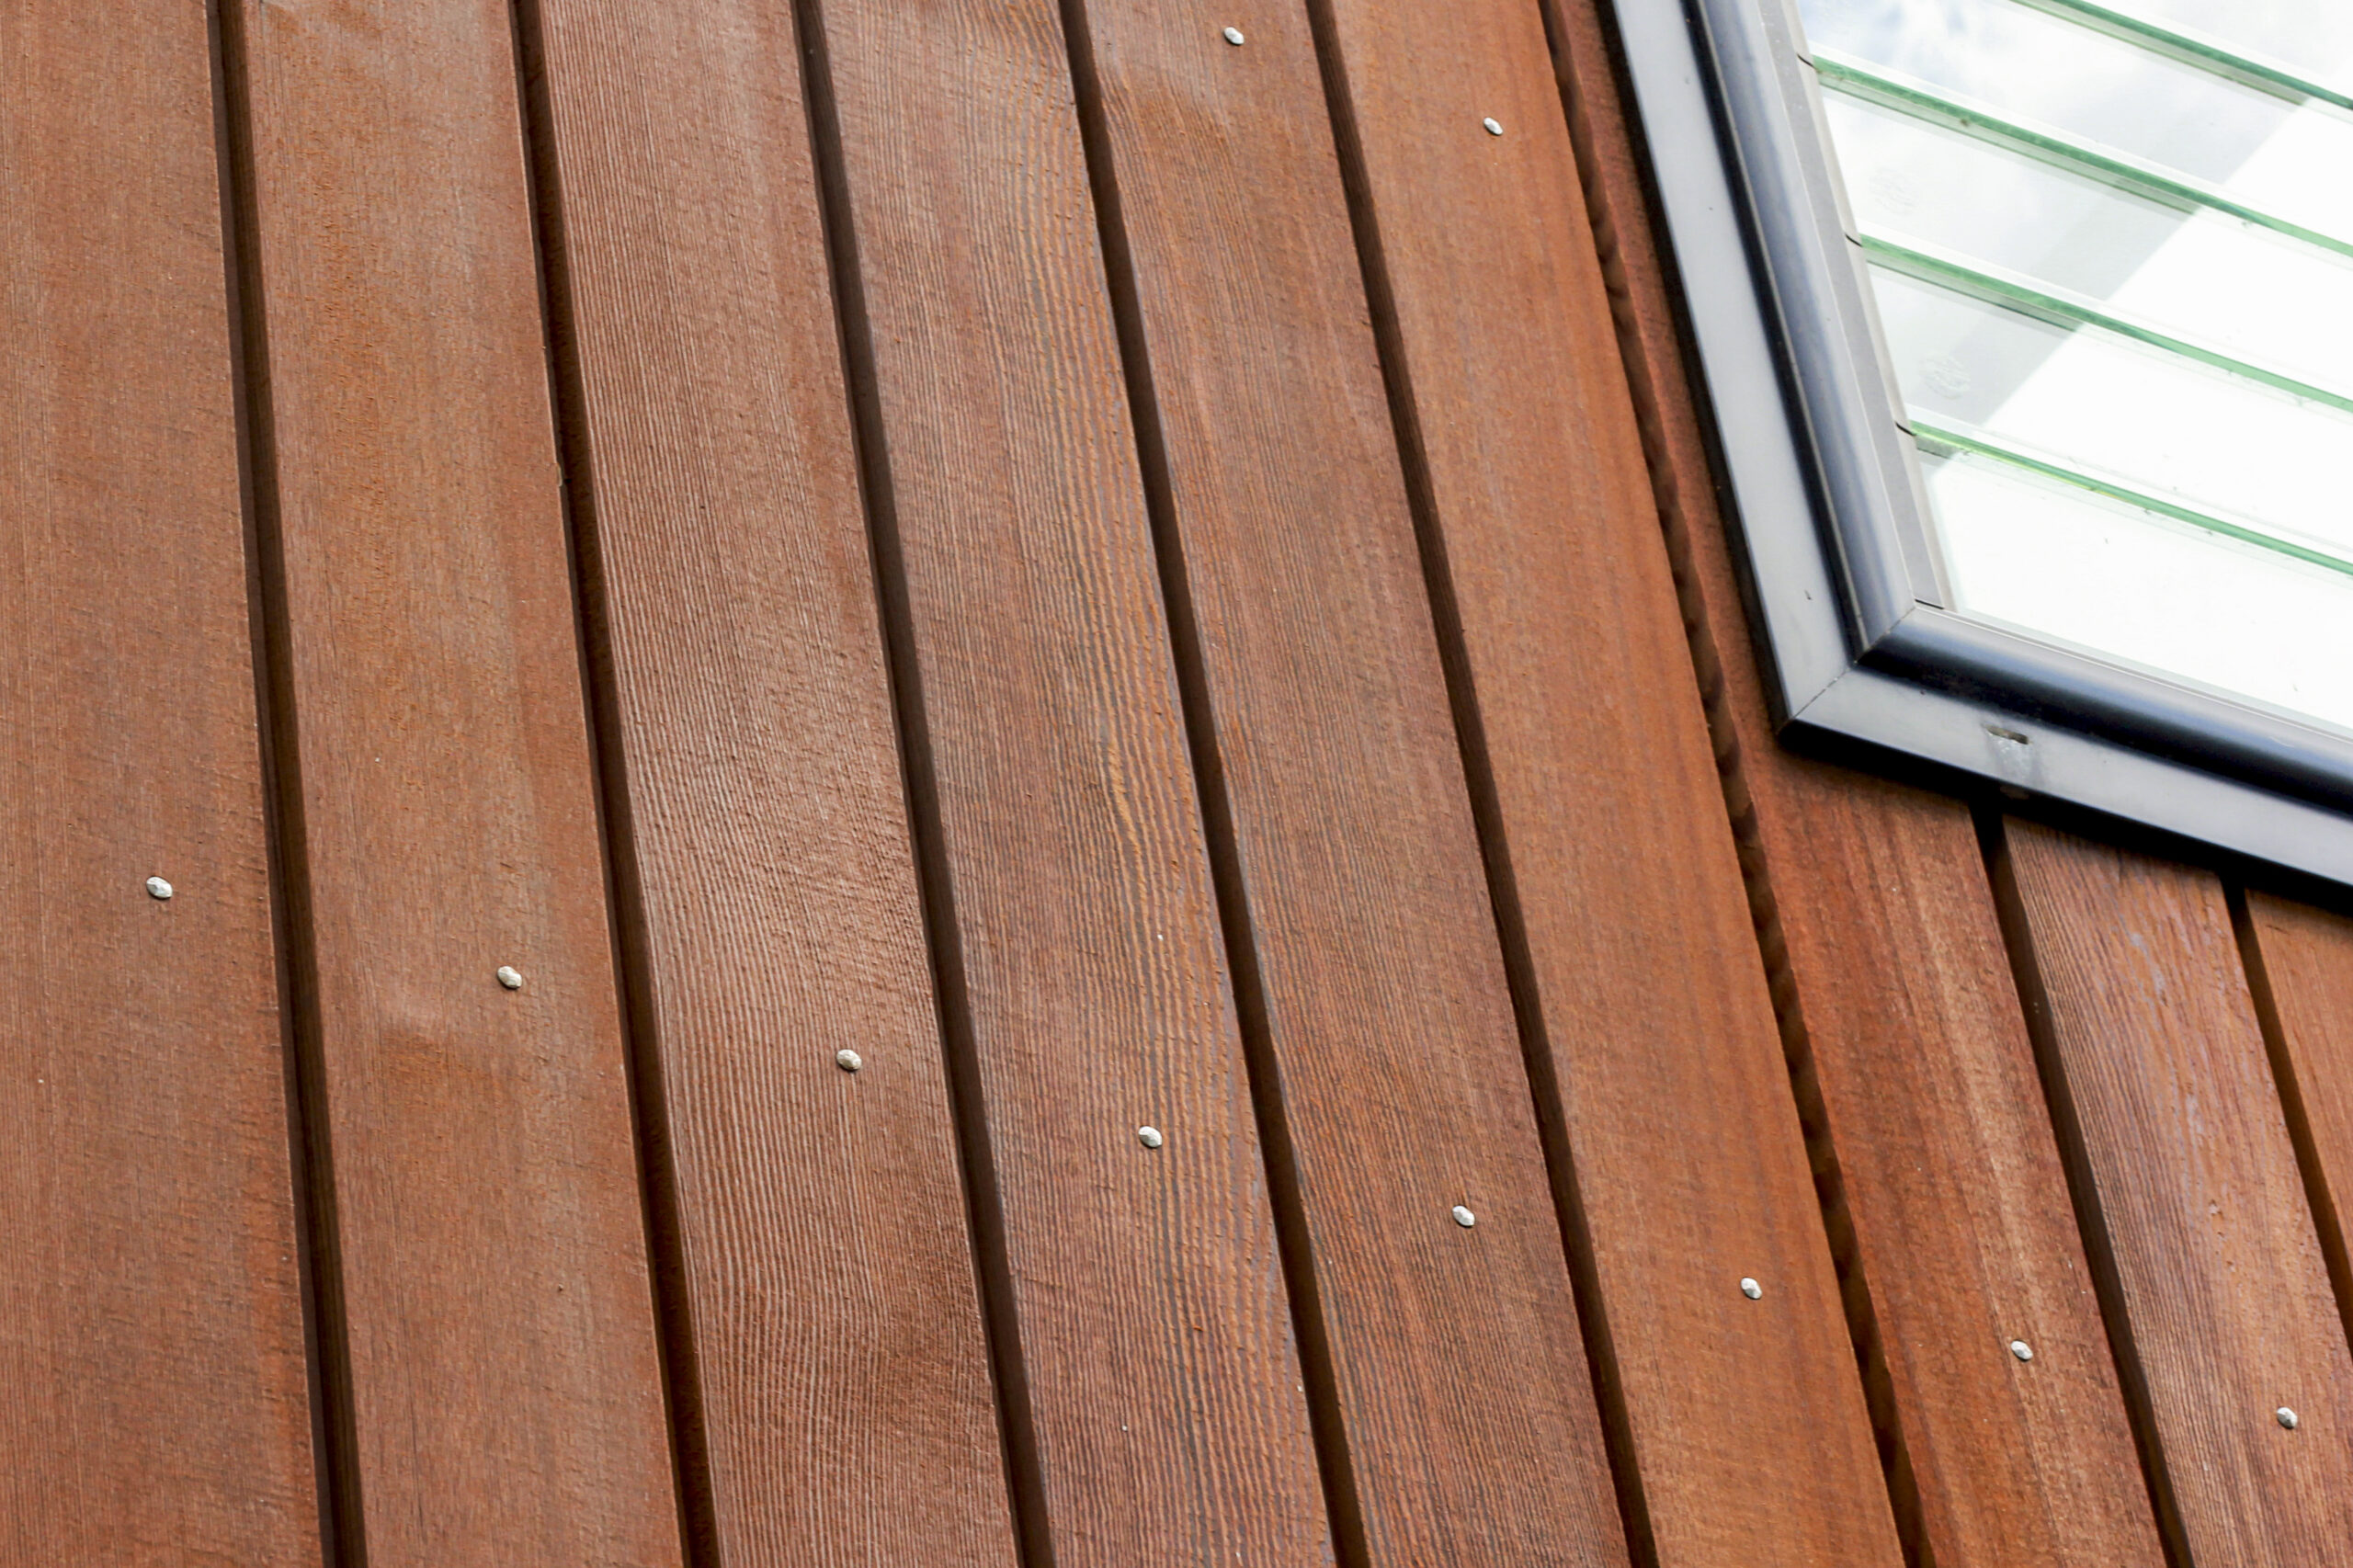
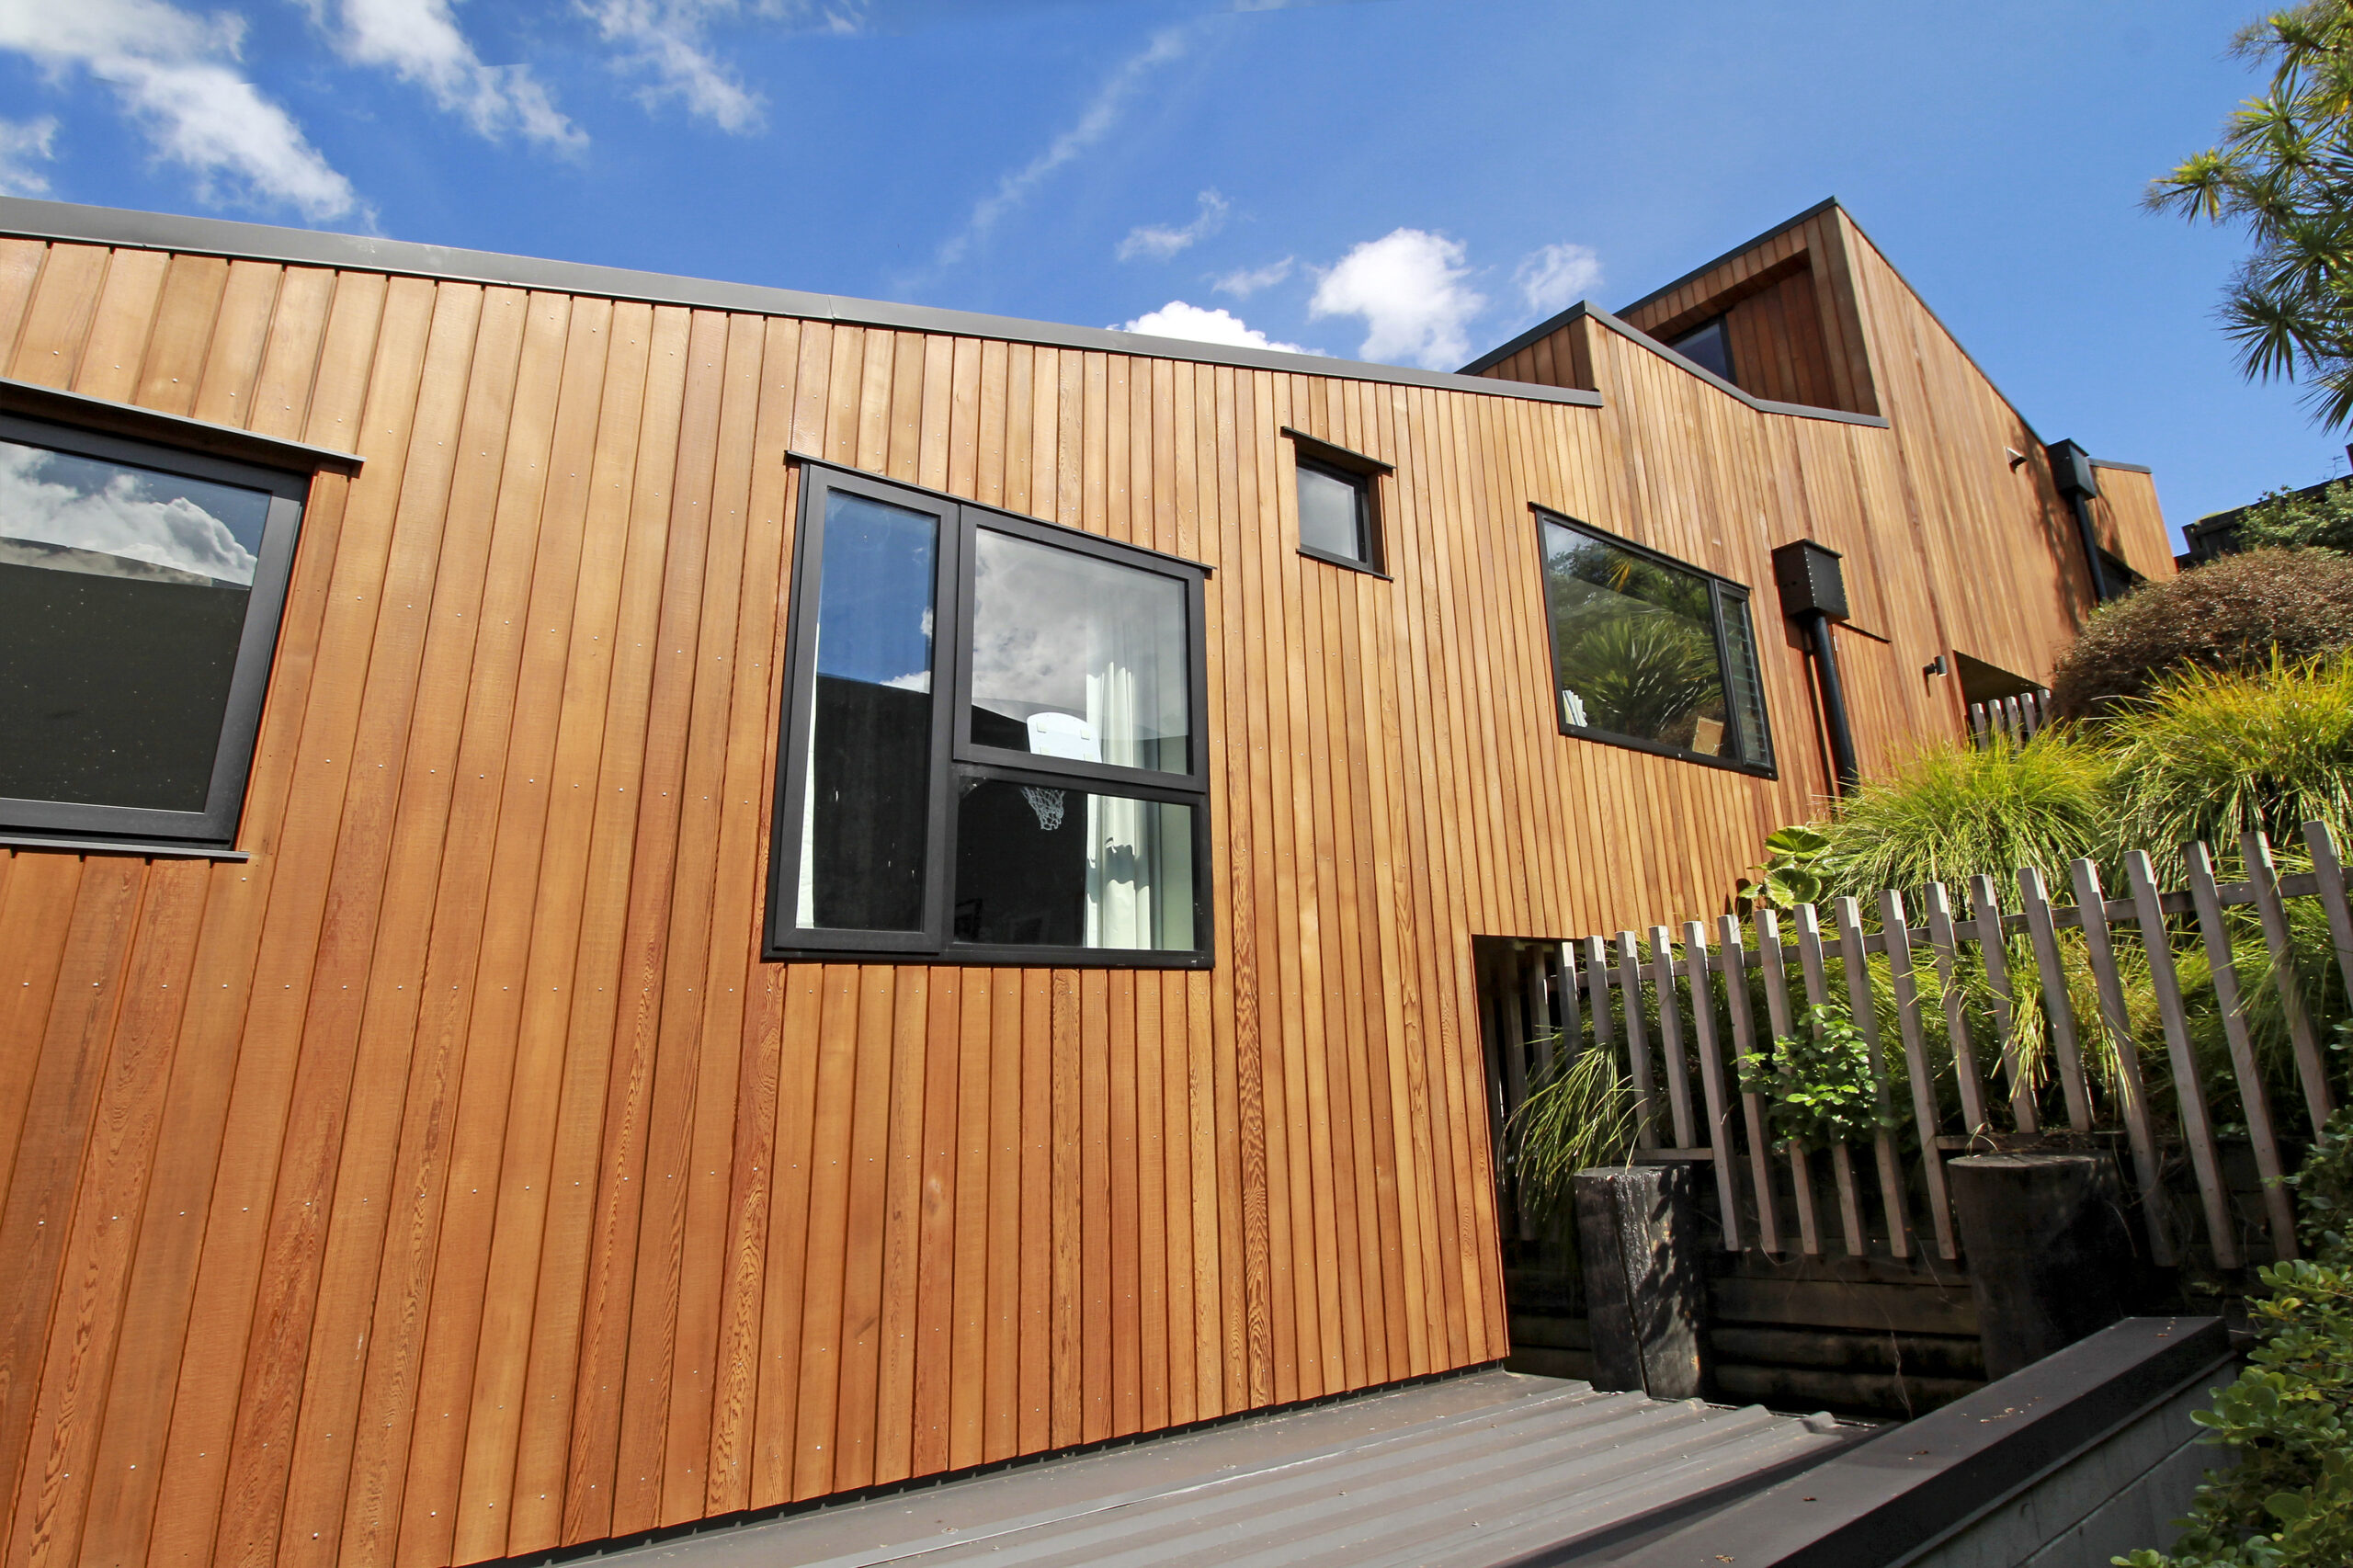
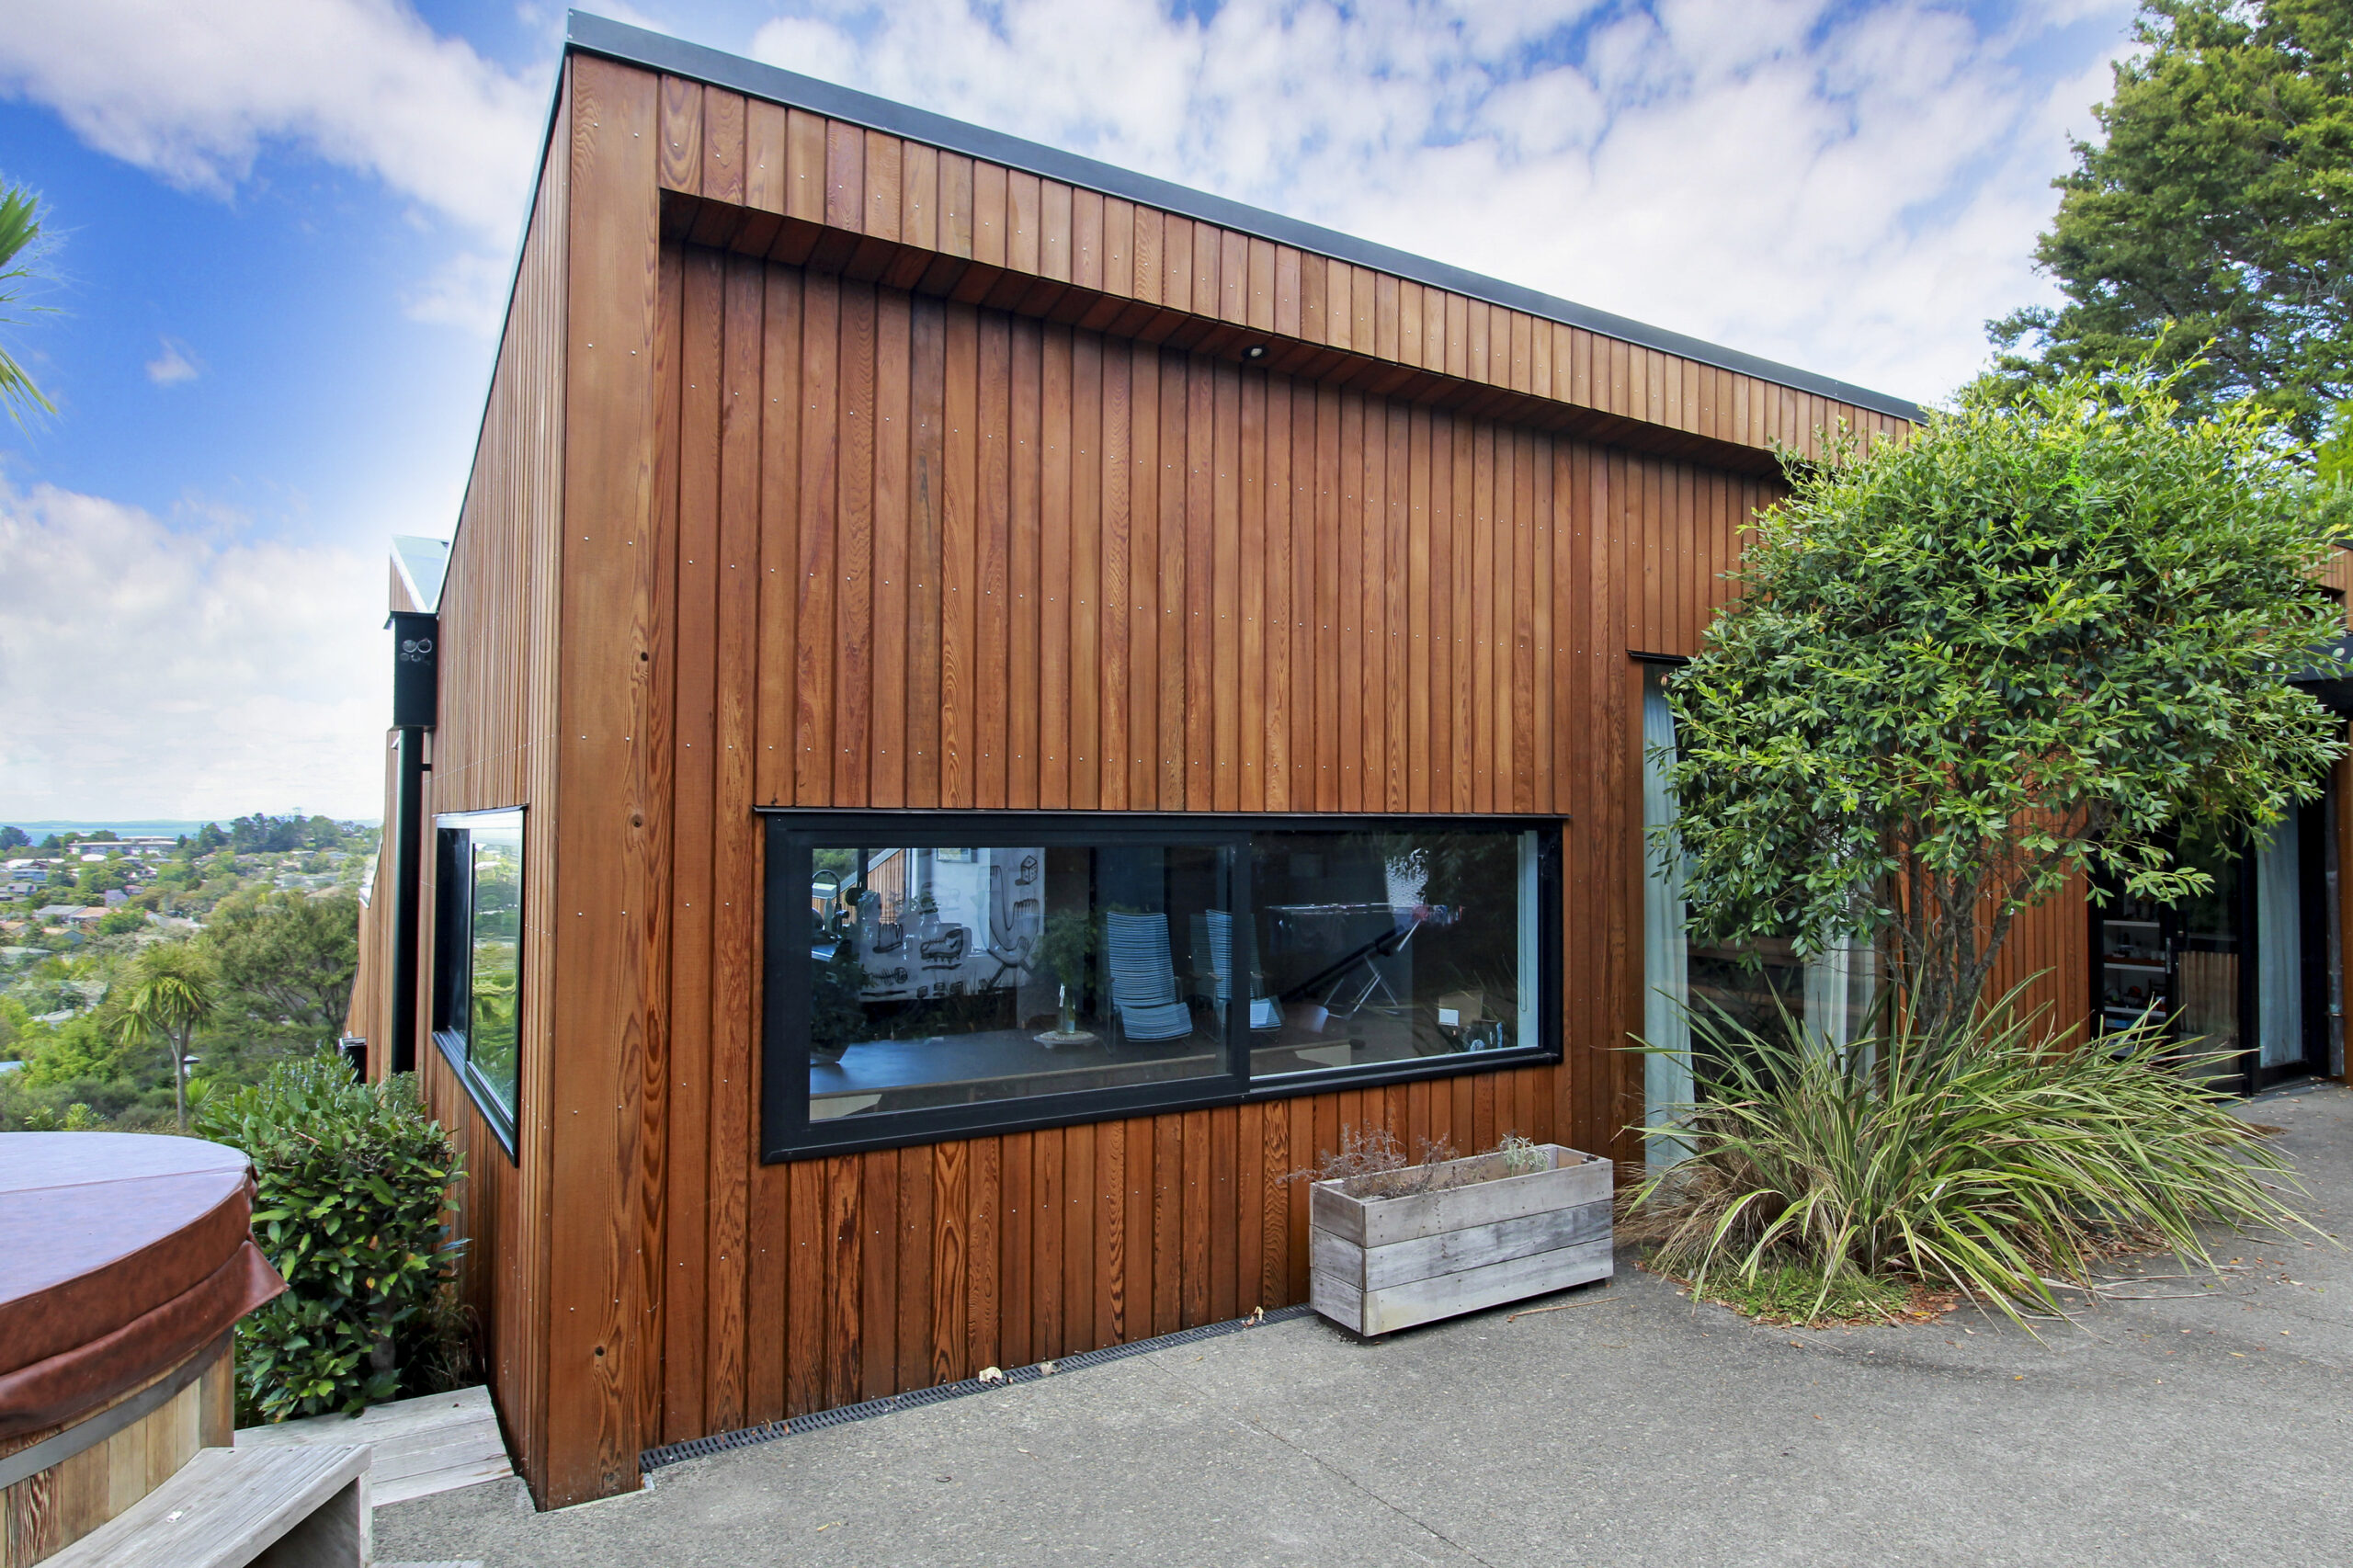
Because the Cedar had never been coloured, this was essentially a blank canvas. We worked with the homeowners to choose a colour that would bring out the timber’s natural tones, landing on Wood-X Mount Honey, one of the closest matches in our range to Cedar’s own colour. It’s a shade we often recommend to homeowners who want their Cedar looking like Cedar, rather than taking on a heavier stained appearance. 
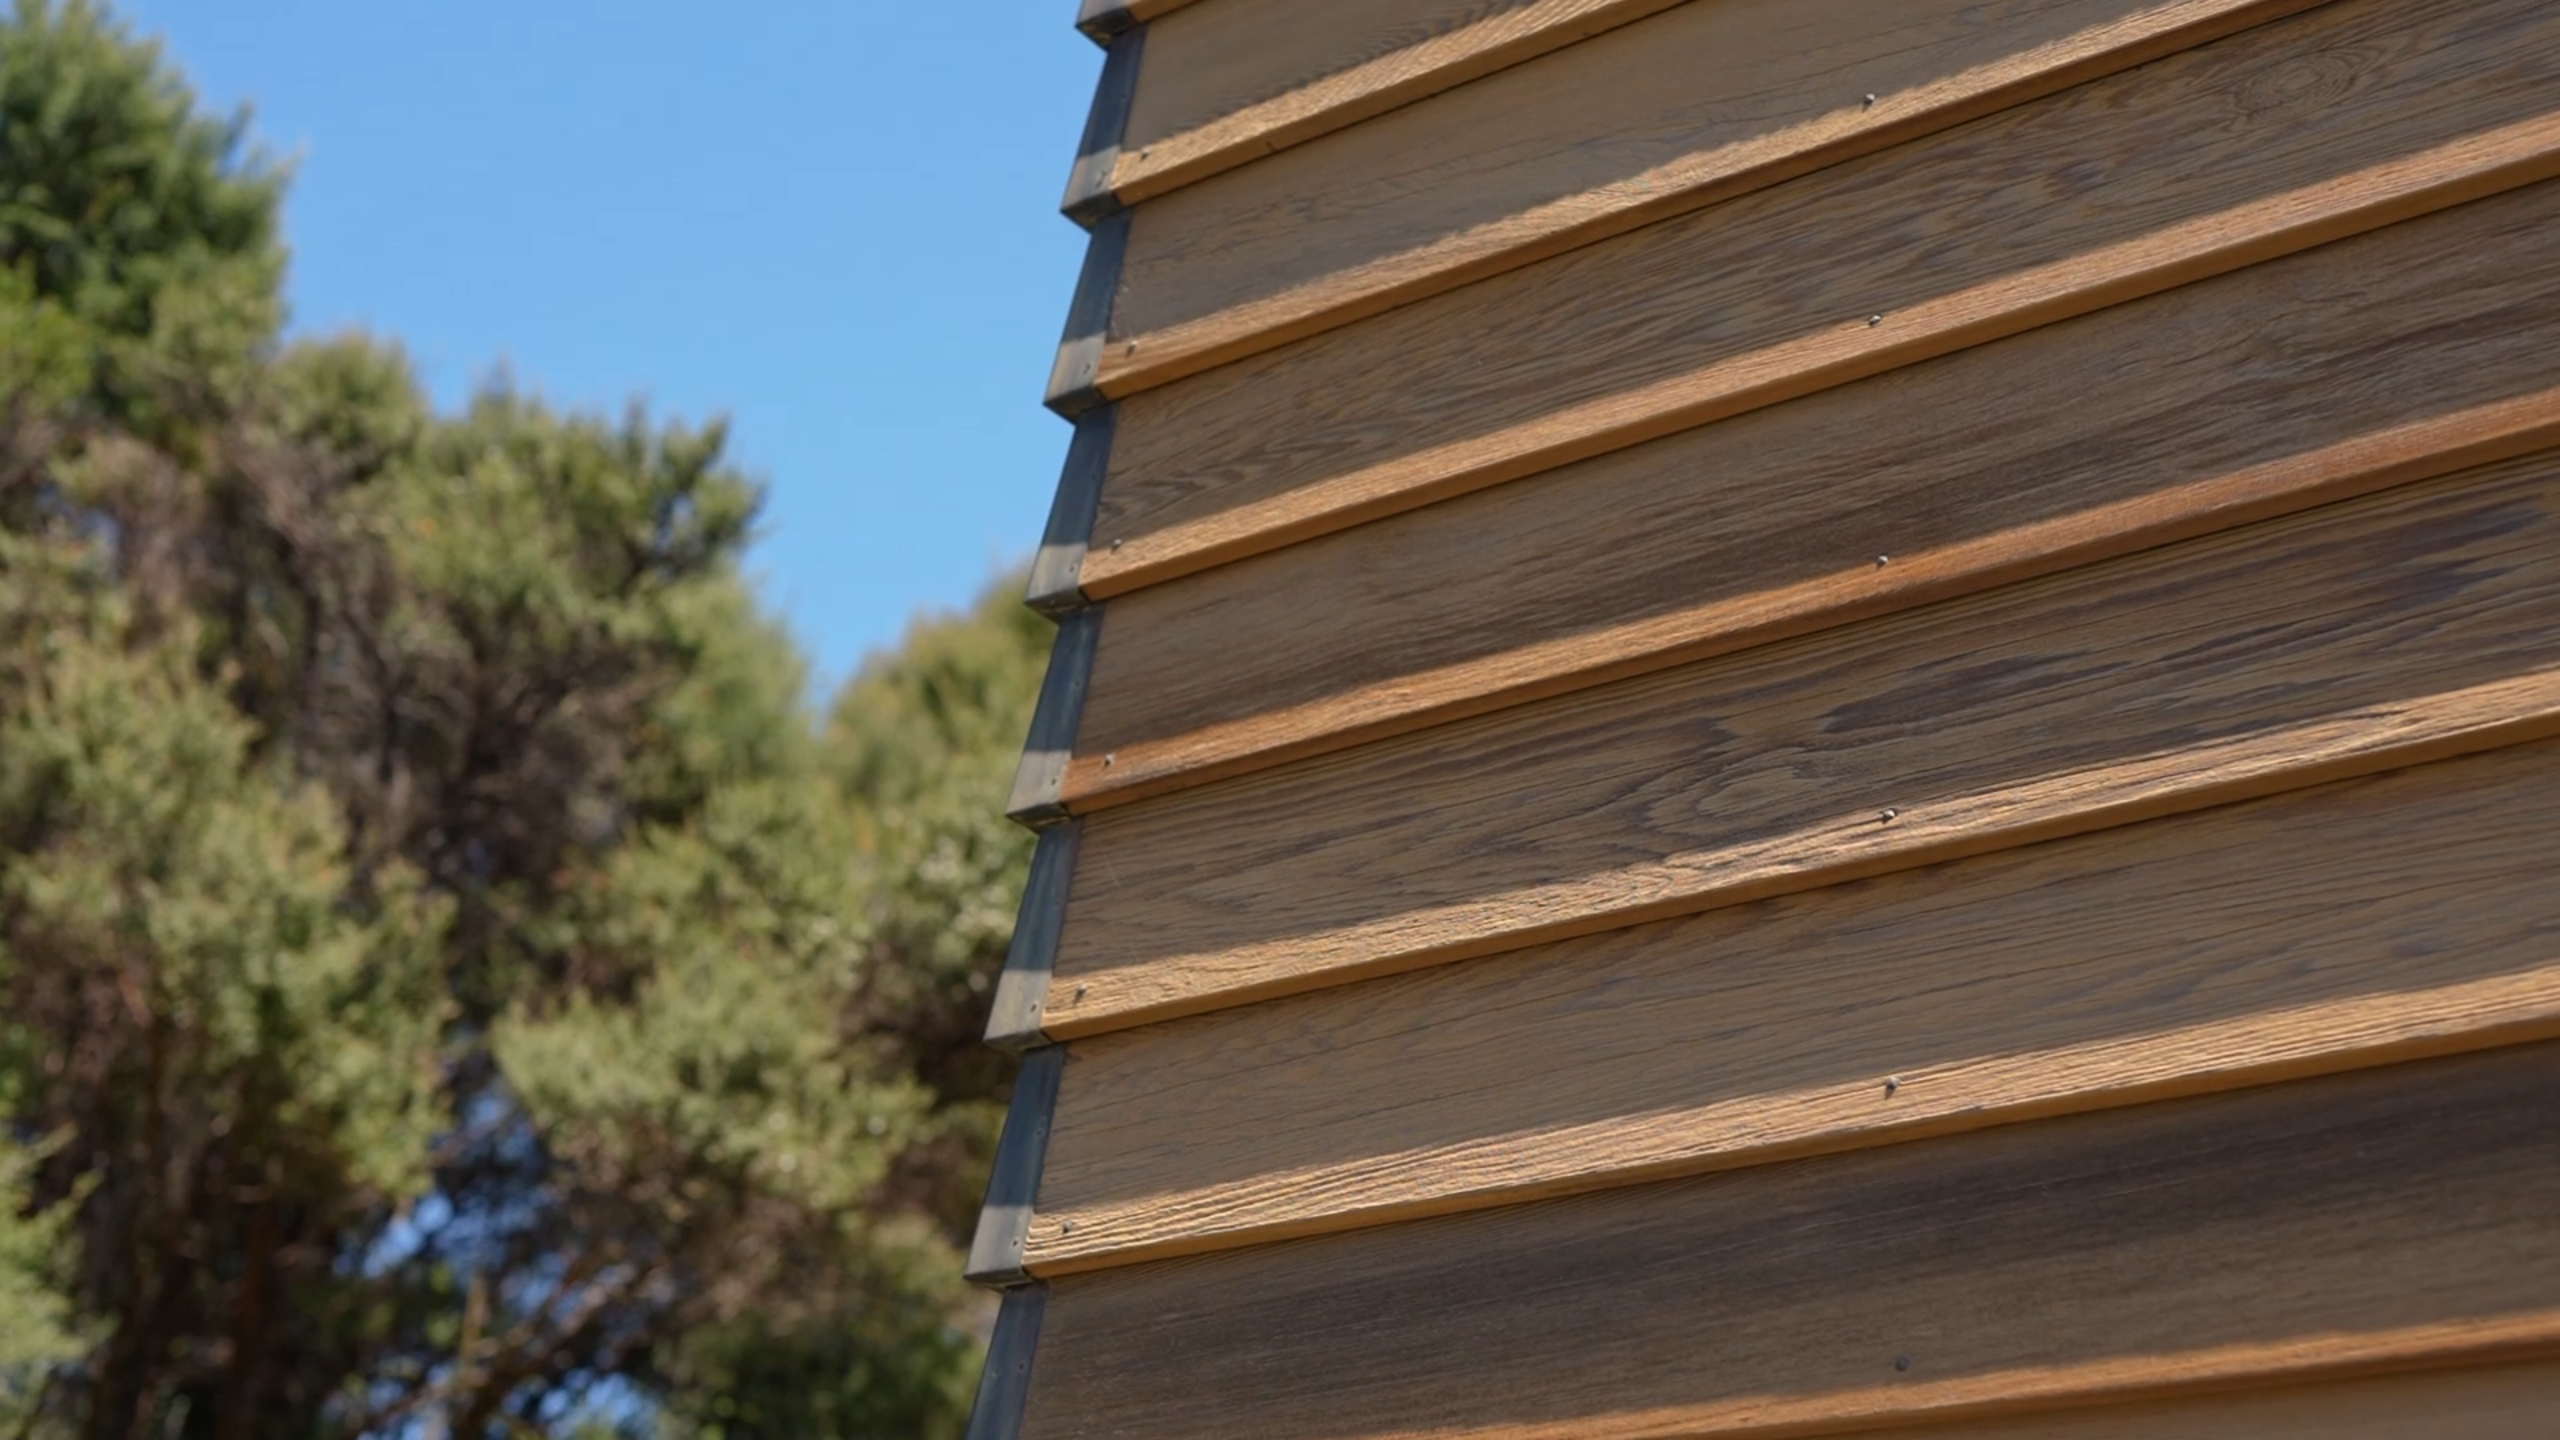
Application was a mix of spray and brush, with the large, flat sections of the house lending themselves well to spraying once conditions allowed. 

cedar-mount-honey

There was also a feature section at the back of the house that had originally been painted white. It stood out more than the owners wanted, so we prepped, sanded and repainted it in a colour that ties in with the surrounding Cedar rather than competing with it. 

Cedar Maintenance Challenges

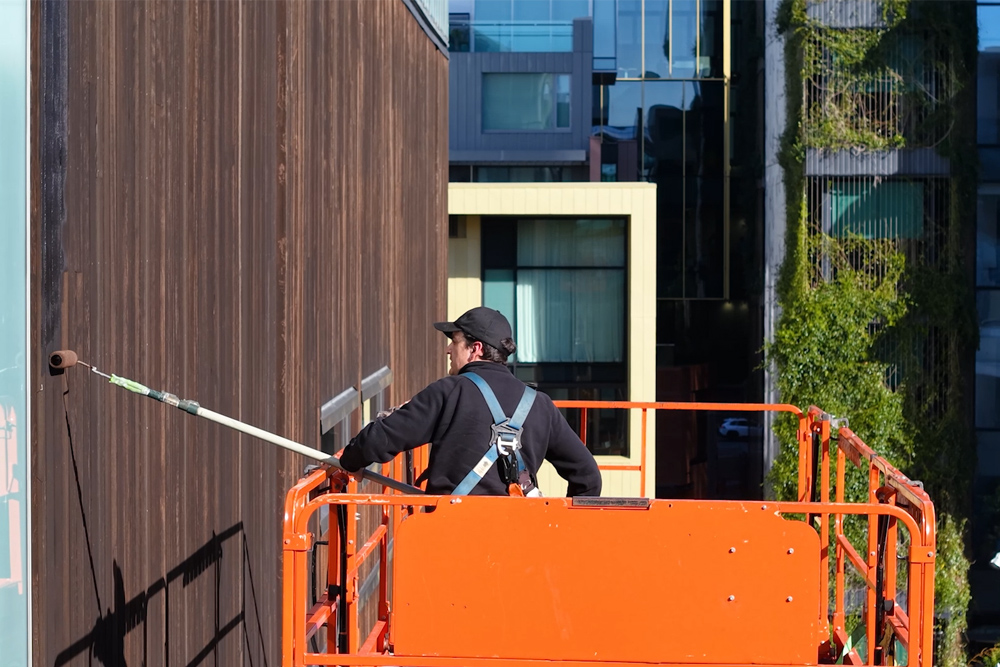
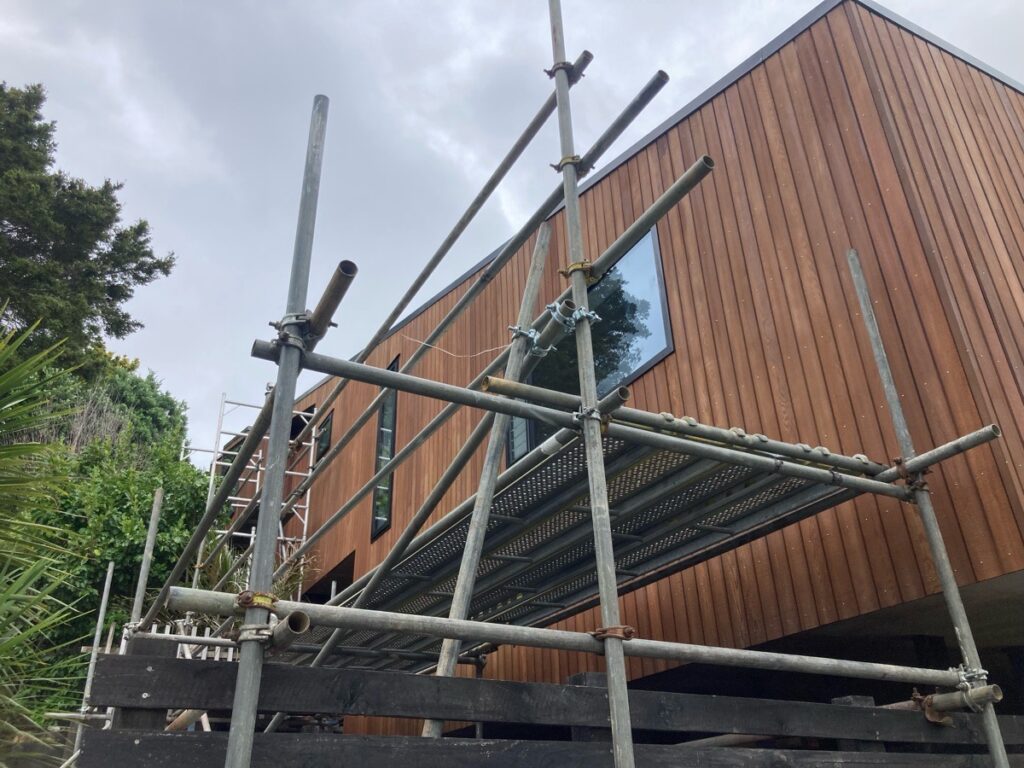
The biggest challenge on this job was access. Getting a knuckle boom onto the site meant allocating a specially trained technician to operate it, along with a second person on the ground at all times. The boom covered the whole east-facing rear of the house and part of the north face, with a mobile scaffold used to reach other areas, and rope and harness work needed to paint sections of the roofline.
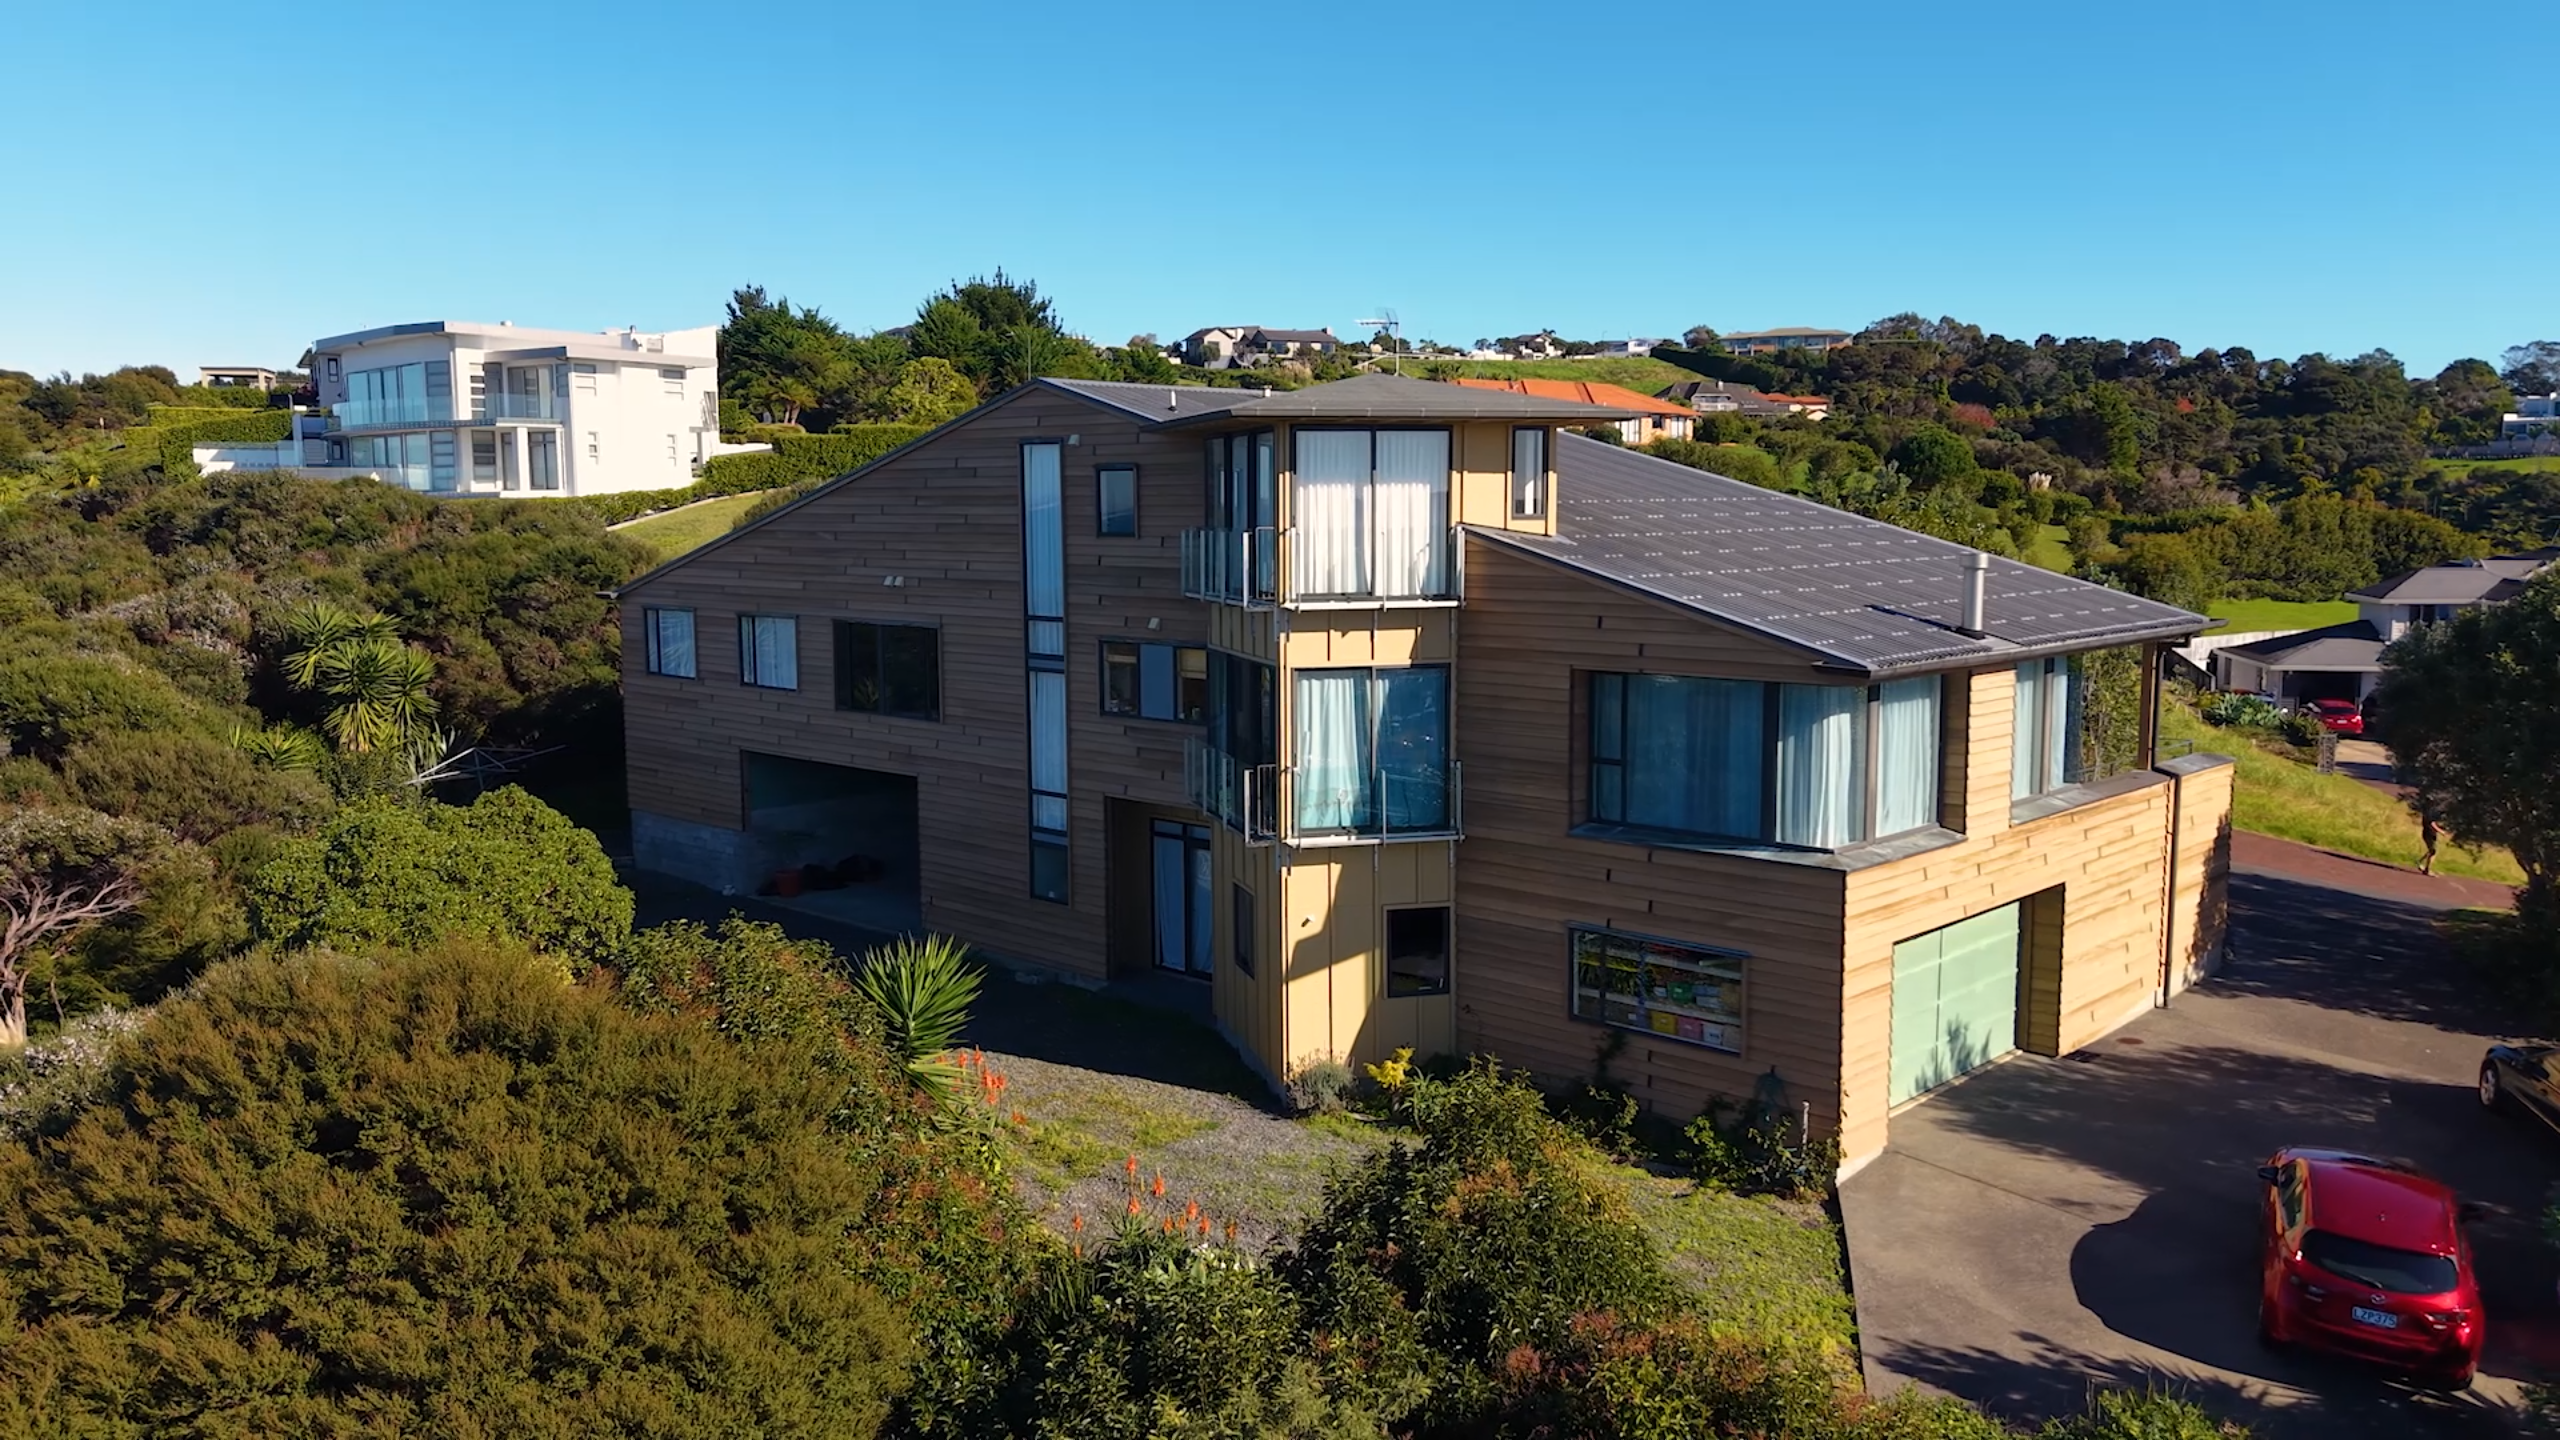
cedar-access

Weather was the other factor. Perched on an exposed hill above the marina, the property catches the wind, which meant timing the more exposed faces carefully around the conditions rather than working straight through. 

Beyond that, this was simply a bigger job than most. The house is larger than many properties we work on, but the process itself, deep clean and oil, didn’t change. We just needed the right number of people on site to get through it in good time. 

Ongoing Maintenance Requirements

We recommended returning within 6 to 9 months to check whether the boards needed more oil. When Cedar has gone untreated for a long time, getting as much oil into it as possible in those early stages extends how long it will last before the next full treatment is due. 

We’ll check all the faces, though it’s the sun-exposed sides that are most likely to need a top-up. If the boards prove to have taken on enough oil, the property will move onto a standard maintenance plan. Rather than the usual 2-3 summer cycle, we like to check back in on properties like this a little more regularly, generally around the 18-month mark, just to make sure everything is holding up as expected. 

The Final Outcome
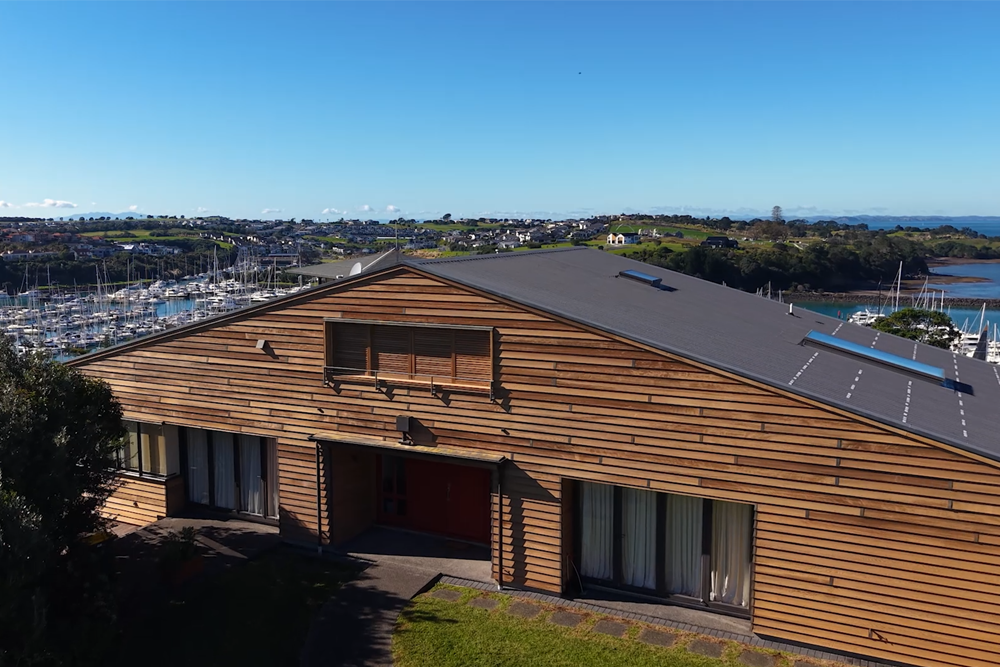
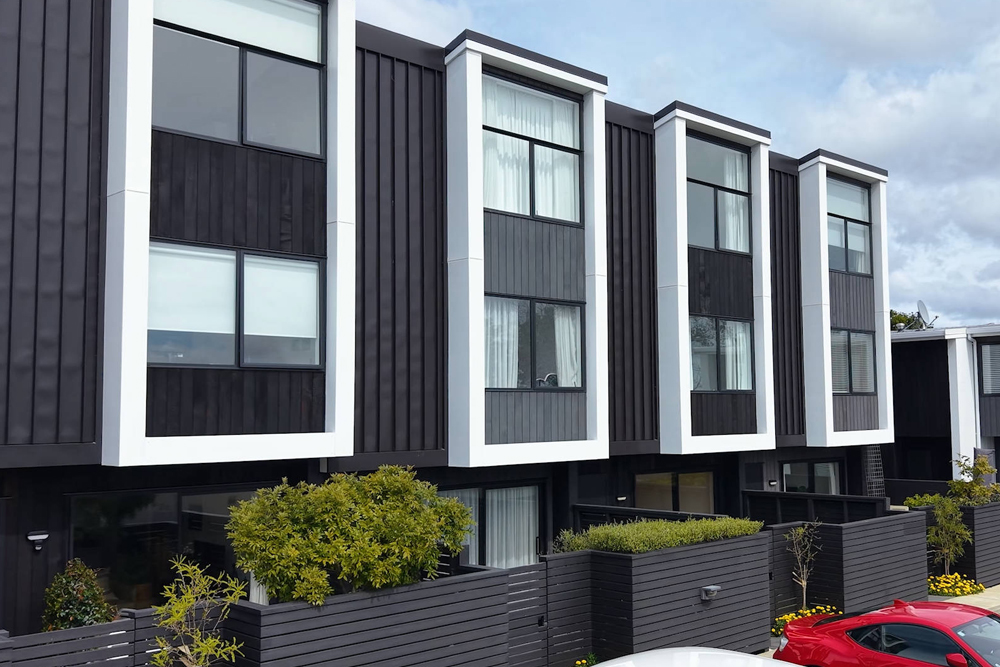
The transformation exceeded the owners’ expectations. Like a lot of our customers, the biggest surprise came after the deep clean, before any oil had even gone on, just seeing how different the timber looked once the decade of grime had been washed away. Once the oil colour was chosen and applied, they were thrilled with the finish.

cedar-mount-honey

Ryan led the job, supported by Emma, who did a substantial amount of the work before going on maternity leave. 

The scale of the transformation, from silvered and weathered to a warm, natural Cedar tone, is exactly why we chose to use this job to show what’s possible when Cedar gets the attention it deserves.
Property Details

Year of Build:
2003
Location:
Matakatia
Coating:
Wood-X Mount Honey

Category:

More Featured Properties

12 Nov 2025
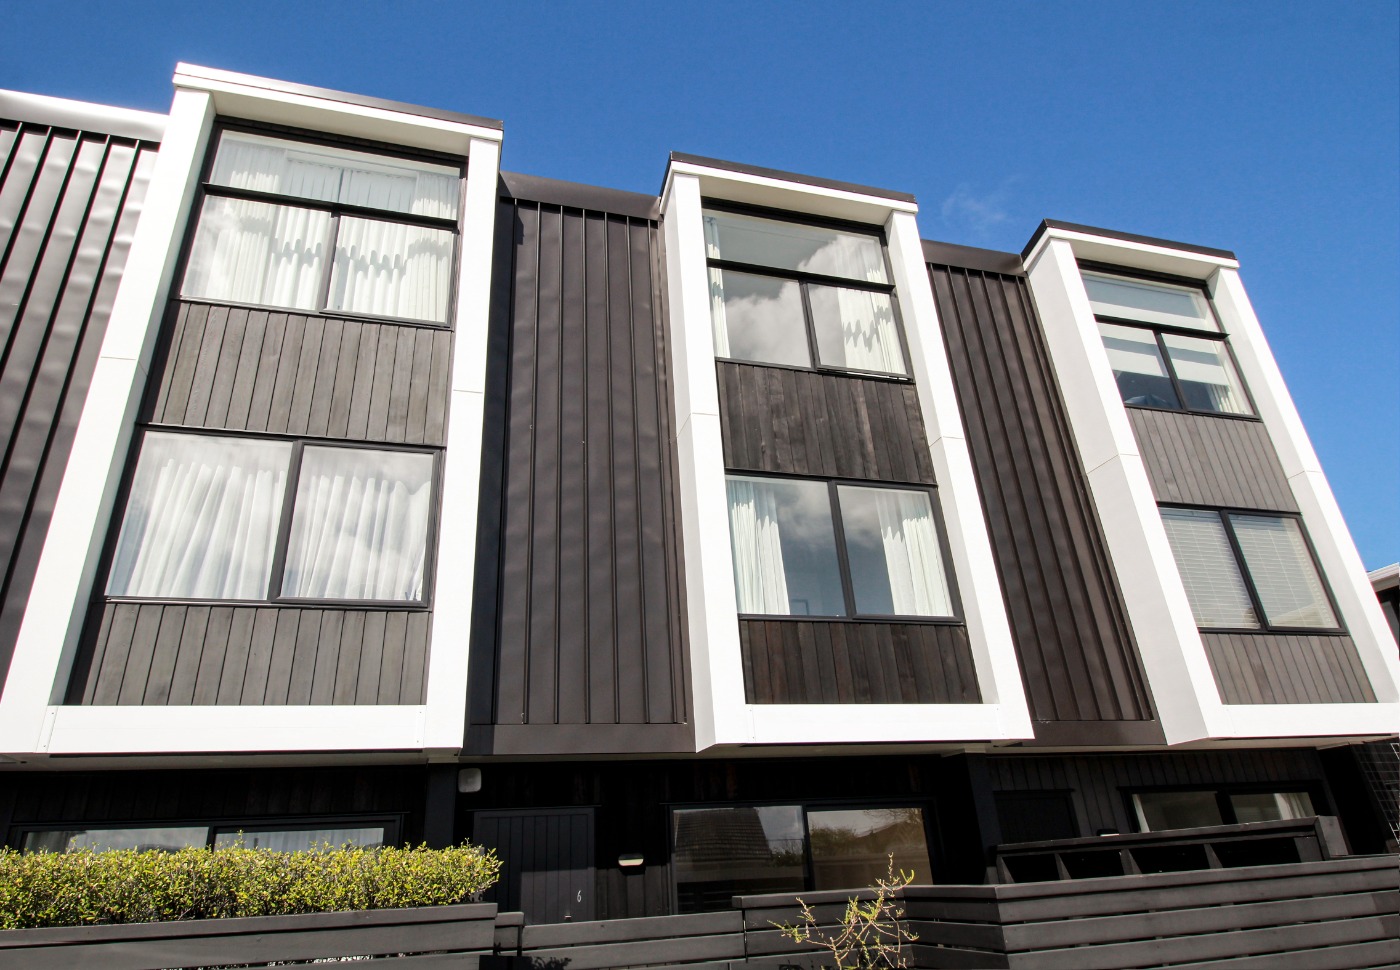
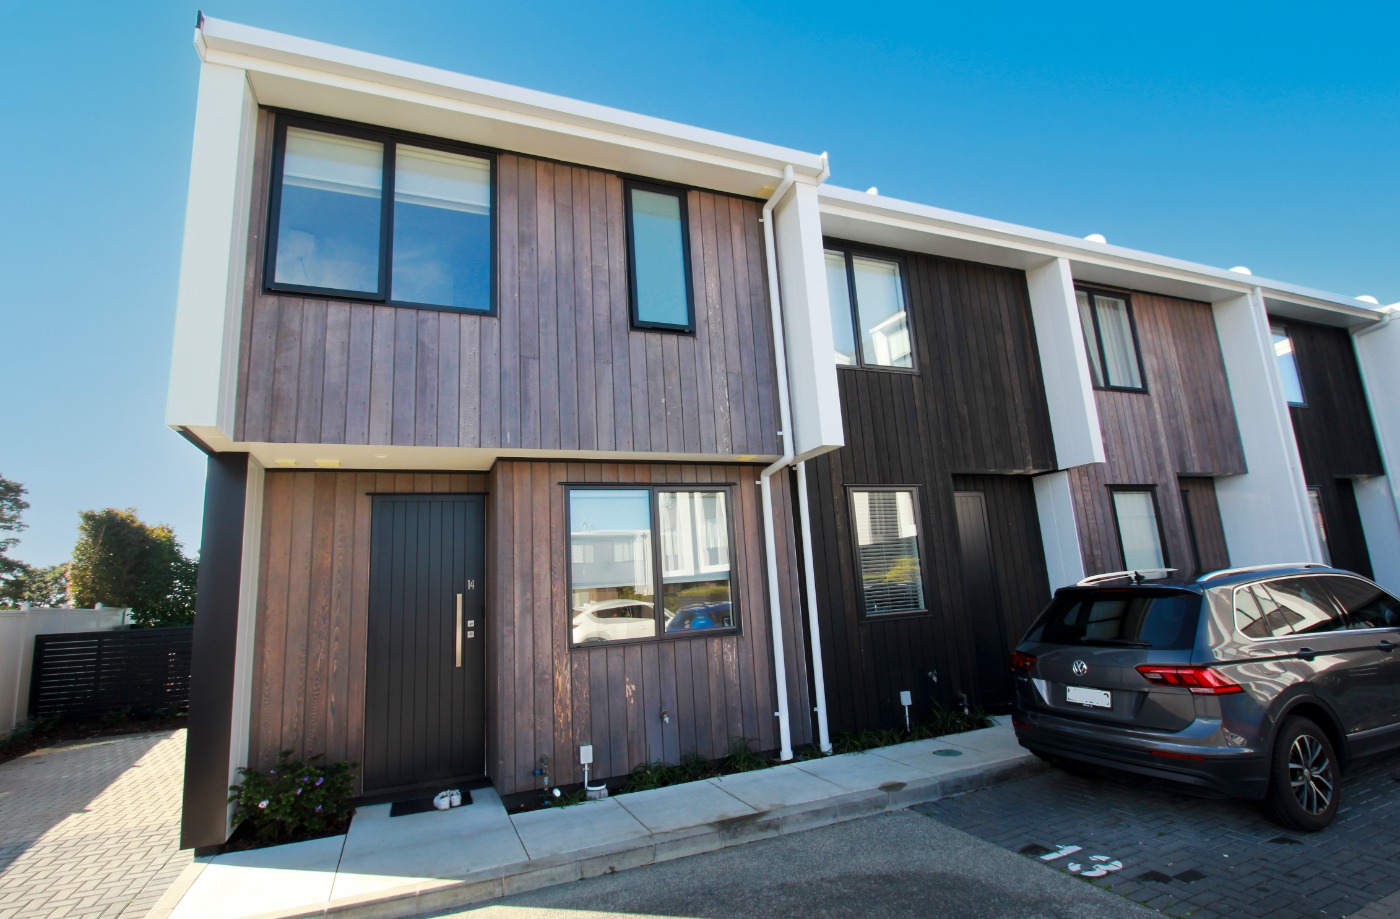
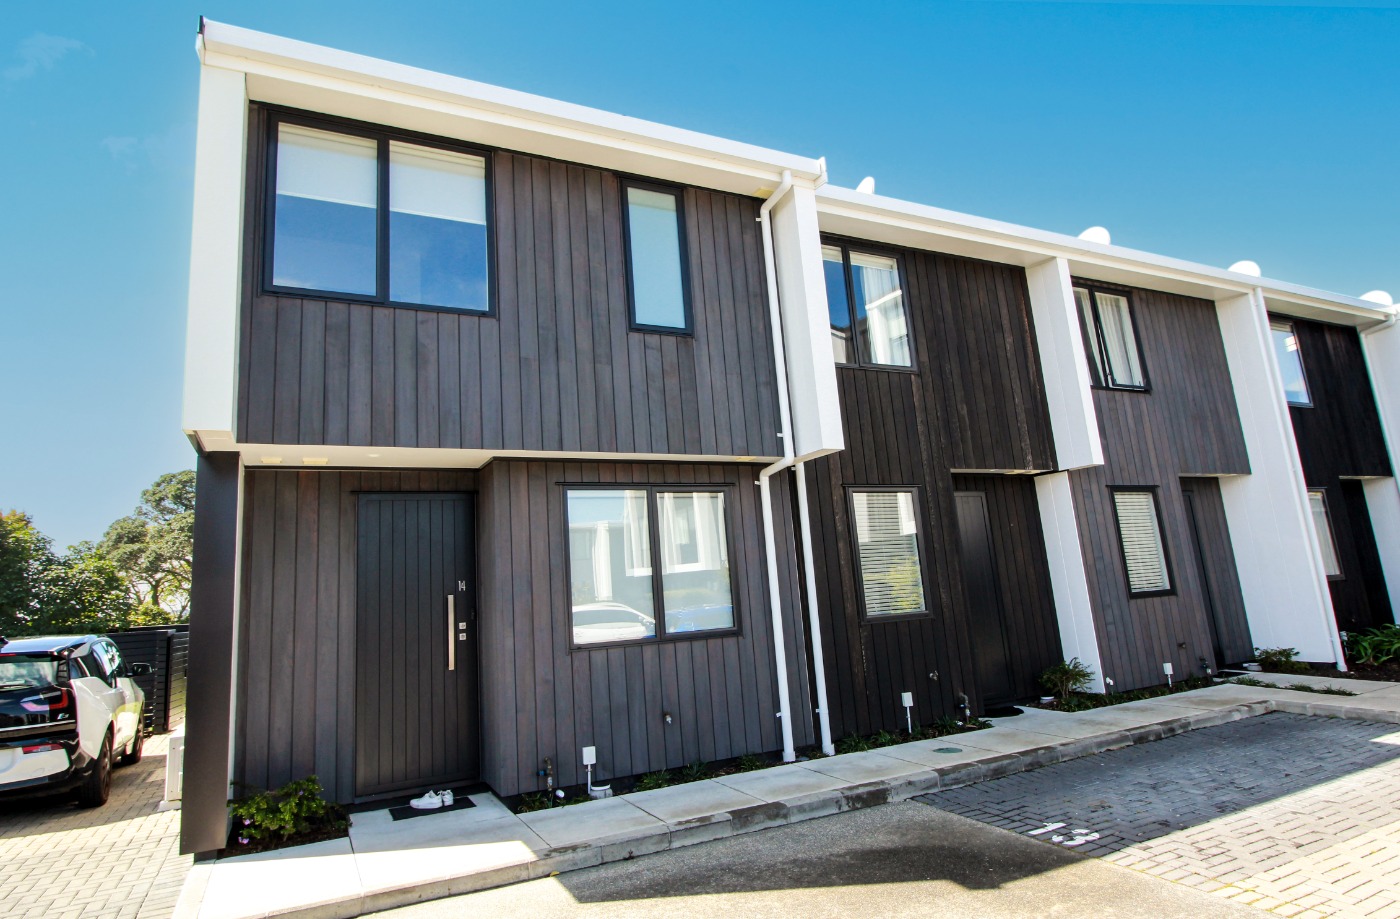
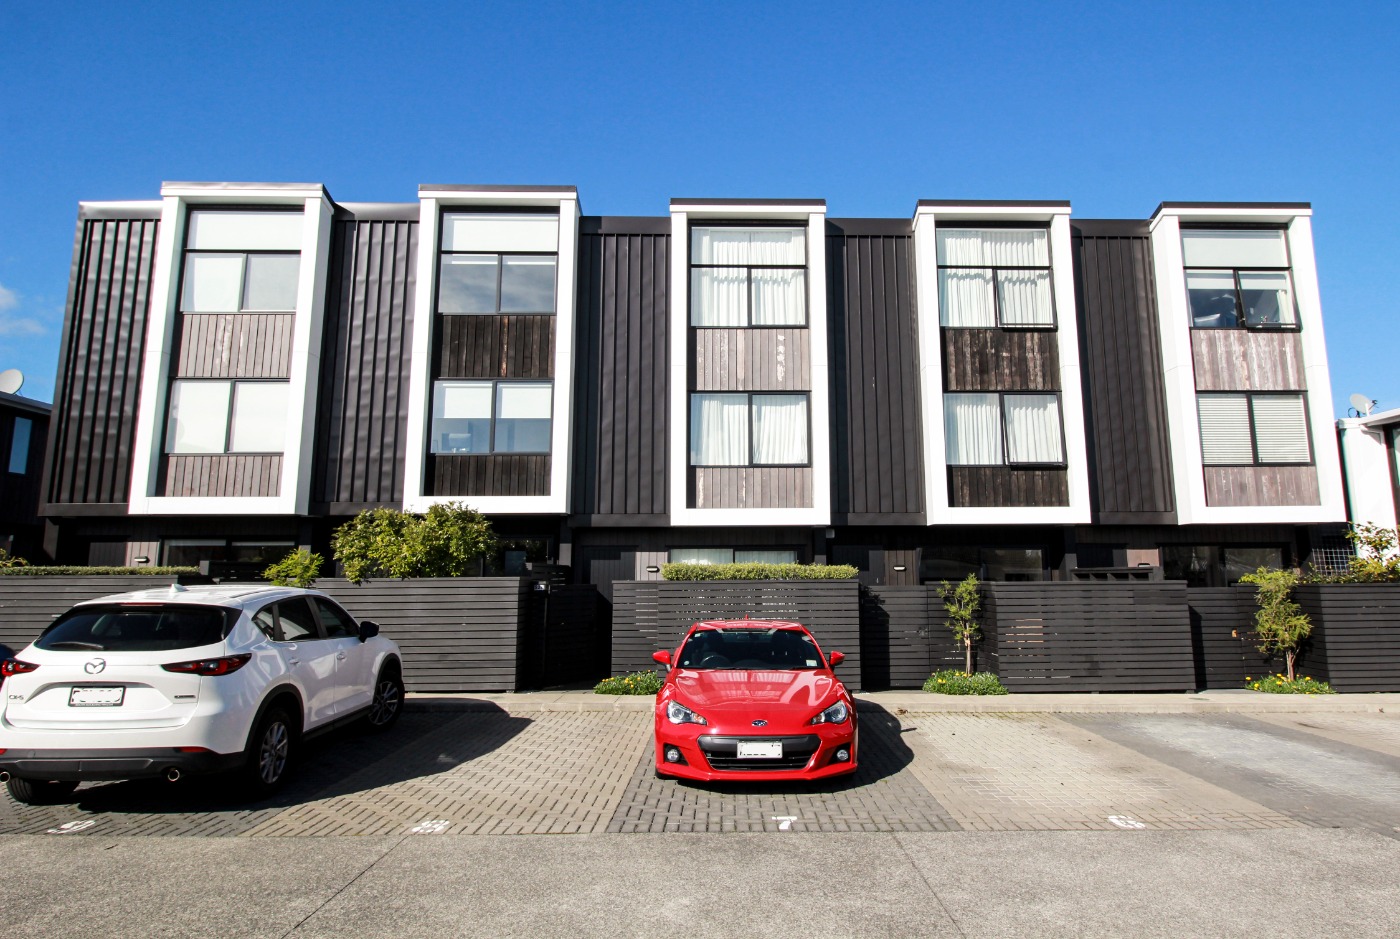
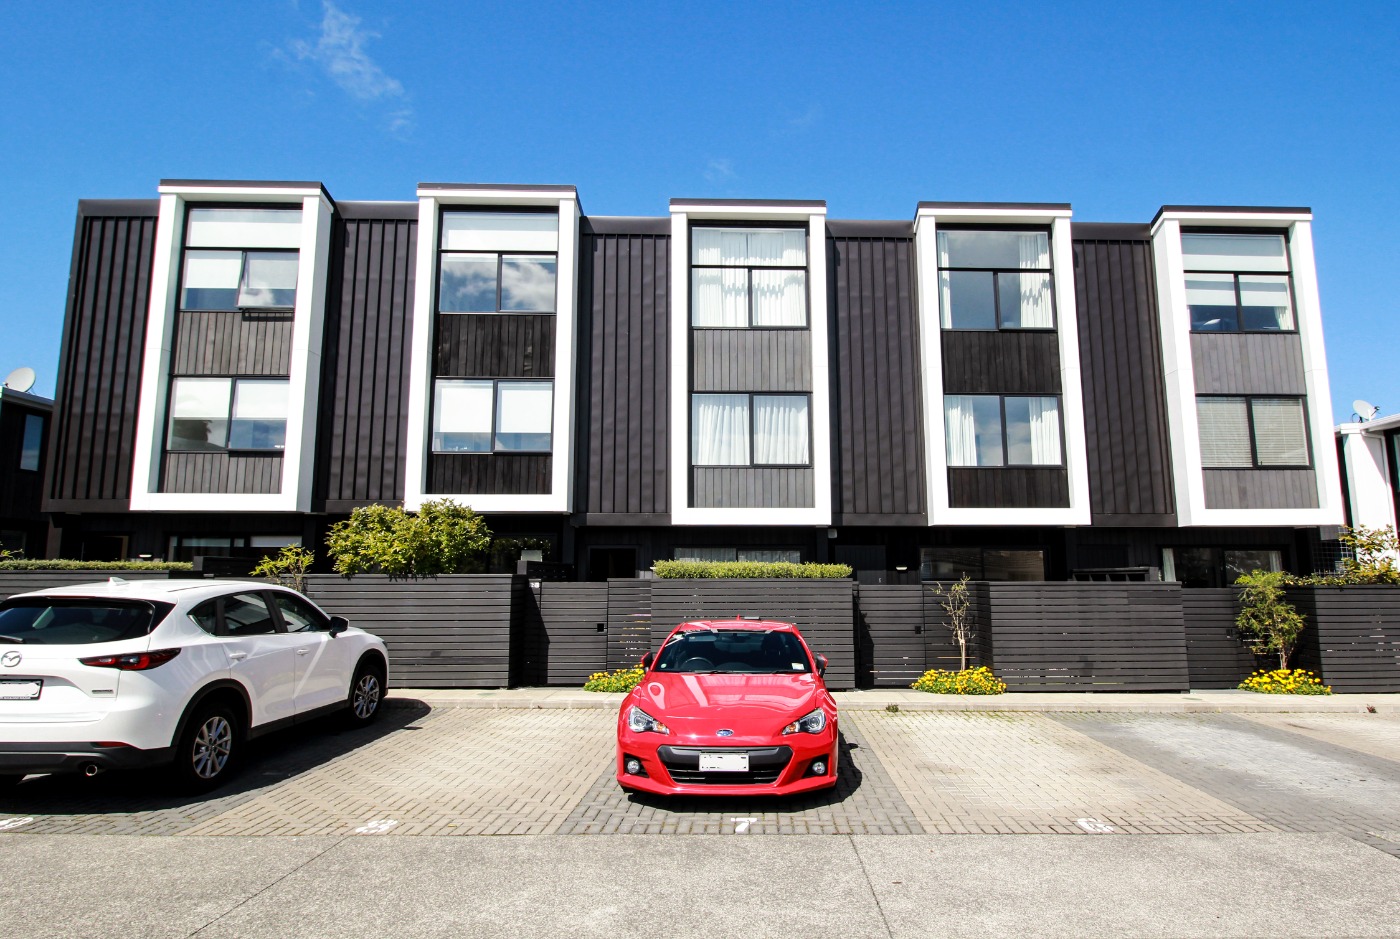
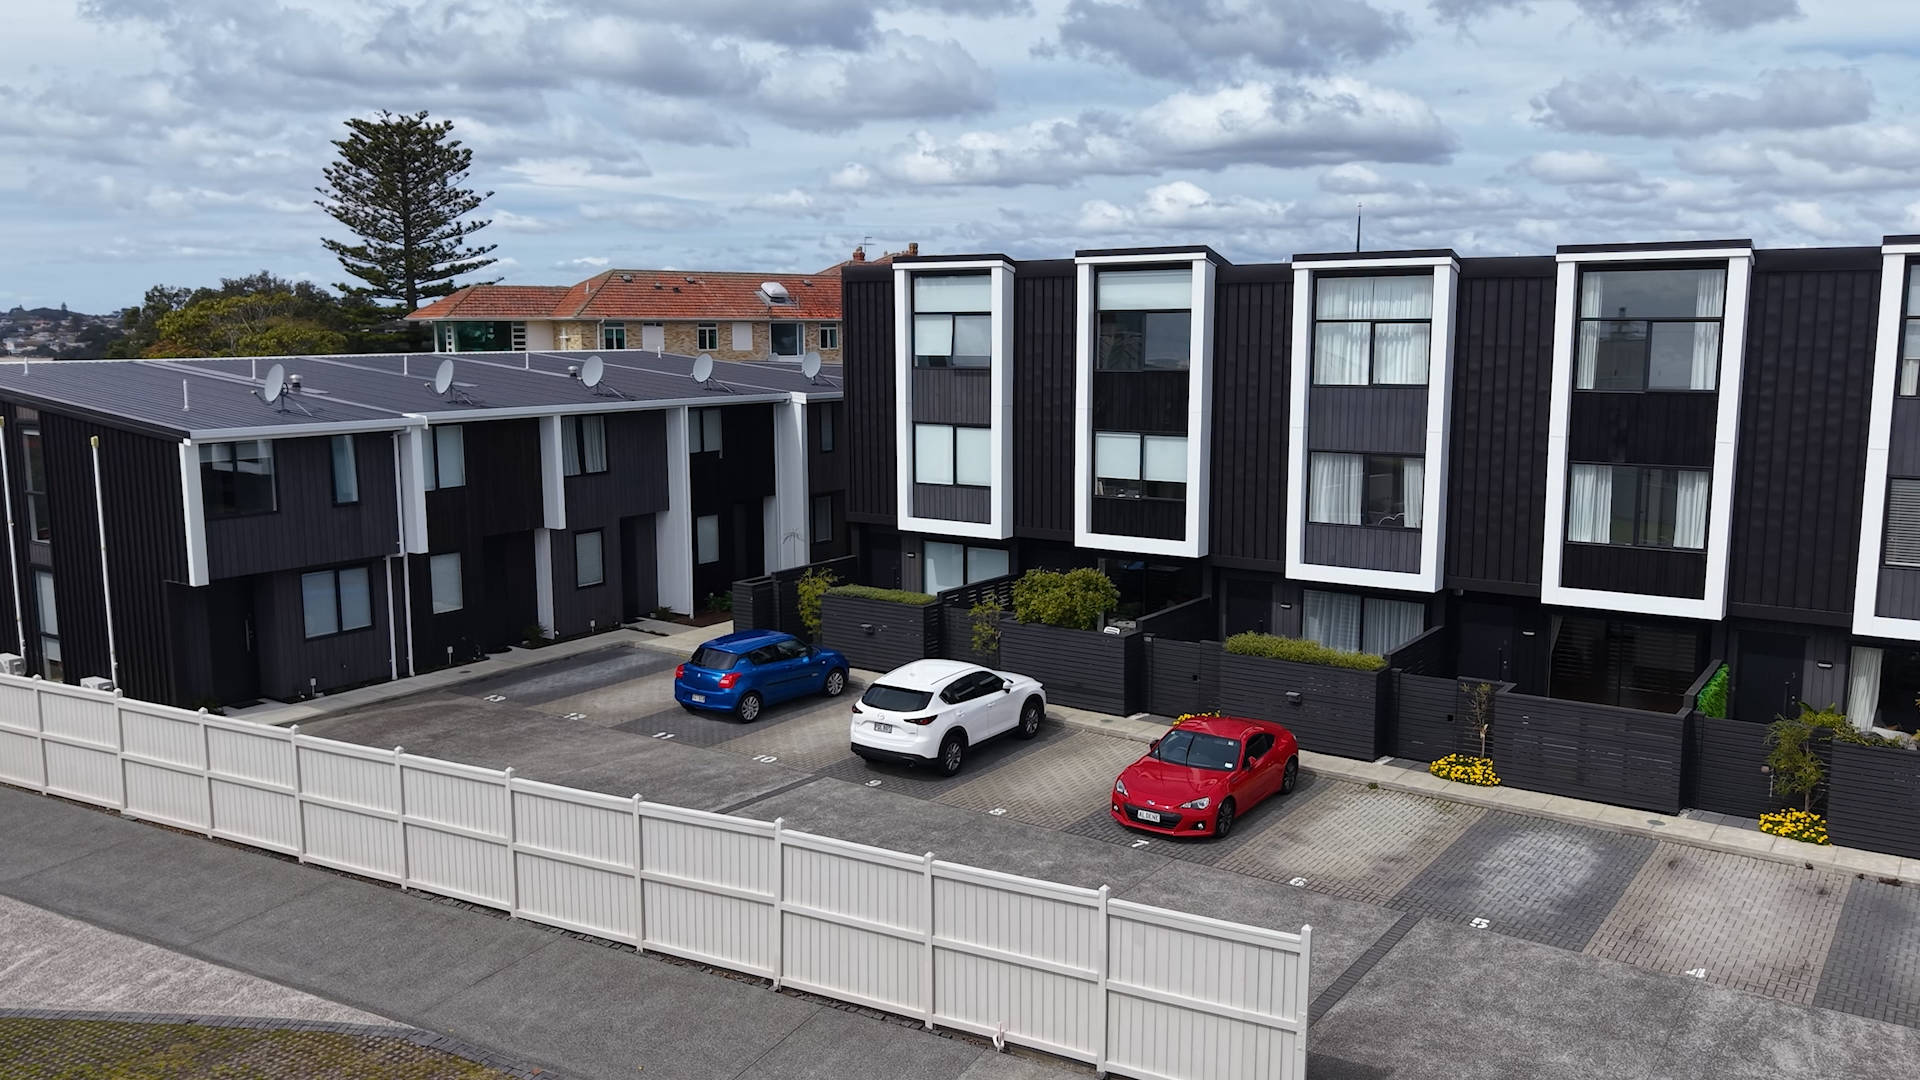
This block of 14 townhouses is located on an elevated section overlooking the beautiful seaside suburb of Mission Bay. The townhouse complex was finished in 2020. After a few years in the sun, the owners started to notice the Cedar looking patchy and uneven.

This block of 14 townhouses is located on an elevated section overlooking the beautiful seaside suburb of Mission Bay.

The townhouses were architecturally designed by Novak + Middleton and built by Gibbons Co. The townhouse exteriors use an eye-catching mix of standing seam metal cladding and Cedar.

The townhouse complex was finished in 2020. After a few years in the sun, the owners started to notice the Cedar looking patchy and uneven.

TimberTech was bought in to assess the Cedar and put a management plan in place to keep it protected – and looking great – for years to come.

Maintenance Timeline

TimberTech was first contacted on the 25th of October, 2024.

  • 1st November, 2024 – Cedar Assessment completed.
  • 25th November, 2024 – Quote sent.
  • 31st July, 2025 – Job started.
  • 29th August, 2025 – Job completed.

As there are 14 houses in the complex, each needing consultation, the time between the different stages of engagement was longer than usual.

After an 8-month consultation period, 12 out of the 14 houses in the complex decided to go ahead with the proposed work.

The job took around 4 weeks in total, with some delays due to inclement weather.

Cedar Assessment

Sometime during the building process, the Cedar was coated with stain. Stains are excellent in areas without direct sunlight, but when exposed to harsh UV they break down, giving a patchy or uneven look.

Unfortunately, the stain used here had broken down, particularly on the exposed northern face.

Our recommendation was to fully strip, sand and recoat the Cedar cladding, converting it from stain to a penetrating oil (in this case, Wood-X).

The stain used on the south face still held up well, and we recommended that another coat of the same stain be used to extend its lifespan.

Cedar Maintenance Process

Stripping stain from Cedar is a laborious task and not something undertaken lightly.

For stripping this particular stain, Resene Sea to Sky Coating Remover has proven very effective. We apply this with a spray machine, making sure all the joinery, doors, flashings and surrounds are masked to keep them protected.

The stripper is left on for a couple of hours to activate and dissolve the stain, then it can be scraped off, followed by a wash to remove any last residues.

For particularly stubborn areas of stain, some sanding may be required. This should be done lightly and kept to a minimum to retain the texture of the board.

Once the stain has been successfully removed, the board is ready for oil to be applied.

When first assessing the job, we knew we needed to match the colour of the oil as closely as possible to the original product. We presented the owners with some colour options and settled on using two colour tints, Flint and Foundry.

The boards were very dry, especially on the northern face, and required two coats in most places. We basically put as much oil into the boards as possible.

Cedar Maintenance Challenges

Some of the more sheltered townhouses had stain that hadn’t fully broken down yet and proved difficult to remove. We had to remask and restrip these areas before we could apply the oil, ensuring an even finish.

The other main challenge was keeping the whole area tidy and minimising the impact on the residents, particularly the owners who were not having any work done. We did our best to minimise any noise, only have essential vehicles in the car park and provide constant communication with all residents.

One of the biggest downsides of moving from stain to oil is a 3-9 month transition period where your Cedar will have a shiny-flat-shiny-flat look.

This happens when oil is applied to any surface that still has stain remnants. The oil cannot soak through the stain as it is non-porous, so it sits on top, around the surface area where the oil has soaked in, giving the shiny-flat-shiny-flat look.

This is all part of the process and not exactly a challenge, but we always take care to prepare the homeowners for the transition period.

Ongoing Maintenance Requirements

When transitioning from stain to oil, we recommend assessing the Cedar again after 3 months to see if any of the boards require additional oil, especially on the sun-exposed faces.

We will then recheck the boards 12-18 months later (depending on the conditions), after which the Cedar will fall into a regular maintenance plan, with exposed faces needing to be recoated every 2-3 summers.

The Final Outcome


Cedar stain to oil cover

The rejuvenated Cedar was transformed from washed-out brown to a lustrous dark chocolate tint. The owners were impressed with the final look and relieved that their Cedar had been returned to the state when they moved in.

By transitioning from stain to oil, they could also look forward to more straightforward and cost-efficient maintenance in the future.

If you would like to know more about the transition process, please read our article Can Cedar Be Transitioned From Stain to Oil?

11 Sep 2025
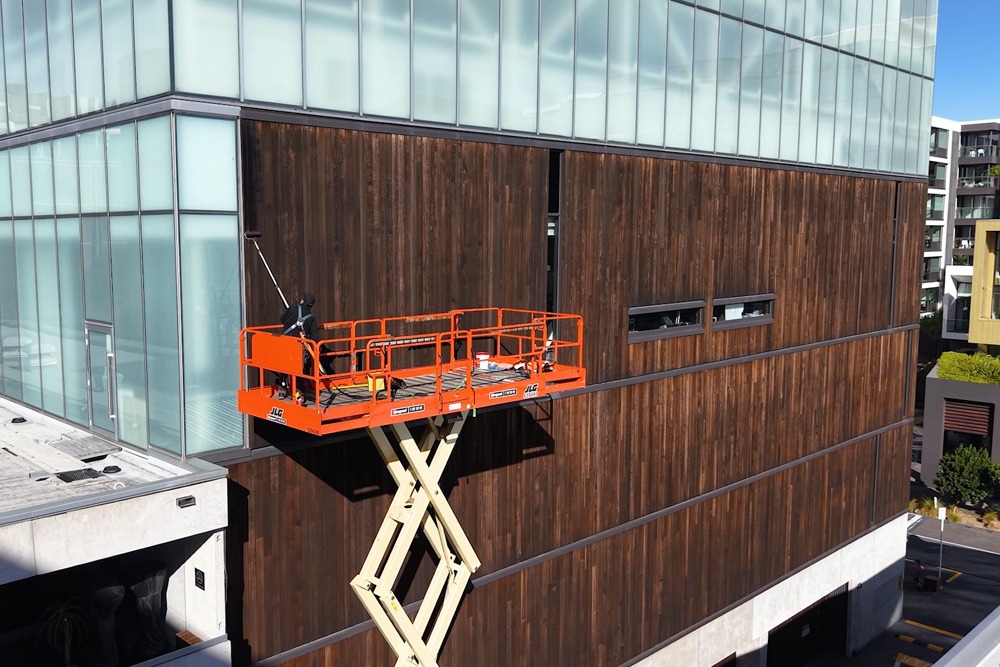
The ASB theatre has received numerous awards for its design, efficiency, and sustainability. Part of this aesthetic is defined by its impressive Cedar feature walls. See how we returned the dry and weathered Cedar back to its original splendour.

The ASB Waterfront Theatre is a modern, 675 seat performing arts venue and the home of the Auckland Theatre Company.

It has received numerous awards for its design, efficiency, and sustainability, including a 2017 Auckland Architecture Award for Sustainable Architecture.

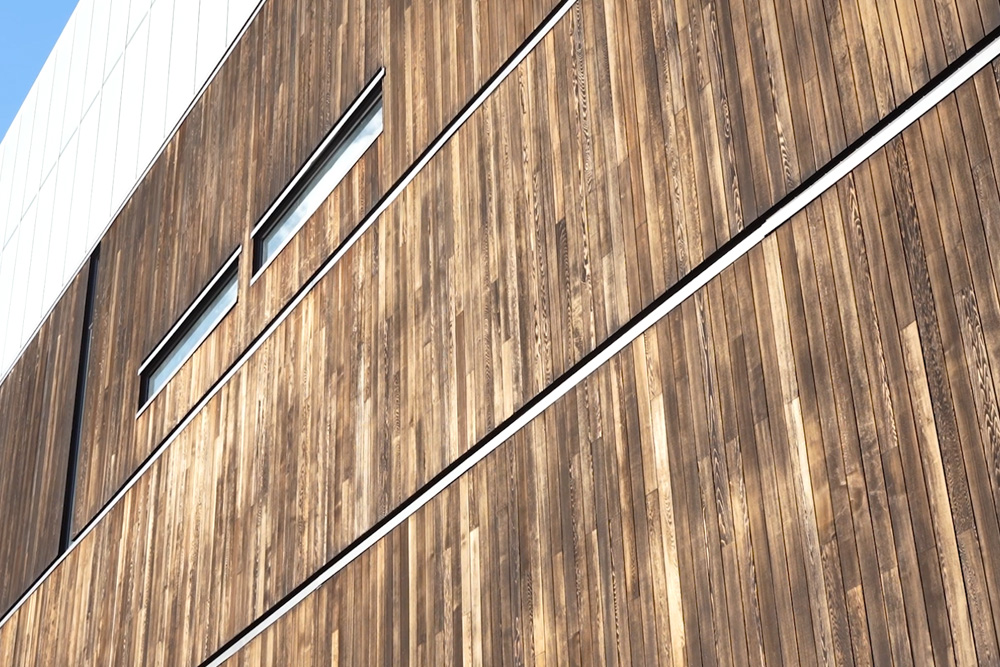
Built by Hawkins Construction and opened in 2016, the theatre’s aesthetic is defined in part by its impressive Cedar feature walls.

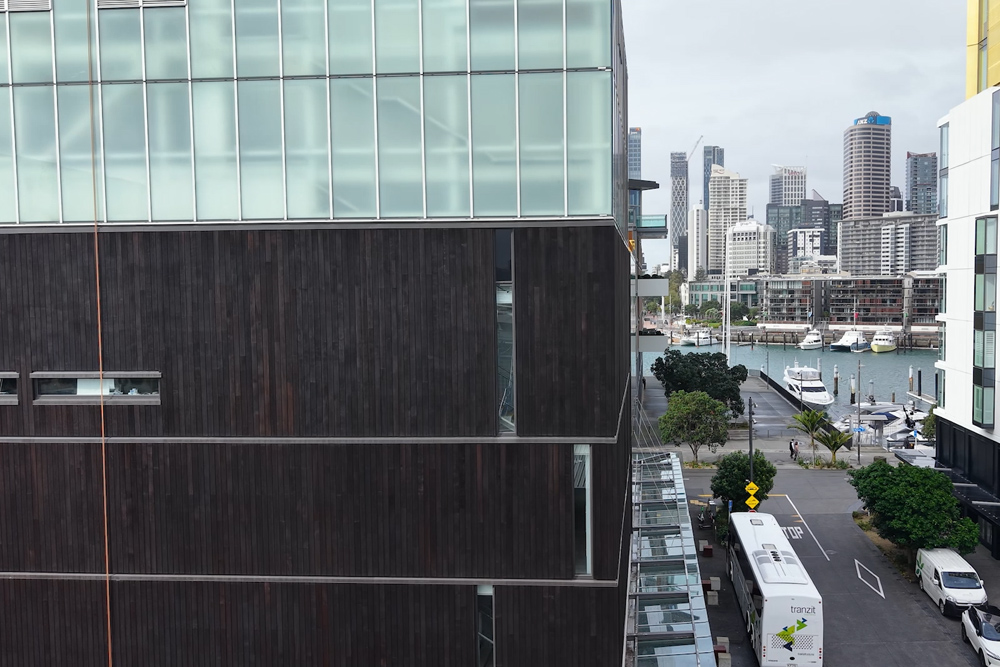
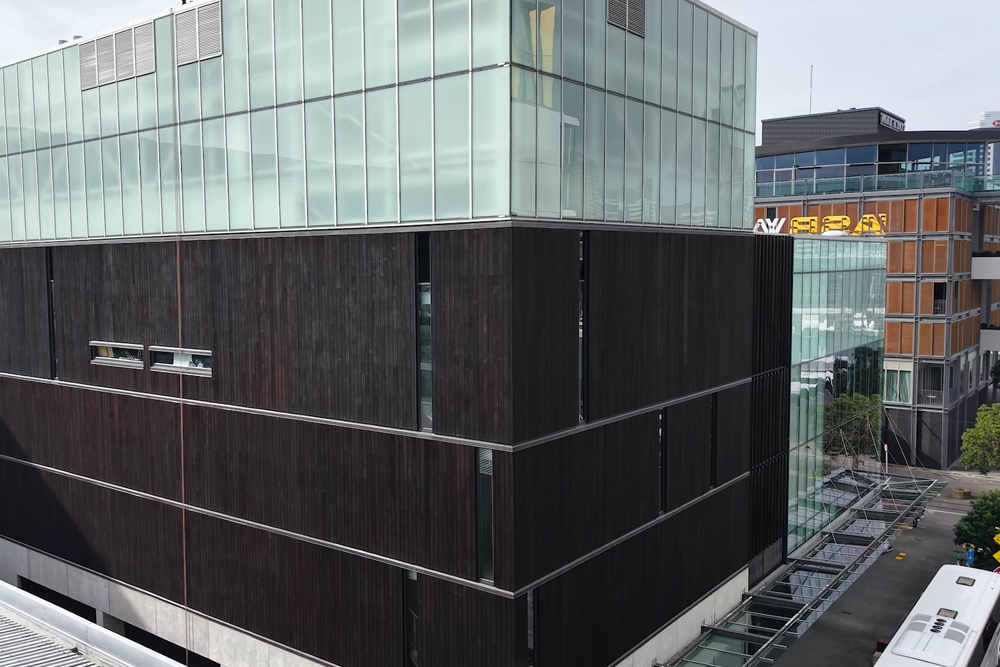
The building has two main Cedar walls high on the west and south faces. There are also Cedar doors at ground level on the west and north sides.

Maintenance Timeline

TimberTech was first contacted on the 3rd of March, 2025.

  • 7th March, 2025 – Cedar Assessment completed.
  • 18th March, 2025 – Quote sent.
  • 19th May, 2025 – Job started.
  • 16th June, 2025 – Job completed.

The job took 3 weeks in total, with some delays due to inclement weather.

We will check the Cedar again in 12 months and advise if further treatment is needed (usually if the timber was particularly dry). Otherwise, the building will move into a standard 10-year maintenance plan.

Cedar Assessment

The Cedar had been oiled previously, probably around the same time as installation 5 years ago, and nothing had been done to maintain it since.

That’s longer than we normally advise and the Cedar was starting to look dry and weathered, particularly on the high, exposed areas of the building.

The western face received the brunt of the afternoon sun, and the tint was starting to wear off unevenly in places, giving the Cedar a patchy look.

Cedar patchy look

The southern face was largely sheltered from the sun and the pigment in the oil hadn’t broken down as much as the western face.

The doors on the west and north sides had also been affected by graffiti and people rubbing up against the boards and required some restoration.

To remediate these, we lightly sanded the Cedar before applying the oil.

Cedar Maintenance Process

No matter the size and scale, the first step in any Cedar maintenance job is to deep clean the timber with a penetrating surfactant and remove any built-up organic matter.

As the building is in the heart of Wynyard Quarter, the timber had been exposed to considerable dust, grime, air pollution, along with wind and salt coming from the ocean.

Before applying the oil, we had to mask the surrounding concrete to make sure the oil didn’t leave any stains.

We colour matched the tint using Wood-X to ensure the colour would match the original look of the building.

Cedar oil application

To reach the Cedar high on the western face, we used a 15-meter knuckle boom. The southern face was even higher and required an 18-meter scissor lift.

It was only once we got up close to the boards that we saw how dry they were. Cedar will tell you when the pores are full just by looking at the surface. In the end, we used much more oil than we expected.

Cedar Maintenance Challenges

There were two main challenges for this project: traffic management and the height of the building.

The building is situated in a busy area with a lot of pedestrian traffic, requiring appropriate safety measures such as signage, flagging and a spotter on the ground to direct pedestrians.

Commercial cedar maintenance auckland

There was also a shared driveway along the western side of the property that could not be blocked.

Communication with both the public and the neighbouring tenants was essential in making sure the project ran smoothly, with as little disruption as possible.

The height also presented some unique challenges. The height itself was not an issue – we have a lot of experience working on tall buildings and using specialised equipment to reach high areas – but where the building was located.

Strong winds regularly came in from the ocean and funneled between the tall buildings all around, limiting when we could use the scissor lift and knuckle boom.

The Final Outcome

The result was stunning, retuning this prestigious building back to its original state and protecting it against the elements for years to come.

The Cedar went from grey and shabby to a vibrant and deep hue, beautifully contrasted by the metal and glass of the surrounding buildings.

Commercial cedar restoration

The building managers were very satisfied with the outcome, highlighting the excellent colour match to the original aesthetic and minimal disruption to neighbours and pedestrians.

To see this landmark building for yourself, visit 138 Halsey Street next time you are down at Wynward Quarter.

15 Feb 2025
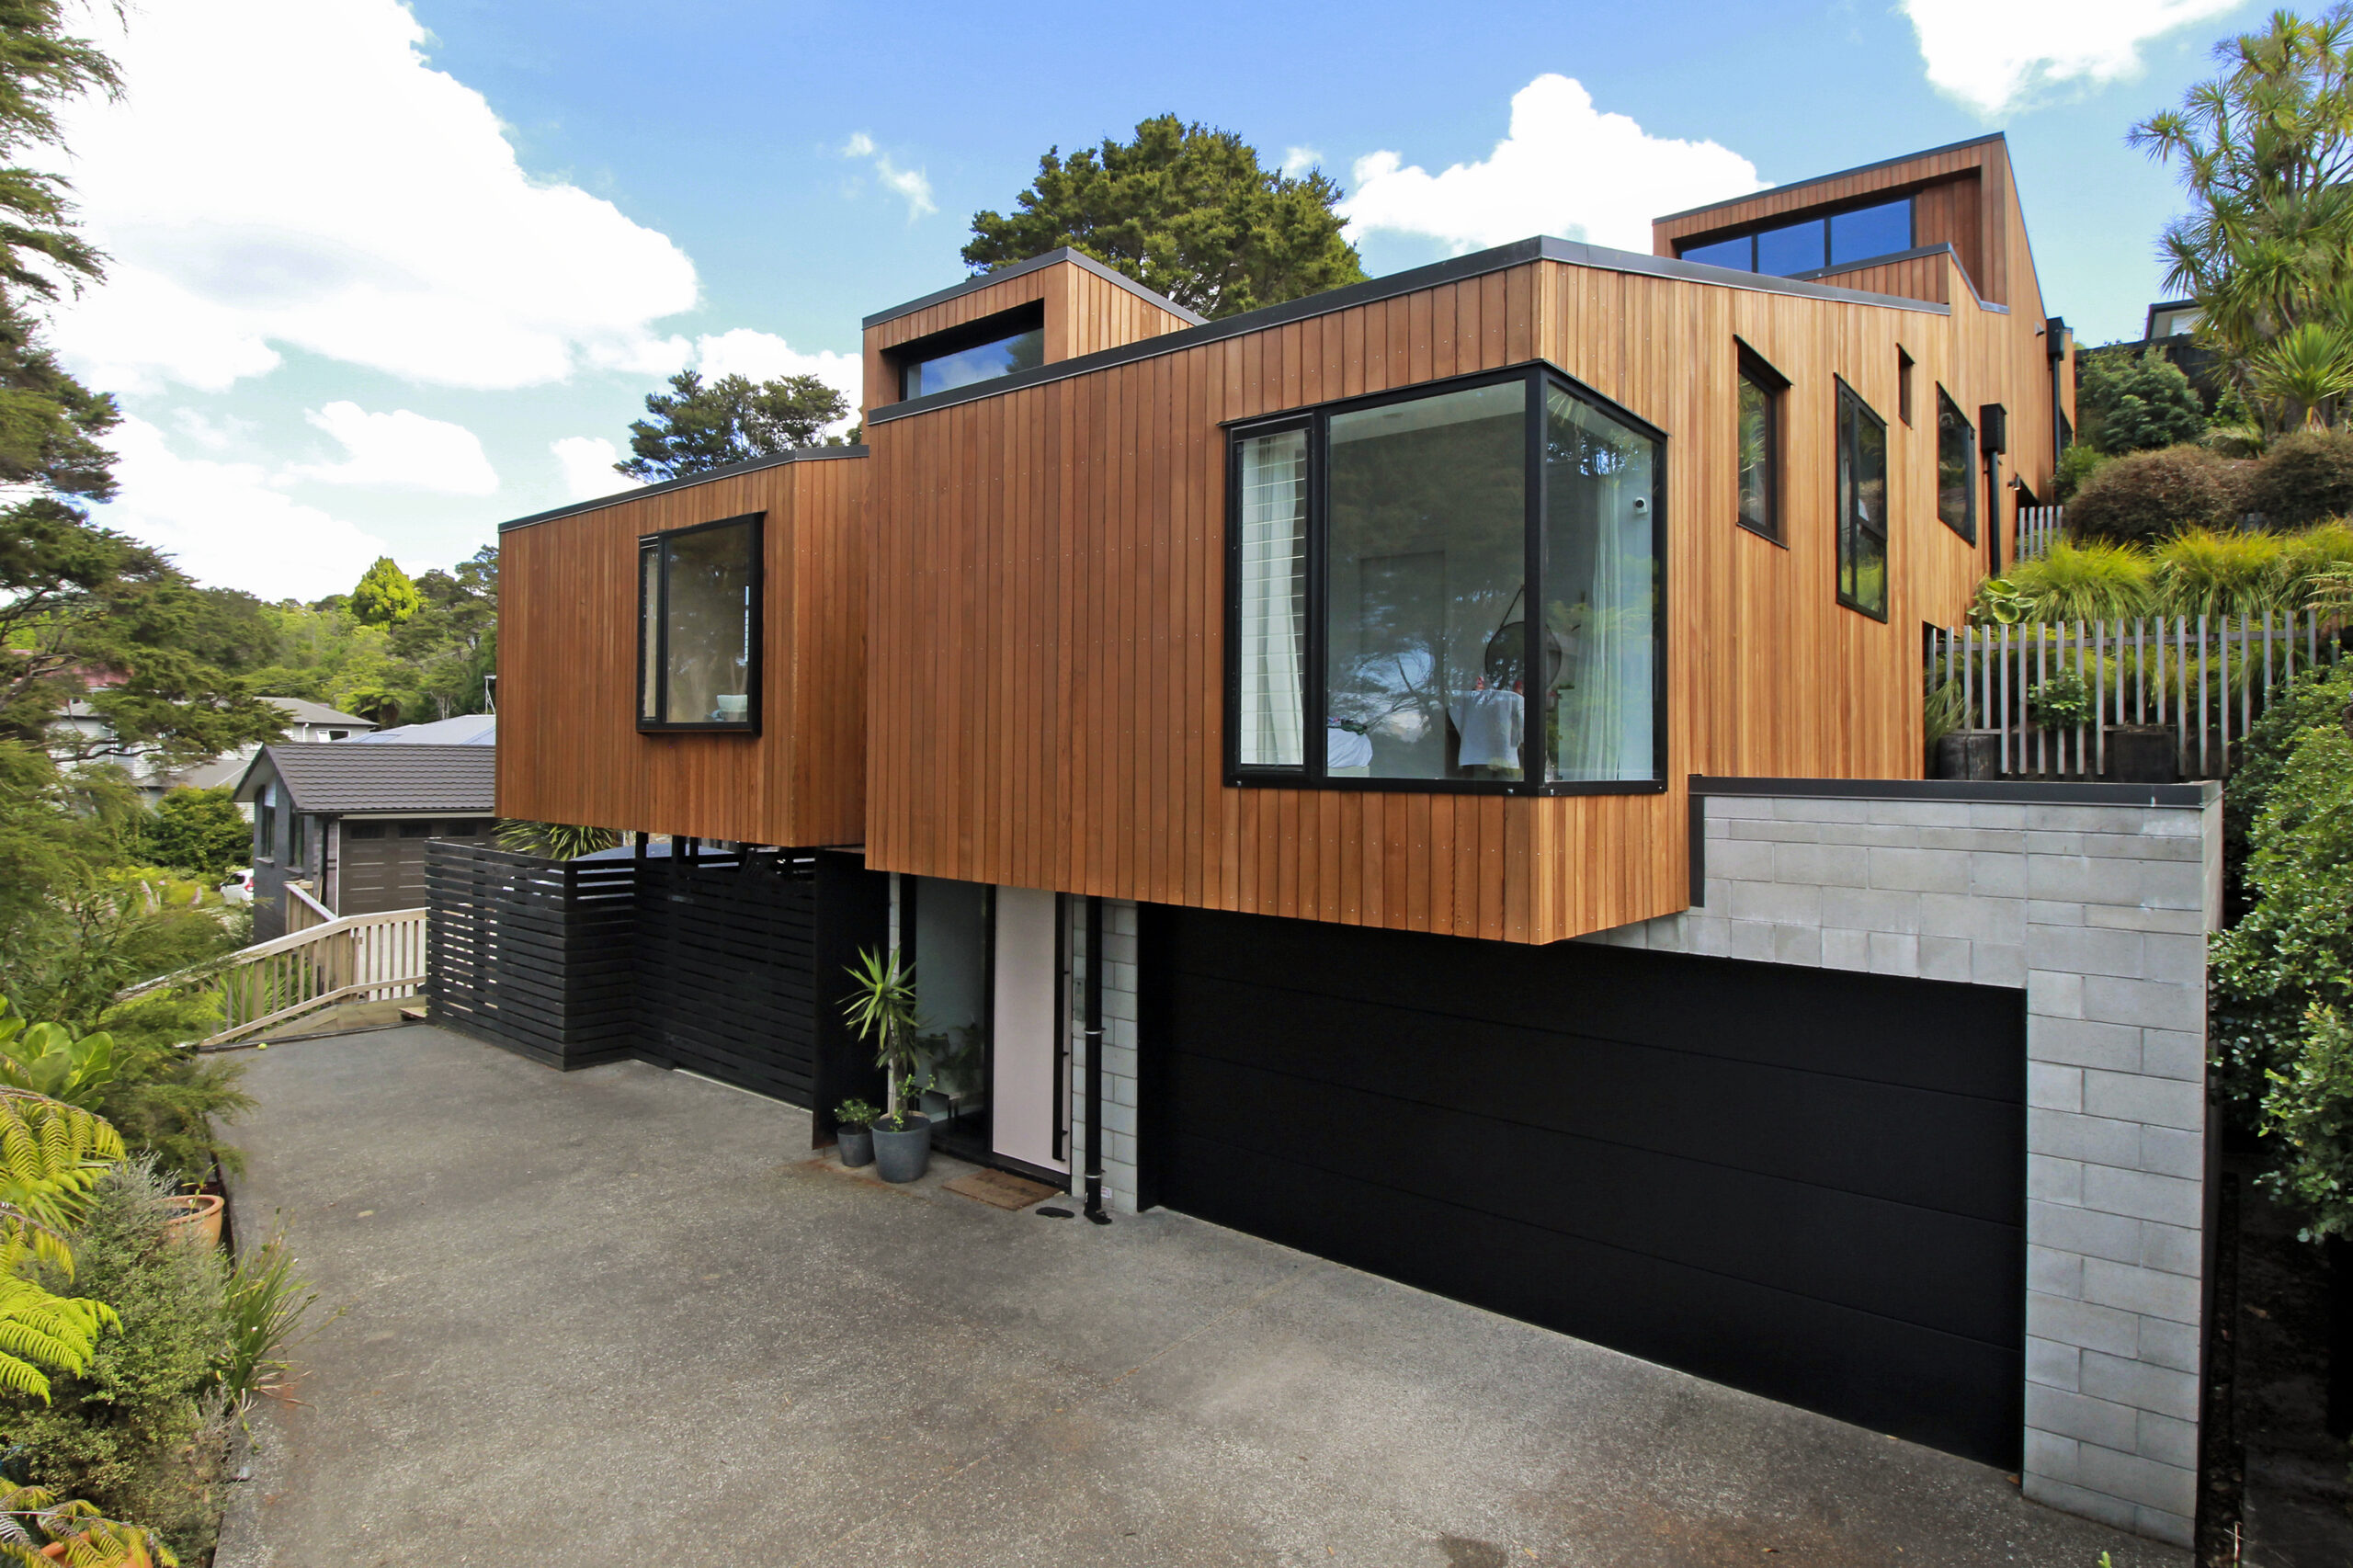
This architecturally designed home in Titirangi is the perfect example of a well-designed Cedar home, with few soffits or overhangs for most of the structure, allowing the sun to weather the boards evenly.

This architecturally designed home in Titirangi is the perfect example of a well-designed Cedar home, with few soffits or overhangs for most of the structure.

This allows the sun to weather the boards evenly, making ongoing maintenance more straightforward and cost-effective.

The western face at the rear does have an overhang, and you can clearly see the uneven effect it can have on Cedar. Uneven weathering usually requires restoration as opposed to maintenance.

This Cedar was installed 10 years ago, with little more than a light oil to protect the timber against the harsh UV. That coating has long since burned off, leaving the Cedar exposed to the sun.

Thankfully, Cedar is such a resilient timber that a deep clean and oil can work wonders.

Maintenance Timeline

The customer first contacted us on the 15th of November, 2024.

  • 21st November 2024 – Initial onsite assessment completed.
  • 25th November 2024 – Quote sent.
  • 6th January 2025 – Team arrived onsite to start the job.
  • 21st January 2025 – Job completed.

Cedar Restoration Process

The initial assessment showed that the Cedar was in good overall condition, but the northern and western faces had been burned by the sun and were very dry.

Whatever protective application they initially used did not have any pigment, leaving the Cedar to turn grey over time.

The Cedar also had mould and bacteria growing on the outside, which happens when the harsh UV rays break down the surface of the timber. To remove the organic matter, we deep clean the Cedar using a biodegradable cleaning solution that is safe for pets and does not harm any surrounding plant life.

Once the timber is clean and dry, we can start to apply the oil.

The customer chose Wood-X Kauri Gum to give the Cedar a natural look, closely resembling wet Cedar. This is a mineral oil that soaks into the timber, leaving pigment on the surface to protect against the UV rays.

The northern face of the house runs long up the side of the property and is the first thing you see upon arrival.

The top of the cladding has been bleached by the sun. This was extremely dry and sucked up a lot of oil, around 4 square meters per litre.

If you look under the window frame, you can see where the windows have been cleaned with a brush. Cedar is very structurally sound, but the surface can be easily damaged if you are not careful.

The darker sections at the bottom are mould and pollen, which have been exacerbated by the surrounding bush. Sometimes the trees can protect the timber if they are nestled in tight, but the number of trees here added to the amount of pollen on the timber.

Cedar Restoration Challenges

There were two main challenges for this job: access issues and uneven weathering.

The southern face of the house has high walls and two large water tanks at the base. Without ground access we could not use ladders or mobile scaffolding. To gain safe access to this area, we used fixed scaffolding.

Both the southern and northern faces have uneven ground, with limited access, and required careful use of ladders.

The dormer situated on the roof at the back of the house also needed rope and harness to be done safely.

As mentioned before, it’s best not to have any soffits or overhangs on Cedar homes. While they do protect the timber from the sun, the effect can be aesthetically unpleasant, as seen here on the western face.

In the photo below, there is a line just below the overhang where the Cedar was shaded from the sun. To fix uneven weathering, our team needs to strip back the surface to an even finish and then apply oil.

The western face also had some black areas above the window which had been burned by the sun. Below the window, there were even darker areas caused by the rain hitting the concrete and bouncing back, causing dust and muck to accumulate.

The front of the house, which faces east, had a section of timber above the front door that had not been exposed to the sun and appeared orange (the natural colour of the Cedar), in stark contrast to the grey timber to either side. This required an expert touch to even up the colour, which can be seen below.

Ongoing Maintenance Requirements

Our recommendation is to recoat the northern and western faces within 3 months. If you look at the top of the walls in the after photos, the oil is already soaking in and appears lighter. And we used a lot of oil on this wall.

The recoat isn’t critical, but topping up the pockets in the Cedar with oil will provide maximum protection and make sure the colour remains consistent.

After that, the house will fall into a regular maintenance schedule, with sun exposed areas needing a recoat every 2-3 summers.

Final Thoughts

The customer was knocked back by the transformation. The years of grime and dirt were washed away and replaced by glistening Cedar that looked better than the day it was installed.

The contrast between the Kauri Gum tint and the black joinery looks amazing. We even washed their skylights while we were up there!

This was a quick job, with the bulk of the work being done in a week by our technicians, Mikey and Lorena. Great work, fantastic results!

Showing 1 - 10 of 18

Subscribe

Sign up to our quarterly newsletter for all the latest Cedar tips and expert advice.